


Mid-Century Beauty

by
Pattie
2 Materials
$55
16 Hours
Medium
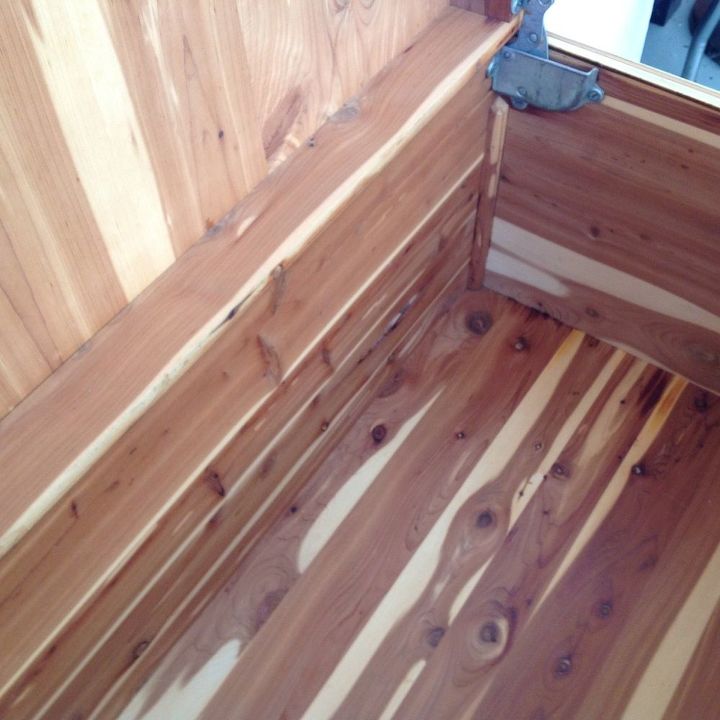
This is my first post on Hometalk....so I'm sure it won't be perfect but here goes....I found this beauty at a yard sale. It is a Cavalier cedar chest from (I'm guessing here) the 1950's. The veneer was in fairly good shape on the top and on the little drawer at the bottom; however, it had missing and buckled veneer on the sides and front. So I had to figure out which route to go.....full restoration or combo restoration, which meant saving as much of the veneer as possible and using Annie Sloan Chalk paint to update the look. I chose the combo restoration route.
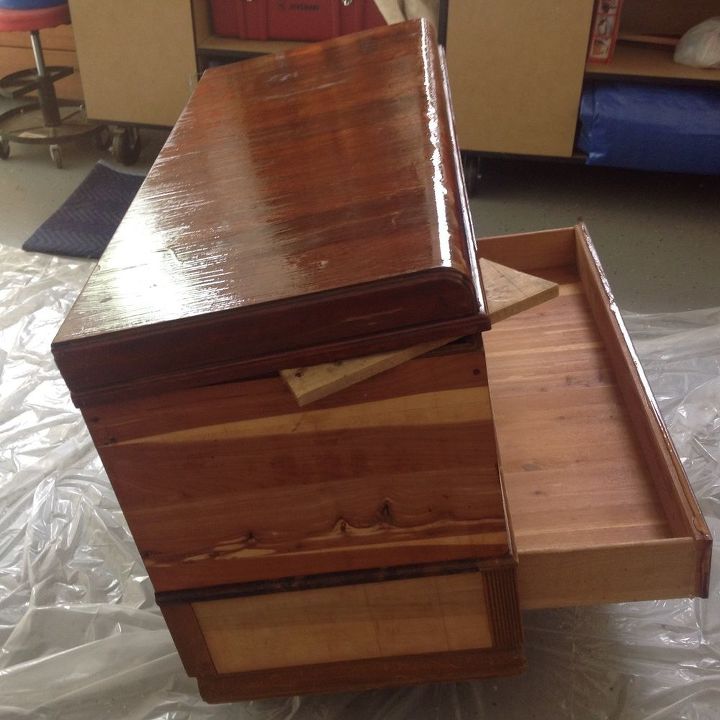
I started by removing the veneer that could not be saved. It came off fairly easily. When it was difficult to remove, I soaked it with a very damp towel, which made it easy to remove with my putty knife. Next I used Citristrip to remove the old finish on the top and drawer.
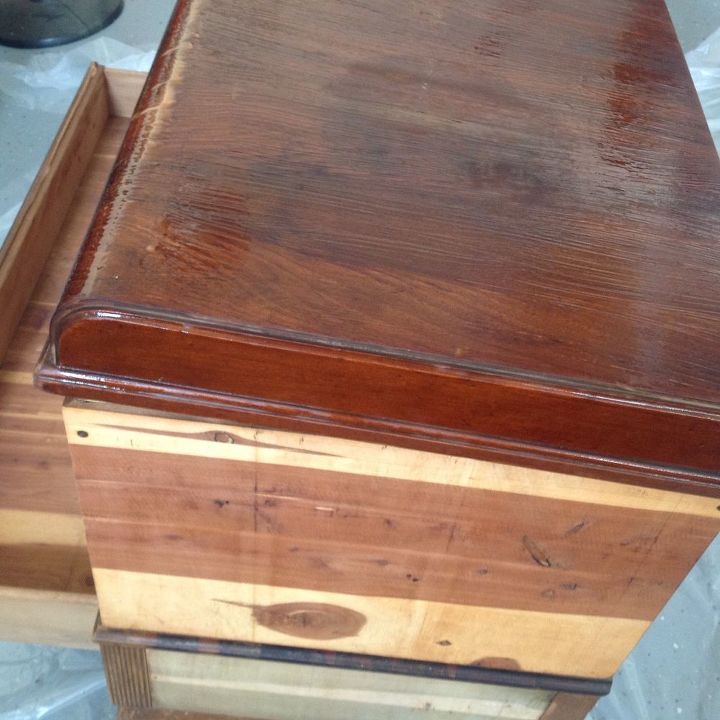
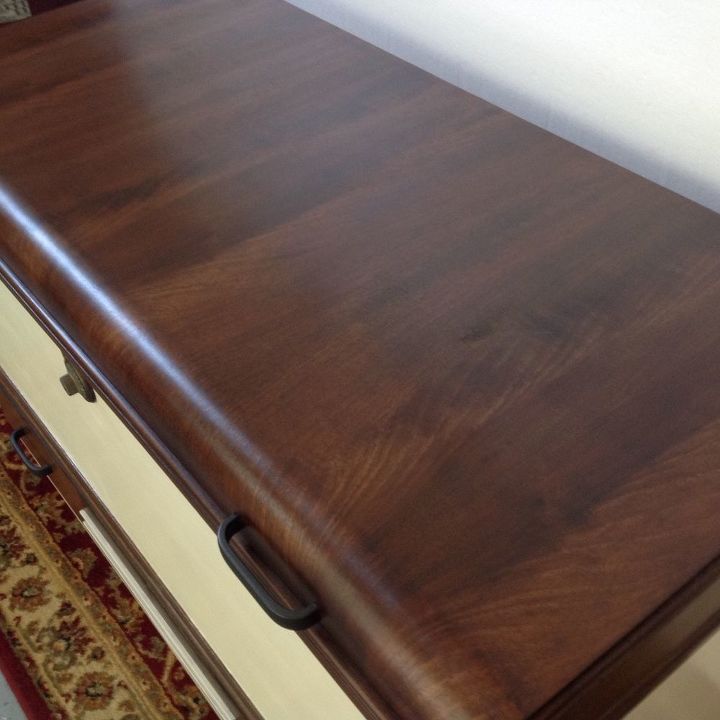
I don't have a picture of this step, but next I sanded the top and drawer front with a fine grit sand paper, by hand. I didn't want to damage the remaining veneer, so I did not use a power sander. Next, I stained the top and drawer front with Minwax Dark Walnut and used a low gloss hand rubbed polyurethane to finish off these areas. I applied two coats, allowing the first coat to dry overnight.

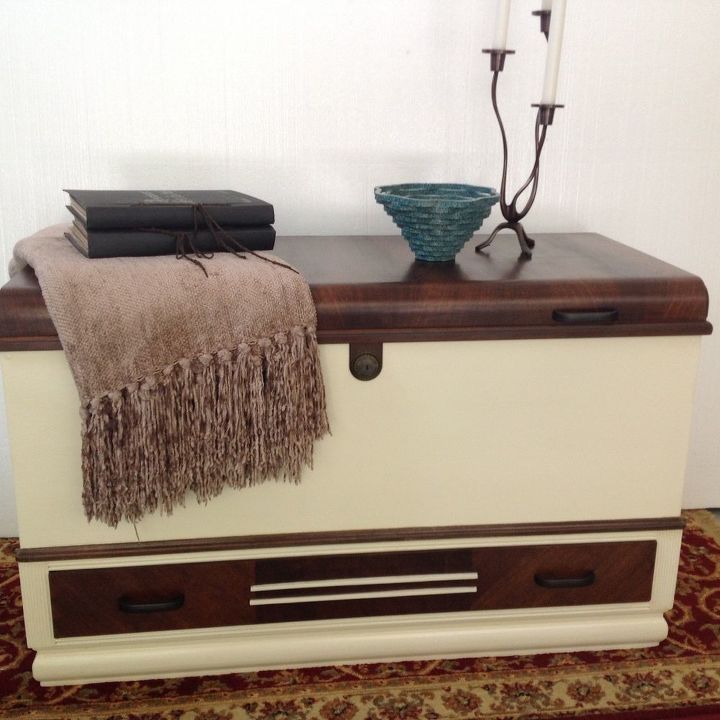
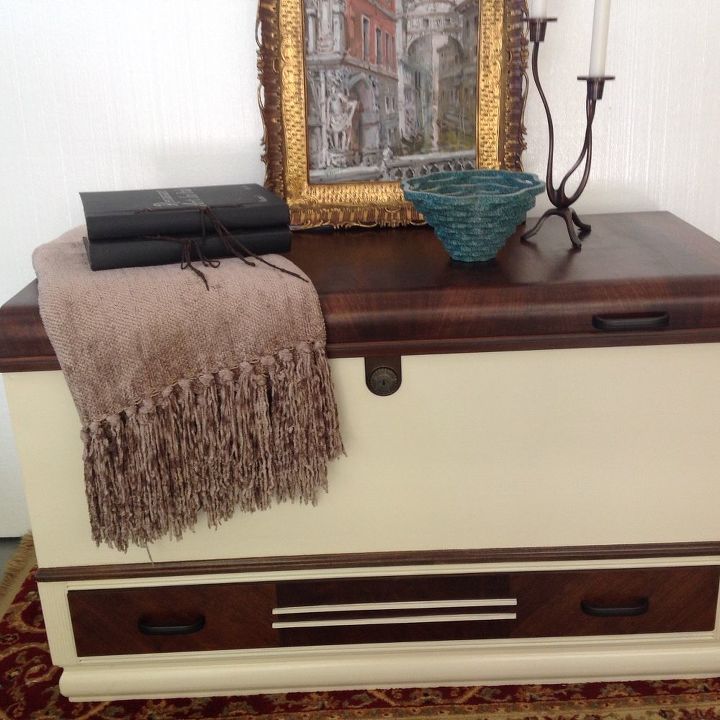
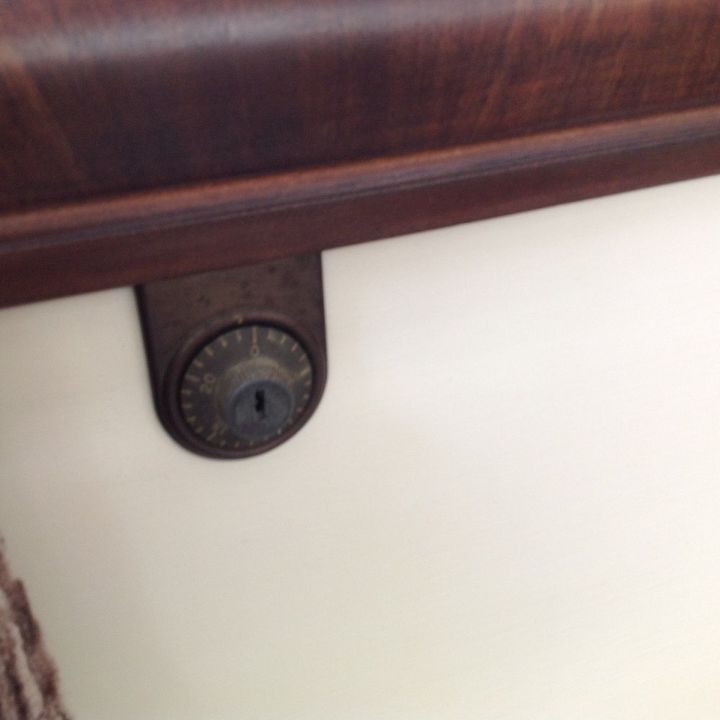
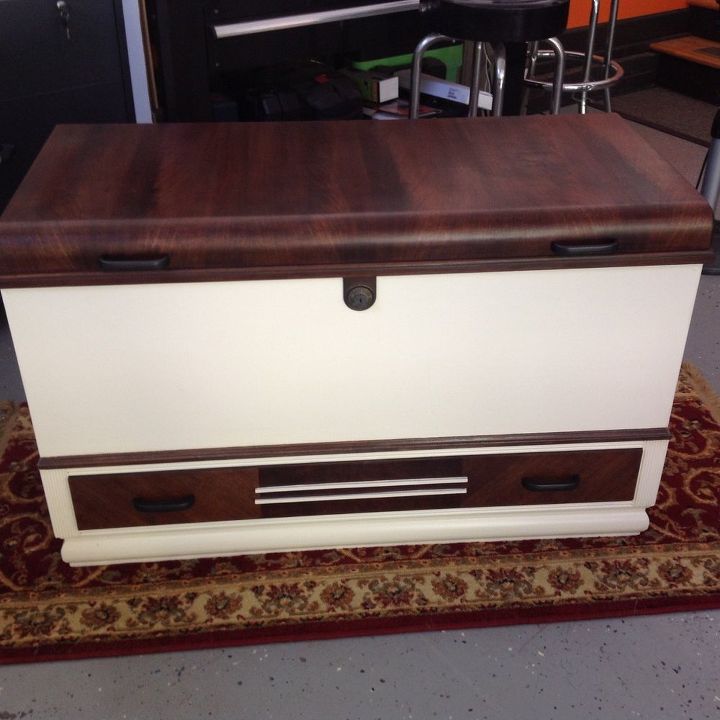
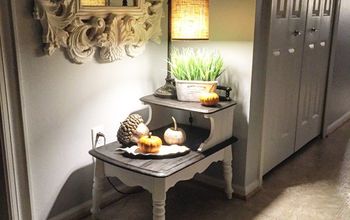
The last two steps were to paint the body of the chest. After lightly sanding the area, I used Annie Sloan chalk paint in Old White. It took two coats. And lastly, I sealed the chalk paint with two coats of hand rubbed low sheen polyurethane, allowing the first coat to dry overnight. Here are a few pictures of the finished cedar chest. I hope you like it and that this post is helpful!


Comments
Join the conversation
2 of 14 comments
-
Absolutely beautiful!
-
Thank you, Sandy!


Frequently asked questions
Have a question about this project?