


Paint Upholstery – The How-to Guide for Beginners
Believe it or not, I didn’t like the color of our headboard on the day we bought it! But it was cheap, and I didn’t plan to have it for very long. Fast forward to today, and guess what, I still have the headboard. So, when I found out you could paint upholstery, I knew this headboard would be the first piece I would experiment on! I was so scared to paint the fabric! I kept telling myself it didn’t matter if I ruined it because I don’t even like it! All the worry was for nothing! Turns out, it’s very simple!! Let me show you how easy it is to paint upholstery with the how-to guide for beginners!
For more DIY ideas from An Organized Season, click HERE!

GATHER
Gather each item on the list below before you get started!
- drop cloth
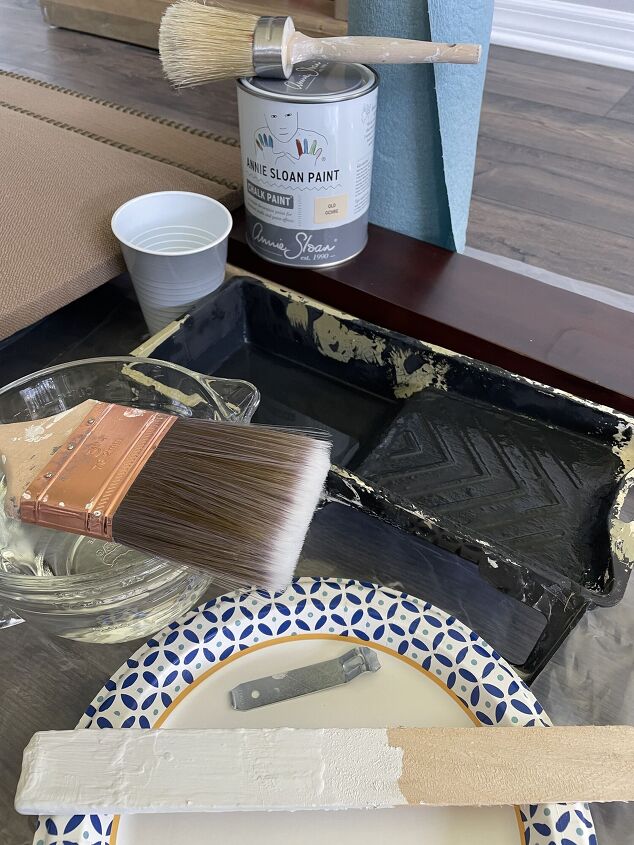
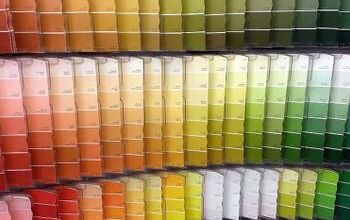
- chalk paint-I used Annie Sloan Ochre
- paint tray
- 2 paintbrushes
- paint key
- stir sticks
- plastic cup
- fine grit sand block
- lint free towels
- risers-I used two 2X4’s
- bowl of water
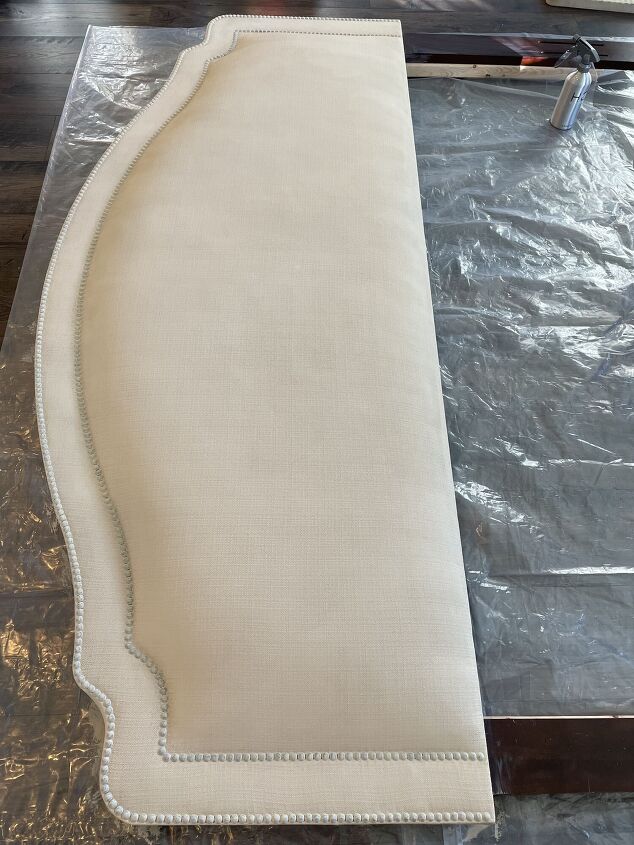
- upholstered headboard
PREP
Put a drop cloth on the floor to protect it from paint splatters. I used a large piece of plastic.
Then place risers on the floor to elevate the headboard. I used two 2X4 pieces of wood.
Put the headboard on top of the risers.
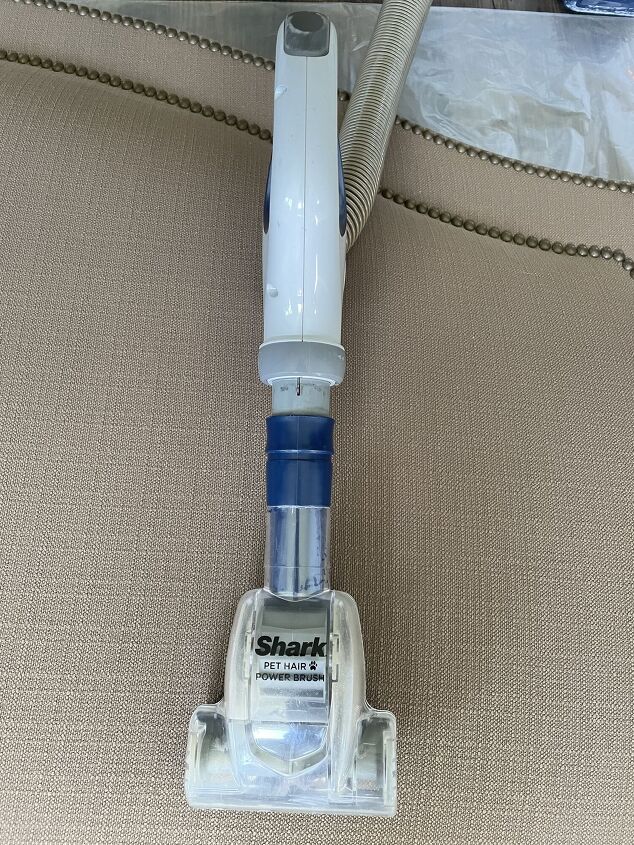
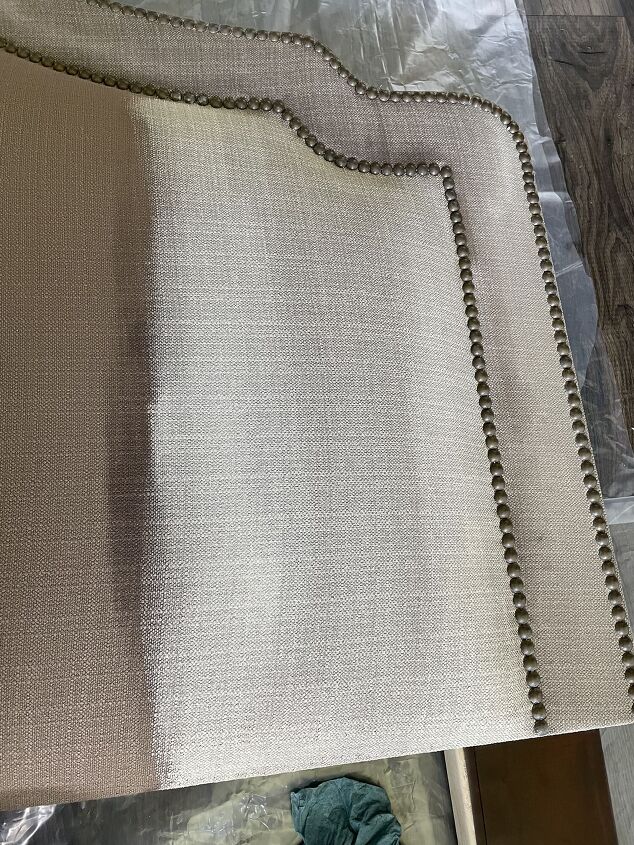
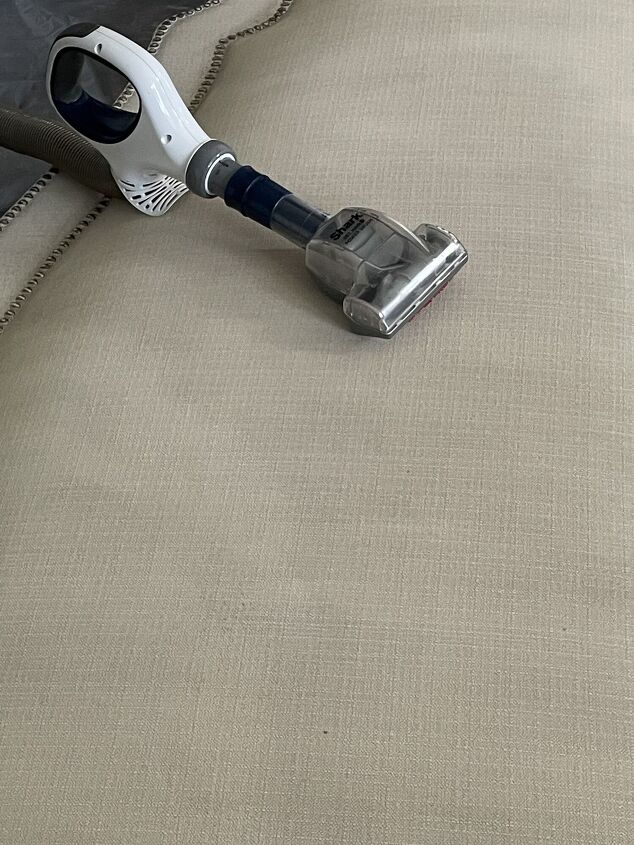
Vacuum the headboard to remove any dust.
Stir paint with the stir stick.
Pour the paint into a cup. If you mix water and paint in the can and close it up, it will stink horribly the next time you open the can! Trust me, I learned this the hard way!!
Put water in the bottom of the paint tray.
PAINT
It takes several days to paint upholstery because you want it to dry completely in between coats. So plan your time accordingly.
DAY ONE
Annie Sloane recommends that you begin by painting the fabric with water first. It needs to be wet, so the paint can easily absorb into the fabric and not just sit on top of it!
Paint the headboard with water. I did this in sections to make sure the fabric was still wet before I applied the paint.
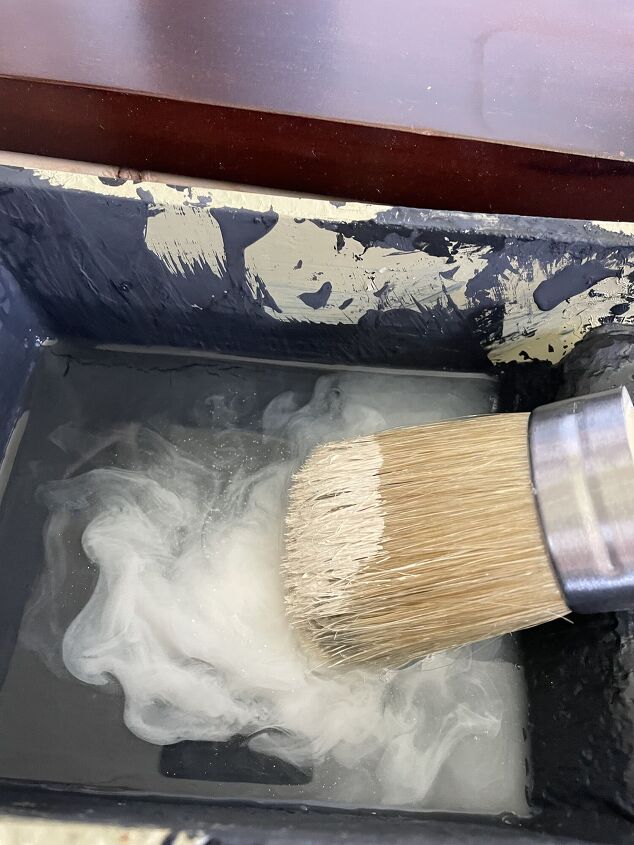
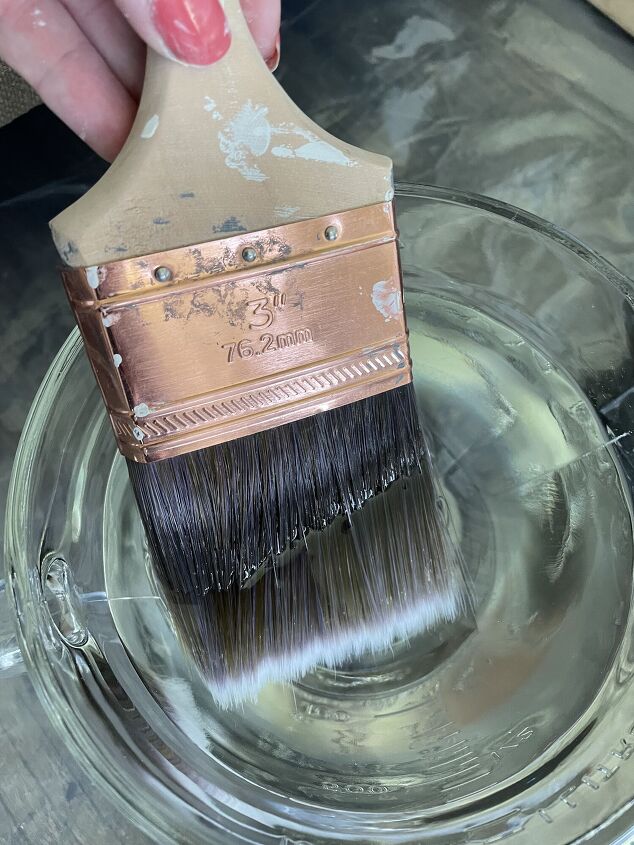
Dip your brush into the paint, and then dip it in the water to dilute it.
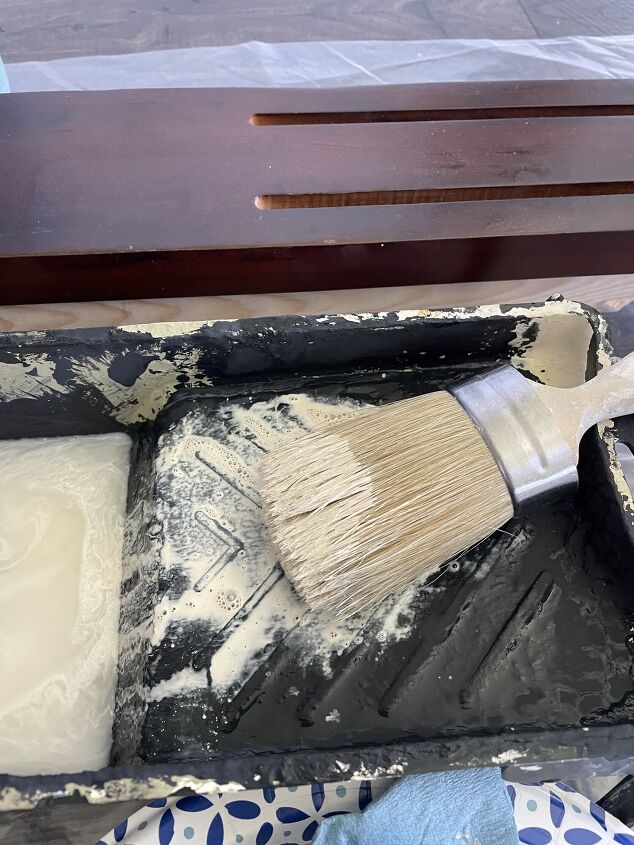
Brush the excess paint onto the tray.
Paint the fabric.
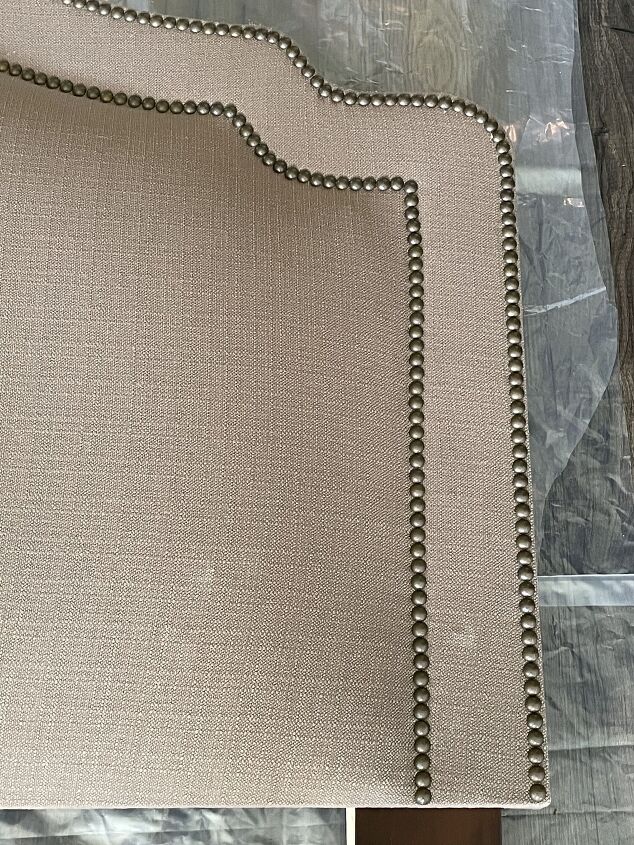
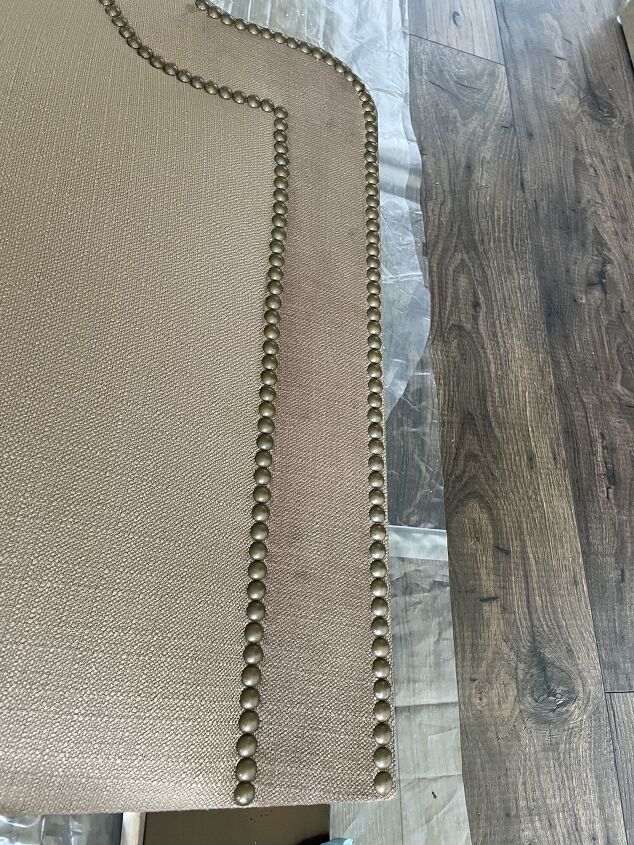
When I was finished painting, I wiped the paint off of the nail heads.
Let dry overnight.
DAY 2
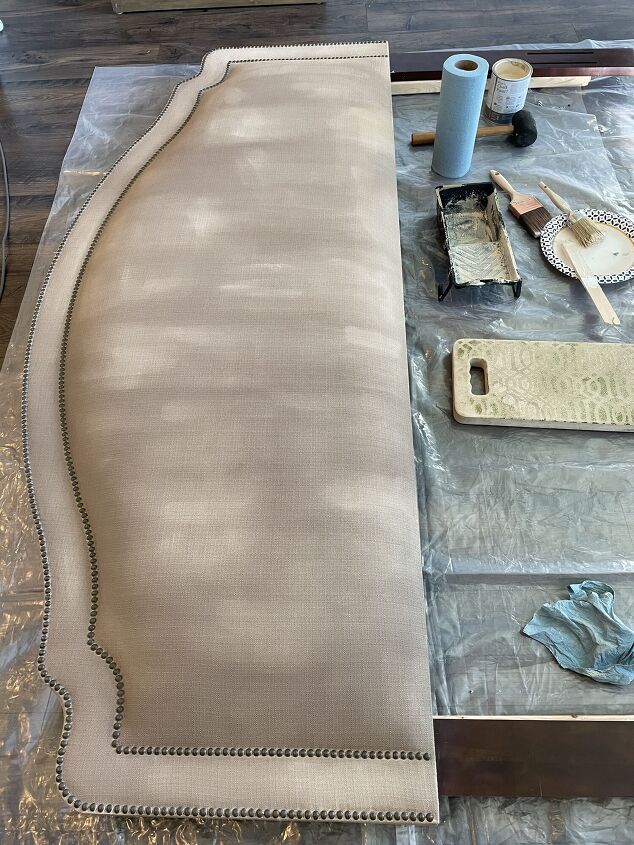
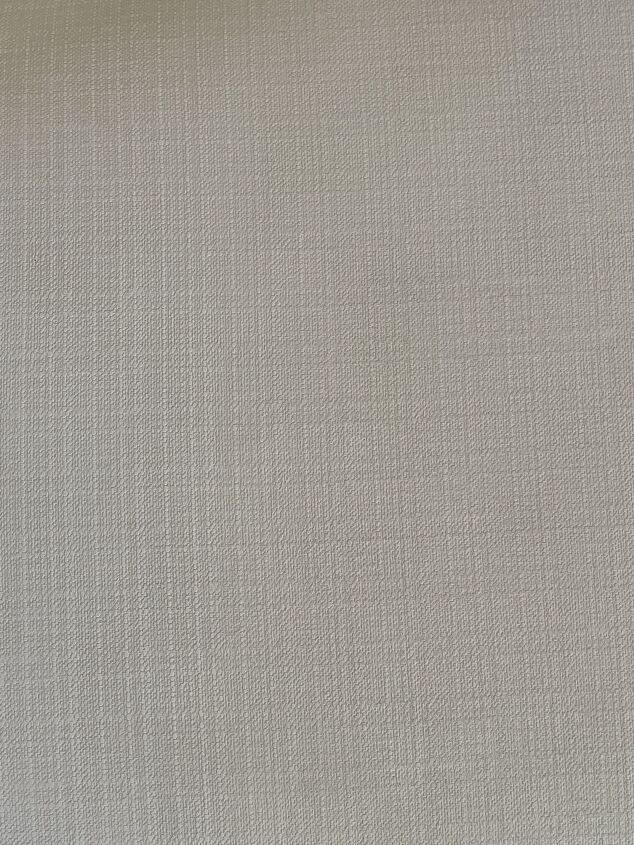
This is what the headboard looked like when it was dry! This is when you always question yourself and want to cry because it looks so horrible! Don’t panic, it’s going to be ok!!! Or at least I hope it is lol!
This time I am not going to wet the fabric before I begin.
I will repeat the paint steps I did yesterday.
Dip the paintbrush into the paint and then into the water to dilute it.
Paint all of the fabric.

Wipe the paint off of the nail heads.
Let dry overnight.
DAY 3
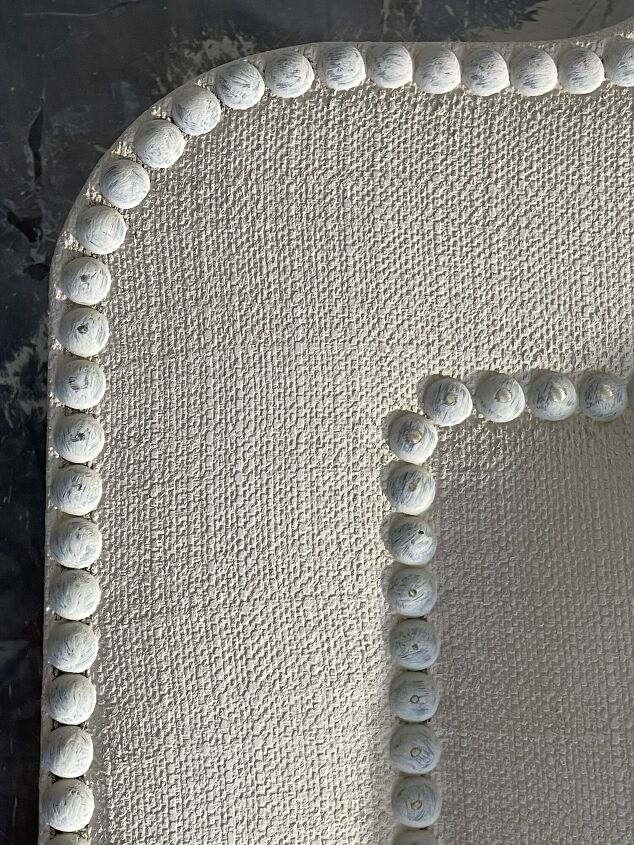
This is what the headboard looked like the next morning. I did the top left section last and it looks different from the rest of the headboard.
Apparently, I did not dilute the paint as much as I did in the first section. Again I wondered if I had made a mistake taking on this project? I’m not going to give up yet though!
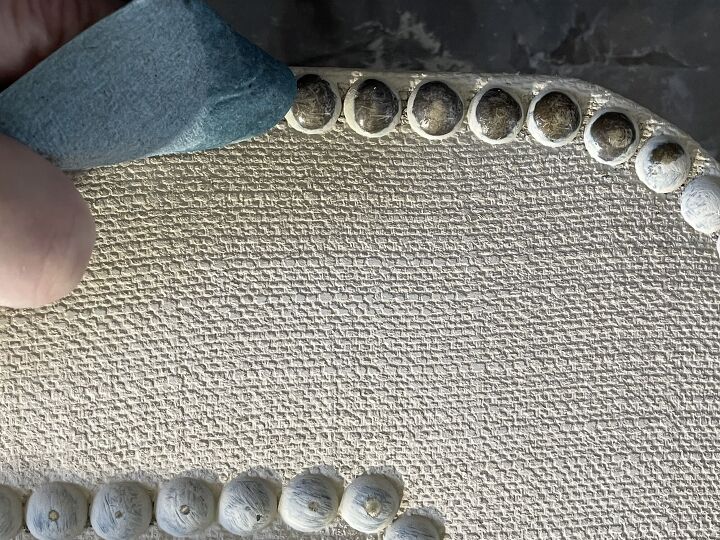
The next step is to lightly sand the paint. Sanding will soften the feel of the upholstery.
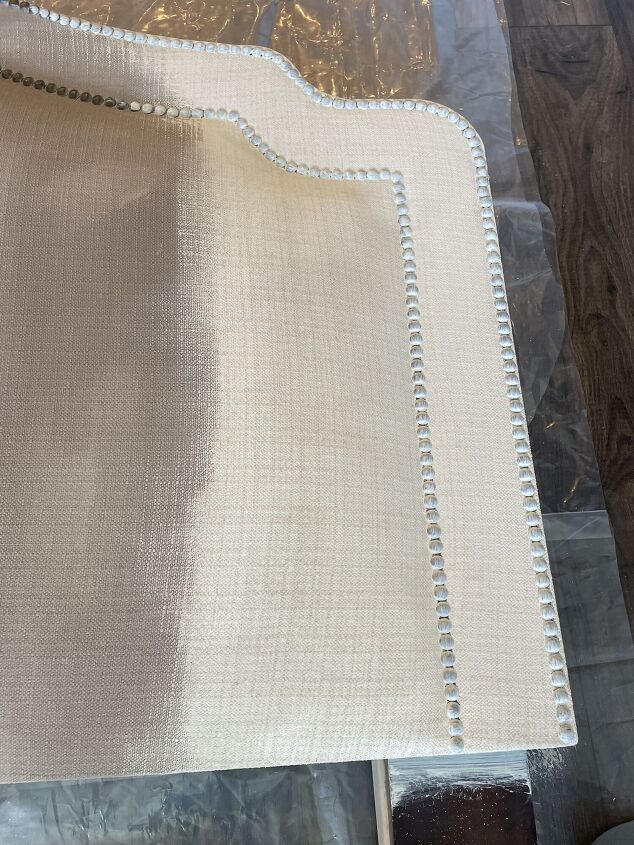
Look closely and you can see the difference between the left and right sides.
The right side has been lightly sanded, and it shows the texture of the fabric, making the raised pieces look lighter.
Vacuum the headboard to remove any dust.
Since my paint did not look even, I decided to add water directly to the paint this time. I used a 60% paint to 40% water ratio.
Let dry overnight.
DAY 4

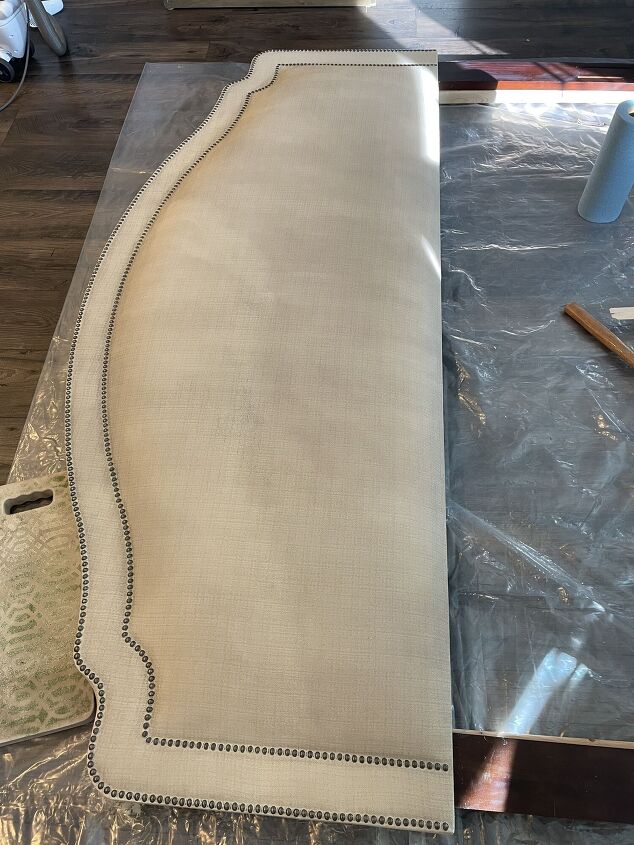
Here are the results! I am so excited because it looks amazing!! Patience paid off!
Look closely at the picture and you’ll notice that the left side has been lightly sanded. It looks lighter than the right side, and feels softer!
I actually forgot to remove the paint from the nailheads while the paint was wet. Let’s hope it comes off with a wet towel!
Thank goodness it easily rubbed off! The paint didn’t come off at the very bottom of the nail heads, but it’s not noticeable unless you’re looking right at it!
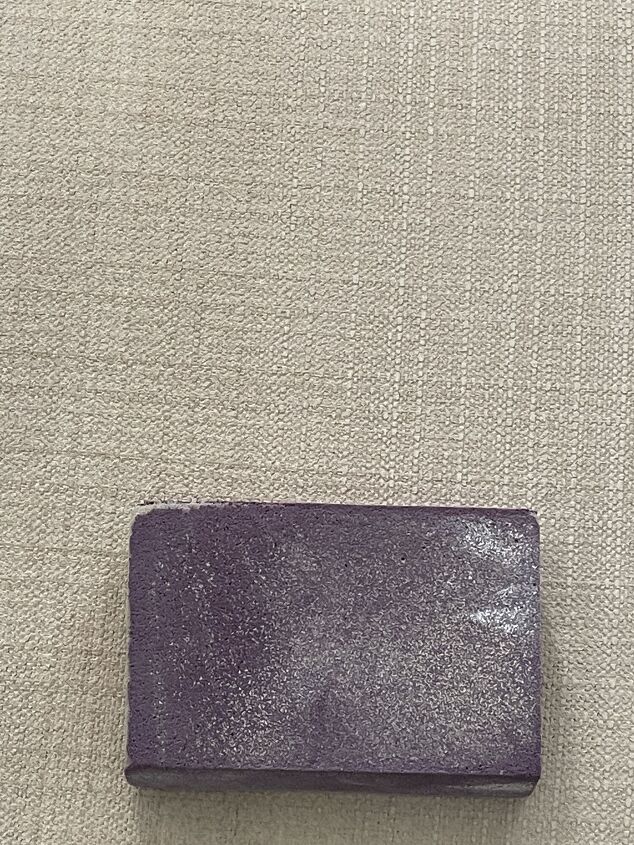
When I finished painting the upholstery, I decided to paint the legs of the headboard to match.
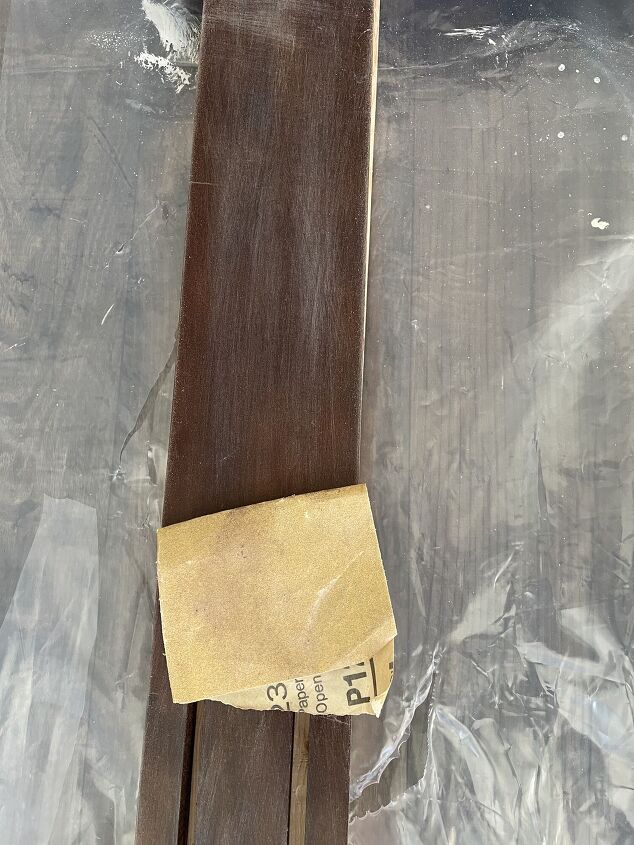
I sanded the surface to make sure the paint would adhere to the wood.

Next, I vacuumed the dust.
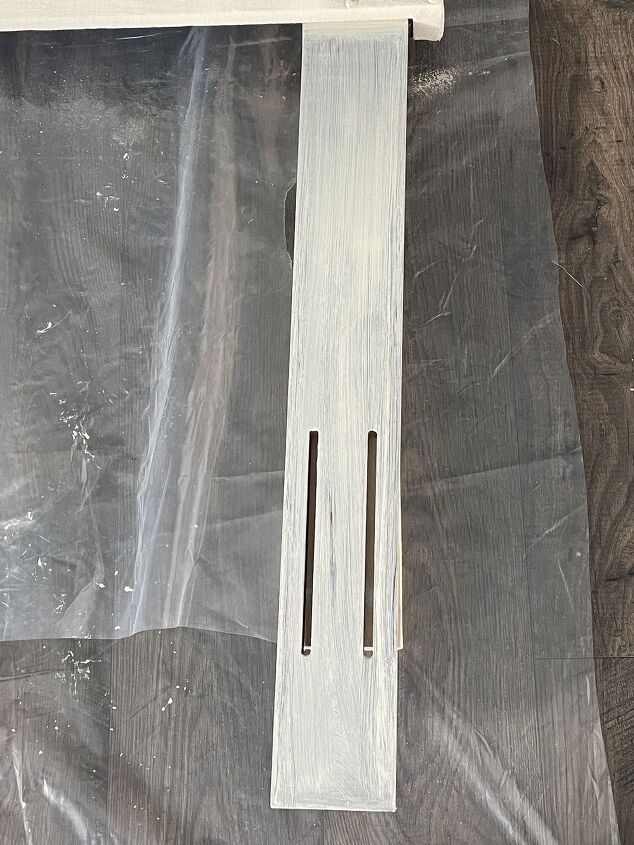
This is after the first coat dried. Then I painted it again! I love that it’s the same color as the bed and blends in so much better!
BEFORE AND AFTER
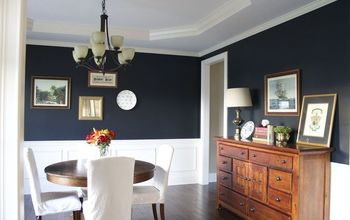
Here are the before and after pictures of the headboard in our bedroom.
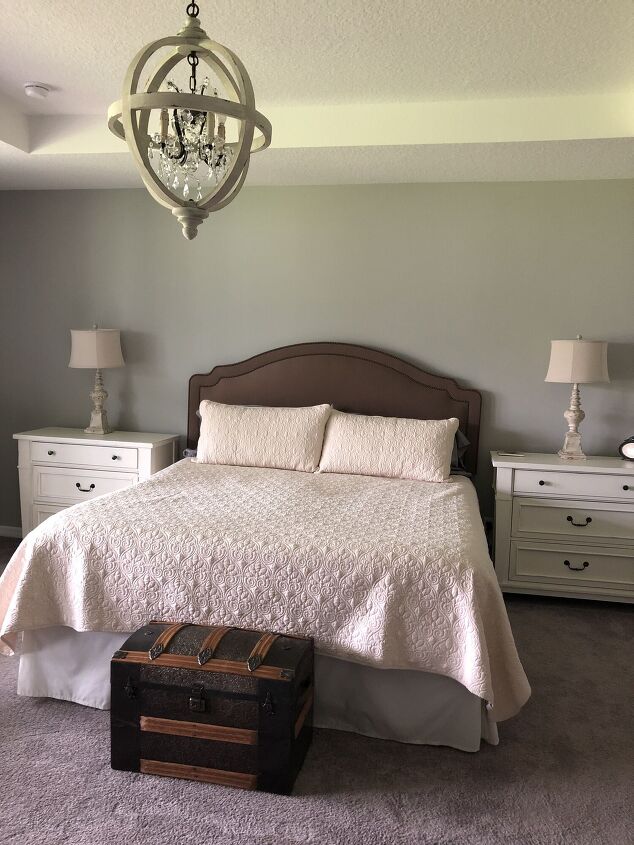
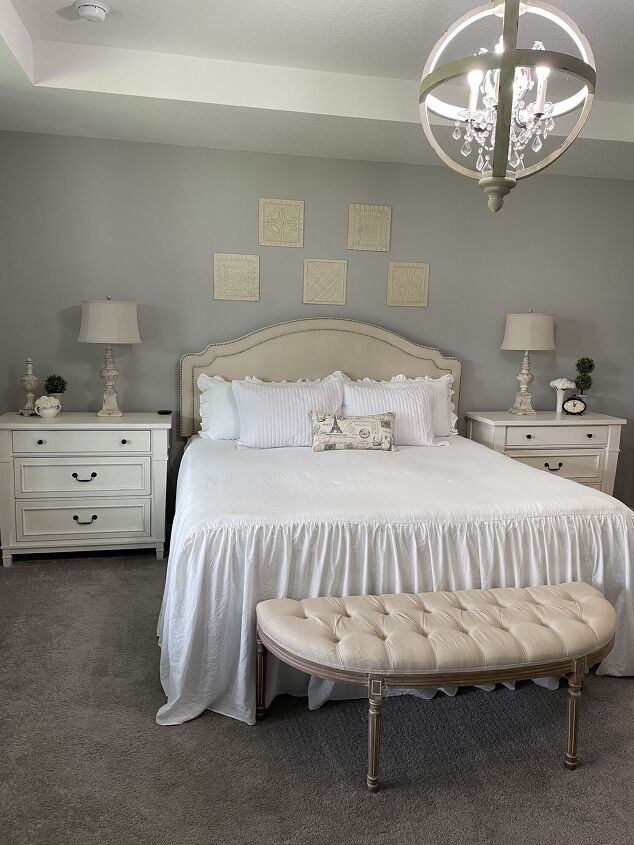
Doesn’t it look beautiful! I’m so happy with the results, now I have no desire to spend money on a new headboard! If you have any upholstery that could use some paint, I hope you’ll use this how-to guide for beginners!
If you are interested in learning more about home organization, seasonal decor, and more DIY projects, from simple crafts to full room makeovers visit our blog AnOrganizedSeason.com
Blessings, Donna and Rich


Frequently asked questions
Have a question about this project?