


Simple Dresser Makeover

11 years ago we purchased this sideboard with money that we were given for our wedding. We wanted to buy some solid furniture and picked this piece made of ash to store all our wedding crockery. This served the purpose well but I didn’t like the modern feel it had to it as well as the orange tone. So I decided to strip off the factory finish and I couldn’t be happier with the result!

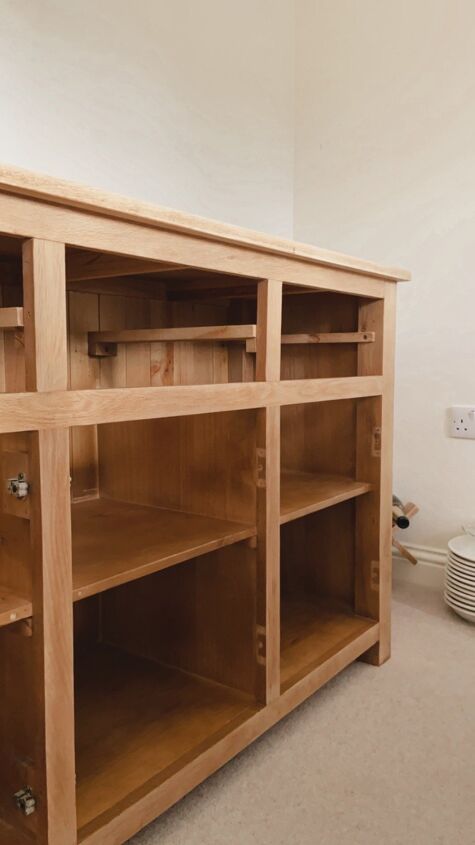
Here is the before. A really nice piece but just had a modern feel to it and I wanted to bring it up to date and give it a more classic look.
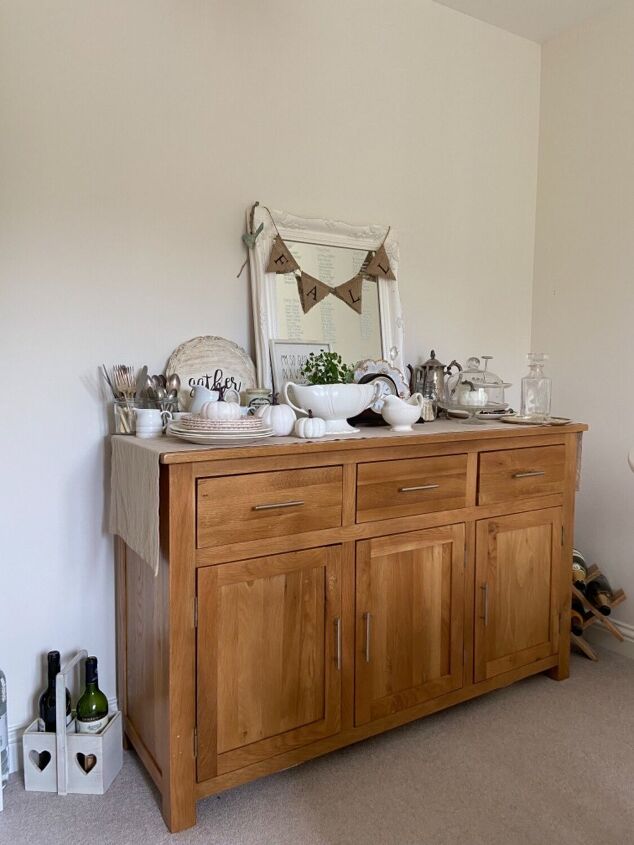
I also didn’t like the hardware in this space and didn’t feel I could change it without altering the finish of the wood.
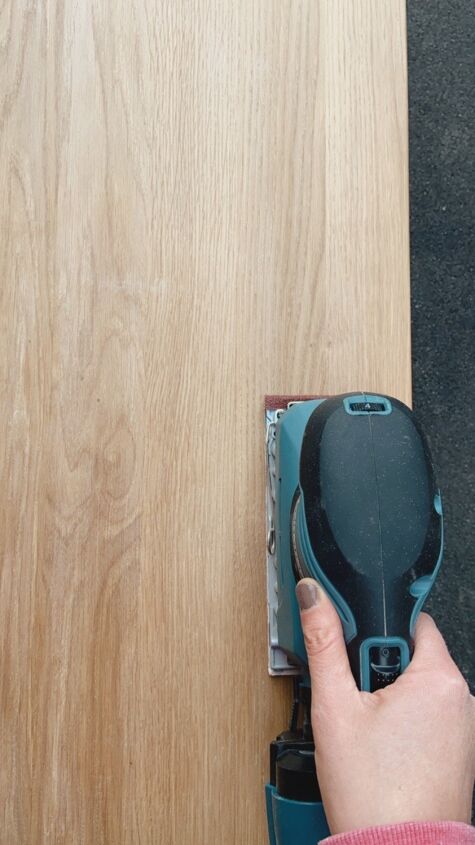
I used an orbital sander to remove the finish. I used 60 and 120 grit followed by 150 and a fine grit to finish.
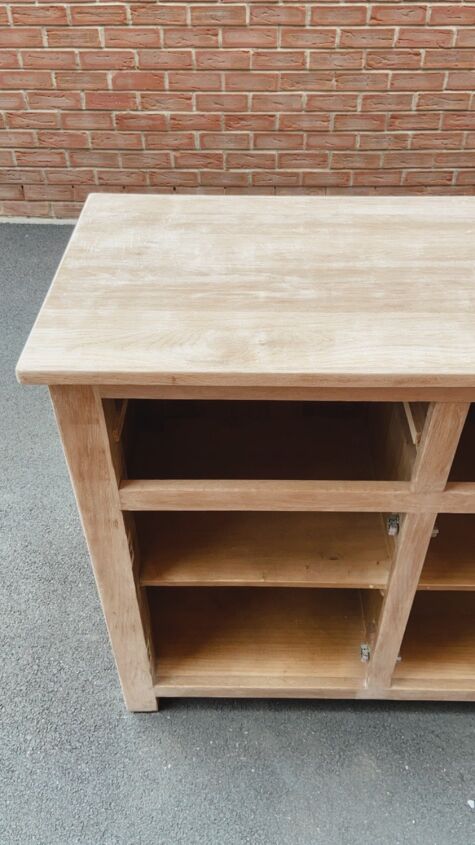
I sanded the main structure of the unit first, just on all the outer surfaces. I left the inside untouched as it was finished so well and wouldn’t be seen often.
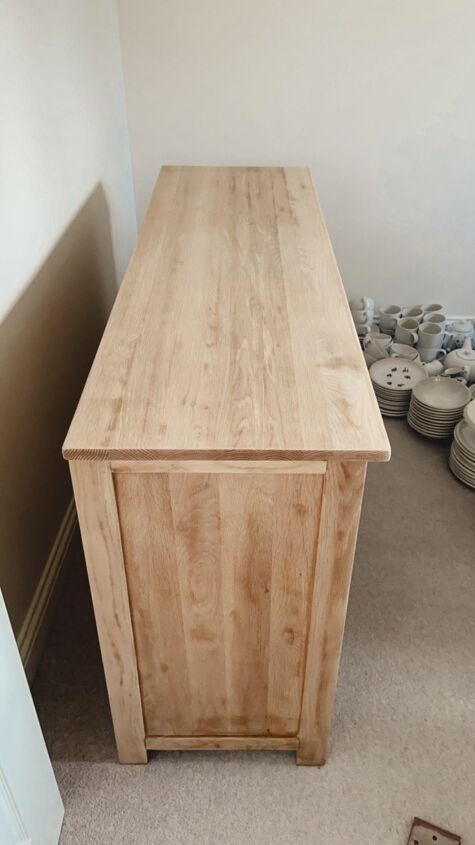
I wiped the piece down and brought it inside.
I went for a strategic plan to minimise the chaos of having removed a lot of breakable items. I cleaned the piece again throughly again once inside so that I could return all the crockery to the cupboard.
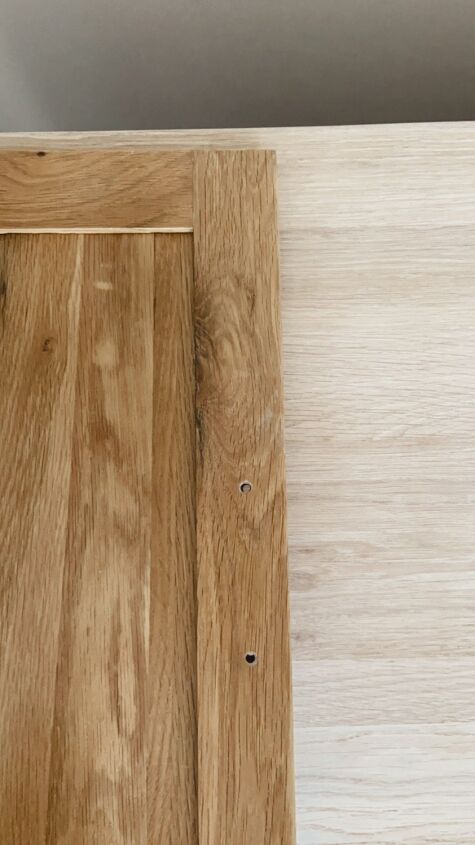
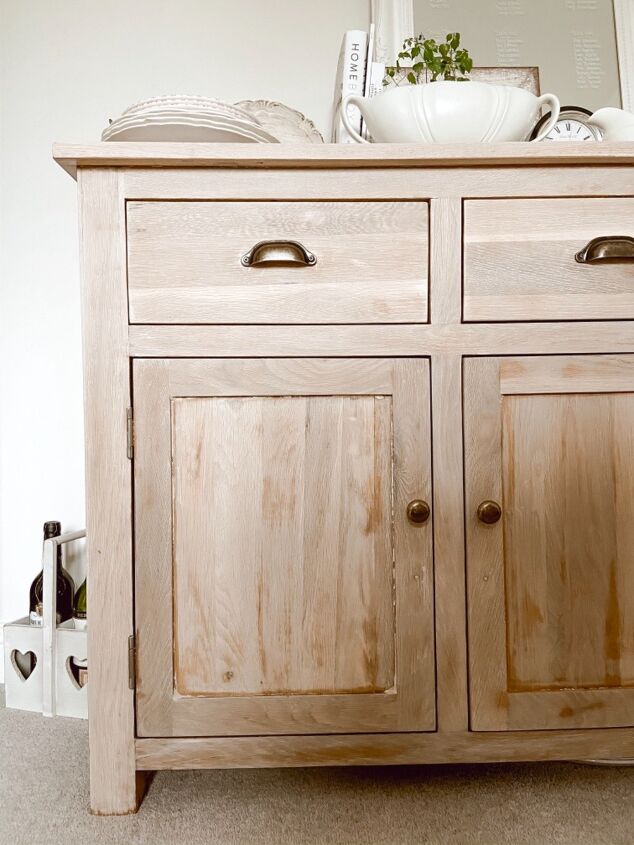
This is the difference between the sanded wood and the original factory finish. I took the doors and the drawers outside next and sanded these down too. This process was much faster and easier due to the smaller surface area involved. I used a sanding pad to get into the crevice of doors.
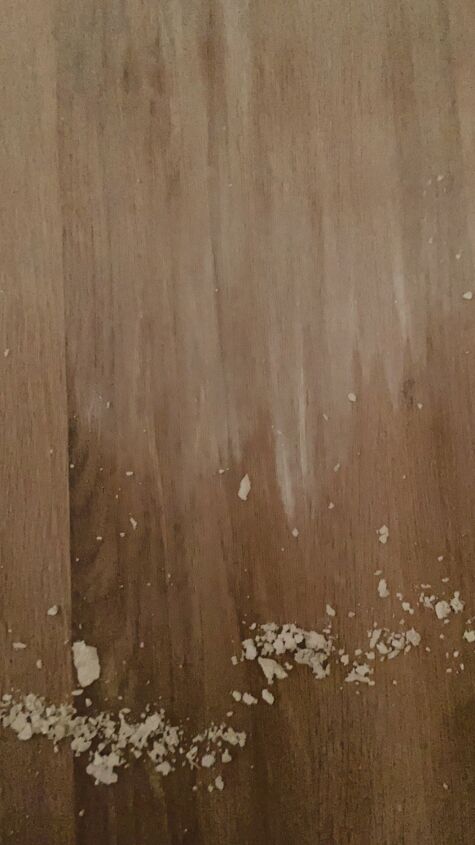
For the white wax I had a tin of clear beeswax sat around and wondered if I could make my usual homemade white wax from beeswax rather than clear wax used to seal chalk paint. I tested both of these out and the clear is on the left and the beeswax on the right. The clear wax left the wood a deeper shade even when dry, so I decided to go ahead and use the beeswax since it naturally created more of a white finish.
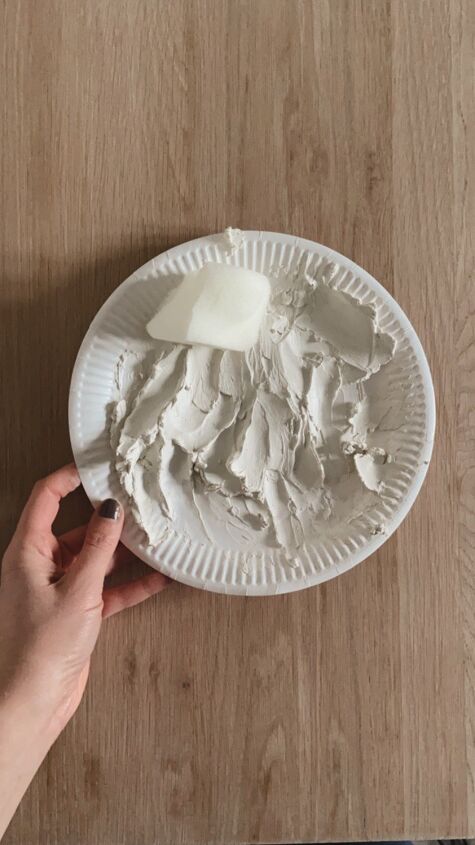
I used one part white chalk paint mixed with four parts beeswax.
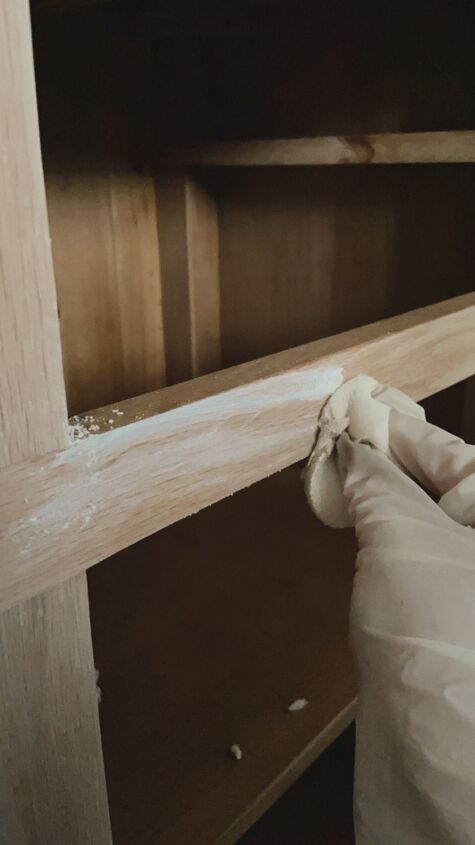
I applied using a sponge to smooth the wax over the surface.
This shows how I applied it to the larger surfaces. I applied it and then continued to use the sponge to spread it over the surface and blend it.
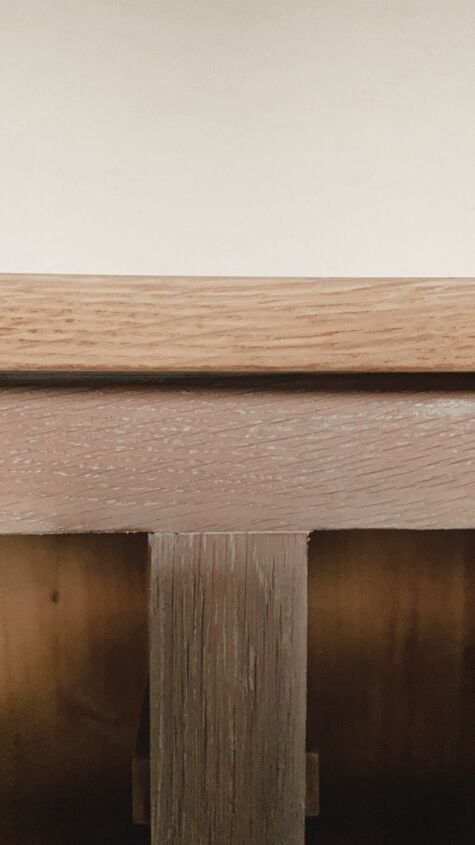
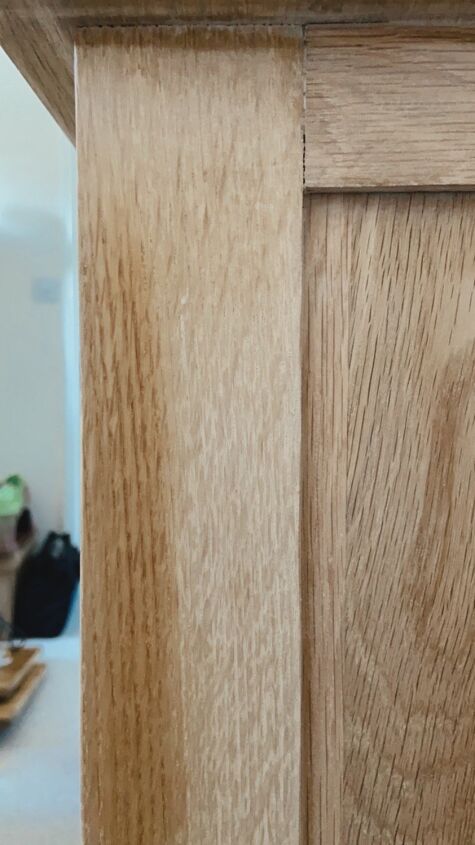
This shows the difference between the unsealed wood at the top and the wood with wax applied below. Once the wax was dry I buffed with a lint free cloth to remove any excess wax.
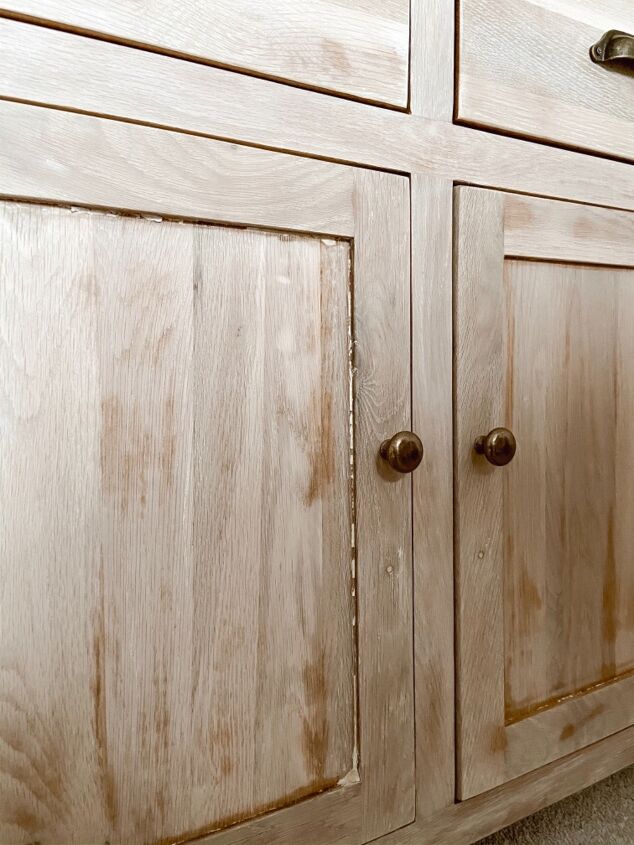
I reattached the doors and bought new hardware in antique gold. For the door handles I attached the door pull to the top hole filled and the bottom one with white wax.
For the drawer handles, the old holes were a few millimetres out so I filled them with wood filler and then drilled a hole either side for the screws of the new drawer pulls. This worked to make sure that there was something to screw the screws into since they needed to be put so close to the old holes.
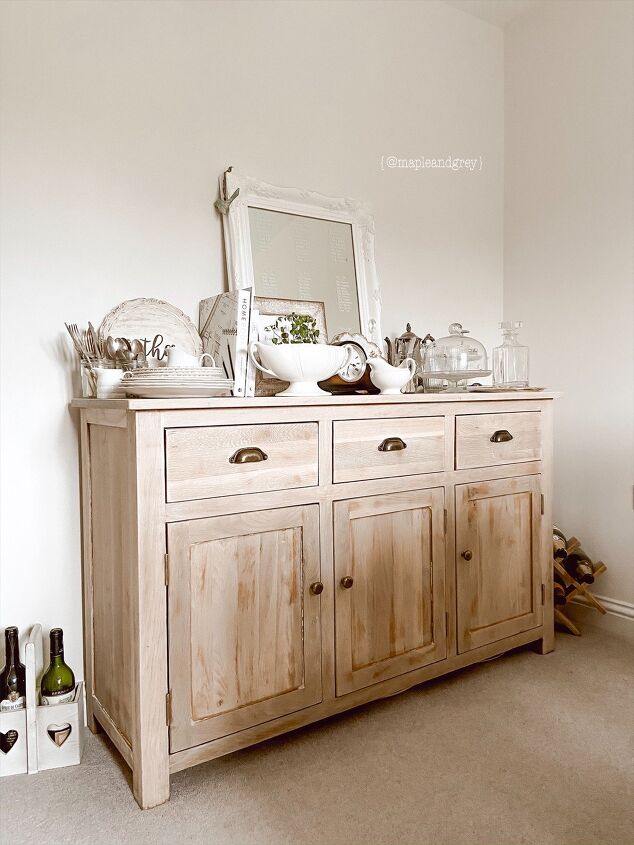
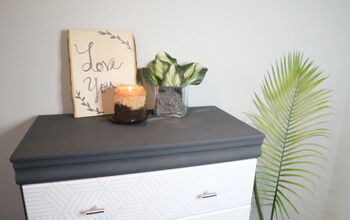
The finished dresser! I’m so glad I went to the effort of stripping the old finish. I love the new muted tone of the wood and the hardware ties in with the rest of the room.

There are a few imperfect areas that evidently needed more sanding that have shown up since the wax was applied. As I can’t go back and improve these now I’m remaining content with the piece and I think this just adds character!
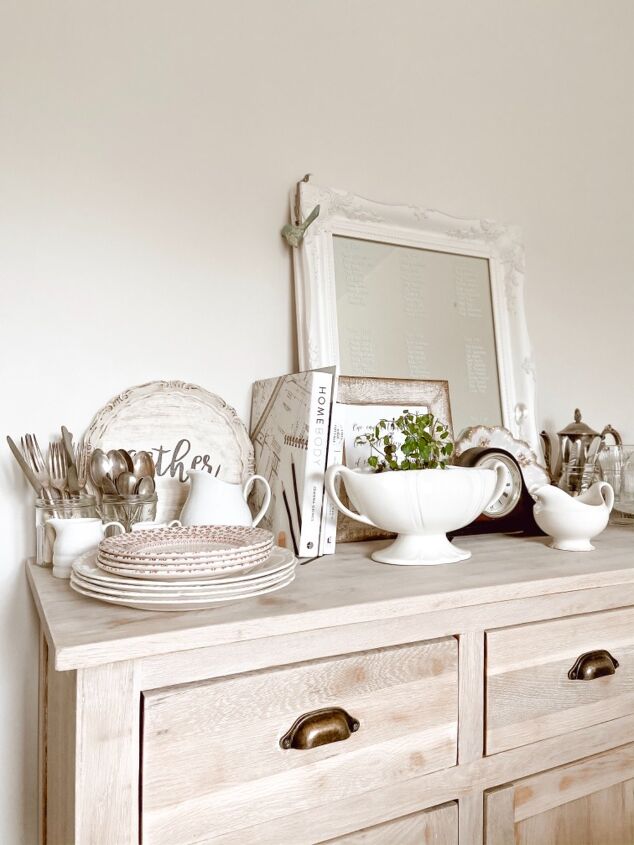
I love that this piece will be loved for many years to come and that I’ve been able to bring it up to date with our style and give it a timeless look. I hope that this inspires you to bring new life to some loved but dated pieces in your home!
To see more projects and behind the scenes follow along on Instagram!
~ Rachel ♡
Resources for this project:
See all materials


Comments
Join the conversation
-
Sorta liked the older look- but love the new hardware
-
Great job. Love it.
Can I add, it has a very Amish look to it, so I wouldn't really call that a modern look.


Frequently asked questions
Have a question about this project?
Great job. Would you like to come to Sydney (Australia) and fix my pine chest of drawers and 2 bedside tables??? Over time they have yellowed and don't suit the decor that I have (pinks/greens/reverse patterns/white). Haha. Any tips that I could use to modernise them. They are extremely solid with dove-tail drawers. Certainly not MDF (medium density fibreboard which is made of anything! that can be used-certainly not solid at all).
Why don't you put shelves above the table to declutter it?