


Vintage Vanity Turned Nightstands

by
Natalie
5 Materials
$75
8 Hours
Medium
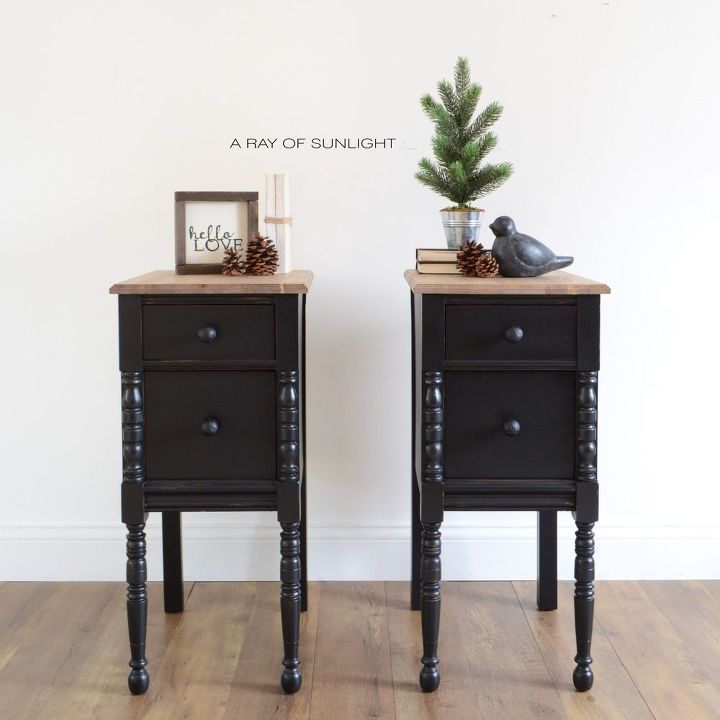
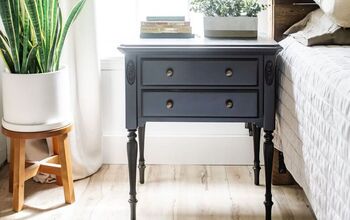
Do you have a small bedroom with hardly any room for nightstands beside your bed? If so, you're not alone! Most vintage nightstands are short and wide, taking up too much space for those tight bedrooms, and then they end up being shorter than the bed! Thankfully there is another solution!
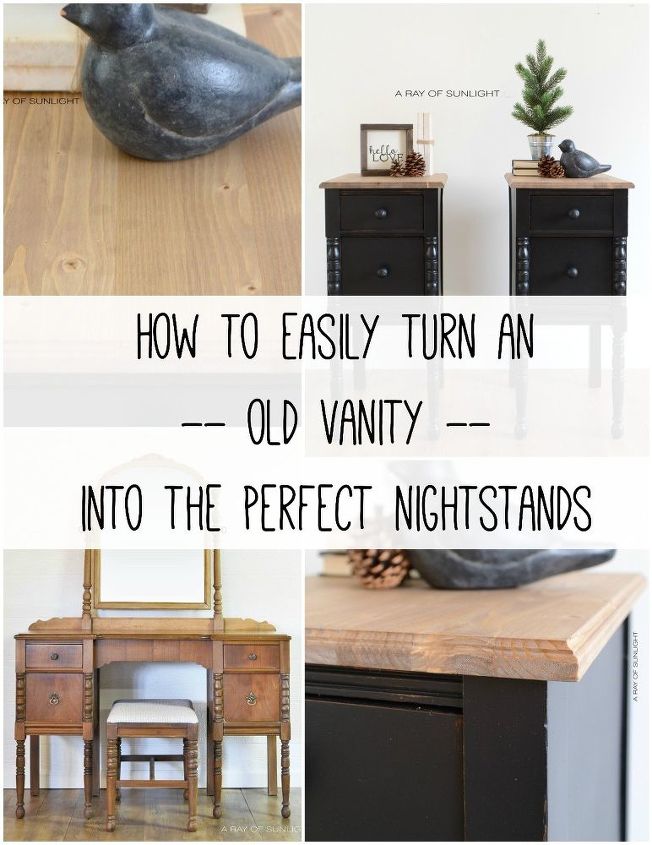
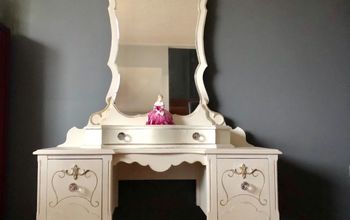
These nightstands started out as a vanity, but man was that vanity in rough shape. The top needed some veneer work, and the mirror and mirror frame were loose and wobbly. I just couldn't imagine the time and headache it would take to fix those problems.
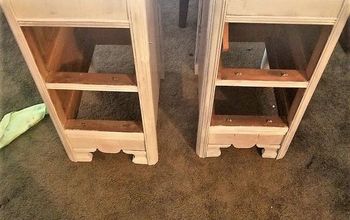
With a screwdriver I was able to remove the mirror, top and the front brace. The back brace wasn't quite as easy (pictured in our blog post), but with 2 quick cuts with the jigsaw (each right against the sides), I ended up with two separate pieces.
I cut and routered out new tops with fresh wood and filled in any holes left from the little demolition. Then I hand sanded and cleaned each piece thoroughly before I started to paint.
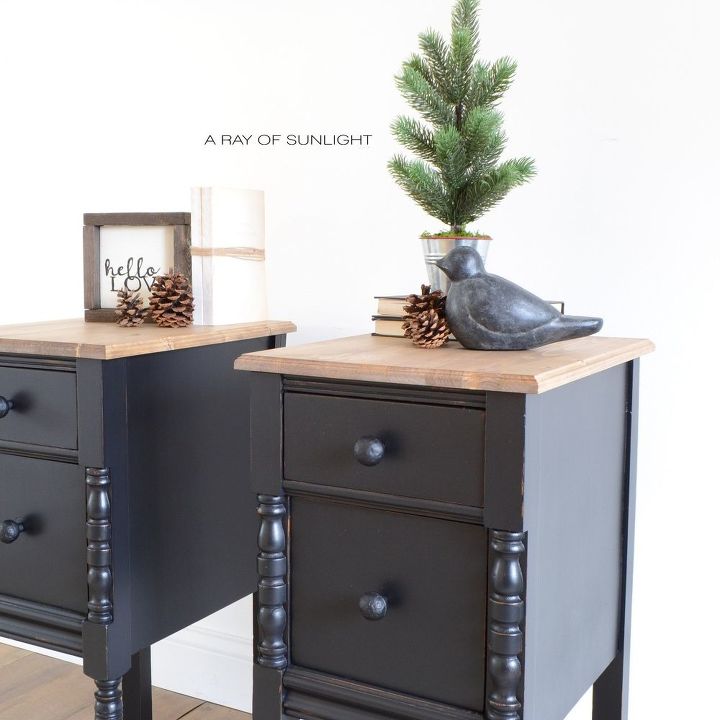
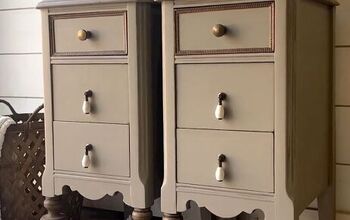
Using the most amazing paint brush ever, the Painting Sponge, I painted multiple coats of Liquorice until there was even coverage. Then I lightly distressed the edges with a old damp rag, and sealed the paint with multiple coats of top coat.
The tops were stained in special walnut and given multiple coats of Polyurethane for protection.
Once everything was dry, I attached the new tops using the same screw holes and screws that held the original top on, along with a few wood blocks (also from the original top) glued to the sides and some metal L braces on the inside back.
This once worn out vanity is now the perfect solution to small space problems and are tall enough for modern beds!
Learn more and see the before photos over at our blog!
Want more details about this and other DIY projects? Check out my blog post!
Comments
Join the conversation
2 comments
-
Great proportions! Excellent idea and execution!


Frequently asked questions
Have a question about this project?