


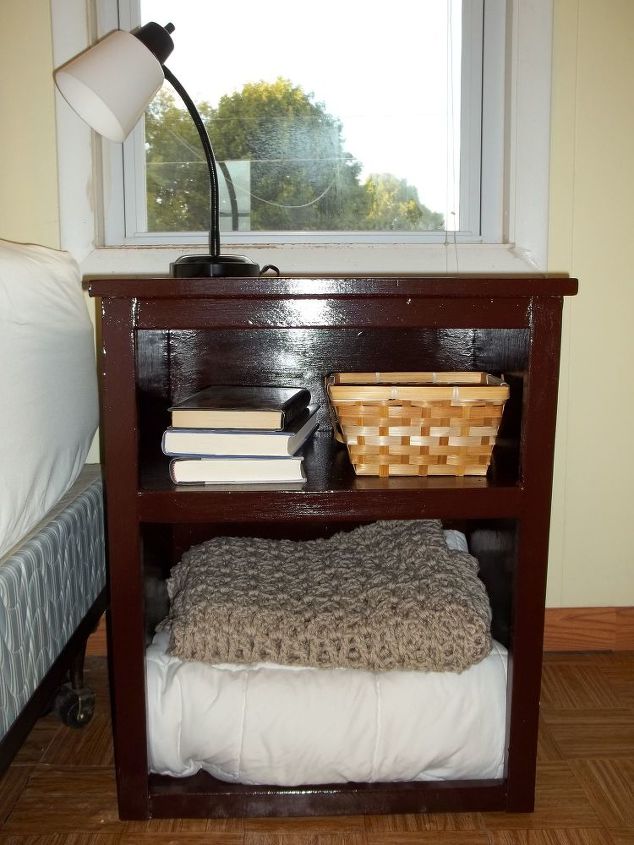
DIY Simple Nightstand
$40
4 Hours
Easy
I am working on building myself a new bedroom set. This nightstand was very easy and fast to build. Most of the supplies I used for this project were left over from other projects. However, if you need to buy all the wood, you could do it for under $40. Here are the instructions on how to build your own.
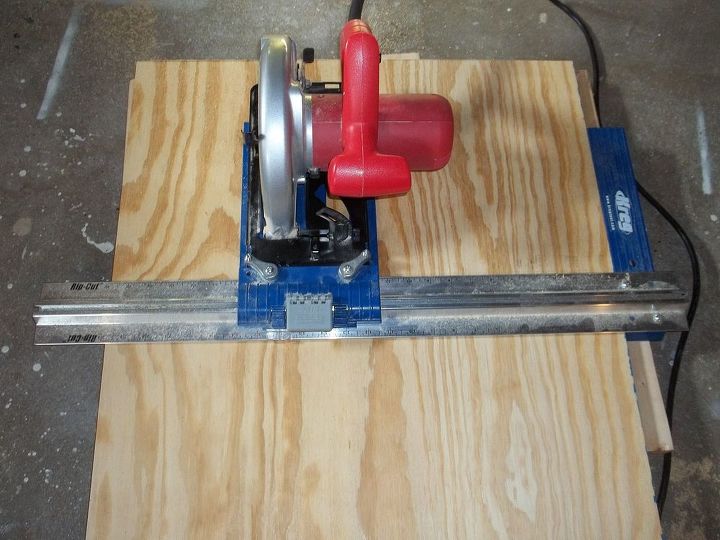
Step 1: Make your wood cuts.
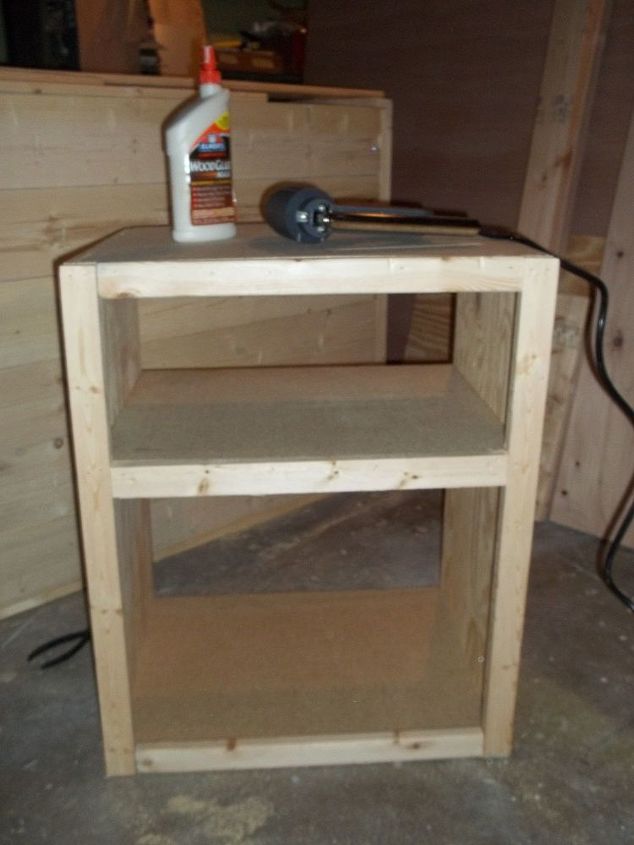
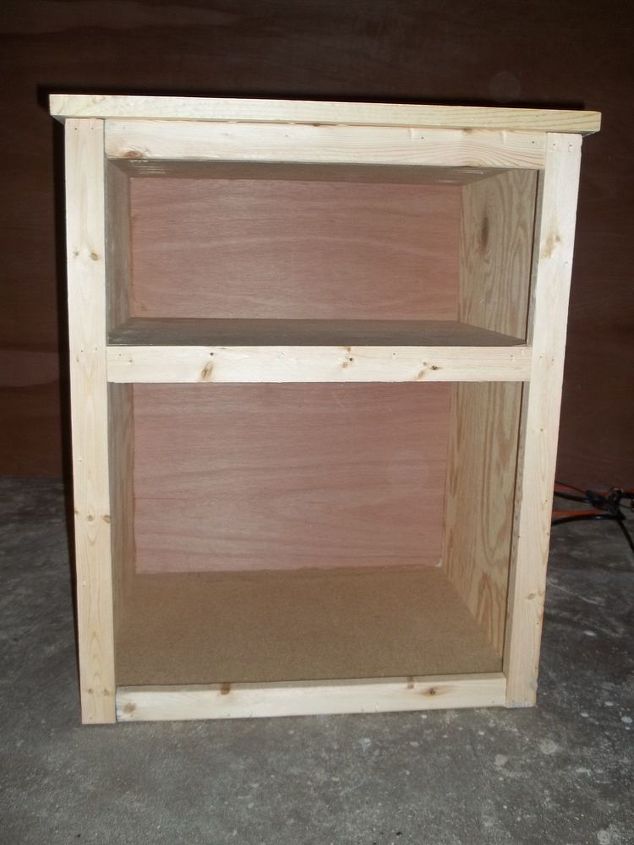
Step 2: Attach the top shelf to the sides. Using pocket hole screws, attach the top shelf to the sides.
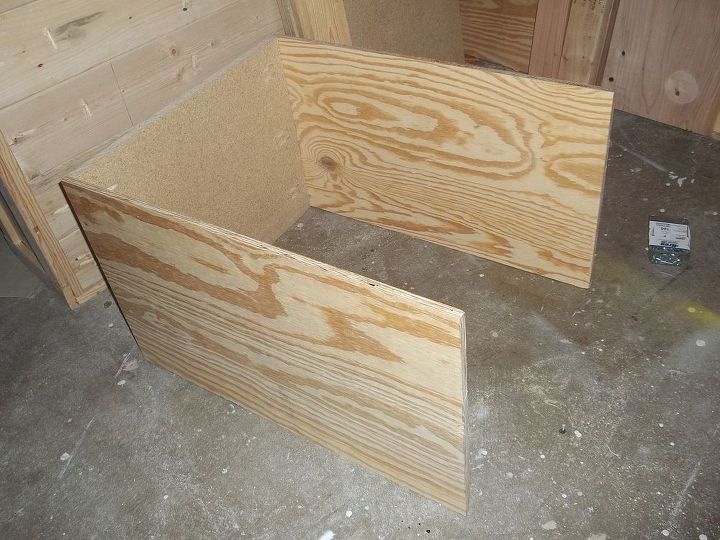
Step 3: Attach the bottom shelf to the sides.
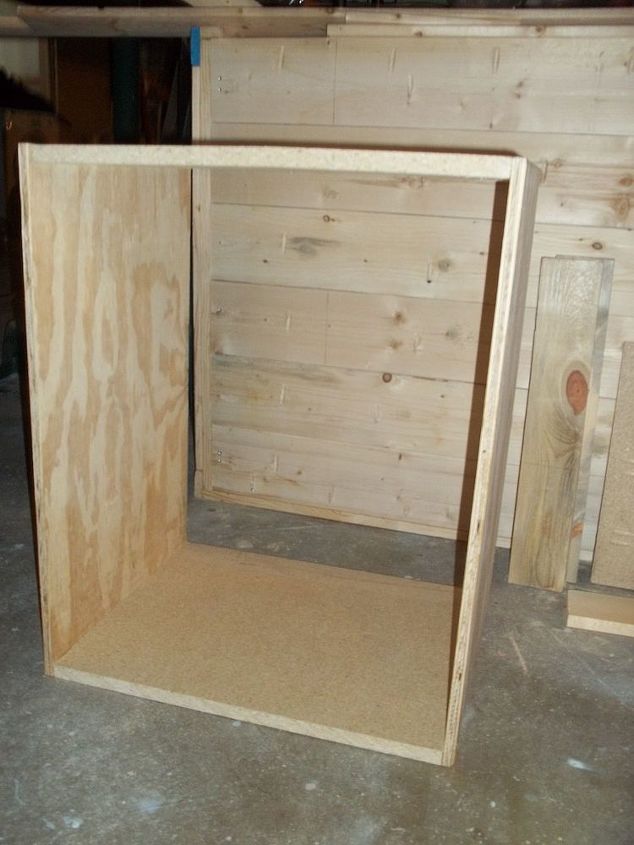
Step 4: Attach the middle shelf to the sides. You can place it where ever you want. I put mine about 9" below the top shelf.

Step 5: Using wood glue and finishing nails, attach the trim.
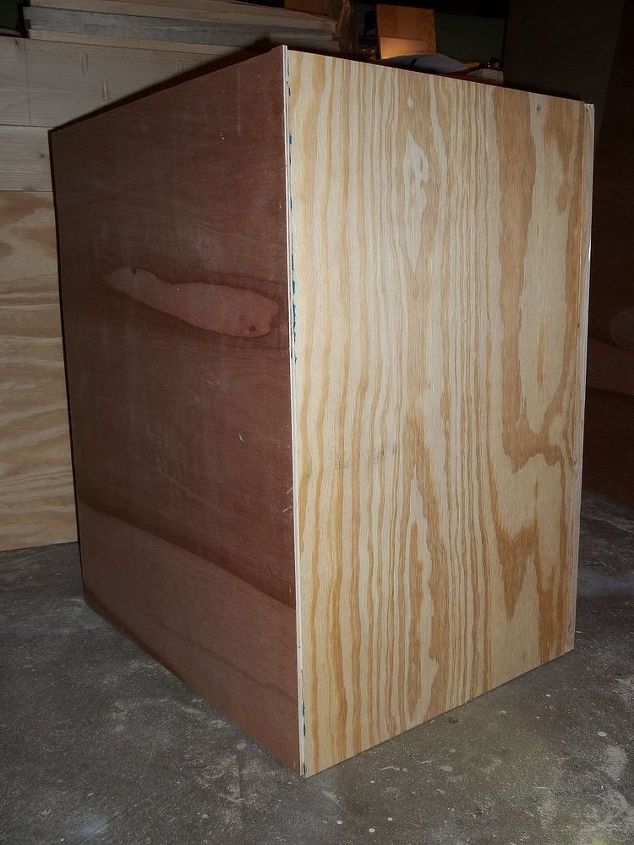
Step 6: Using wood glue and finishing nails, attach the 1/4" plywood back.
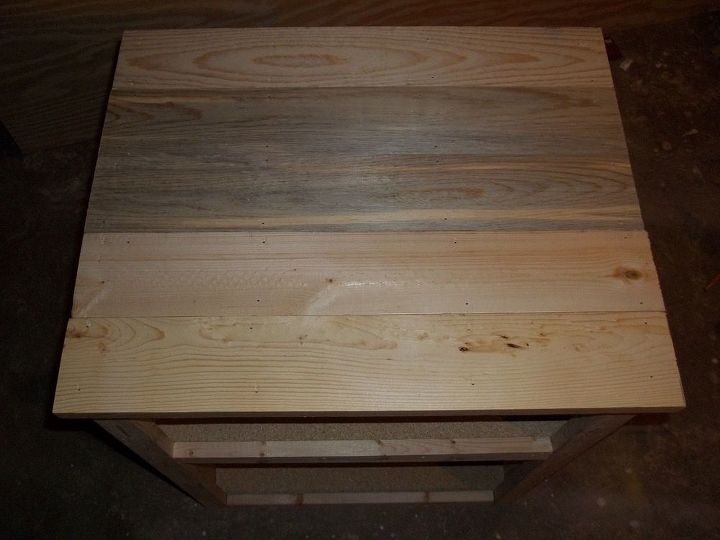
Step 7: Using wood glue and finishing nails, attach the 1" x 4" boards to the top.
Step 8: Fill any holes with wood filler and sand it.
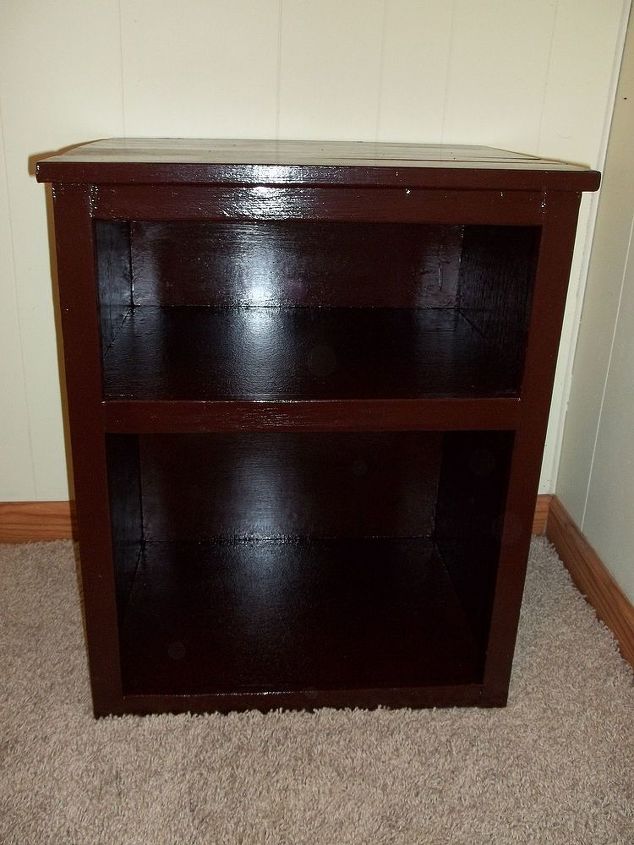
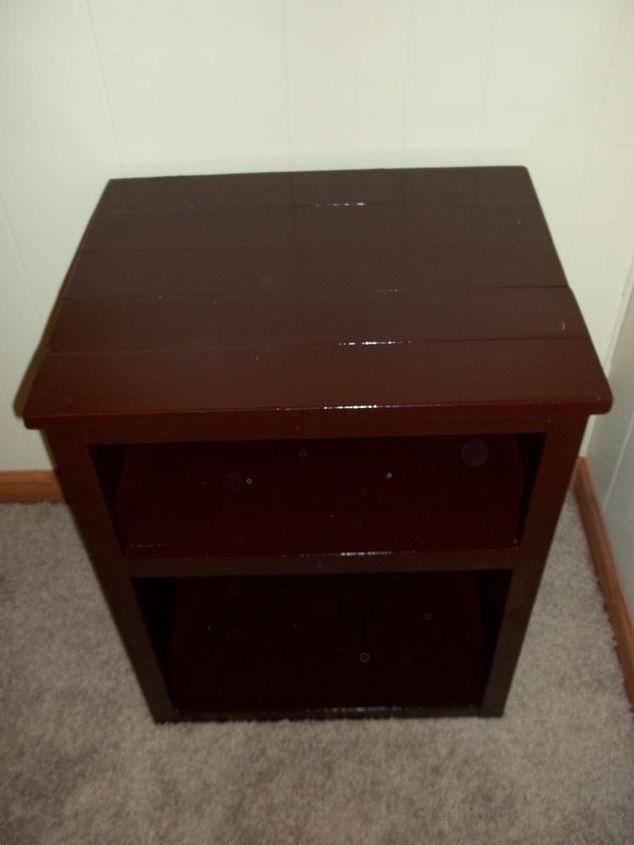
Step 10: Enjoy your new nightstand!

More details can be viewed on my blog.

Want more details about this and other DIY projects? Check out my blog post!
Comments
Join the conversation
2 of 3 comments
-
Thank you, Hannah!
-
I like that :-) nice job


Frequently asked questions
Have a question about this project?