


Putting Together a Little Boy’s Hot Wheels Room

I have 5 kids at home, and I knew there would be an issue after the move, with everyone wanting their room decorated first, so we held a mini “lottery” prior to the move. Baby Girl wrote each of their names on a small piece of paper, we folded them up and dropped them all into a bowl. Little Man officiated, so no one could be accused of cheating, and he drew the names out one by one – Little Dude “won” this lottery, meaning his room will be done first.
Once I got most of the basics unpacked here in the new house, I was ready to start working on the kid’s rooms; I always have a lot of fun doing them. Little Dude’s VERY. FAVORITE. THING. is Hot Wheels. He has dozens and dozens of the little cars and it’s rare to find him anywhere without at least one crammed in a pocket.
So, a Hot Wheels room it is… this is what his room looked like when we bought the house –
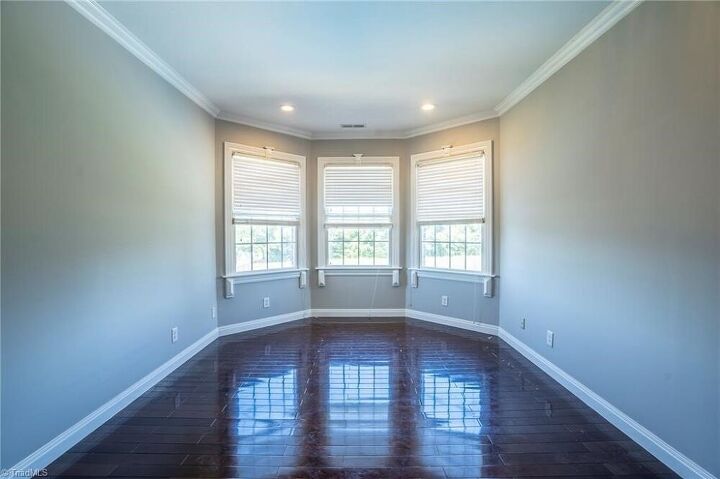
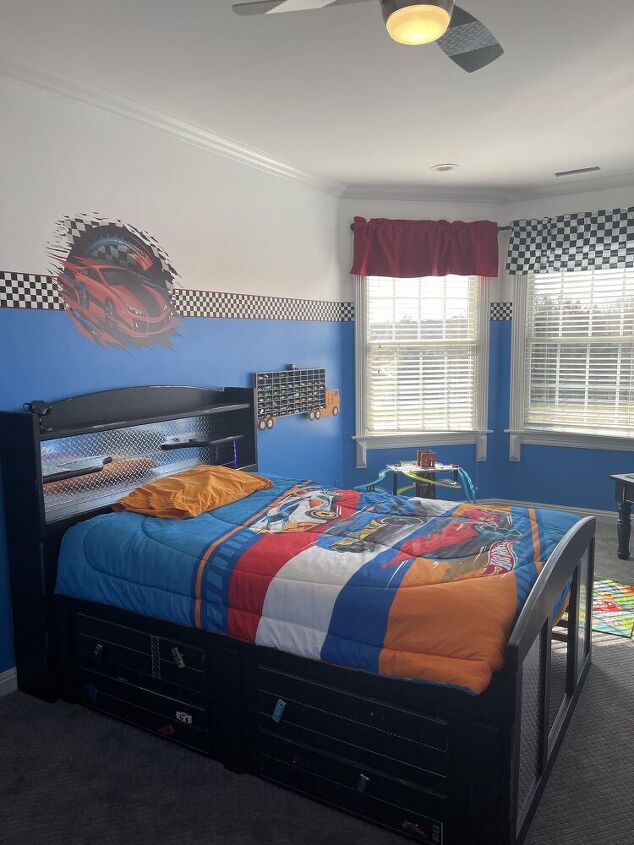
It’s a reasonable size, with several large windows. This picture makes it look ridiculously long and thin, but that’s more the realtor’s camera lens than the actual shape of the room. I decided to go with a two tone paint job on the walls – white and bright blue. Now, no one in their right mind would paint a wall WHITE where a 5 year old could touch it, so I drew a line about 5-1/2 feet off the floor and painted the top portion of the wall with white, and the majority of the wall with blue. I used a satin white paint that I had on-hand and a washable paint from Lowe’s – I picked the blue color to match a Hot Wheels picture on my phone. It’s a nice vibrant color and I love it against the white trim.
The captain’s bed was given to us by our old next door neighbor who’s teenage son had outgrown it. This is a stock pic, (I forgot to take a picture of the actual bed before I started painting it).
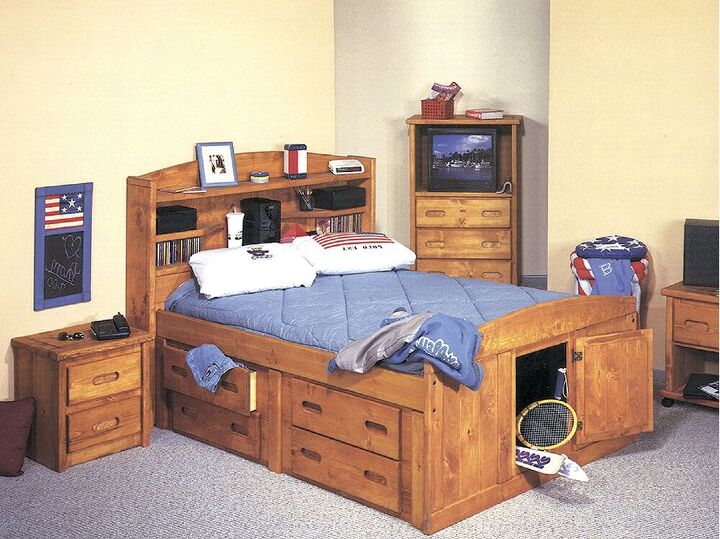
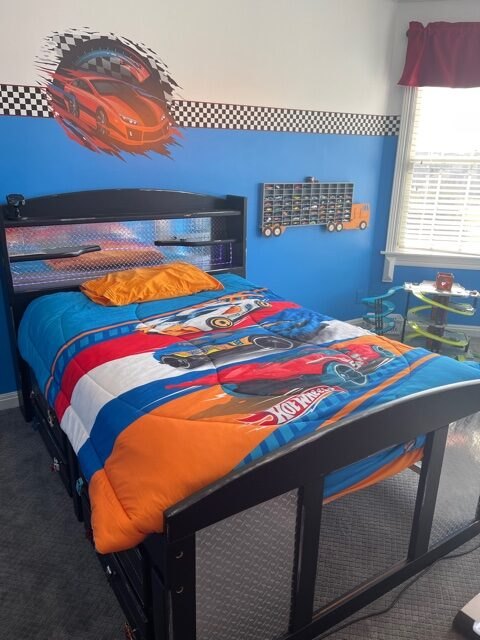
I painted the entire bed using an eggshell finish, scuff resistant paint from Lowe’s in black; I strategically distressed the finish so I wouldn’t notice the wear and tear as badly. I scuffed it up on the edges and used a bit of Rub and Buff in silver as a highlight. I ordered a faux diamond plate removeable wallpaper from Amazon and used that at the back of the bookcase headboard and on the footboard.
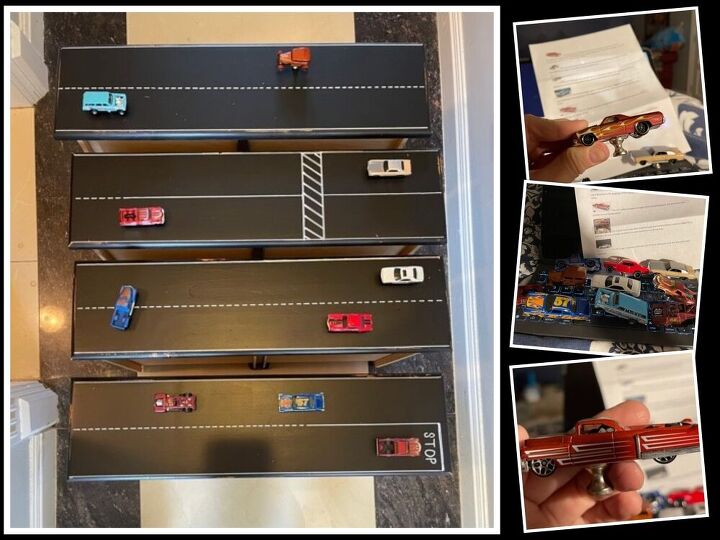
I removed the knobs from the drawers and filled the holes with wood filler; once it dried, I sanded them smooth and painted them with the same black paint. I used a white Sharpie paint pen to draw road lines on the drawers, including a stop marking and a cross walk. I found these awesome Hot Wheel drawer knobs on Etsy and placed them in the “roadways”. The final result – well, I’m as pleased as I can be!
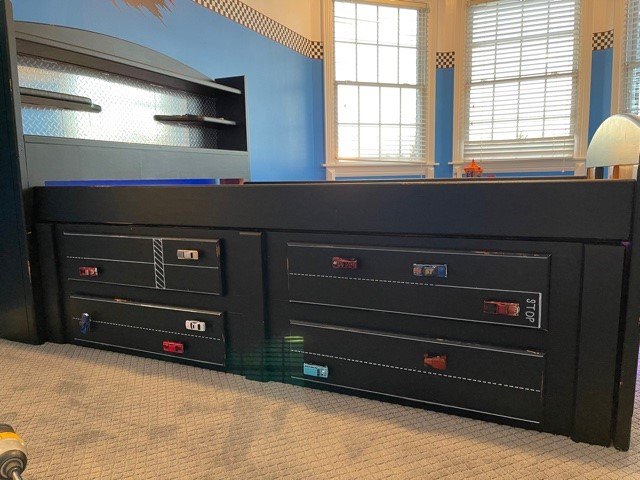
I assume this bed was designed to go up against a wall – one side was open, the other had the drawer unit. Since I chose a different layout for the room, I had to get a little creative and ended up closing in the open side with 1”x2″ boards (I love my kreg jig!), knowing full well that I had just created a mini ladder that he will use to climb up onto the mattress.
I took 2 strips of LEDs and installed them on the underside of the bed framing and up into the bookcase headboard. It provides a nice nightlight effect that’s not too bright. The under-bed space is still accessible from the foot of the bed.

I got a super cool car decal from Amazon and put this on the wall above his bed and then ran a checkered-flag border around the room, covering the line where the blue and white paint come together.

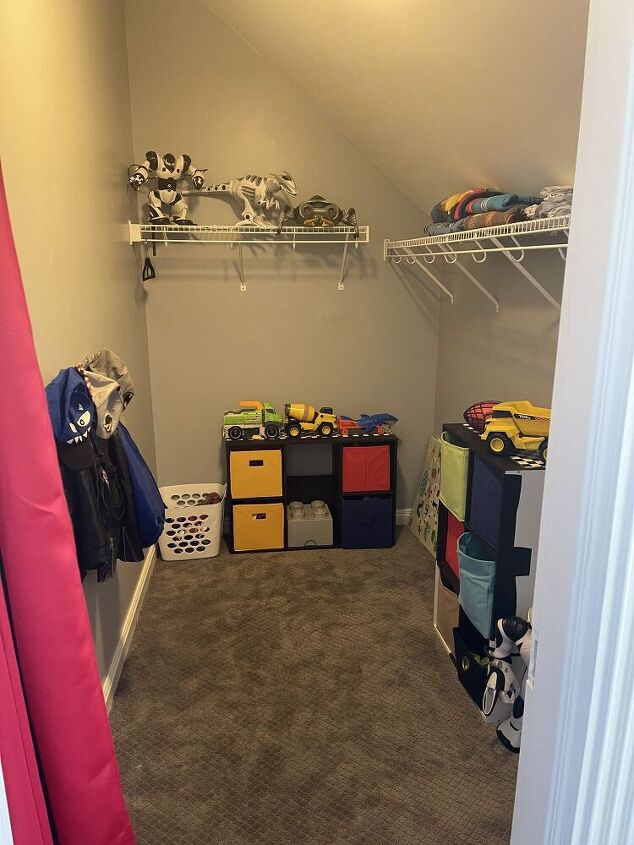
We decided to remove the door from Little Dude’s closet because (1) it wasn’t hanging exactly straight and it scraped the floor when it was fully opened and (2) he never closed it anyway.
I chose a medium shade of gray for the inside of the closet. There is white-coated wire shelving in most of the closets here – not my favorite, but functional at this time for a 5 year old boy. He has a couple of the shelves that hold the storage bins that his toys go in. I put these in his closet to leave more space to play in his room. I covered the shelves in the same black removeable wallpaper that I used inside my fish cabinet and bought a few new bins in coordinating colors since his were getting ragged from daily use over the last few years.
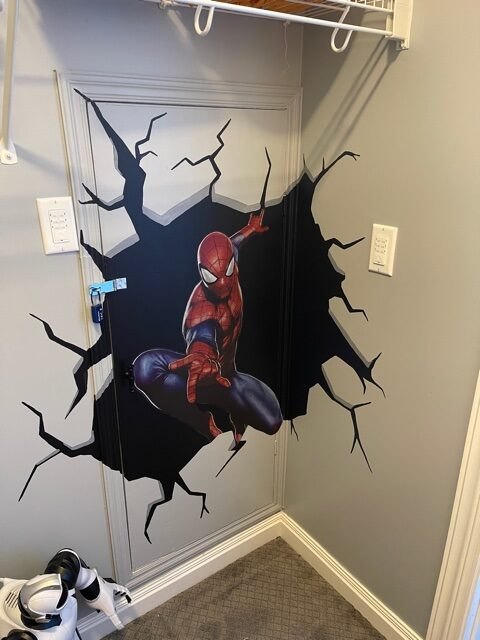
Since whimsey is my jam, I decided to have a little fun with the attic access door in Little Dude’s closet – of course, I also bolted it shut. I really don’t need him exploring the attic without supervision. Lord only knows who or what he’d stash in there. But, back on topic – his second love is Spider Man and this was the perfect place for a wall decal. I painted the “hole” and the cracks and then applied the Spidey, cutting the edges to make it look like they were behind the wall.
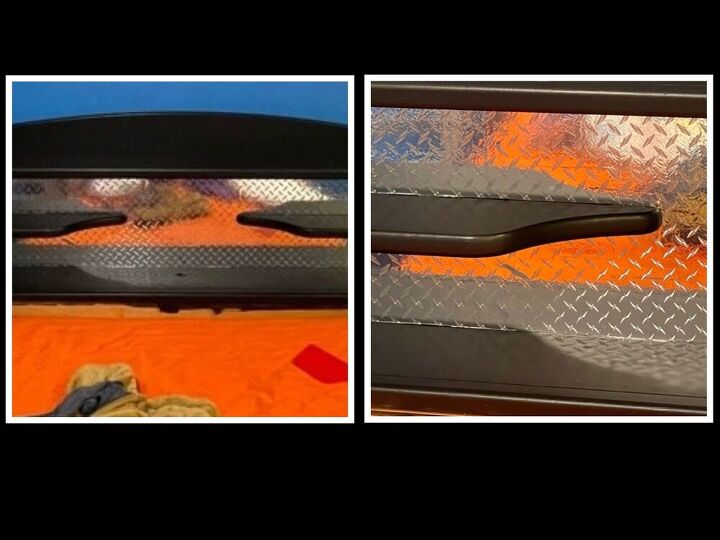
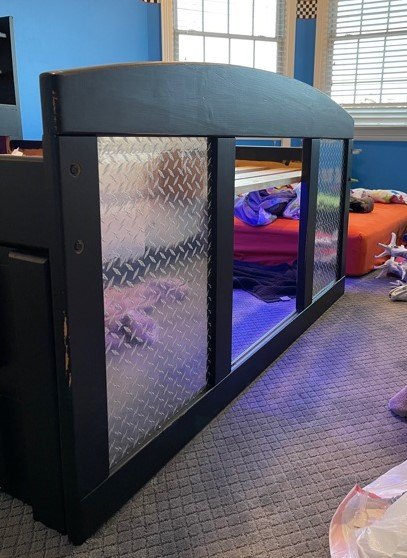
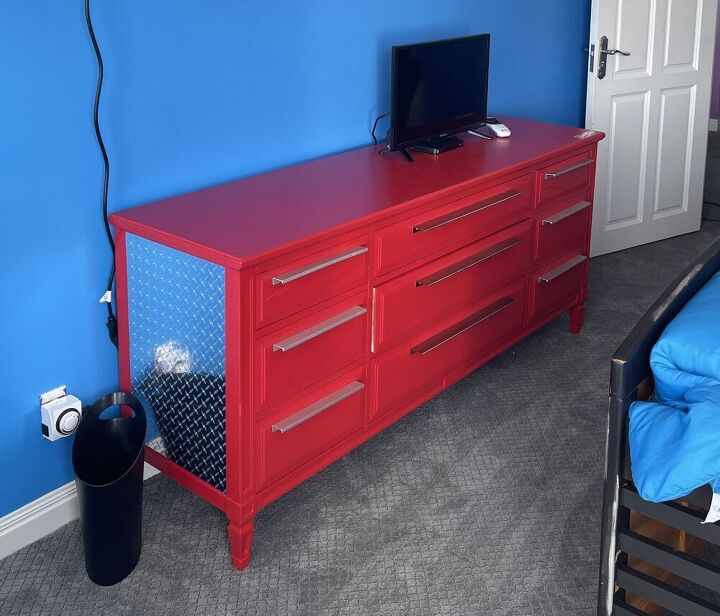
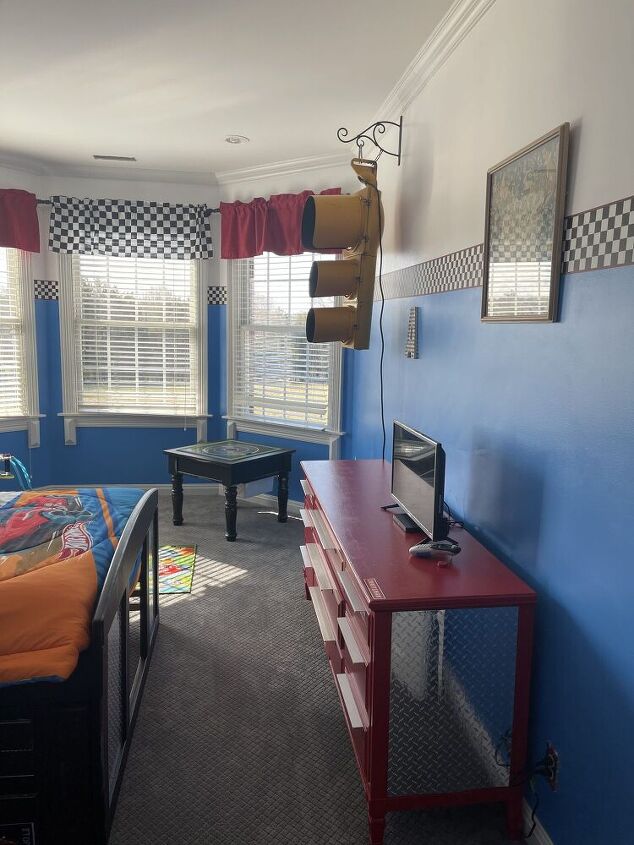
Little Dude’s dresser belonged to my MOTHER when she was a teenager. It is one of the best built pieces of furniture I’ve ever owned. For this room, it needed to become a Craftsman tool chest. Glossy red paint, aluminum handles, some of the faux diamond plate and one vinyl sticker later… voila!
The finishing touches –
(1) A basic ceiling fan from my go-to order spot, and more of the faux diamond plate wallpaper = a custom-ish ceiling fan.
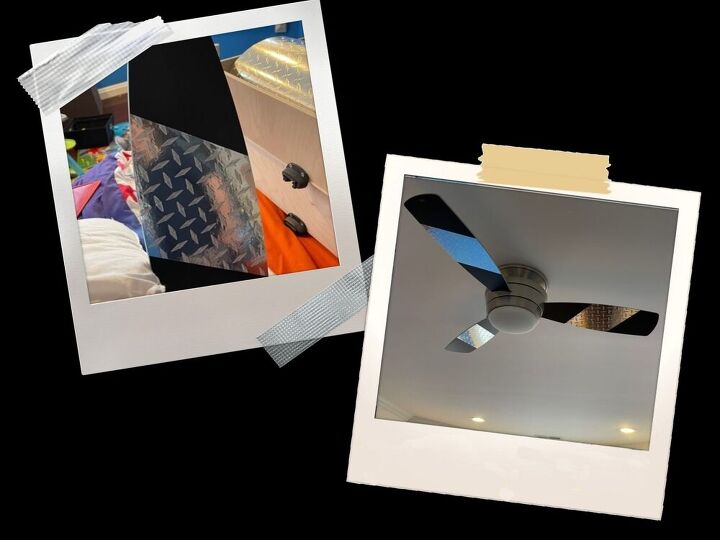
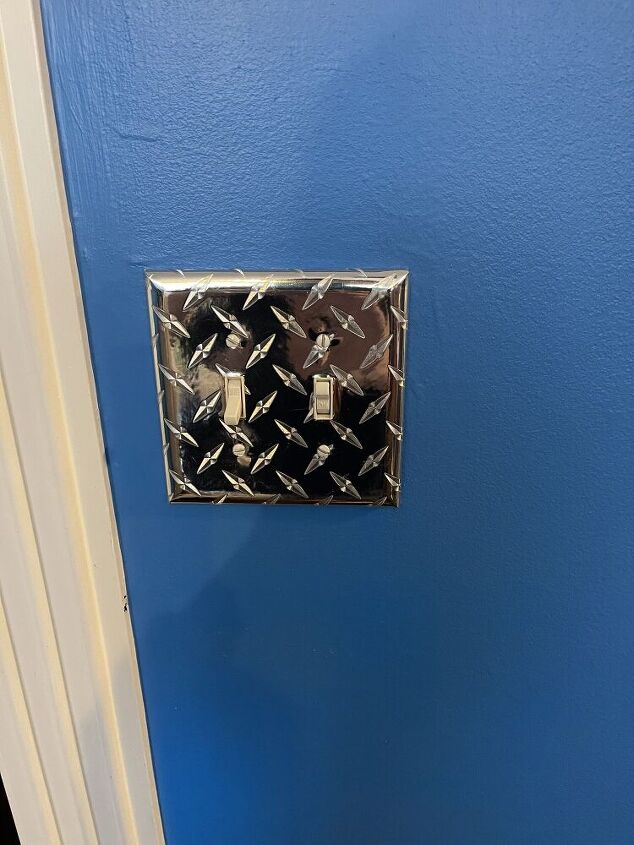
(2) Faux diamond plate on the wall switch and outlet covers.
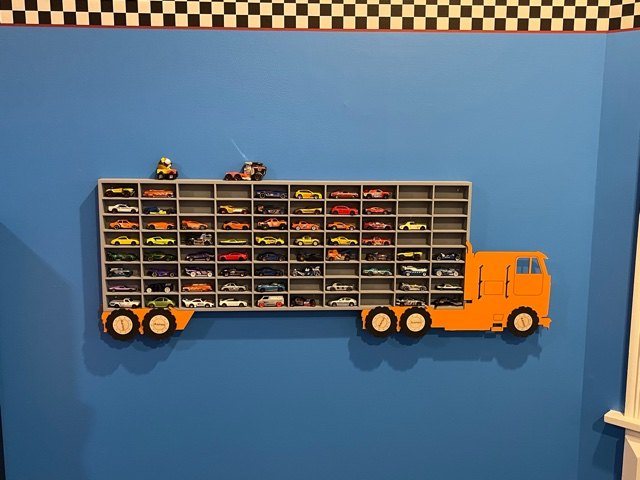
(3) The coolest Hot Wheels storage idea I’ve ever seen.
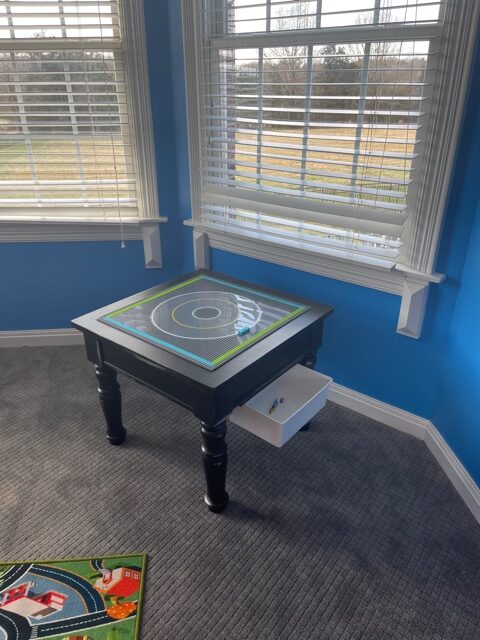
(4) His own mini Lego table, made from an old end table that’s been hanging around since the dark ages.
(5) A bright red curtain hung “backwards” – closes off the closet if desired and adds some additional color to the room.
(6) Hooks on the wall so he can hang up his own jackets and hats.
(8) Hot Wheels bedding, naturally… with coordinating sheets.
(9) A curtain rod made for bay windows and curtain panels in red and a checkered flag pattern – can’t have long curtains with this one – he’ll hang on them.
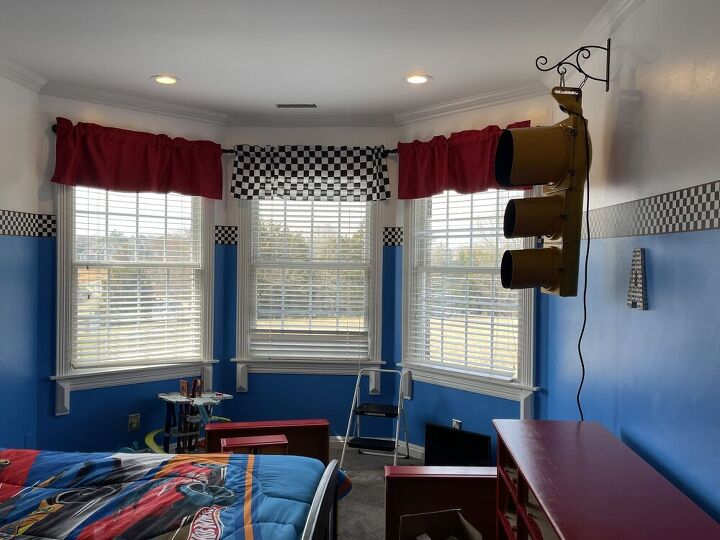
(10) A REAL stoplight that I found locally on Facebook Marketplace and re-wired (easier to do than you would think). I have it on a timer and it’s on from shortly after lunchtime until about dinnertime.
The final result -
He LOVES his room – what little boy wouldn’t? Next on my list – get him to actually keep it clean… bahahahahaha! I crack myself up sometimes.
Check out the original post on my blog for more details.
Comments
Join the conversation
-
This is so insanely cool!!
-
What an awesome room! My grandson would go crazy for a room exactly like this! He loves cars!


Frequently asked questions
Have a question about this project?