


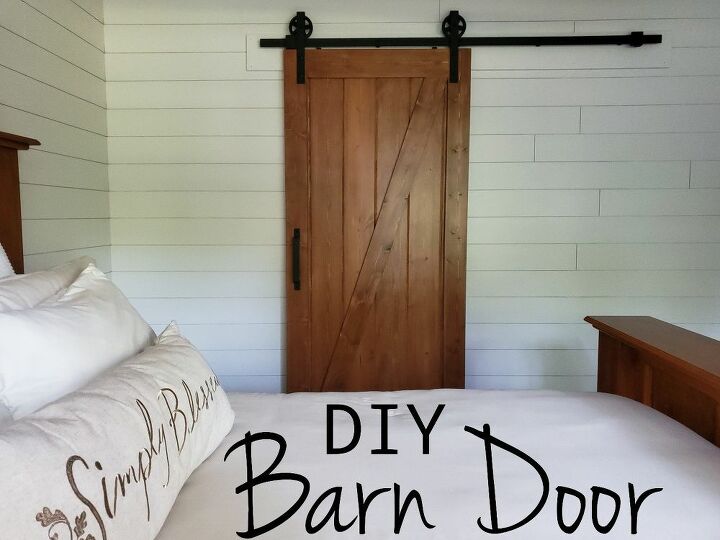
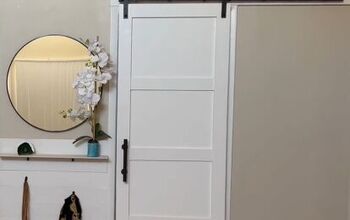
DIY Barn Door

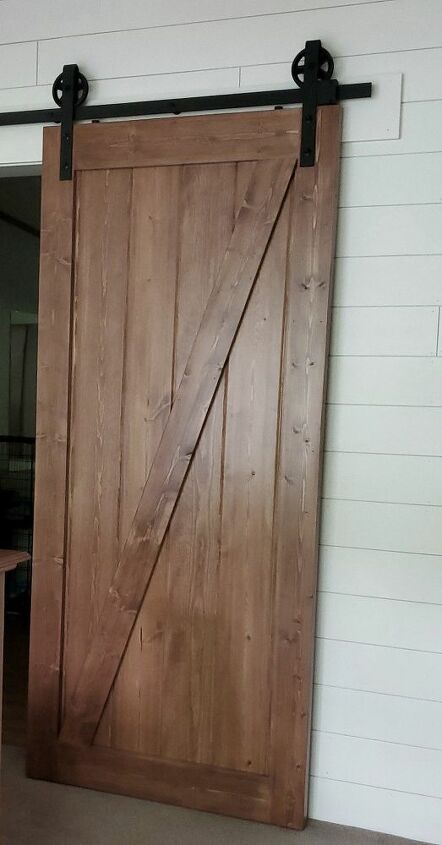
I've always I wanted learn how to build a barn door in our home. When I started planning our master bedroom makeover, the door to our bathroom was the obvious choice. Pair it with a room of shiplap and I was in Farmhouse heaven!
Complete Material List:
**Where we purchased things is listed below the post**
**Cost of the project does NOT include the tools used**
6- 1x8x8 Tongue & groove boards
4- 1x5x8 Common boards
Kreg Jeg tool
12- 1 1/4" Kreg Jeg screws
Power Sander
180 grit sand paper
Caulk Gun
1 tube of Power Grabber adhesive
Pneumatic Nail Gun
18 gauge 1 1/4" nails
1 quart- Minwax Stain (custom stain mix of Cherry & Honey)
Spray Gun
Minwax Polycrylic Protector (Satin finish)
3M Scotchbrite (maroon)
Router
3/16 Slot cutter router bit
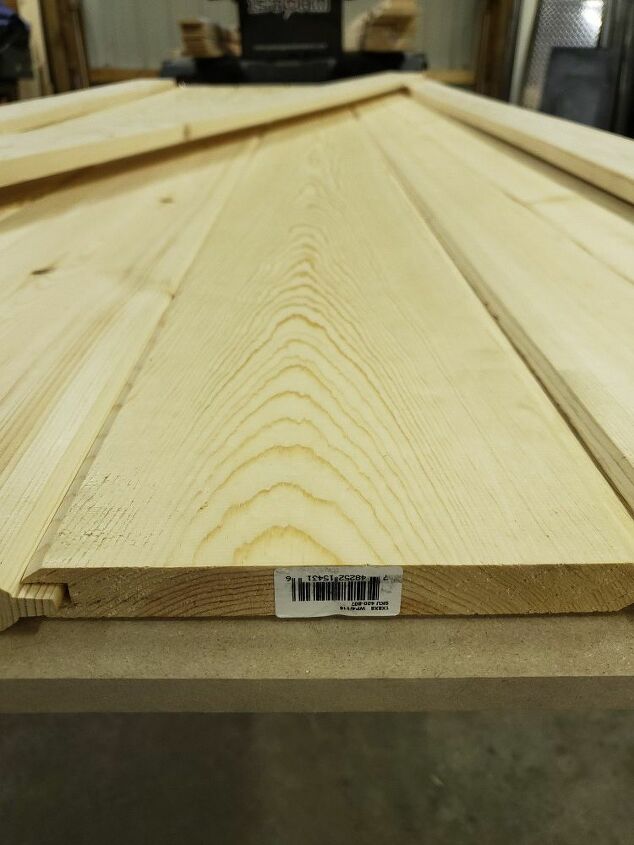
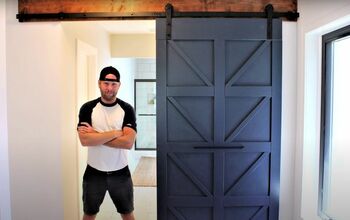
We decided to use tongue & groove boards to create the base of the door because we liked the interlocking aspect of the boards. Our specific door needed to be 37x84 inches. Measure your door opening and figure out what size you need to make your door. We chose our size because we wanted to have our barn door completely cover the door trim when closed.
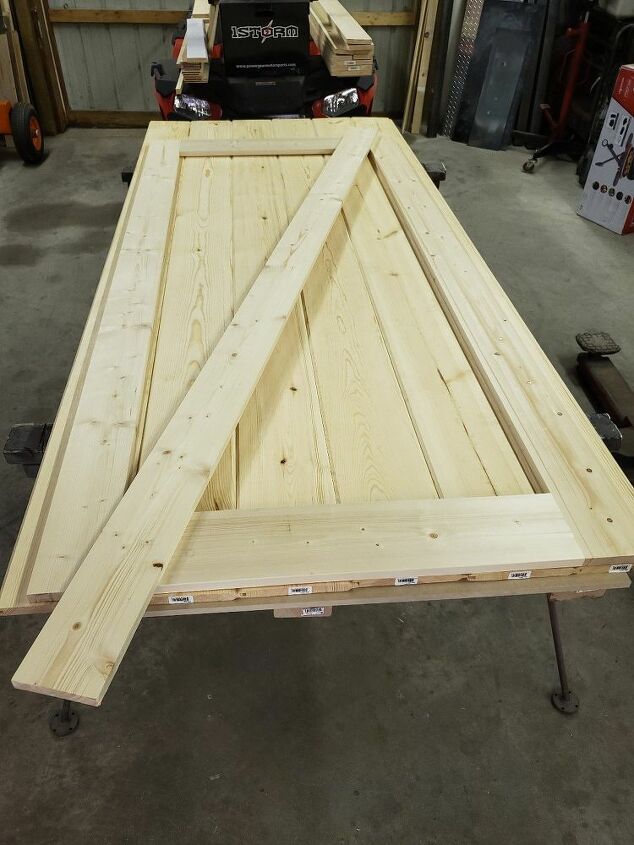
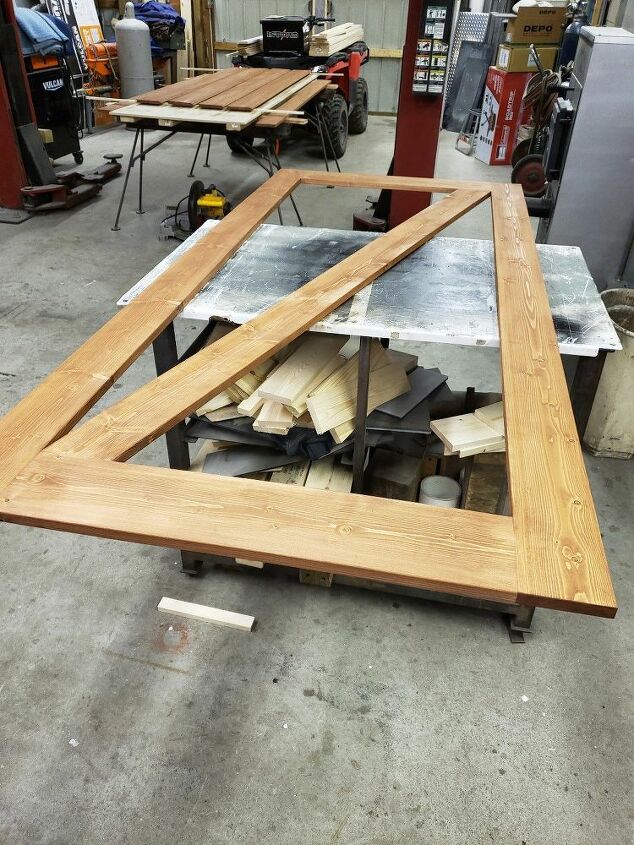
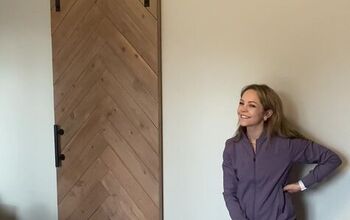
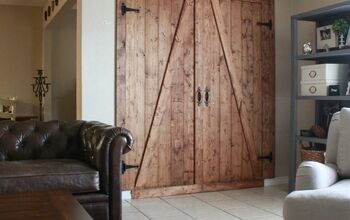
We started by laying out the base of the door and then we played with different frame layouts until we decided on this cross style.
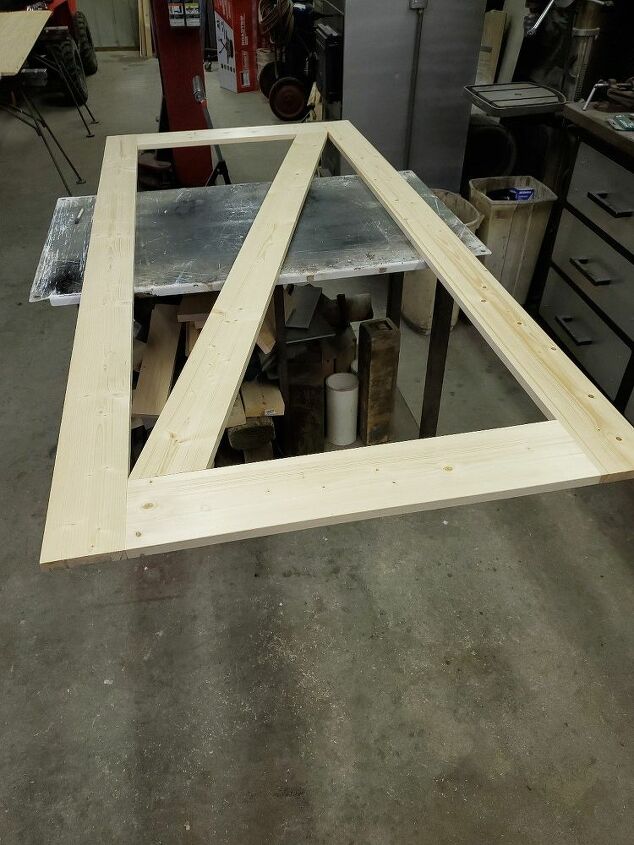
After choosing the cross style layout we cut the boards to length and attached them together using a Kreg Jeg & 1 1/4" Kreg Jeg screws.
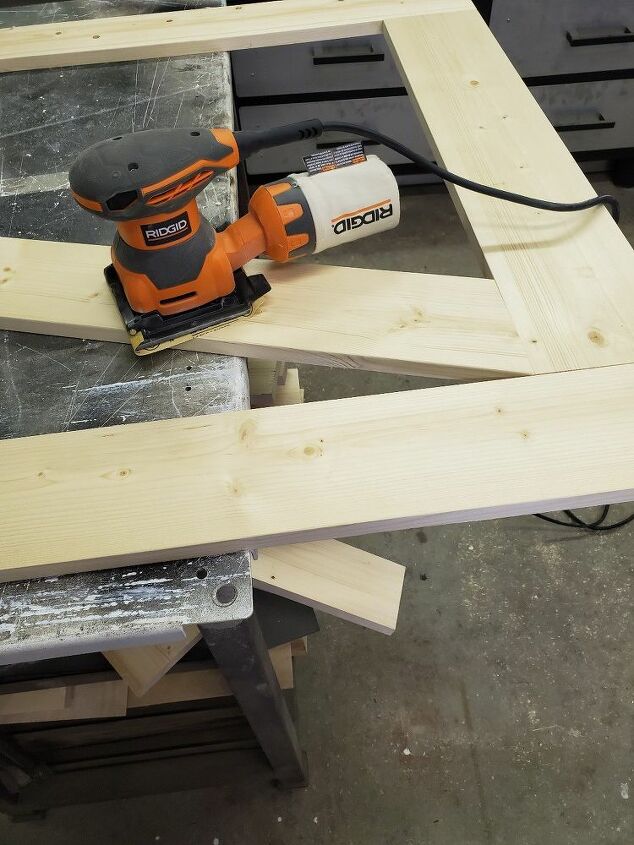
After the frame is screwed together, it is sanded smooth with 180 grit sandpaper.
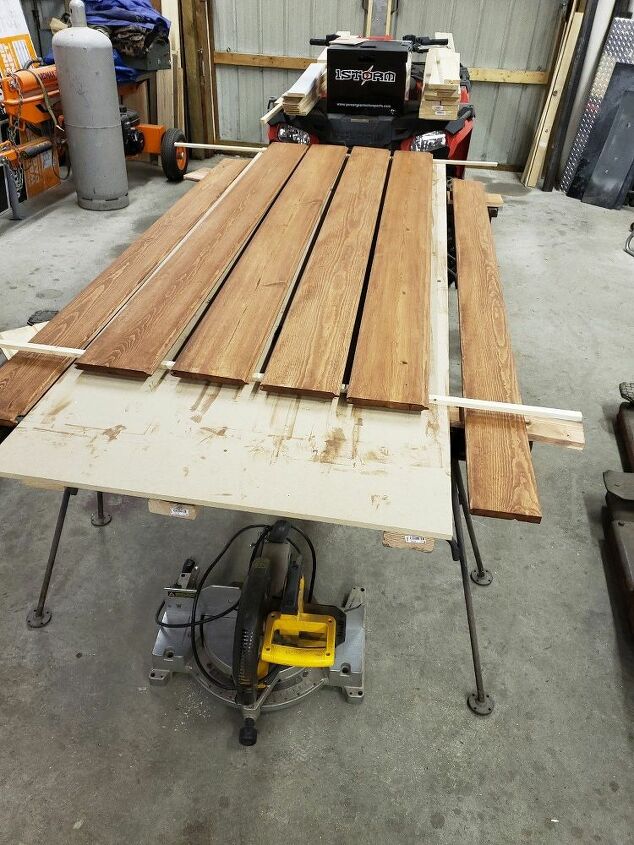
I decided to stain the boards individually so I could make sure the tongue part of the boards was also stained. I did this because wood can shrink & expand over time and I did not want to take the chance of there being unfinished wood showing.
I also stained the frame of the door before attaching it to the base boards.

After the stain dried we glued the frame to the base using Loctite Power Grab heavy duty adhesive and a caulk gun. Then we clamped them together.

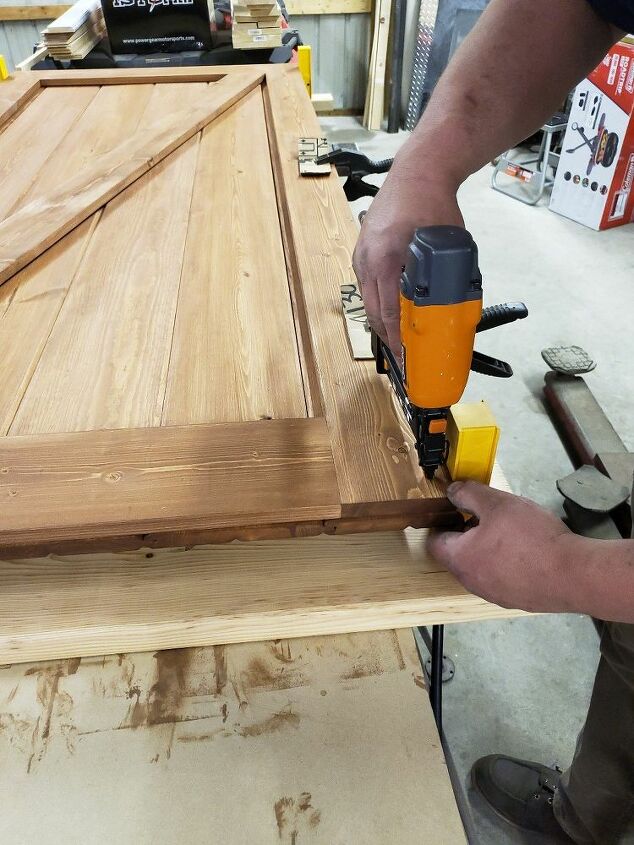
Then we nailed the frame to the tongue & groove base using a nail gun and 1 1/4" nails.
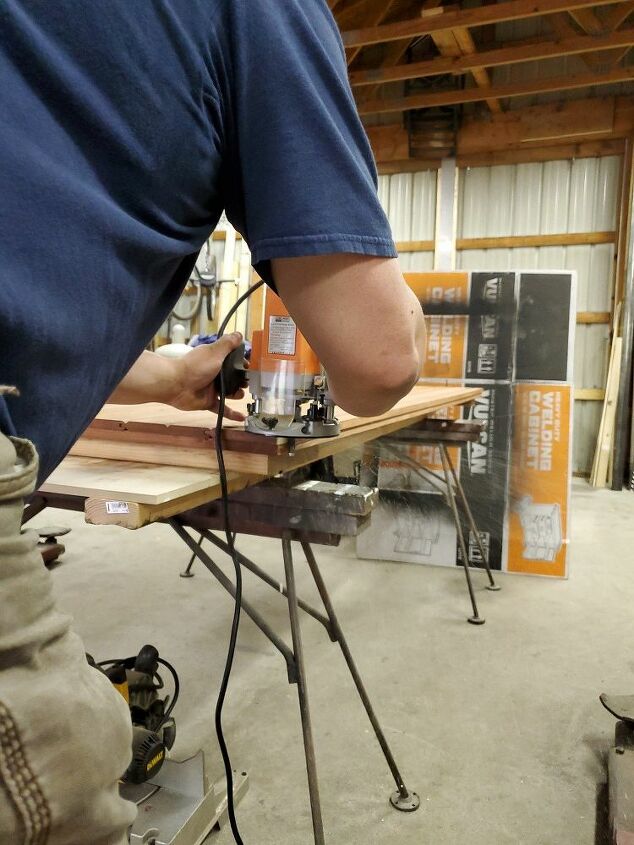
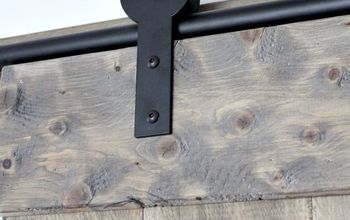
After searching on Amazon for different door glides for the bottom of the door we decided to use a hidden floor glide on our door. A slot cutter router bit was used to create the groove in the bottom of the door for the glide to ride in.
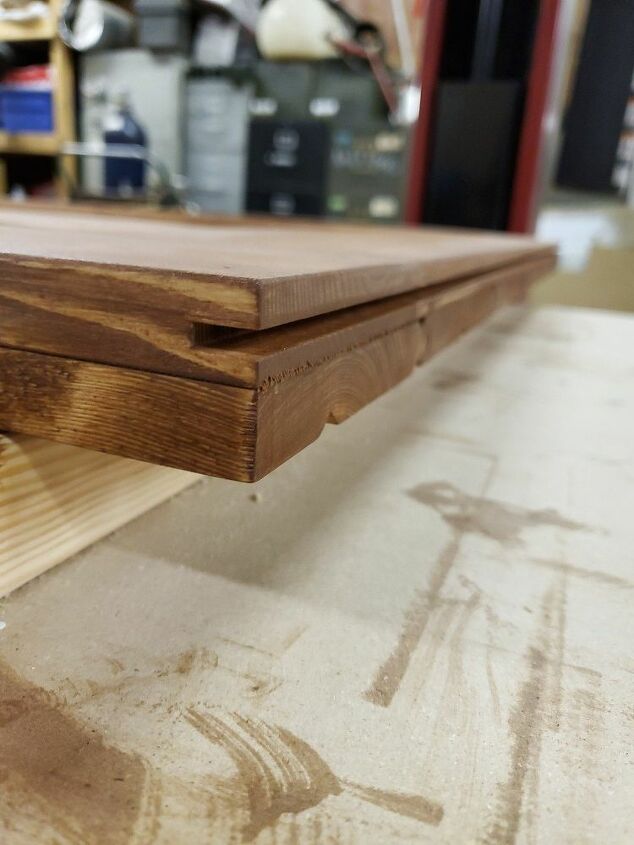
The door glide groove was cut into the frame portion of the door. The door is now complete and ready for finish.
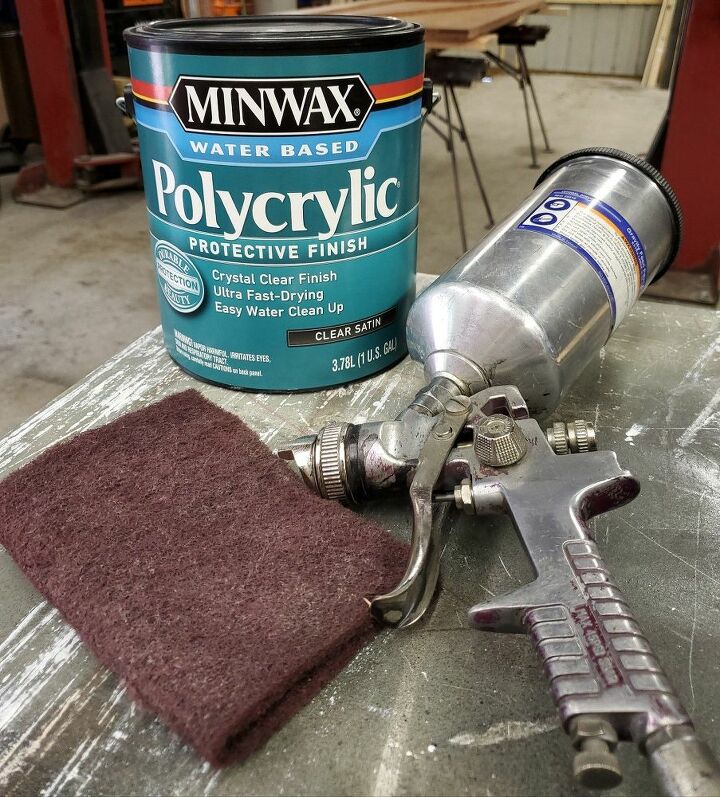
To protect the door we sprayed it with Polycrylic from Minwax in a Satin finish. We applied 4 coats on both sides, making sure to sand with a Scotchbrite between coats for a smooth finish.
Resources for this project:
See all materials


Comments
Join the conversation
-
I love the barn door look. This design certainly will dress up any room in the home, whether it be for a bathroom, closet or entry into a room. Spectacular job.
-
I love it. But he must be an experienced person. I couldn’t do it unless l found a really handy man !!!!!!!


Frequently asked questions
Have a question about this project?
Where did you find the rails to use at the top? Price of those?? Also the glider thing at the bottom? Where did you purchase and how much was that? Thank you I love the door! Beautiful work!