


DIY Easy Cedar Garage Window Frames
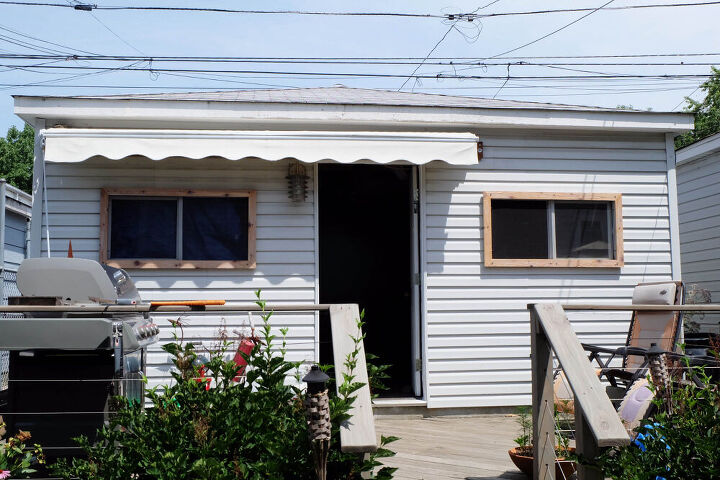
Staring at the face of our boring garage for years, I finally took some much needed action!
This project was super easy and quick which is great because our garage was in dire need of some pep, fast.
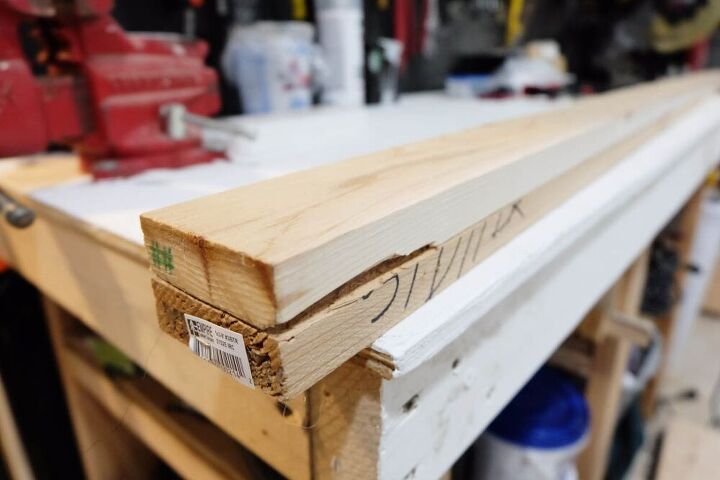
Dashed out to the store and picked up four sticks of 1x3 by eight foot long cedar for two windows. Nice thing about this cedar is it's finished one side, rough the other so I had choices in texture.
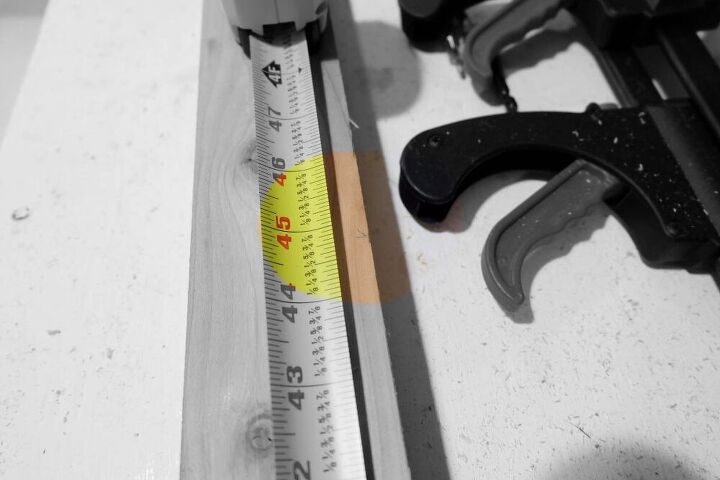
I measured the inside of the frame that is holding the screen and got 45x21 (yours will most likely vary). Part of my goal with these screens was to hold the screens in/hide the plastic frame as the plastic was breaking away, the screens falling out.
Here's a handy tip: when measuring to cut angles, make a little line in the direction of the angle, that way when you go to cut, you won't get confused on which way it needs to go.
After measuring, I cut all my pieces on the miter saw at 45 degree angles.
Looking for more outdoor projects? Swing by the blog and find them here!
I picked up an inexpensive pocket hole jig and it works perfectly. Set it in the right spot to drill your pilot holes. (Yes, I've gotten confused a million times where to set it so this is also a reminder for me.)
Drill out those holes.
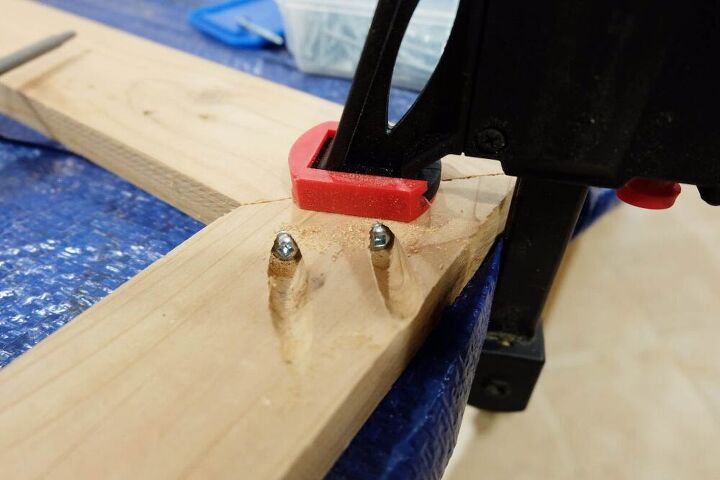
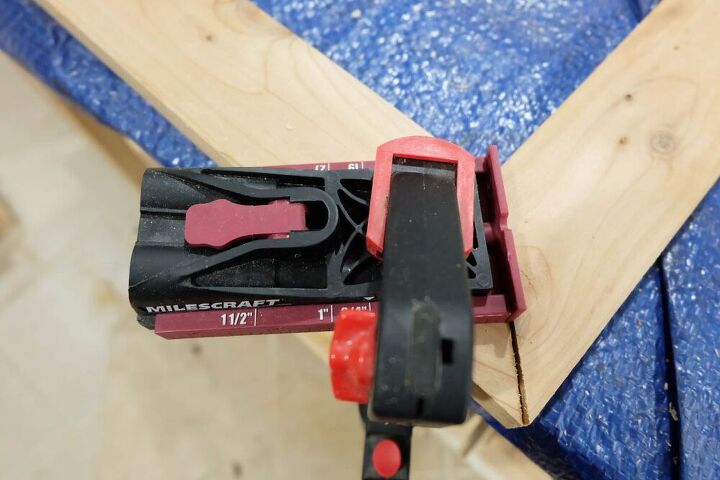
Then just screw the frames together.
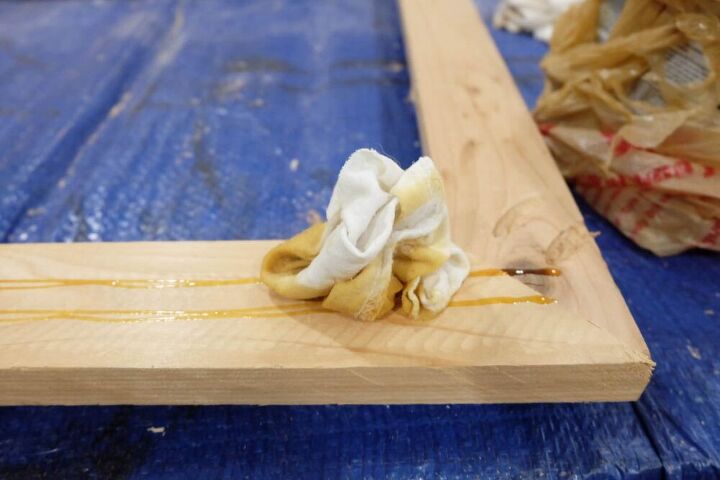
I ended up squirting on some teak oil that I had laying around that was drying out, just to keep the cedar from turning gray in the weather over the years.
Installation is going to vary depending on your existing conditions. In my case, I don't think they set the windows in the framed opening properly as they stick out a bit so I had a gap and a lip to work with.
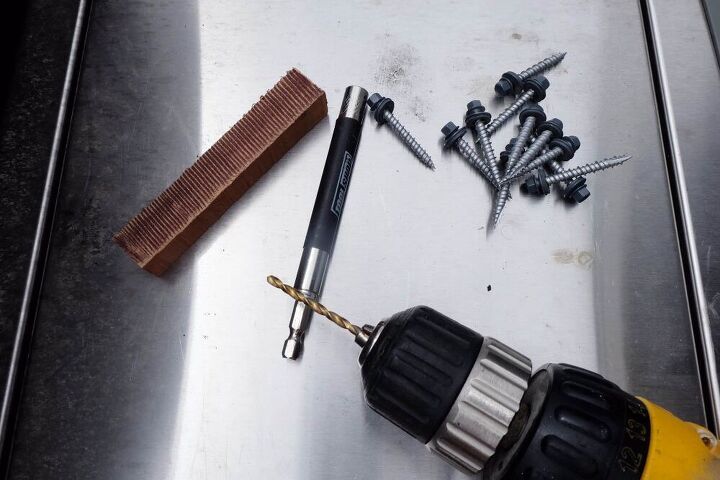
I stuck a wood block on center at the top behind the lip (sorry, I'm photo-less here for some reason) and drilled a hole through the frame I built, the lip, and into the wood block. Next I used pole barn screws to attach the frame to the window.
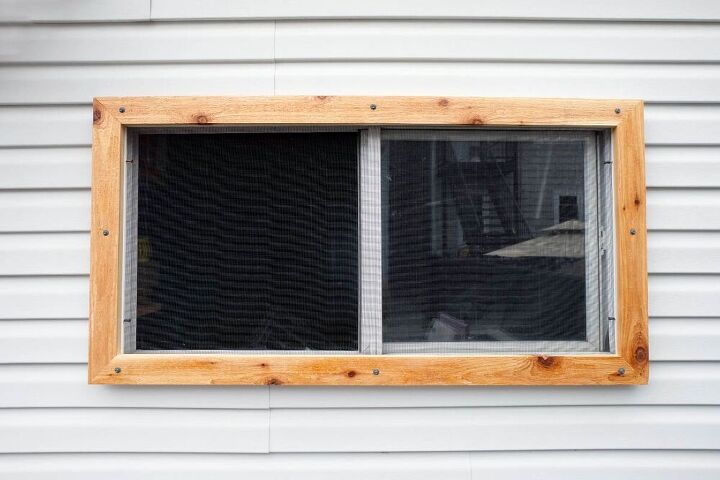
Since the pole barn screws are semi-decorative on top of functional, I placed them strategically around the frame to secure it.
And it's much better now....but I then improved these further. Come check out the cool addition I made on these by swinging by Flipping the Flip!
Resources for this project:
See all materials


Frequently asked questions
Have a question about this project?