How to Destroy Your Fears: Install a Pocket Door

by
Becky at Flipping the Flip
(IC: blogger)
$60
2 Days
Advanced
If you need motivation to conquer your fears, try a big project that scares you. Within reason of course, be smart about it, but set a goal and meet it against all odds.
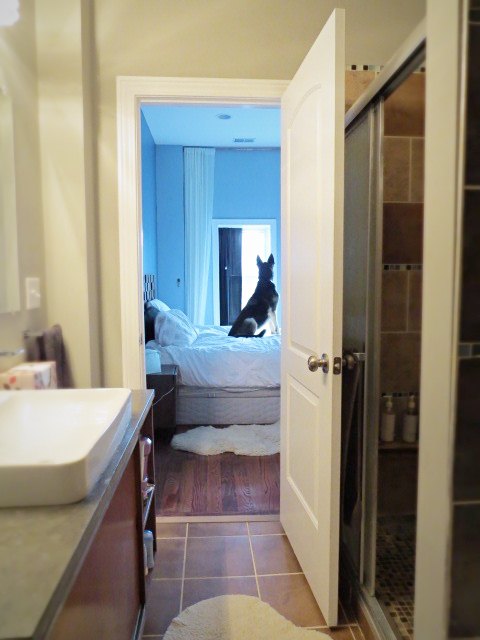
So we have this master bathroom, see, and it is so cramped and poorly laid out. And we have a gigantic dog. Neither here nor there. For two and half years, I have yearned for a pocket door to free up some extremely valuable space. And so the swinging door would stop hitting the glass shower doors.
You can find DIY pocket door kits at most big box stores and even online. Large dogs? Yeah, you can rescue those. The kits are affordable, the dogs, eh, not so much. But worth it! Totally worth it. So I bought a kit, which is scary because I'm not a carpenter. When you are "not something," you need to plan and plan well.
I followed the directions on the rough opening. Well, that was nerve wracking and incorrect. Plus I had an outlet to move. A sliding barn type door here would have covered over this outlet which I do use, so that idea wouldn't work plus it would have been too visually busy. This was an insane project. Try not to get yourself in over your head but if you do, you can do it, dig yourself out. Read the whole story and get loads of motivation in general over on my blog Flipping the Flip at humboldtartdept.blogspot.com.
Here's a tip: if you have wood frame construction and you're removing drywall that you hope to save and reuse, grab a strong magnet to find the drywall screws easily. It takes time and patience but a handy tip nonetheless!
Door opening prep is the toughest part of this project. I was hitting stumbling block after roadblock. The math and the gigantic process of it all mashing up with my skill set was killing me. I didn't know which end was up and wanted to give up but I was already knee deep in demo. I took a deep breath, wrote out a big long list of every single step, put it in order of how it should occur and drew everything existing and new in AutoCAD to help better understand what the heck I was trying to do.
With some information from my dad who is a structural engineer (do not attempt this project without consulting one) on the new door header, I was finally able to put on my big girl panties and plow ahead. Nervously, but I couldn't let myself down. I managed to remove the wall studs and door header while leaving the shower wall intact which was key to this project. Go slow, take your time, think everything through. I even taped my list and drawing to a wall nearby for constant reference.
After four hours of hard work on this day alone, I finally got the door kit in the wall and the new header up. I was astounded at this feat I managed. Me! Little ol' me! Every step had some glitch so I had to persevere. Do not let some sticks of wood defeat you!
I was such a wreck and so tired that I ended up installing the door upside down. What a doofus move. Determined, I yanked up those big girl panties again and fixed it.
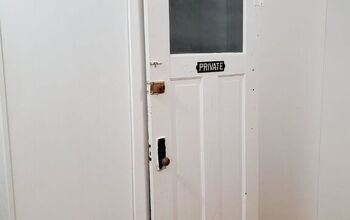
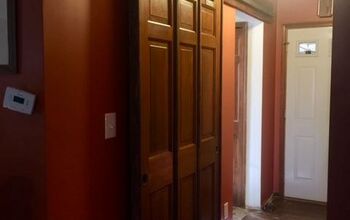
This is a horrible picture but honestly, I don't care. We have a pocket door now. And it works. Holy cats and dogs. Suddenly the bathroom feels roomier. And the shower doors are safe from attack. While I'm still in shock at this accomplishment, I am thrilled. It is not an easy project, or at least it was not for me, but all the hard work was well worth it.
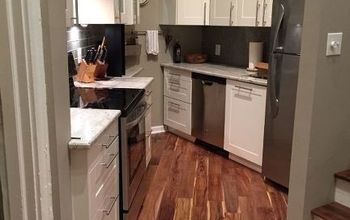
There's a ton of work left to do obviously but the door is in and functioning. I doubted my ability to get to this point but I did it. I really overcame fear after fear after fear. All hail the mighty pocket door kit, giving us a disappearing door and more maneuvering space for less than $60! Yay!
I know, Finn doesn't really belong on this site but he's cute. Here he is studying up on the ways of Mommy's ahem, sailor speak potty mouth while she was installing the door. Be sure to click the link below to read all about this, all the things to think about and plan for when installing a pocket door and much much more over on my blog!
Enjoyed the project?

Want more details about this and other DIY projects? Check out my blog post!
Published February 4th, 2016 9:01 PM
Comments
Join the conversation
3 of 151 comments
-
 Becky at Flipping the Flip
on Nov 23, 2020
They make a huge difference! Hoping it works out for you! Thank you!
-
-
 Ted93493243
on Nov 22, 2023
I have been doing this for years. It is only complicated to those who cannot see the finished product before completion
-
 Becky at Flipping the Flip
on Nov 22, 2023
If you’ve got plenty of experience, it’s definitely easy but otherwise I have to disagree, my friend. I saw the forest through the trees with no problem. By the way? Kindness is king. Thanks for your thoughts!
-
-












Frequently asked questions
Have a question about this project?
How and what did you do the change the handle on the door? I see the doorknob hole, but when it is fully open, how do you close the door?
Where did you get the pocket door frame? I have been looking and can barely find a frame for under $100, i dont know how you did the project for $60! Tell me your secrets! haha
could you take a pic of the end result, so once everything is all done