


Dollhouse Remodel

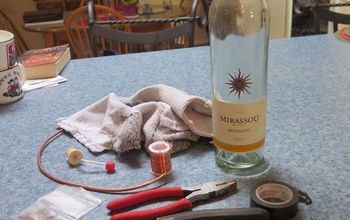
20 Materials
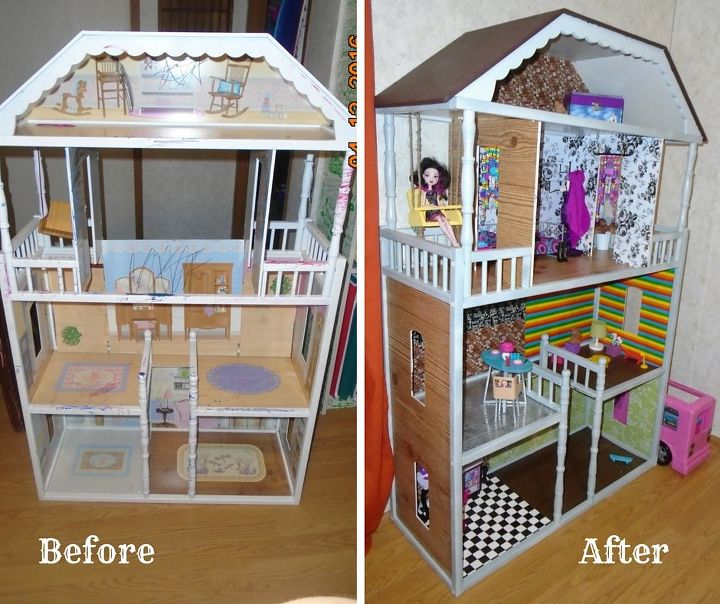
I love junkin'!... Giving what may otherwise appear to be trash, new life.. This poor parent thought this awesome dollhouse had seen it's last days..
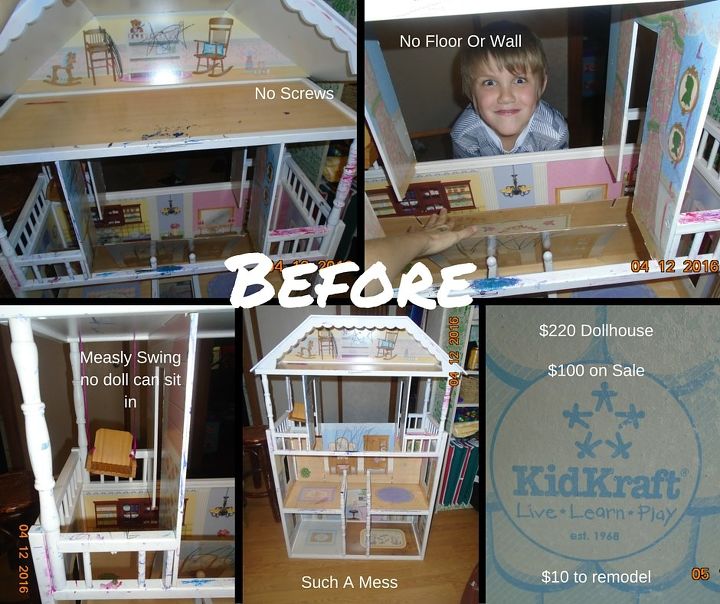
Not just yet!! 😁
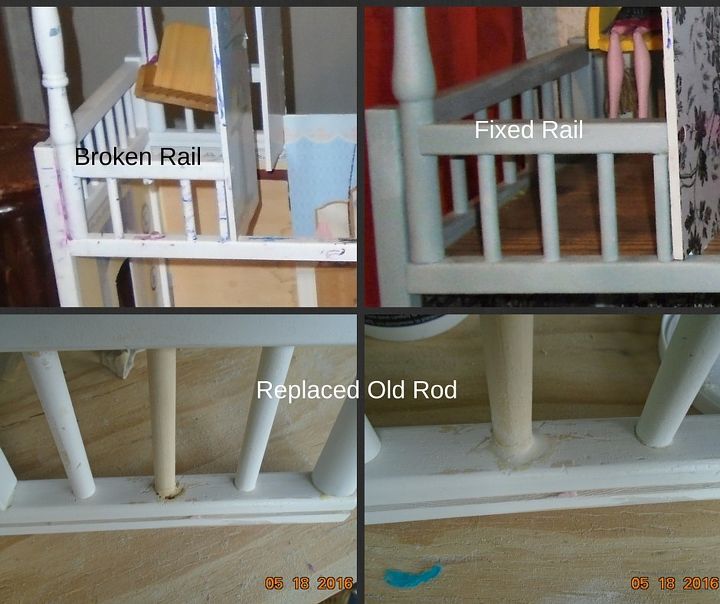
Step 1: Step 1 was to figure out this broken rail. I pulled one broken end out with pliers and took that to the store with me so I knew what size dowel rod to get to replace it. I used the railings still in place to compare the new rod with to get an idea of the length to cut it down to. Put it in place and used gorilla glue to keep it in place.
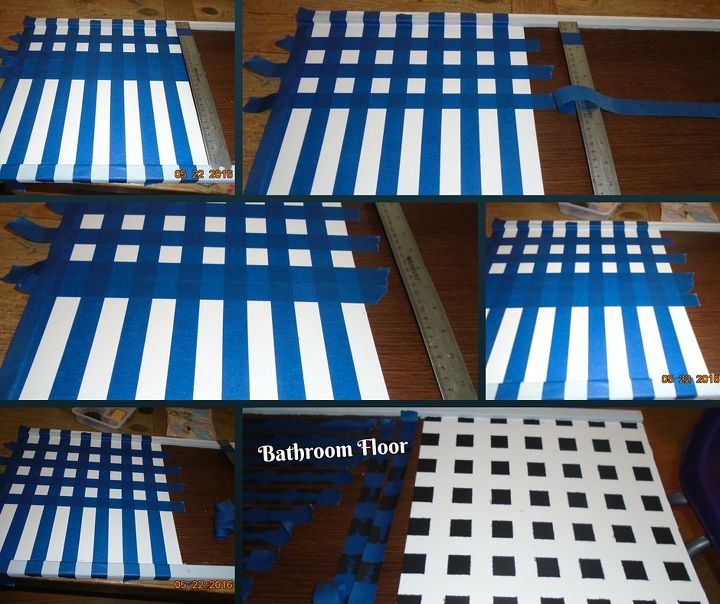
Step 2: Do the walls and floors. For most of the walls and floors we used drawer liner and duct tape from the dollar store..... But, for the kitchen floor I wanted a checkered floor so, I decided to paint it.. Yes, I wrote kitchen. I cannot lie. I mixed up the floors and painted the bathroom floor when I meant to paint the kitchen floor. 😳 Everything turned out good in the end though.. It all worked out.. lol
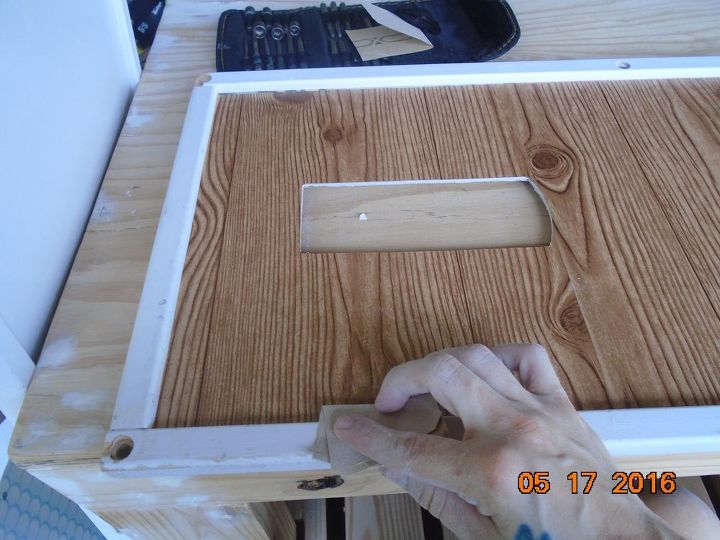
Step 3: Then I commenced with the sanding and painting. Super tedious. Sanding all of these tiny pieces and around the railing.. and, painting the railing... ahhh.. totally worth the effort, though....
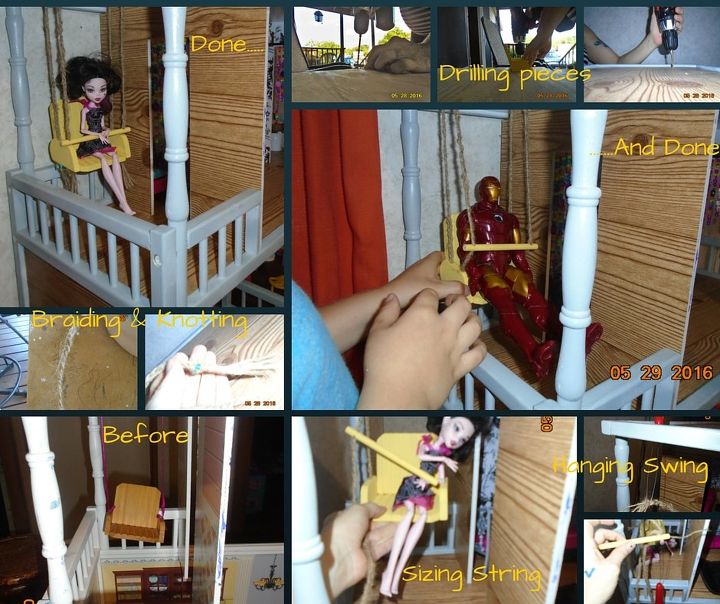
Step 4: The Swing!! I just love when things come together pretty much how you planned them out in your head!! So for the swing, we drilled extra holes at the front of the arm rests and in the ceiling directly above them.. We sawed off a portion of the dowel rod used to fix the railing and drilled little holes at either end.. We repainted the swing and braided some twine to restring it with... Now any doll can sit and swing and enjoy the view from the balcony.. 😁 ✊
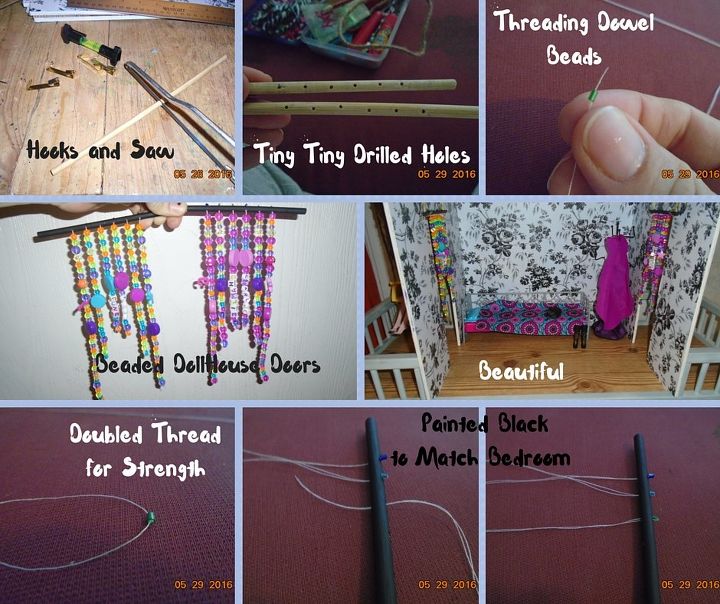
Step 5: I just had to do it! I just had to see!... and, it turned out to be such a neat added detail. I gave the girls some beaded doors to the bedroom. Personalized for each of my youngest daughters. I actually used a short, skinnier rod that I had lying around for this. I cut it in half, drilled with my smallest bit, strung the beads and tied and glued the ends and glued some picture hook hangers above the doors of the bedroom to hang the rods on.
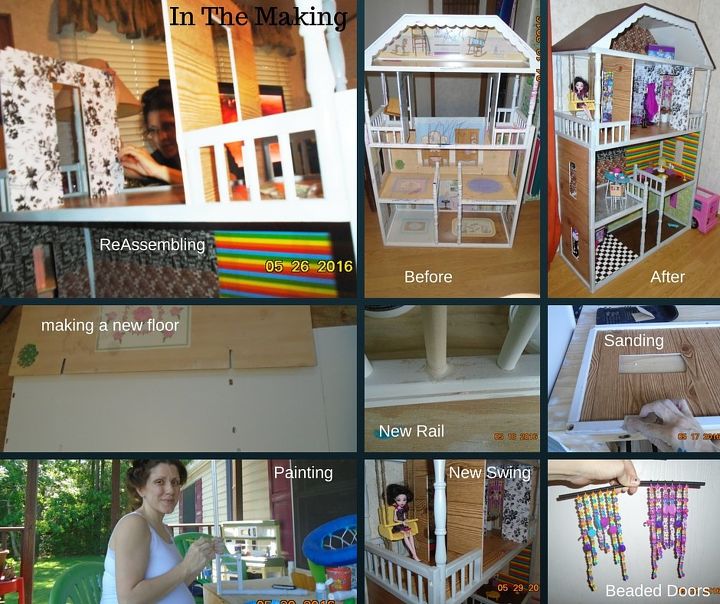
Before, During, & After...
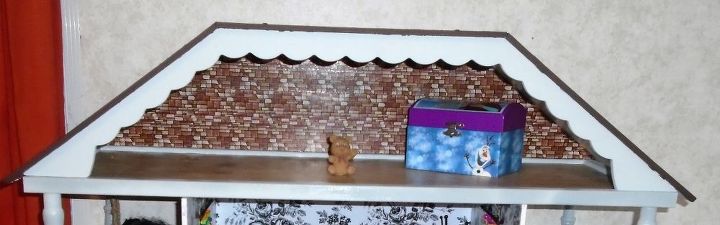
The Attic
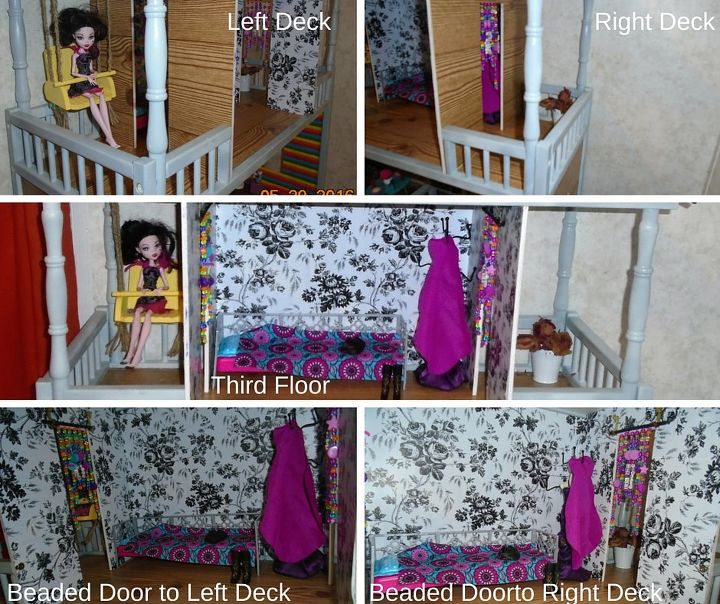
Third Floor
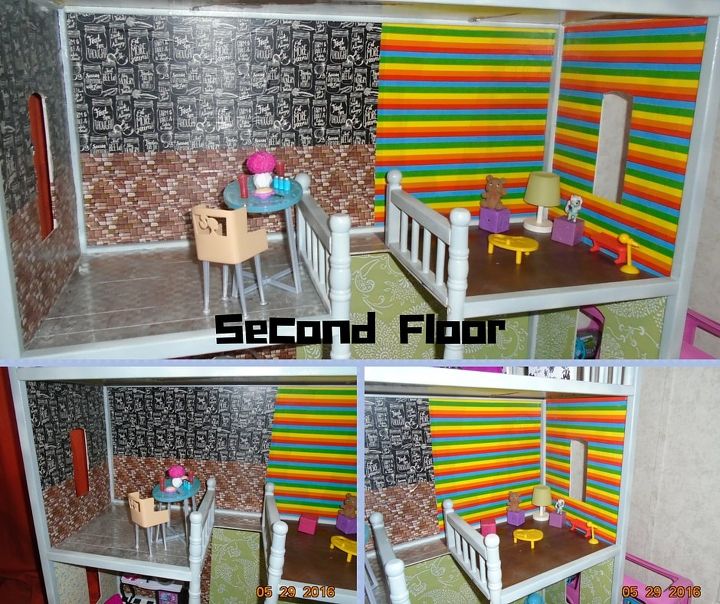
Second Floor
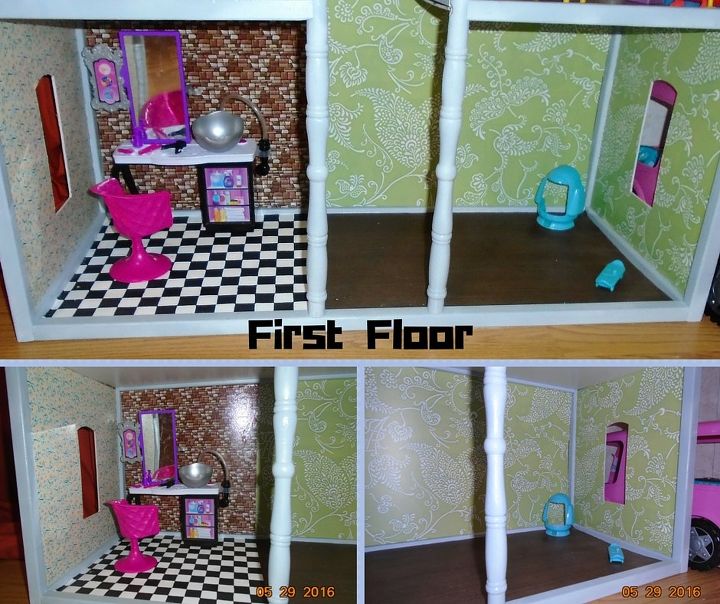
First Floor
fin! ツ ✌ ♥
Comments
Join the conversation
2 of 12 comments
-
You put your heart into this project and it shows! Beautiful!!
-
Thank you very much.


Frequently asked questions
Have a question about this project?