


Stone Fire Pit, Inexpensively Build a Safe Fire Ring
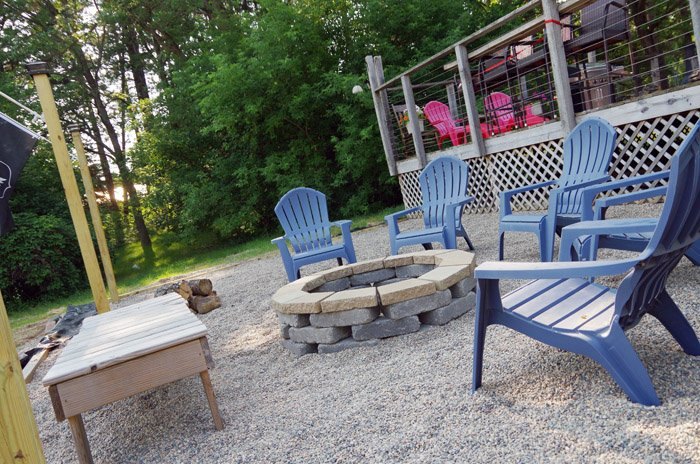
An inexpensive stone fire pit set in our new pea gravel lower deck. Our previous fire pit was totally surrounded by sand so it gave us a lot of piece of mind, HOWEVER, it was sunk entirely into the ground so it wasn’t exactly safe to dance around! One wrong step and BOOM you were literally in it! That, obviously, always bothered me so I’ve been working on a plan in my head for awhile now for a much safer stone pit that wasn’t quite so easy to fall into. In fact, I decided to take it a bit further and designed the top of it to make a nice spot for a foot rest or even to sit on.
Who doesn’t love the idea of having a nice spot to put your feet up by the fire or, even better, to sit right beside it to warm up?
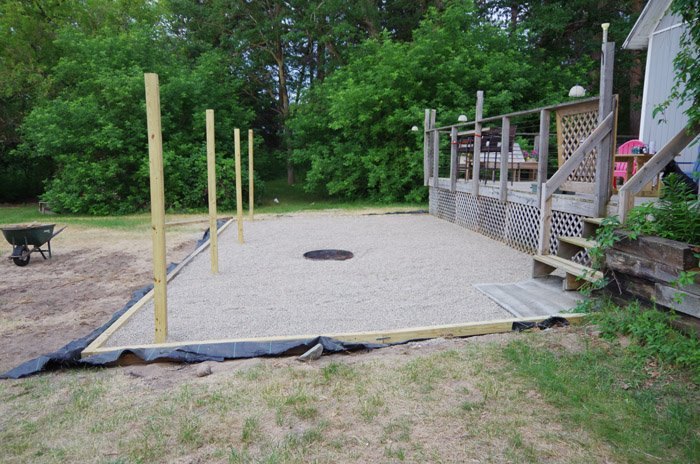
Stage one of our new lower deck was prepping the space with a bob cat, digging out the pit and inserting our steel fire ring as well as putting in four new posts. We also covered everything with many layers of landscape fabric, had our pea gravel dropped off and surrounded the entire deck with 4x4s bringing us to this last step.
We picked up these pavers / bricks at Menards to build the ring out of and the flat pieces for the top. We also picked up a six pack of Gorilla glue construction adhesive, two bags of quickcrete and it was time to get to work!
Like I mentioned in my last post this lower deck was not priority number one this summer at all however, we had to rent a bob cat to prep for our garage slab so it only made sense to go ahead and get this ready too.
(If you haven’t read my post about the absolute hellish first weekend in June when we prepped all of this let me just say it was a truly miserable weekend for yard work.)
And then, with the prep done, it really wasn’t a stretch (only a few hours of work really) to get this totally complete – all we had to do was get the materials!
I got really excited!
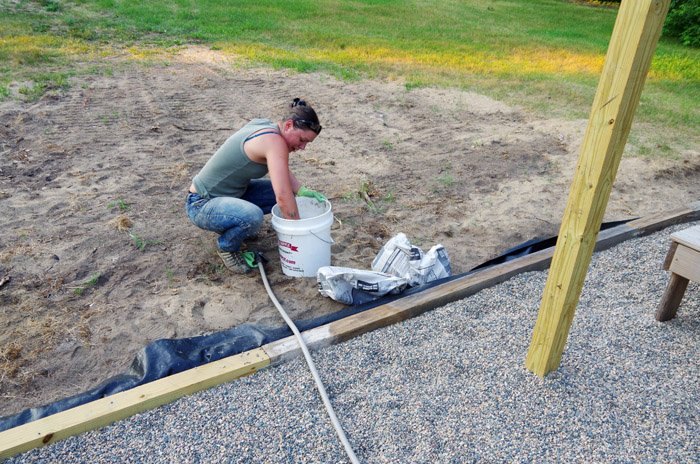
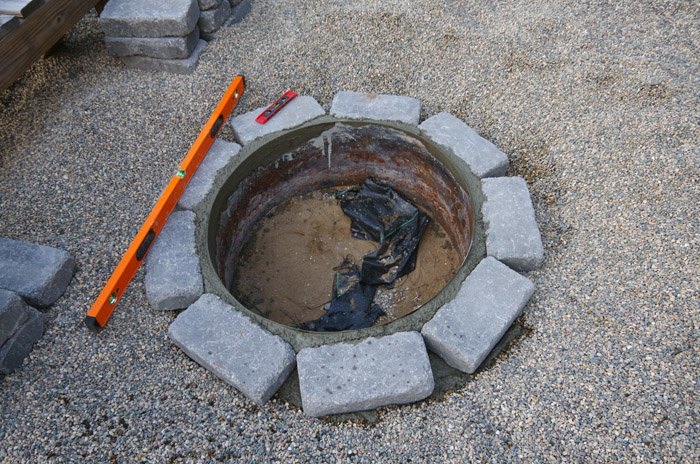
I mixed up the quickcrete in a 5 gallon bucket intentionally mixing it REALLY thick. I knew our fire ring wasn’t level so that was my first priority with the first layer of bricks.
I used two levels to get this done, the four foot level working across the entire pit as I went and my little level to get each individual brick as good as I could.
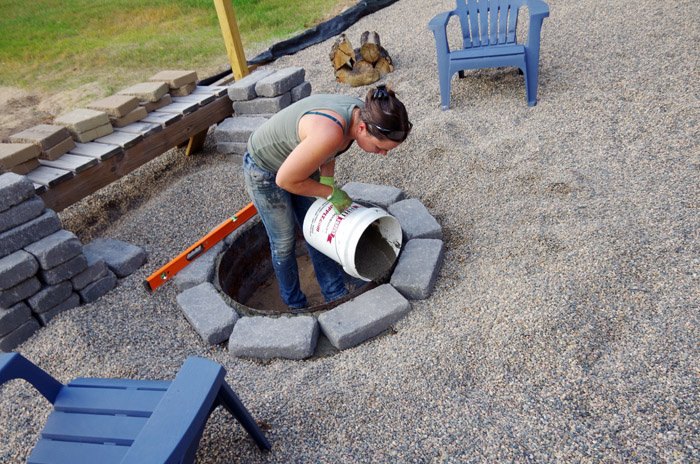
I ended up using almost two bags of concrete.
Once I got all the base layer stones concreted in I then mixed my last batch of concrete very wet and literally poured it between the base layer stones and our steel fire ring. Attaching the stone to the steel like that gave me a lot of peace of mind that these stones are going NOWHERE.
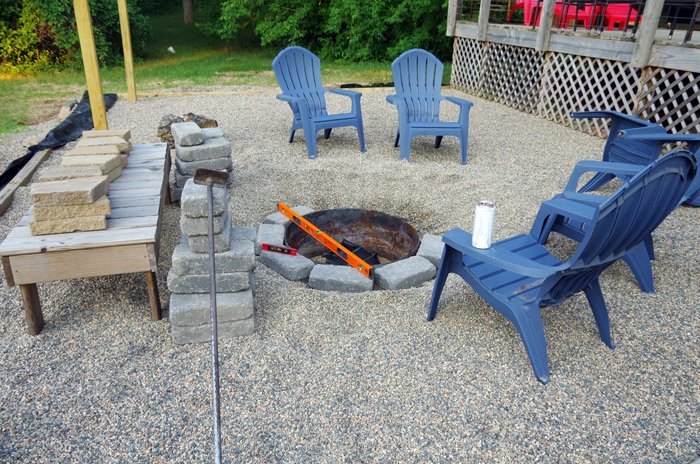
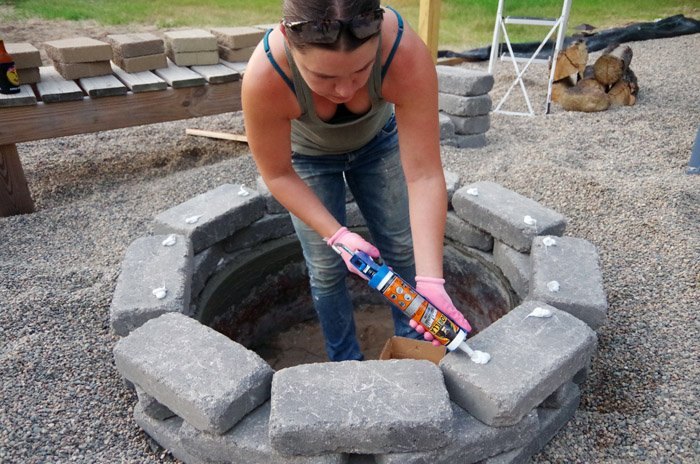
I simply assembled it by gluing the bricks together and stacking as I went. I had a moment here, looking at it, that I was about convinced we’d have to go back to Menards for more stone.
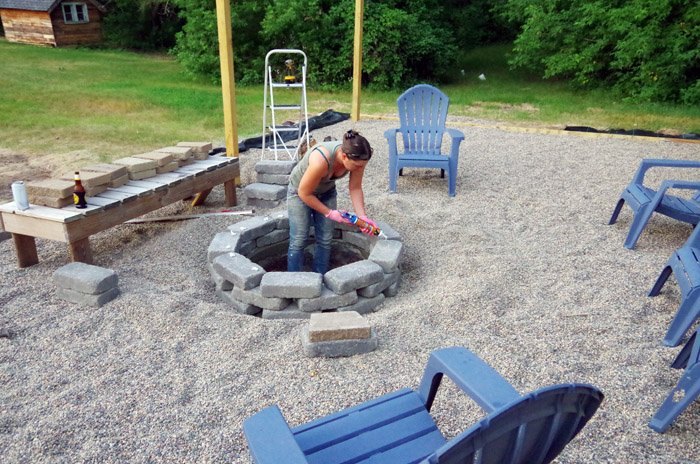
Our pea gravel is so deep the first two layers of stone were covered up – meaning it ended up only half the height we had planned it to be!
We put the top stones on dry,
sat down,
talked about it,
sat on it,
walked around it,
used it as a foot rest,
stared at it from a distance, heads tilted, while squinting…
and finally decided we were cool with it as is.
And we are cool with it, in fact, we totally love it!
The entire cost came to less than $300 for the gorilla glue, the stone and the concrete and, seriously, besides the manual labor of moving a lot of stone, this was a very doable project!
This was totally my baby honestly and Lodi had a lot of good things to say about it – not to mention a lot of patience with me after work one day, an hour from home, in 100 degree heat while I figured this whole thing out.
I even stopped him when we got there and just gave it to him straight, “I haven’t seen anything they offer yet. I need time to think this through – I don’t want to rush this and I totally don’t want to annoy the absolute hell out of you… But I’m totally going to annoy the absolute hell out of us both.”
He was a total trooper and even stopped his manic “in a hurry” energy to just chill out and bare with me and help me as much as he could.
(Manic “in a hurry” energy is literally how we got so much done this spring. He and I, in this case, are exactly the same person lol.)
If you’re going to bother doing it then DON’T RUSH.
I had us building stone fire pits in the SCORCHING Menards yard because I’m such a pain-in-the-ass-perfectionist-total-delight to work with because who doesn’t want to move several hundred pounds of stone around while standing on the surface of the sun?
I wanted a stone fire pit that looked old school and I think I achieved it.
Initially I was going to go with much smaller stones but after all of that I finally decided that the larger ones made a lot more sense.
For one thing, there would be gaps between the stones which would help a fire breathe.
For another thing, I felt they had an older look to them that fit our 100 year old home a lot better.
For another thing it meant one stone for the size of two of the smaller stones.
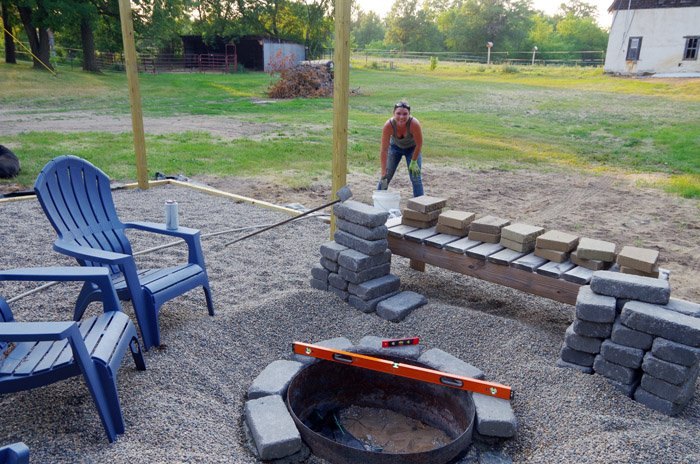
We used 36 of the gray stones and 12 of the beige stones.
I probably would have just done gray upon gray but Lodi’s idea to do the flat upper bricks in a brown was a really good one.
I love how the two colors of the stone fire pit pick up the colors of the pea gravel so well.
We were chilling after work on our deck one day and we both realized that I didn’t just build us a stone fire pit.
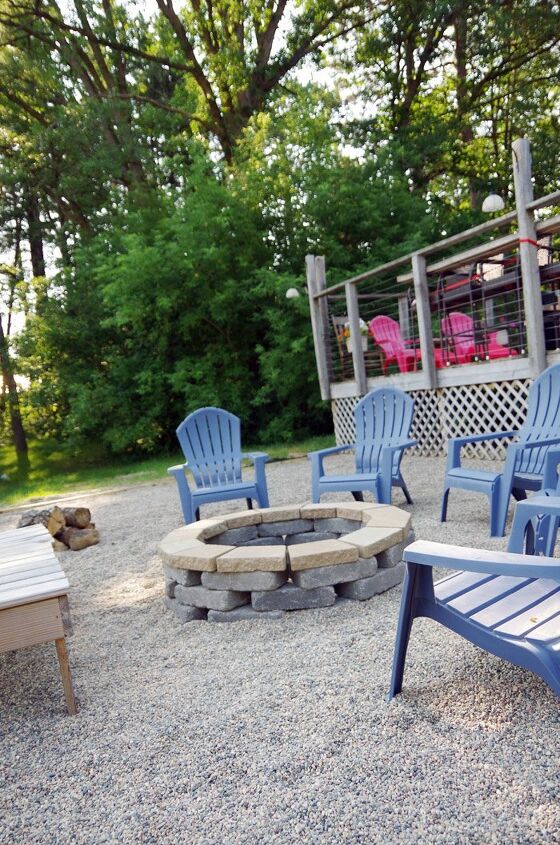
I built us what kind of looks like an old well!
This Halloween I am totally going to have to crawl out of that thing like the girl from The Ring. I just need a creepy old night gown and to let my hair down…
Jokes aside, we are VERY happy with how it turned out!
NOTE: Yeah I was a bit concerned using gorilla glue and not concrete to hold the stones together but every single build I’ve seen like this one on youtube they use construction adhesive. So, I trusted them, and went along with it. When we had our first fire we got it REALLY hot and had absolutely no problems whatsoever. Since then we’ve had dozens of fires and those stones have not moved an inch!
Resources for this project:


Comments
Join the conversation
-
I saw you have posts put in the ground. Are you planning a gazebo?
-
Great job !


Frequently asked questions
Have a question about this project?
You also installed poles around the pea stones, didn't you ? Will you be making an awning of sorts ? I like what you did with the firepit, but I'm a little disappointed,you did nothing else with the posts. I hope that's your next installment....!