


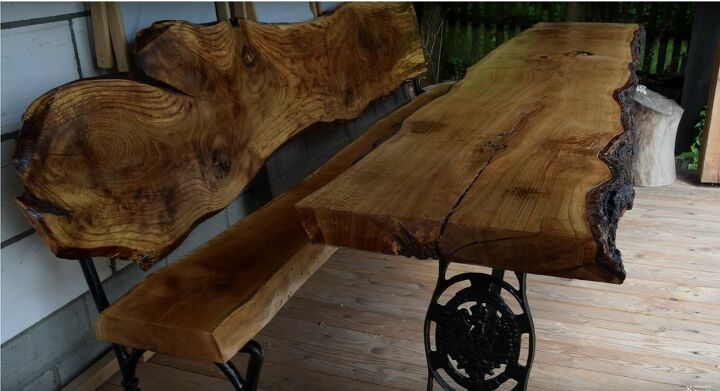
Beautiful DIY Live Edge Oak Table

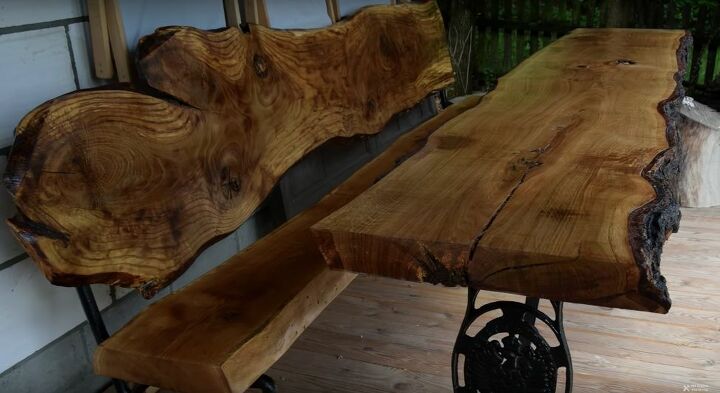
I love creating pieces from cuts of wood with live edges. When my grandfather gave me a piece of oak wood with a stunning live edge, I knew I couldn’t use it for just any old piece of furniture, so it sat in my shed for about ten years. Then inspiration hit, and I knew what I wanted to make with it. Come along and I’ll show you how I made an oak table with a live edge and iron legs.
Tools and Materials
· Wood slab with a live edge
· Iron table legs
· Hand planer (and a sharpener if you need it)
· A few pieces of wood (to lengthen the planer)
· Level
· Screws
· Screwdriver
· Handsaw
· Chainsaw
· Sander
· Sandpaper (120-400 grit)
· Vice
· Water resistant wood glue
· Vacuum cleaner
· Polyurethane lacquer
· Paint roller
· Paintbrush
As you’ll see, I made the mistake of trying to do too much of this project by hand. If you can, replace whatever you can with power tools to save you time and stress.

Sketch Out Your Design
I took a few minutes to sketch out my design. I knew that I wanted to use some iron table legs that I had, but they weren’t strong enough to hold up the table by themselves. To solve this problem, I added a few support brackets to the legs.
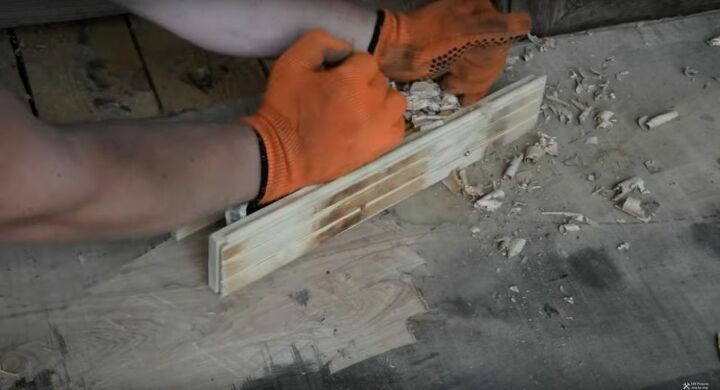
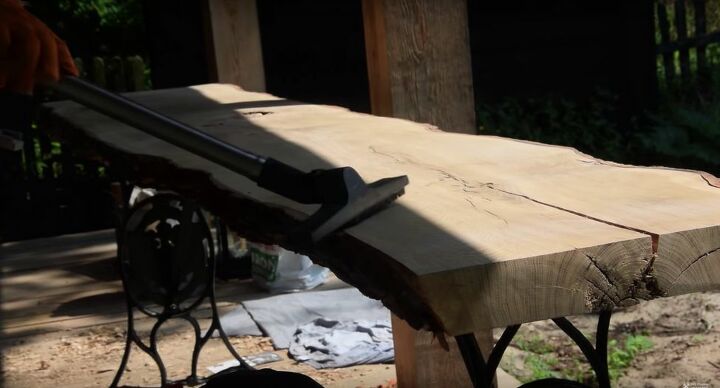
Plane the Wood
I wanted to use some of my lesser used tools, so I grabbed a hand planer. I needed to sharpen it using a Japanese whet stone. Then I realized that it was too small, so I attached some wood to lengthen it and make the job a little easier. Planing it by hand took a lot more work than I thought it would. If you have an electric planer, use that. It would have made my life a lot easier had I chose to use one of my power tools instead of a hand planer.
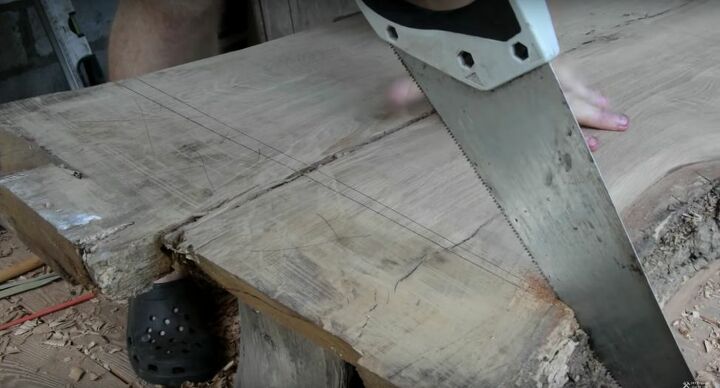
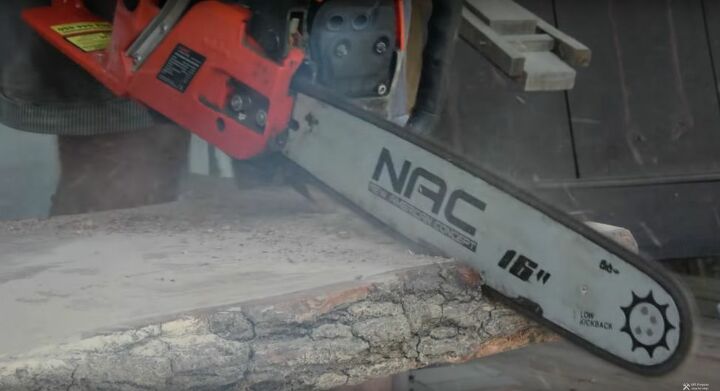
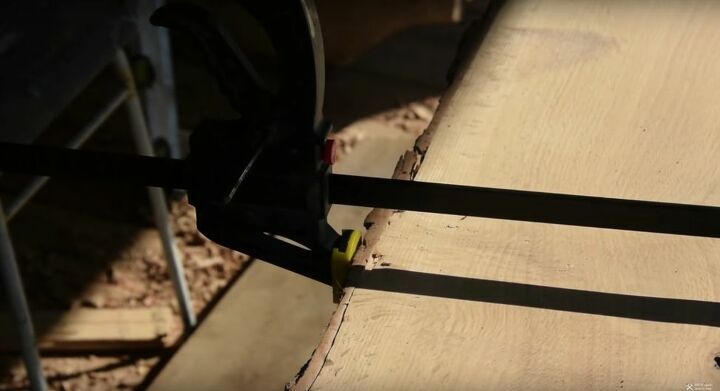
Cut Off the Ends
I had another bright idea to use a handsaw to cut off the ends. Once again, don’t do this. After taking twenty minutes to cut off one side, I realized that this was a mistake and used a chainsaw to cut off the other end. This time it only took me twenty seconds!
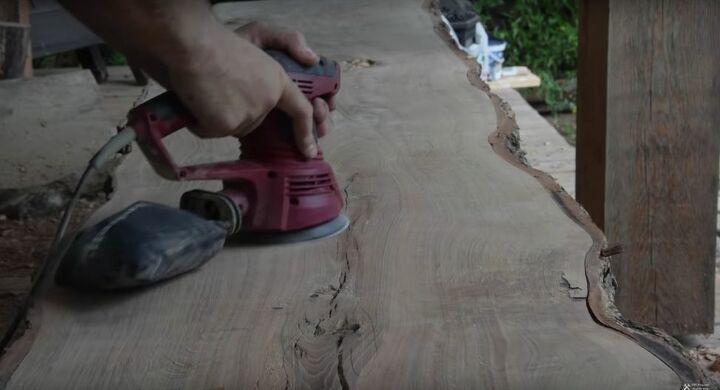
Sand
Using 120-400 grit sandpaper I sanded the whole top of the piece of wood. I didn’t even try to do this part by hand, save yourself the time and work and just use an electric sander. Then brush off the dust.

Mark Existing Scratches and Sand Again
Check the whole surface of the slab for spots that need a bit more sanding. If you sanded the first time in a place with good light, you might not need to do this part, but because I was working outside, I needed to go over it again just to make sure it was completely smooth.
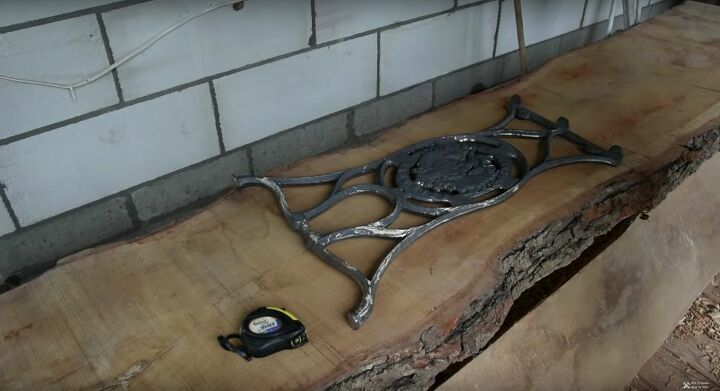
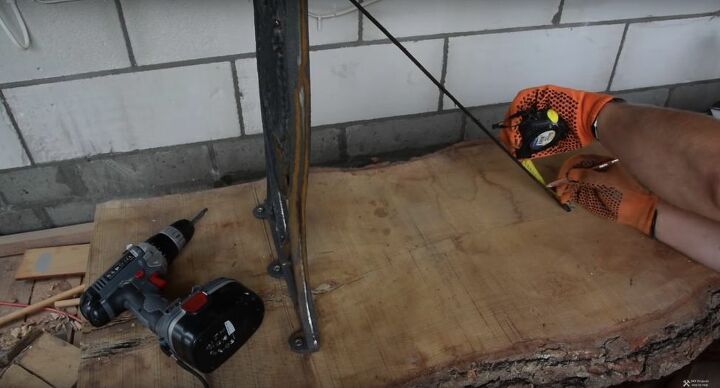
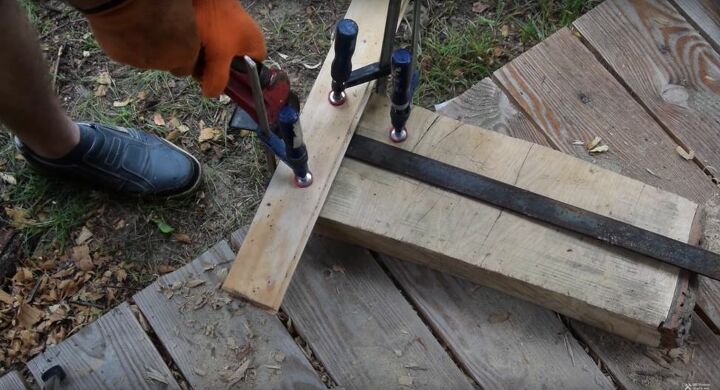
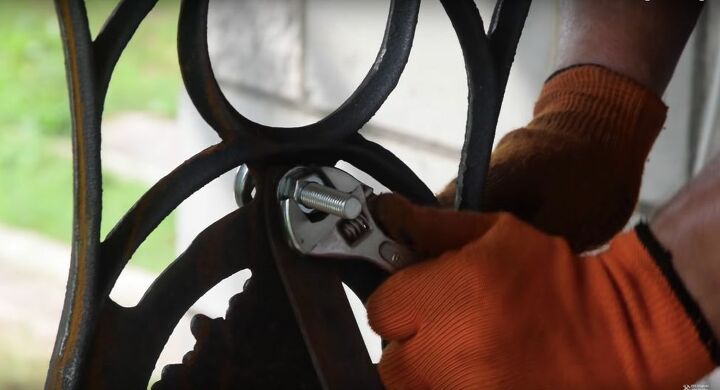
Attach the Legs
Mark where you want to attach the legs. These legs, while beautiful, are not strong enough to support a slab this heavy, so I knew that I needed to upgrade them in a few ways. I used brass screws as they will hold up better. I also added some reinforcements that I fit and made by hand.
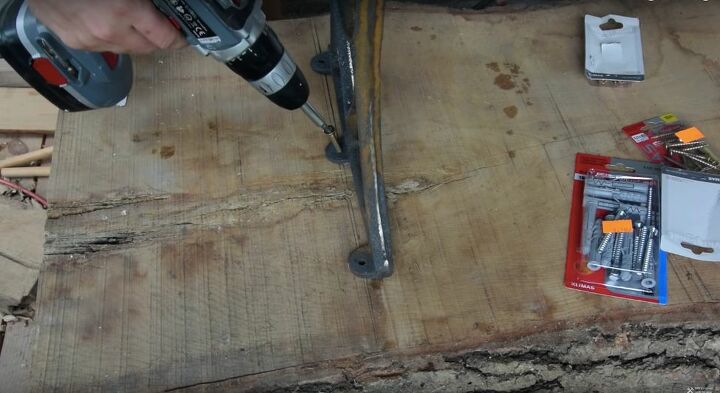
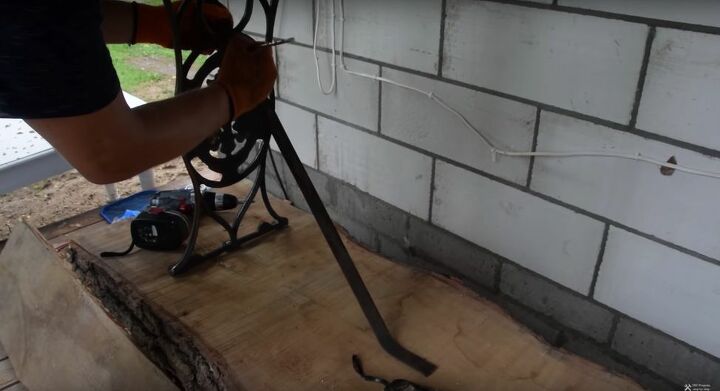
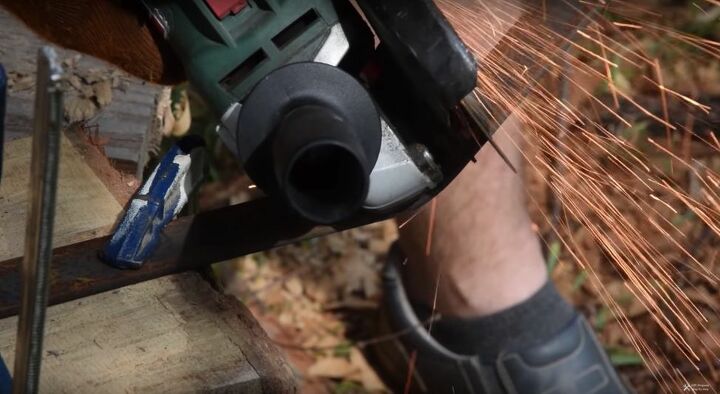
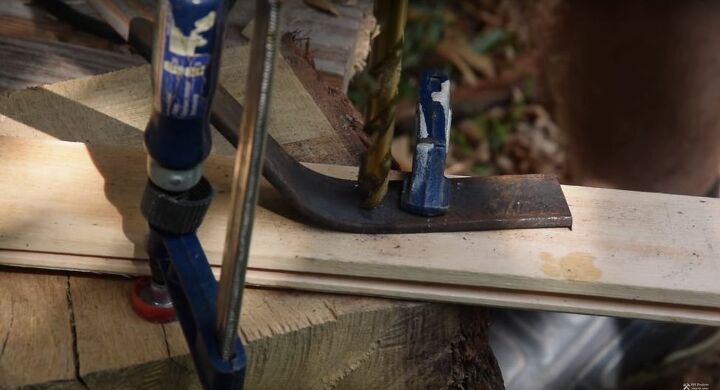
Create Reinforcements
I took a few flat pieces of metal and, using a vice, bent them at the angle I wanted them to sit. I checked them against the table and then cut to the size I wanted. Then I drilled holes for the screws.
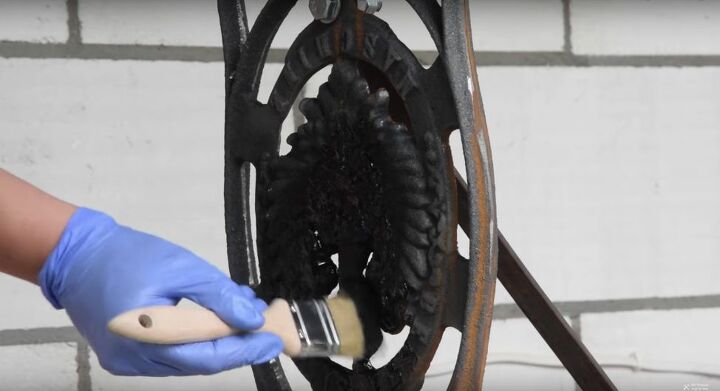
Paint the Legs
I painted the legs a dark color. You can choose to paint whatever color you like, just make sure that the legs are sealed in some form as you don’t want them to rust.

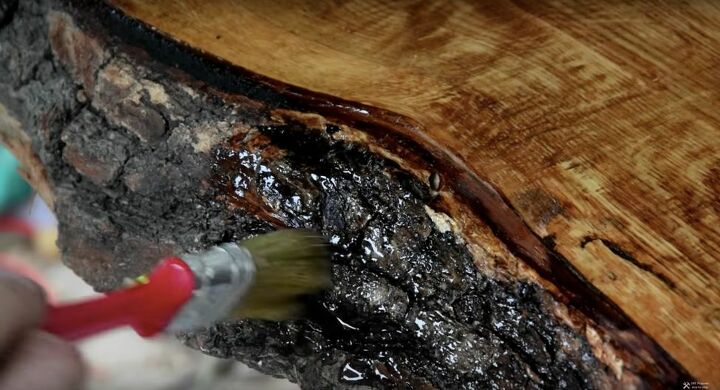
Glue the Bark to the Table
I loved the look of the bark on the table, but it was coming apart in some spots. This was an easy fix using some water-resistant glue and a vice. If you choose not to use the bark, make sure to completely remove it before you stain and seal the piece.
Remove the Dust
It’s important to remove any dust leftover on the wood before you seal it with a lacquer. You don’t want bits and pieces of wood dust floating in your clear coat. A quick tip, if you use the soft end of a vacuum cleaner you can easily buff the wood surface while cleaning it as well.

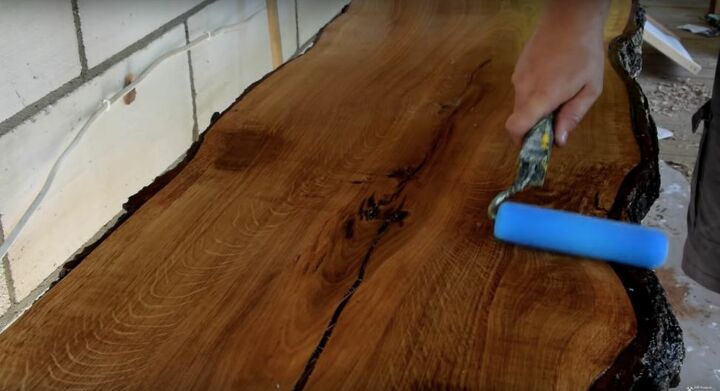
Lacquer
I used a polyurethane lacquer because it’s durable and will be able to withstand the elements. I used a paint roller for the top and a paint brush for the bark. The paint brush makes it easier to get into all the nooks and crannies in the live edge.
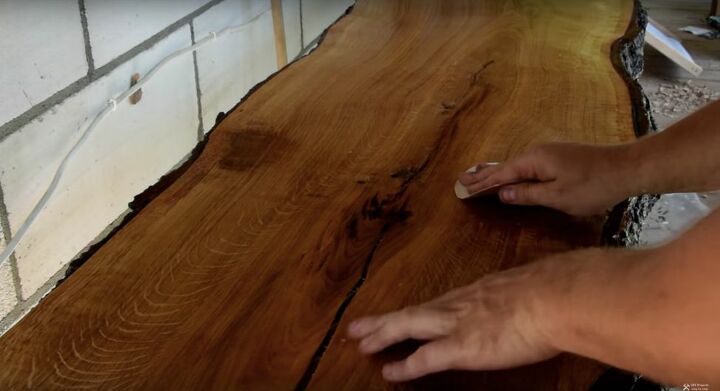
Sand and Lacquer Again
For a really smooth surface, sand between coats of lacquer. I used four layers of lacquer to get the effect that I wanted.
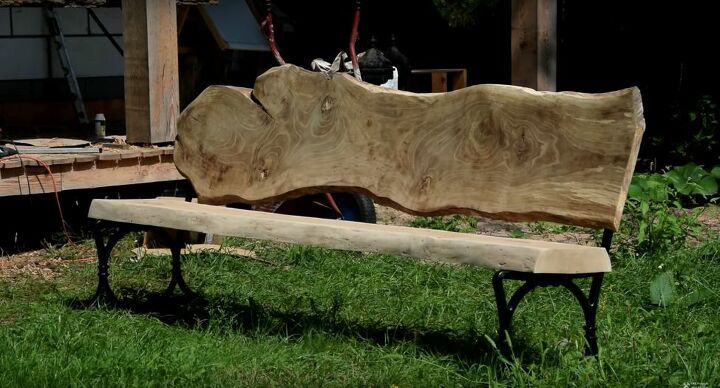
I also created a bench to go with my live edge oak table. I love how it turned out!
The pictures don’t do it justice! Let me know if you’ve ever tried your hand at building furniture with a live edge wood projects of your own!
Resources for this project:
See all materials

Comments
Join the conversation
-
I love it. What a great way to use the decorative sewing machine legs🌷
-
Gorgeous!!!! I love live edge furniture. You did a great job.


Frequently asked questions
Have a question about this project?
I have a question my house is 25 years old and the bathroom vanity counter needs replaced,t would love to use this type of wood.Do you think regular carpenters could install double sinks in this wood,.