


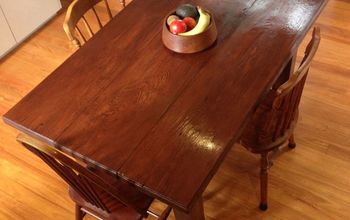
Refinishing Old Oak Tables Using Retique It Liquid Wood And Frenchic

Have you heard about the revolutionary new product that can turn almost any hard surface into gorgeous stained wood?
It's called Retique It®, and it is so easy to use!
The saying is true..paint it, stain it, seal it, love it!
You can apply Retique It over the existing finish, no chemical strippers or sanding necessary!
Use it right over paint, varnish, wood, lacquer, basically any kind of finish! (Except for wax, remove wax using mineral spirits). You can turn laminate into wood, Retique your front door or garage doors (this stuff is interior/exterior!!), even those ugly plastic outdoor chairs can look like stained wood!
The only prep you'll need to do is clean it really good, making sure there are no oils, grease, dirt or grime left behind.
There are multiple ways to use Retique It, and many different looks that can be achieved. I'll only be going over one of them here, but I do have many examples as well as more video tutorials on my Facebook page.
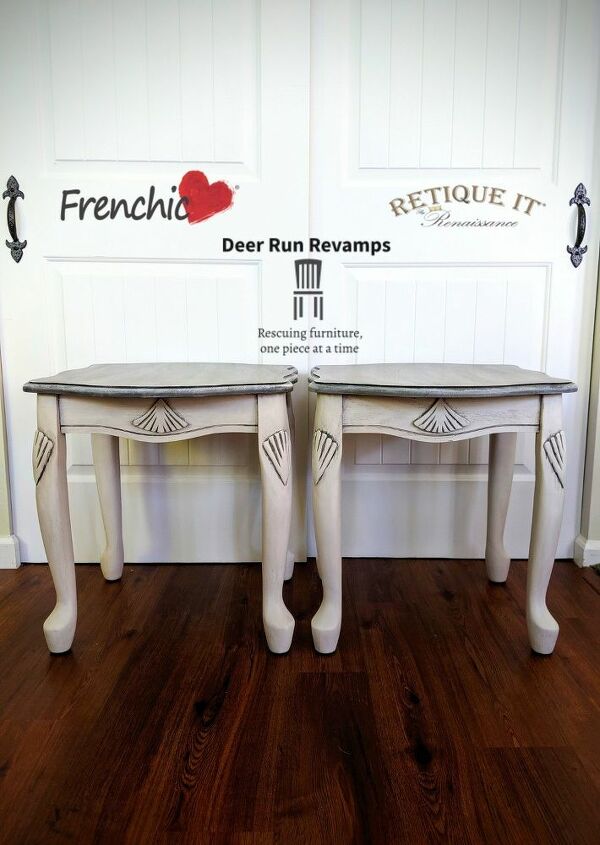
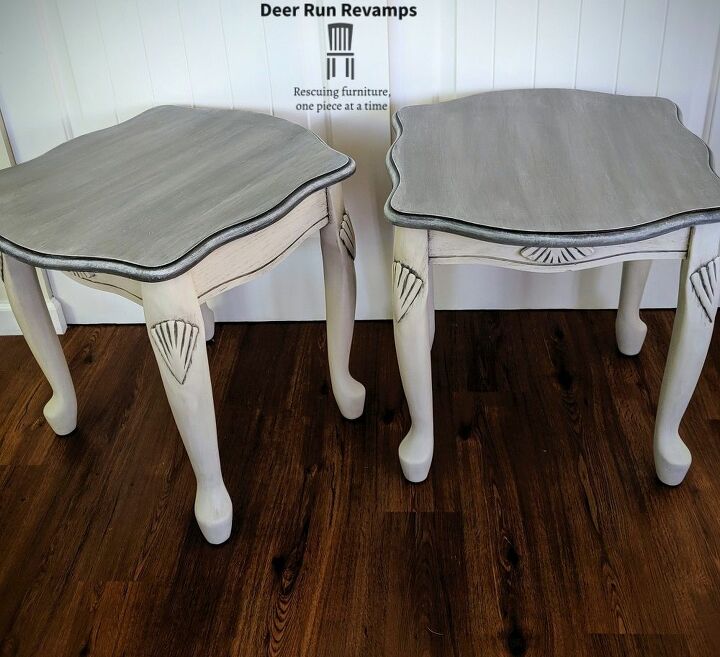
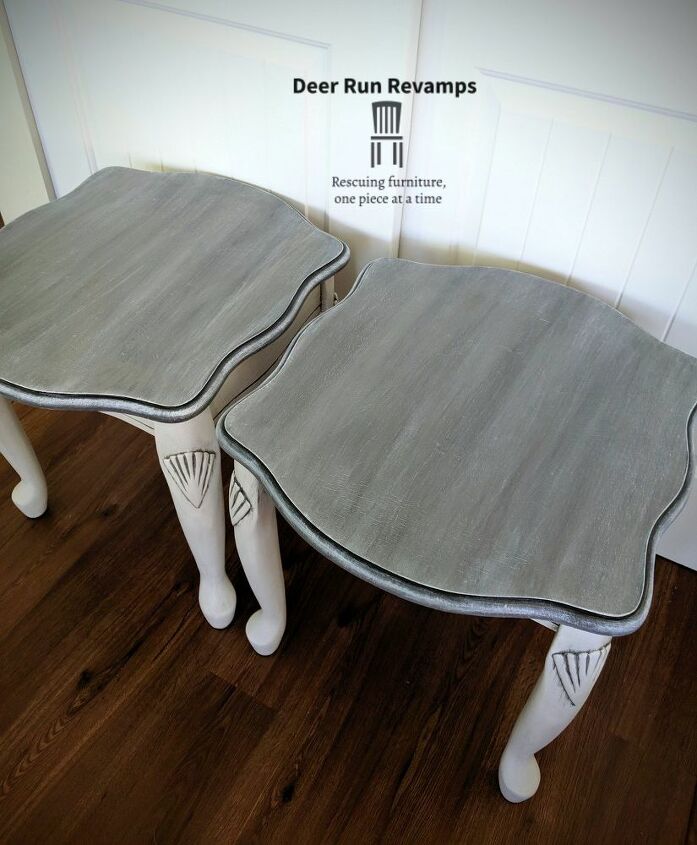
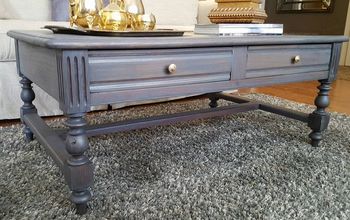
Let's get to it! I'll show you how I went from old, beatup oak end tables and turned them into beautiful brand new looking coastal cuties ❤️
As always, first step is prep. I prefer to use Frenchic's sugar soap to clean my pieces. This nontoxic cleaner gets all of the dirt, grime, oils and even nicotine off of the furniture!
Spray sugar soap all over the piece and wipe it down. If it's really dirty, you can use a sponge or 0000 steel wool to scrub off the dirt.
Once you've wiped down the entire piece and removed all of the dirt, wipe it down with plain ole' water to remove any residue and remaining sugar soap.
Once the 0ueve is completely dry, it's time to get started! Gather your supplies.
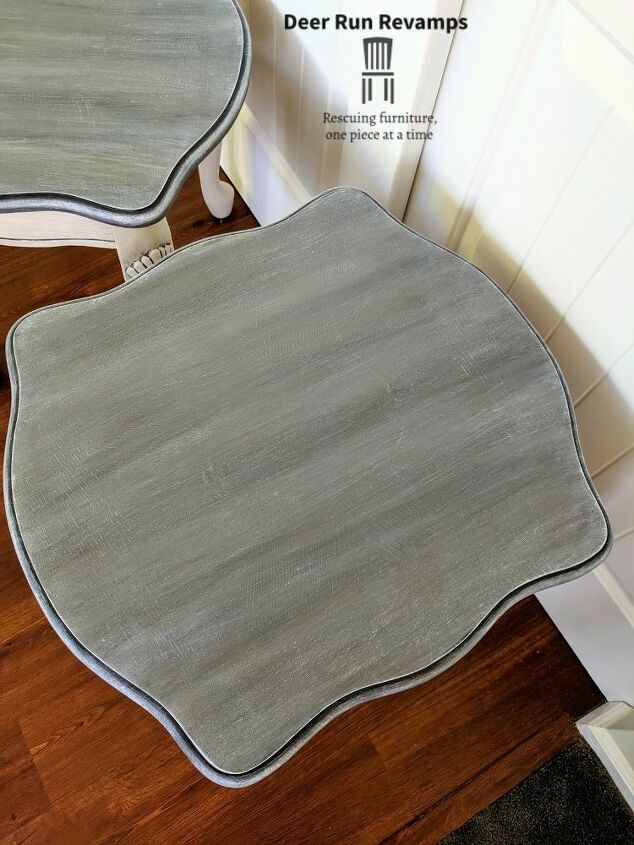
I'm using Retique It Liquid Wood in Gray, Retique It waterbased gel stain in charcoal and black walnut, Frenchic Furniture Paint in Ivory Tower, Retique It polyacrylic and a couple brushes.
This video tutorial shows you step by step how to do the tops of the end tables.
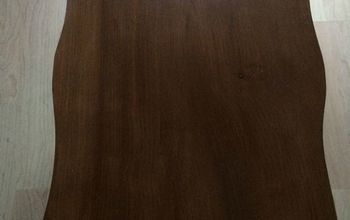
Mix the gray Retique It well, and going with the wood grain, paint it on just as you would any ordinary paint. Allow to dry for 60-90 minutes, add a second coat of necessary. Allow to dry for 60-90 minutes. Going with the wood grain, apply the charcoal gel stain, allowing it to penetrate for a minute, then wipe off. Apply another coat of charcoal in random areas, then wipe off. Now take the black walnut gel stain and apply it in random areas, wipe off. Continue going between the charcoal and black walnut, applying in a random fashion, and wipe off until you are satisfied with the look. Allow to dry for 60 minutes.
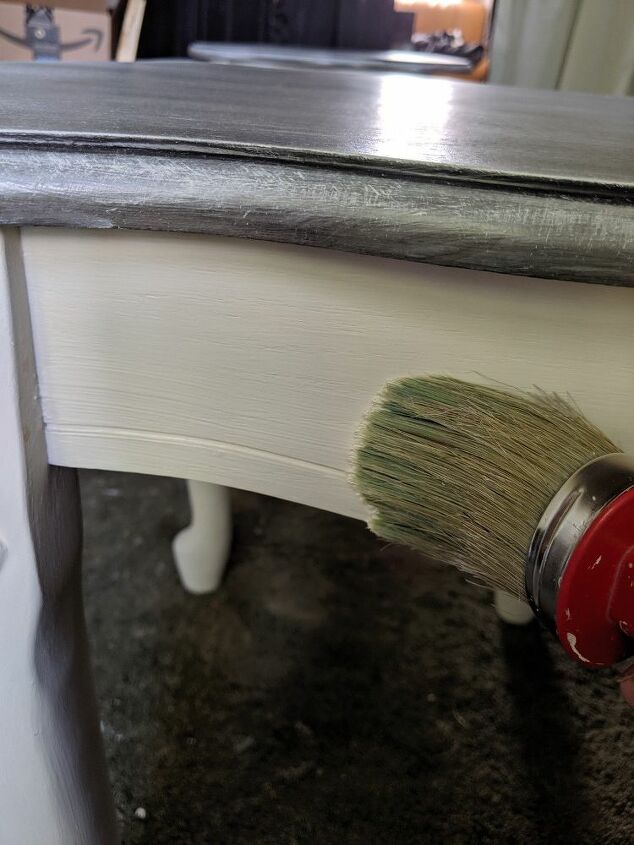
Now, time for dry brushing. This is a technique that not many people understand.
Take a flat brush, chip brush or the Frenchic 50mm flat brush, Frenchic Furniture Paint in Ivory Tower, paper towels, and a cup.
Pour a little bit of paint into the cup (never dip the brush into the can of paint, this can contaminate the entire contents, so always pour out just what you will need).
Dip just the tip of the brush into the paint, and wipe off majority of it onto the paper towel. You want a very dry brush. Then in long light strokes, run the brush with the wood grain up and down the table, focusing on edges and details. Add more paint as necessary, always keeping the brush dry.
If you want a dark shadow to appear in the groove that goes around the table, mix up some black glaze using Frenchic Furniture Paint in Blackjack and Frenchic Finishing Coat. Mix equal parts of each (about a tablespoon each is all that will be needed). Using a detail brush, apply the glaze in the groove, wiping away excess. The above video shows all of these steps in great detail.
Now it's time to do the base.
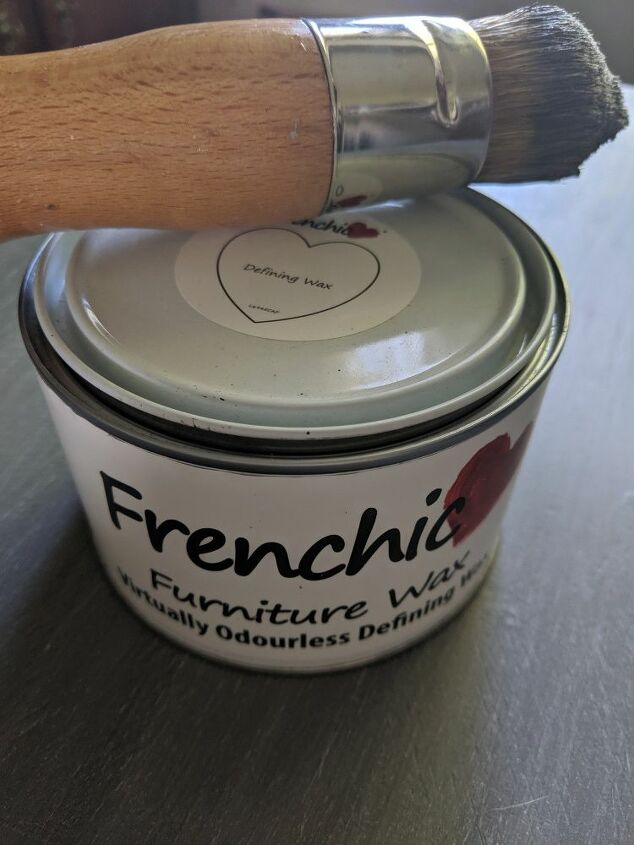
I used Frenchic Furniture Paint in Ivory Tower and Frenchic Furniture Defining Wax which is a dark gray.
Using the medium oval Fenchic chalk paint brush, paint the entire base in Ivory Tower. Allow to dry for 90 minutes between coats. It took a total of 3 thin coats to achieve full coverage on these tables.
Allow the paint to dry for 2 hours and then apply clear wax to the entire base
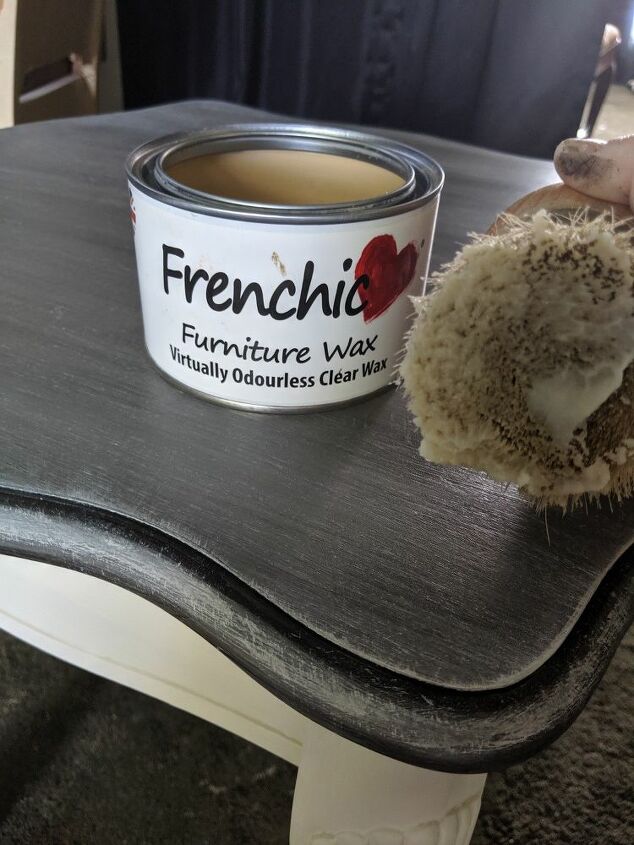
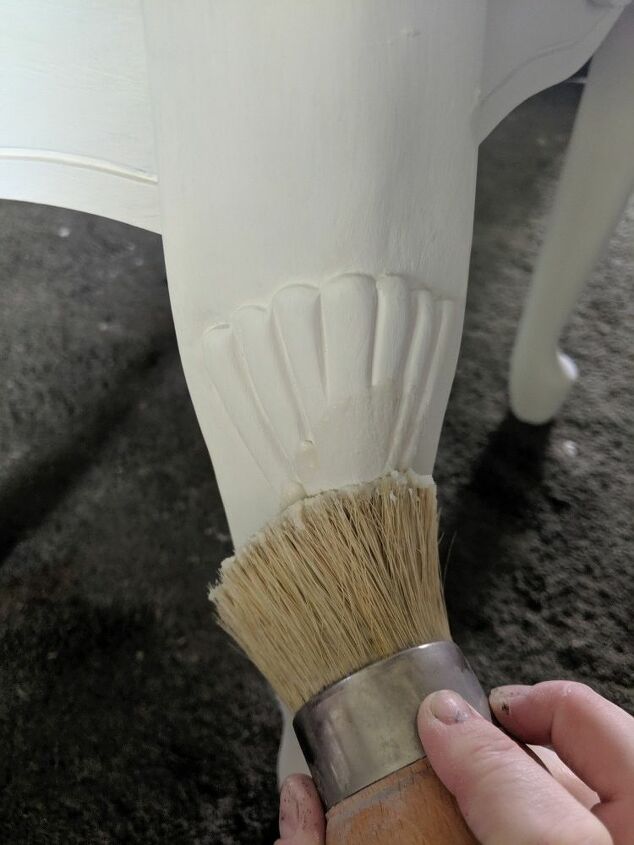
Lightly buff the table, and now apply the defining wax. I like to use a pointed wax brush or Frenchic's small wax brush for details. I applied the defining wax all over the base, focusing on the details. Wipe away any excess immediately using paper towels. If there is some stubborn defining wax that won't wipe away, use a little bit if clear wax to remove it.


That's it! Your end tables are finished!
This look is perfect for coastal or farmhouse! And super easy to achieve
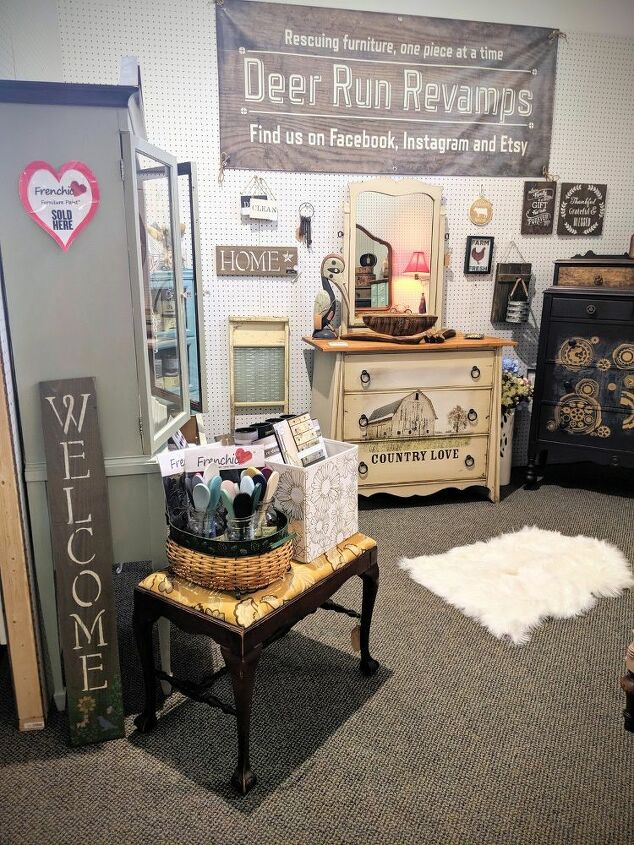
You can find all of these products and so much more online in my Etsy shop or in person at my booth in Galloway NJ.
150 S New York Rd, Galloway NJ 08205
https://www.etsy.com/shop/DeerRunRevamps
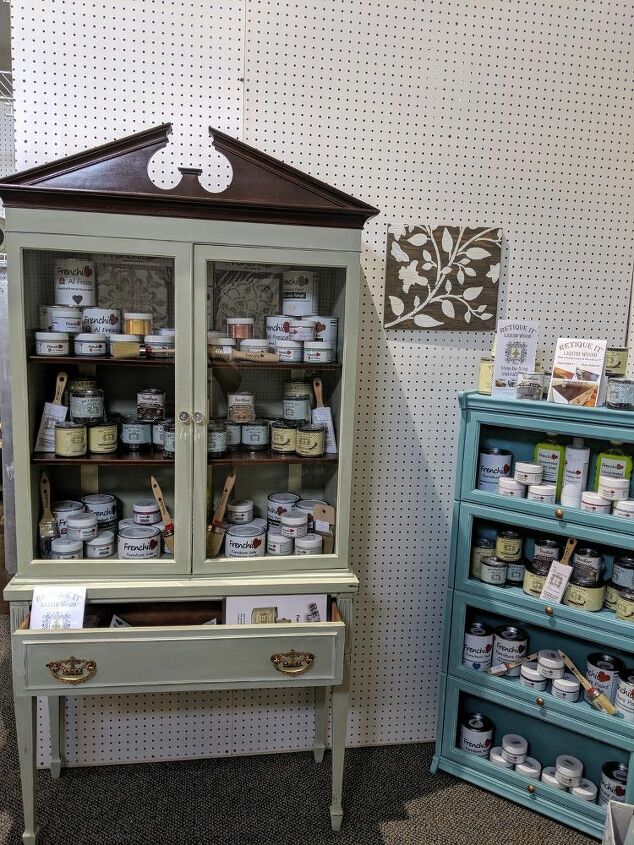
We off the full line of Retique It and Frenchic Furniture Paint and products. We just recently added on Redesign with Prima decor transfers and silicone molds! If you go back to my previous posts, you will see many that have used these furniture transfers as well as a piece fill of appliques made using these silicone molds.
Thanks so much for checking out my tutorial! If you have any questions or simply just want to to chat about projects, please don't hesitate to reach out 😉
Resources for this project:
See all materials


Comments
Join the conversation
-
Great tutorial!
-
This is great!!


Frequently asked questions
Have a question about this project?