Dollhouse Miniature Outdoor Fireplace Tutorial

Mish Volonino
by Mish Volonino
4 Materials
Here's another great DIY for all you Dollhouse and Miniaturist enthusiasts.
The end result is fantastic. With a little bit of time and patience you can create a beautiful patio or backyard oasis. In my case this is for my Nashville Dollhouse and is part of the rooftop terrace
For this project, you will need:


Large piece of craft bass wood


Wood glue


Empty cardboard egg cartons


Wood fill or spackle compound


Acrylic paints


First, it's best to search on the internet for inspiration photos so you know what style you like.


I don't really use exact measurements, except for the pieces of wood I am cutting. I eyeball it for sizing depending on the space I'm working with.


Try to visualize your desired styled. Cut pieces out that create the chimney stack. You would need four pieces of wood. In the case of creating a middle base, you would need 8 pieces of wood and the faux slate piece as seen in pic above.
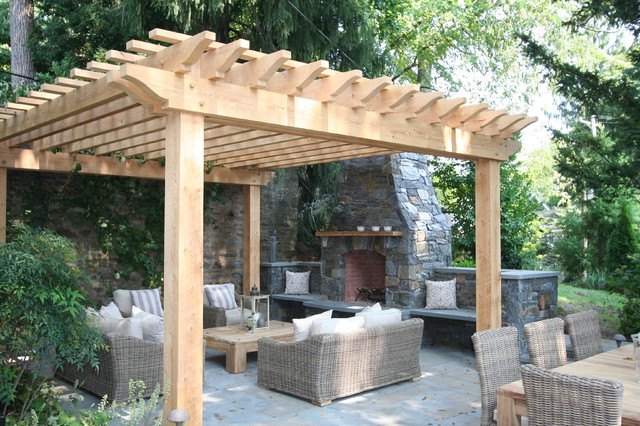
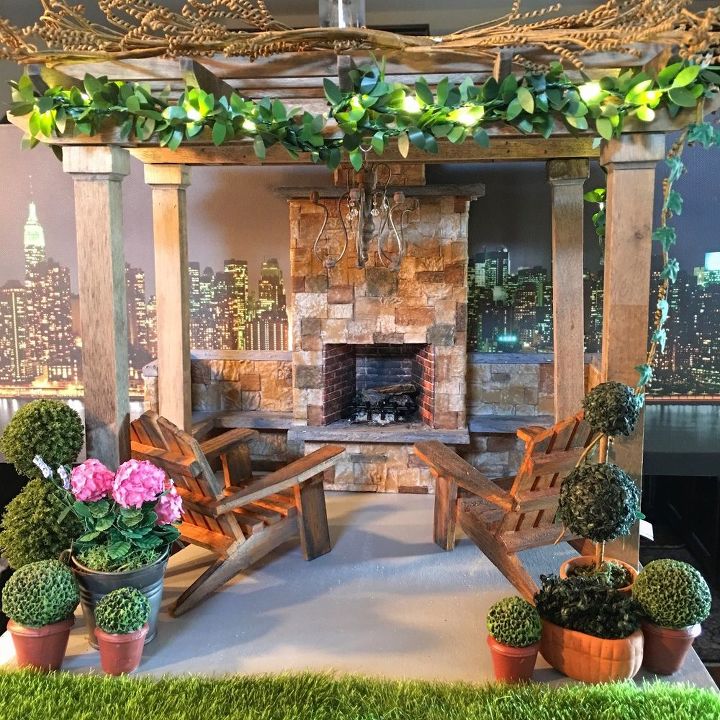
This was my inspiration photo. Mine is not exact but very similar. I made some modification on the seating area.
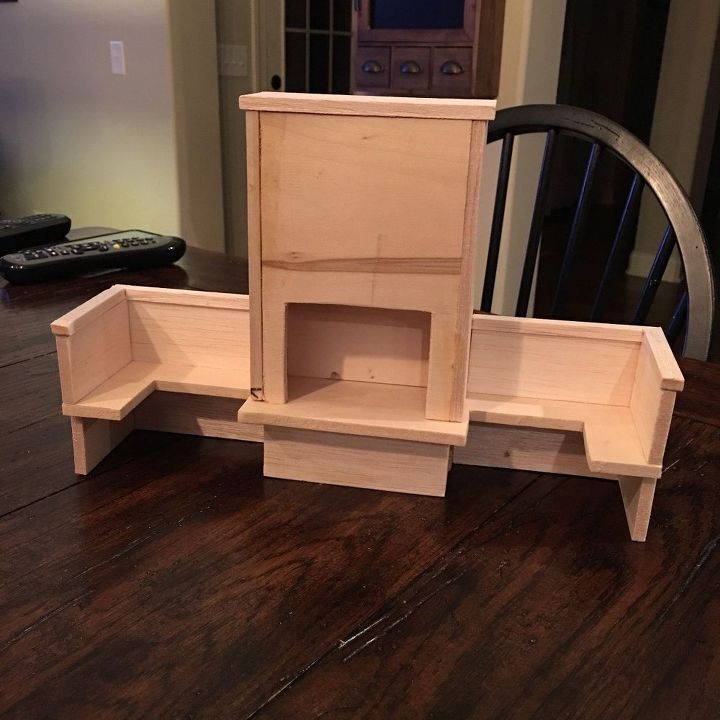
Once you have your wood pieces cut (make sure you lightly sand any rough edges. A scroll saw is great for fast cutting but it's very easy to cut bass wood with an xacto knife too.


Glue all your pieces together slowly. Use clamps if possible to hold tight while setting.
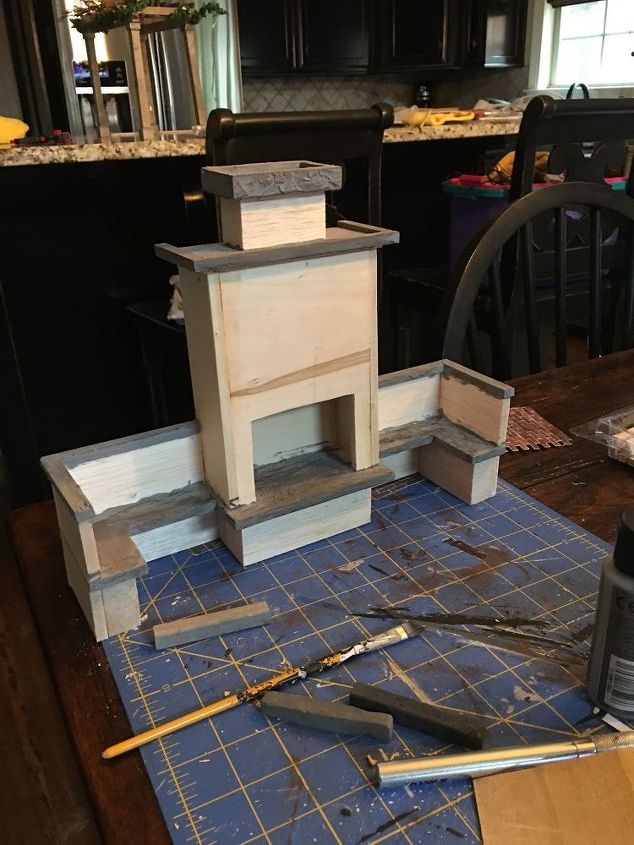
Depending on your design style, you might want to create some texture. I wanted a slate effect for certain pieces. I used wood fill and used a putty knife to apply it on the surfaces I wanted to be like slate. You can be carefree with this application as long as it is not very bumpy.


Let this set and dry.


Once it is dry, lightly sand any bumps. Paint the pieces in shades of gray. I used a deep, dark gray chalk to add dimension, just running it lighty across pieces and using my fingers to smudge in.
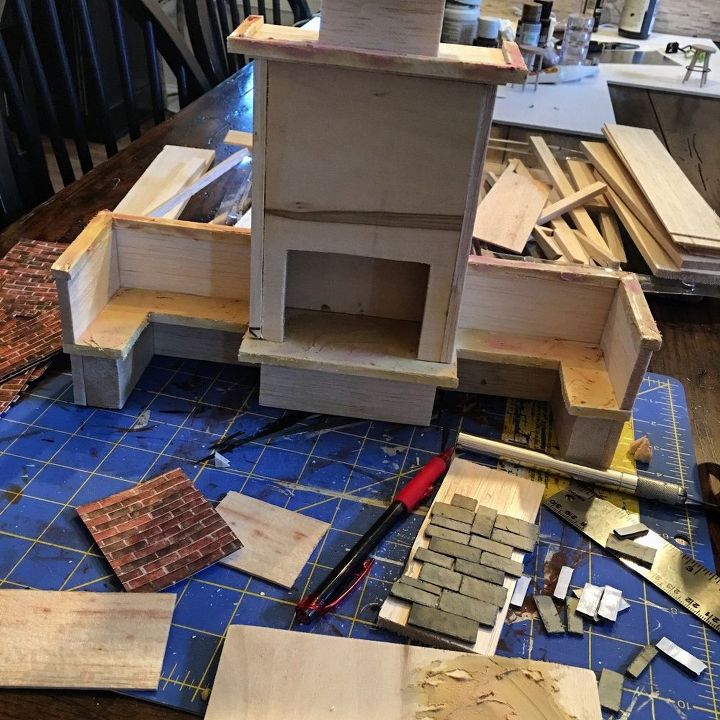
Before the faux slate process, I went into my supplies to see what I could use for this project. I had some leftover brick wallpaper I decided to use for the inside of the chimney. I had also purchased this lovely peel and stick stacked stone backsplash from LowesHome Improvement. I would have loved to use the peel and stick (I cut it up into miniature stones) but it wasn't working to bend the pieces around the corners.


So I decided to go with cardboard egg cartons. It's a long and tedious process but the results are always great. You just have to have patience.
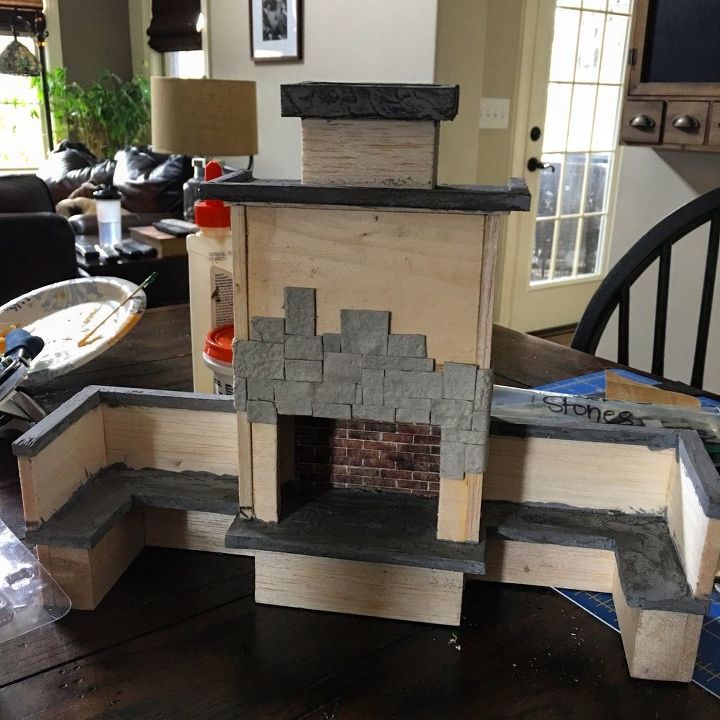
This is the beginning of using cardboard egg cartons.


You will break up the egg cartons and cut random size pieces. You could even make a round stone effect. Egg cartons are a miniaturist's friend.


If some of the cardboard is hard and round, use a rolling pin to flatten.


You start gluing on peices and filling in as much as possible. Don't worry if there are tiny spaces. You will go back in the end and fill those in with small and tiny cuttings of the cardboard. When gluing onto corners, hold in place for 1-2 minutes. I use Fast Grab Tacky Glue. It works fast as it says and has no fumes.


This is the most tedious task of this process. It took me approximately 3 days (morning to dinner time) to complete this process. If you need a break, walk away and come back another day. Patience is the key.
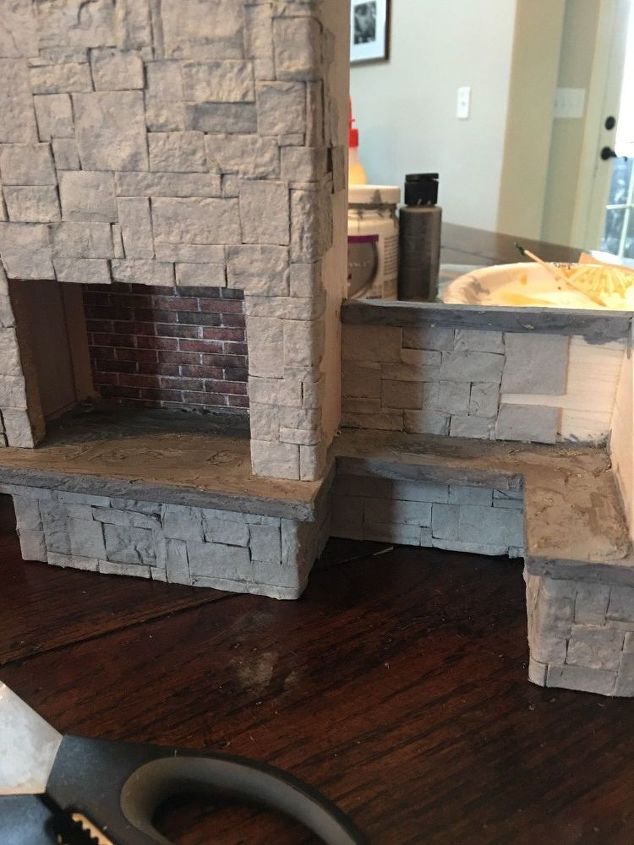
Here is a closer view of the faux slate and egg carton brick. I used leftover brick wallpaper for interior but you could just as easily use the egg carton on the interior.
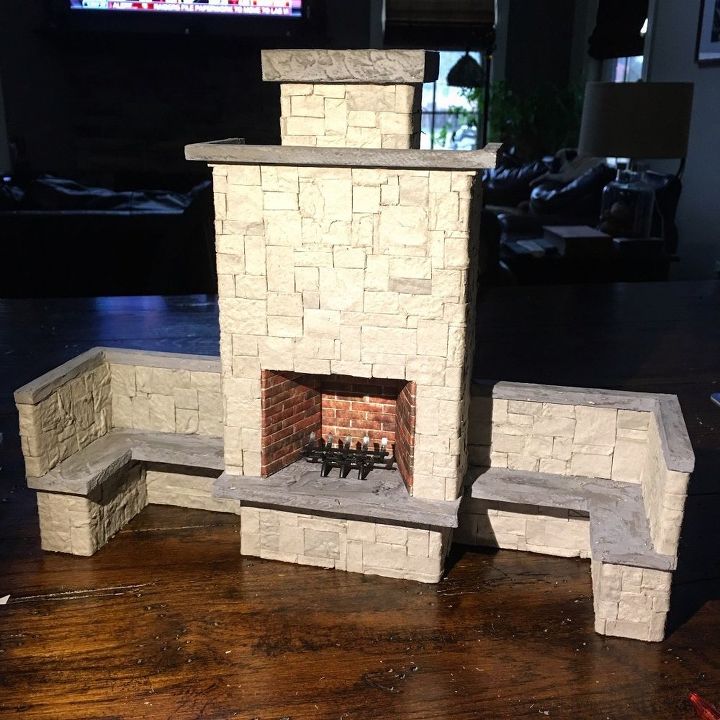
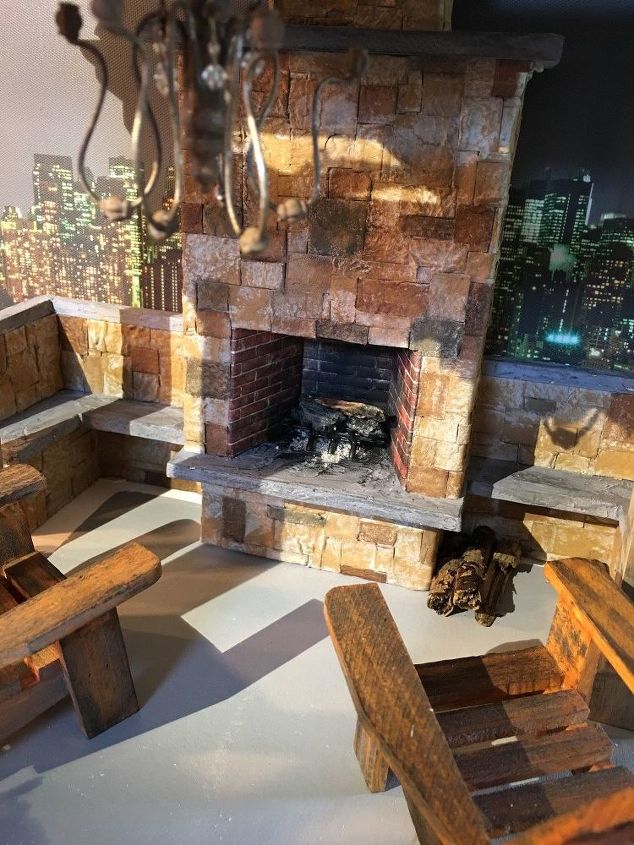
Here is your first look at the completed facade.


The inside metal wood grate is made from a plastic women's curler. I used two pieces cutting them to size, and gluing them back to back with epoxy glue.


You can keep the stone work as is. It looks very nice like this.
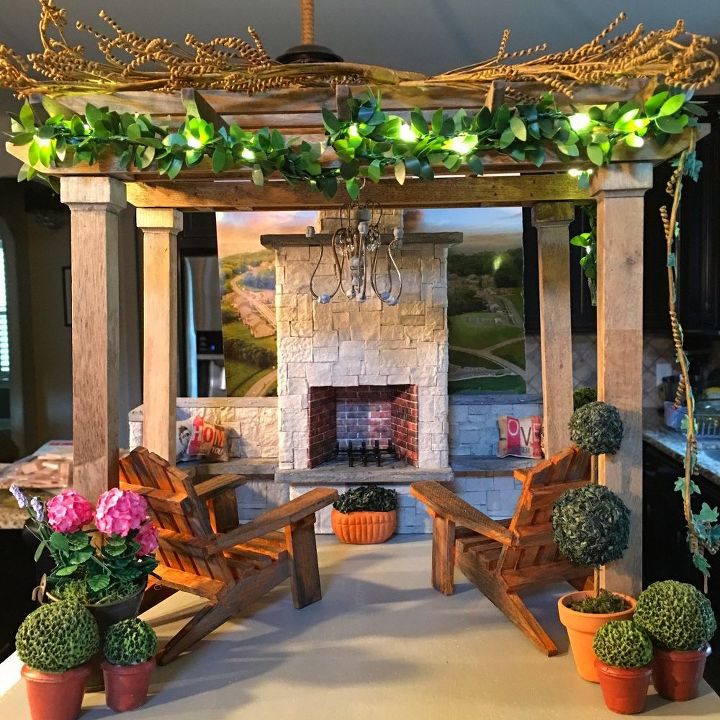
This is on the rooftop setting. It looks very nice. I just added some throw pillows on the side seating.


Or.....you can paint the facade as I did in the next photo.
My color theme for the rooftop terrace is rustic browns. So I decided to paint the facade. Now here is where you can get really creative. You can paint your fireplace anyway you like.


I used several colors of acrylic paint. I first used a dry brush technique to do a base coat of a beige, taupe. I then went over random stones in shades of greys, and browns.


On the inside, I use black chalk to dirty up the inside of the chimney. I found some old, weathered stick from outside. I'll admit I also grabbed some burnt wood pieces and ashes from my fireplace. The ashes I sprinkled of a glue glob and let set on aluminum foil. After it dried I peeled it off.
Here's the finished Miniature Outdoor Fireplace.


There are so many ways to customize this design. Just remember to be patient. This is not a project you could bang out in a day. It will take several days.


The great thing is this is your little work of art, a custom one of a kind.


If you decided to make one please share your photos. I love to see other miniaturists work of art.


Hope you enjoyed. Any questions, please feel free to ask.


Thanks for checking out my thread.


Have a great mini day.
Suggested materials:
  • Basswood   (Hobby Lobby)
  • Wood glue   (Hobby Lobby)
  • Cardboard Egg Cartons
See all materials
Frequently asked questions
Have a question about this project?
Comments
Join the conversation
2 of 6 comments
Next