


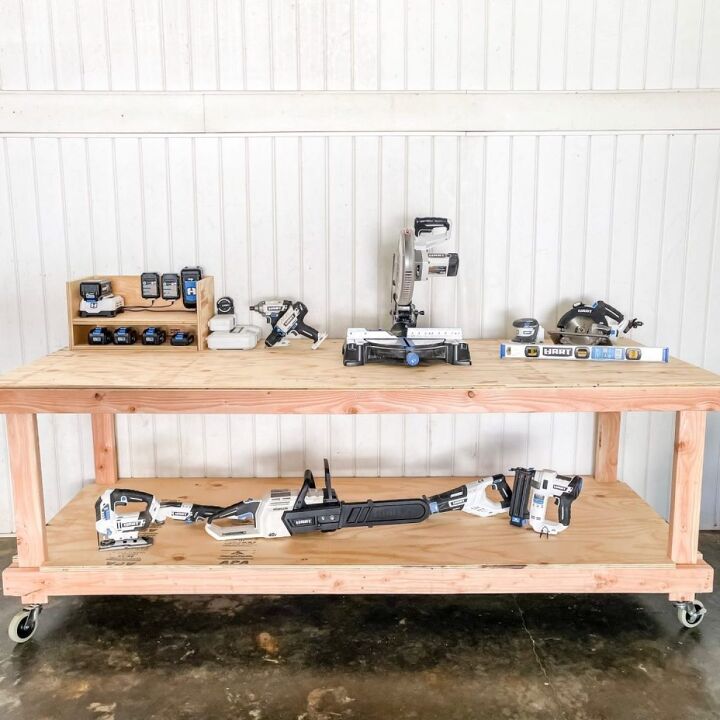
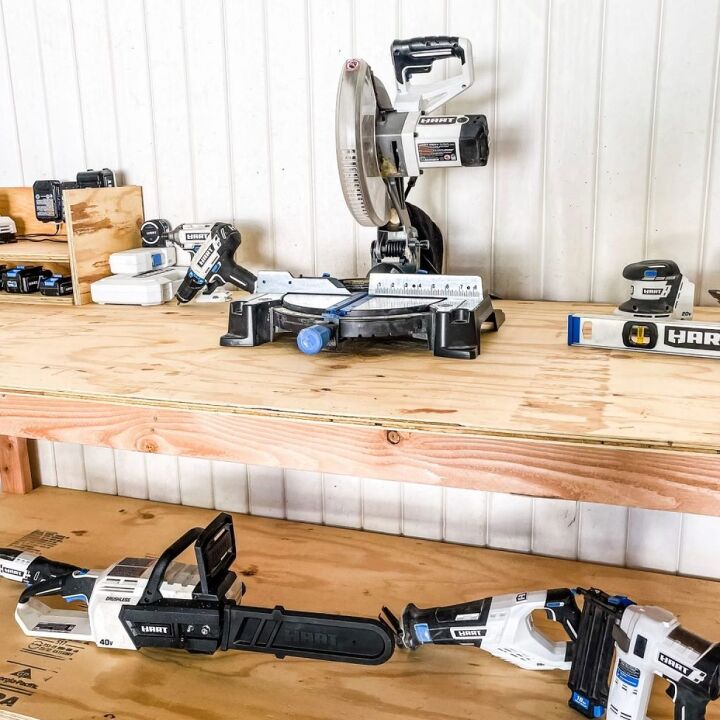
Easy DIY Mobile Workbench With Battery Charger
Easy DIY Mobile Workbench With Battery Charger
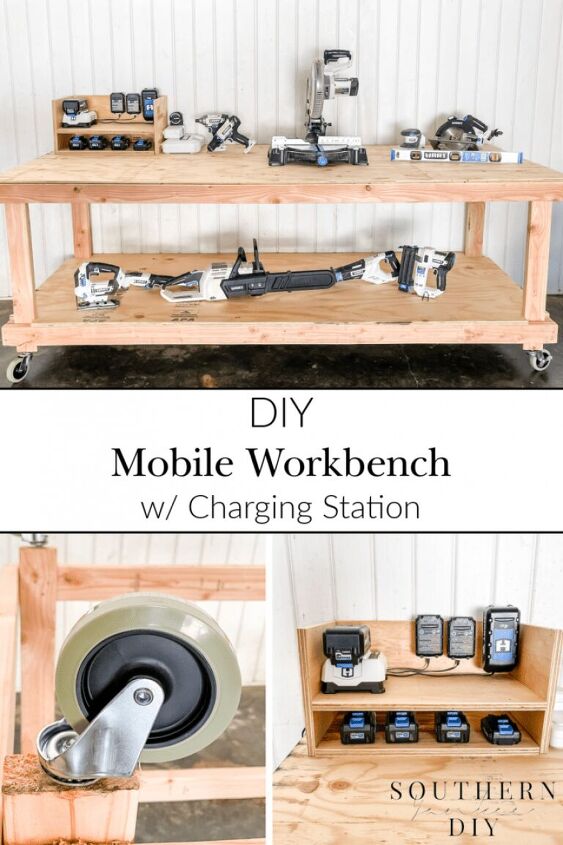
Build this easy DIY mobile workbench for your workshop or garage, plus add a tool battery charger for extra convenience
It’s going down in the workshop today y’all!
We have been going so crazy with all the renovations & wedding projects that we finally decided we needed to…
STOP
Collaborate & listen
Because Ice wasn’t telling us anything but our garage was screaming for help!
We were so unorganized & had no where to actually assemble & build the projects we needed.
So naturally, I created a chic garage/workshop design board for the space so that we could build all the things in an organized & clean space.
You would think step 1 would be to clean & paint but that’s just not how we roll, so we moved onto building this super easy mobile workbench with a charging station for all our batteries!
We will get to the painting & cleaning next I pinky promise 😉
This post is sponsored by Hart tools, see all our privacy policies here!
Supplies:
- (10) 2x4x8 Boards
- (2) 4x8x3/4″ Plywood
- (4) Caster Wheels
- 2 3/4″ Wood Screws
- Brad Nails
TOOLS USED:
- Hart Drill
- Miter Saw
- Hart Brad Nailer
- Tape Measure
- Hart Hole Saw
- Level
- Hart Circular Saw
Procedure:
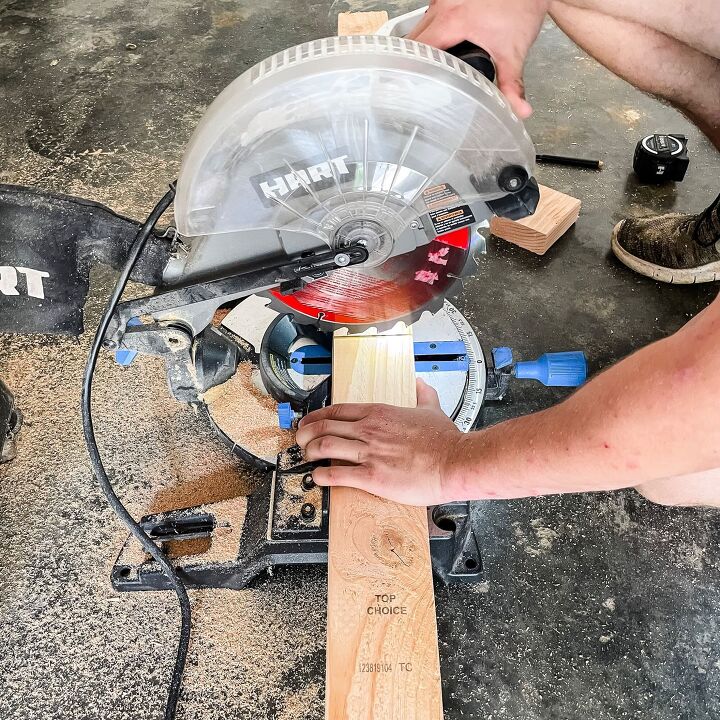
- Start by using a miter saw or circular saw to cut all the 2x4x8
2. Next we will build 2 rectangles out of the 2×4’s. Lay out two long sides (2x4x8) & two short sides (32” pieces).
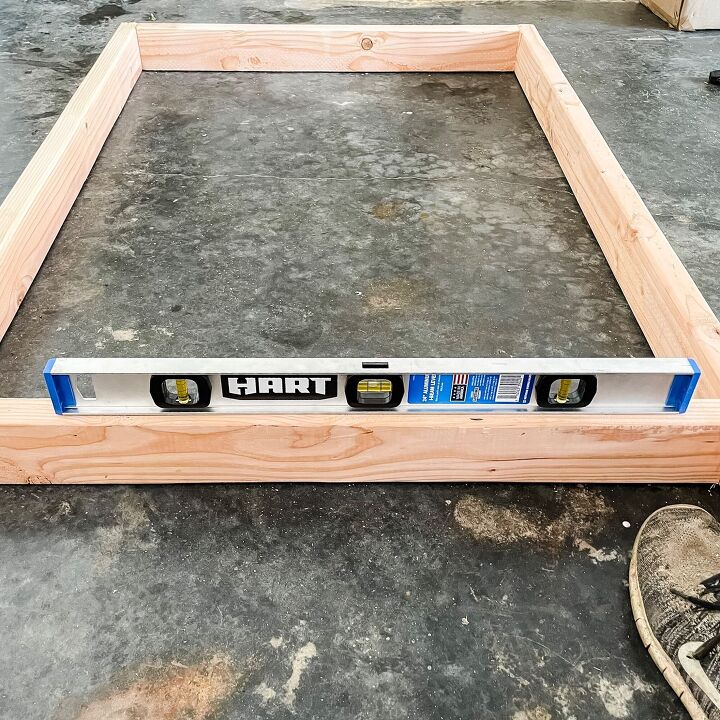
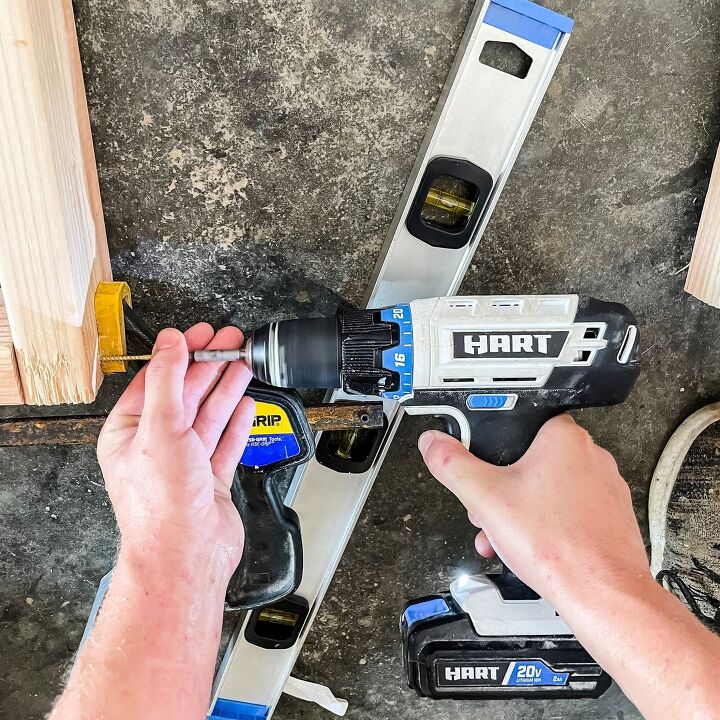
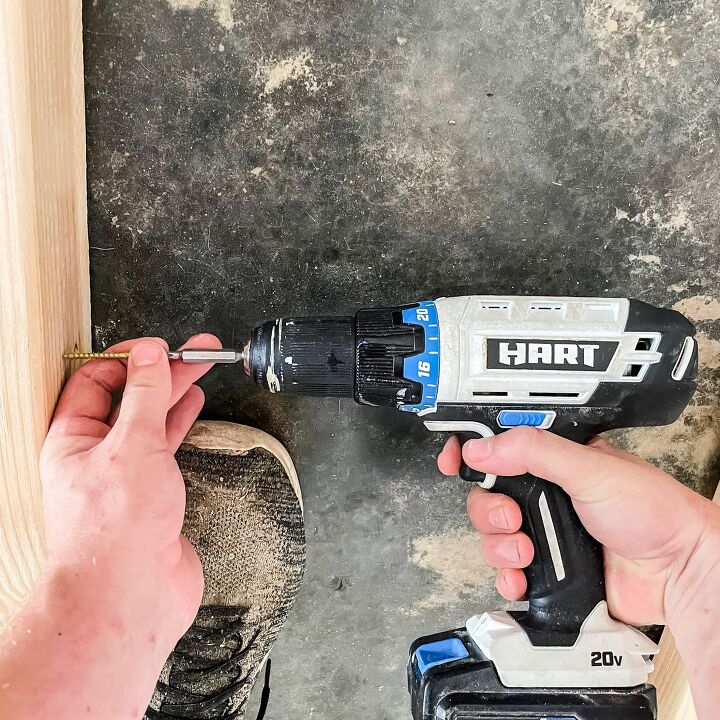
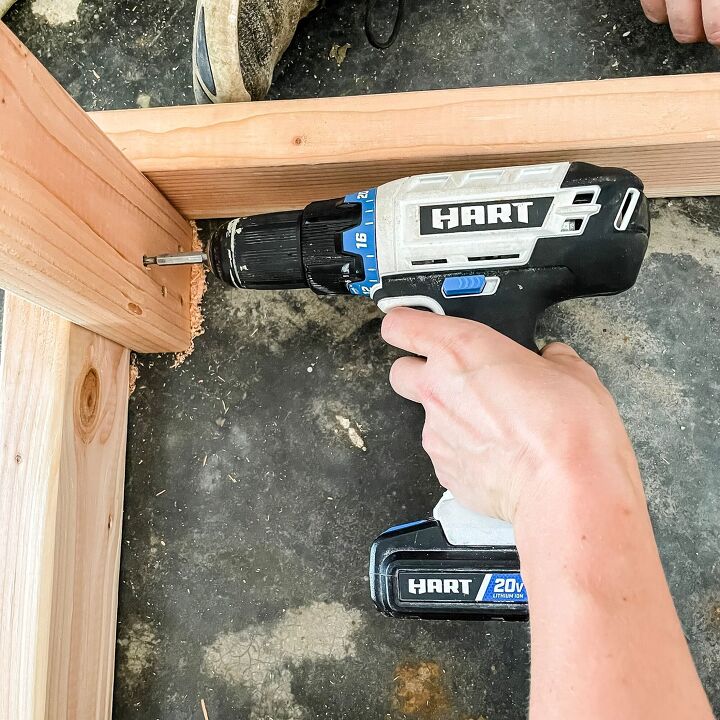
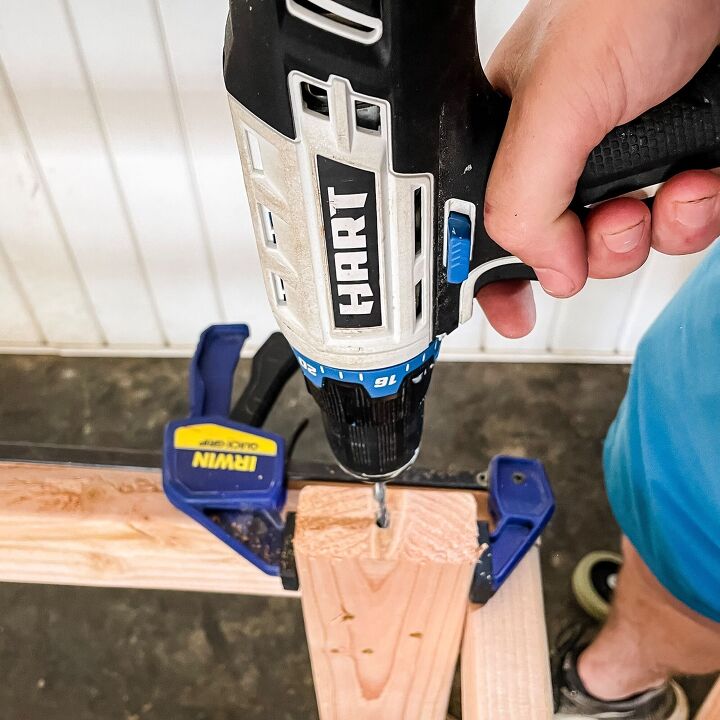
3. Assemble the rectangle using wood glue & 2 3/4″ exterior screws using the Hart Drill. Be sure to square & level the boards before attaching.
4. Next add the third 32” piece to the middle of the rectangle, attaching it from the outside with screws.
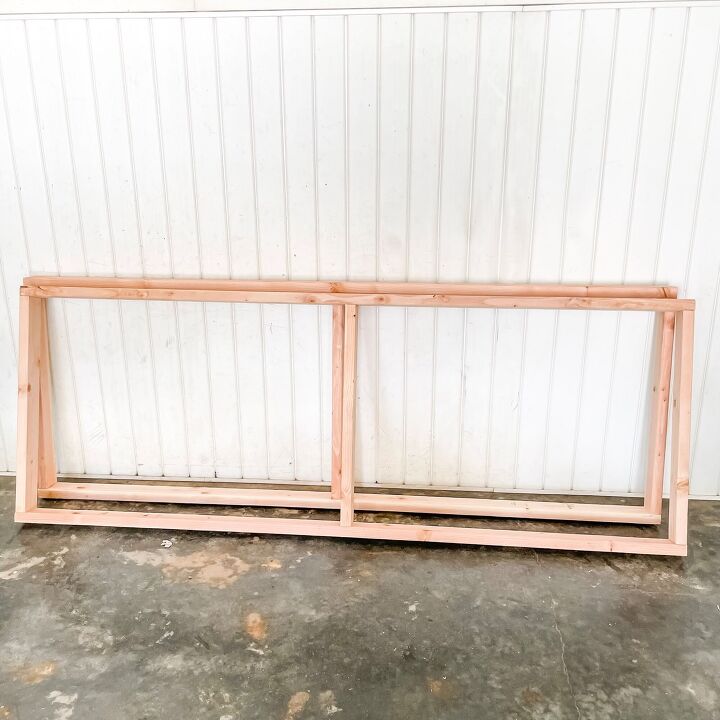
Once both bases are built, you should have something that looks like this:
5. Attaching the legs is the final step to building the base portion. Flip one base over on top of 2×4 spacer pieces. We just used scrap pieces. This will keep the bottom shelf from sitting directly on the floor once it’s assembled.
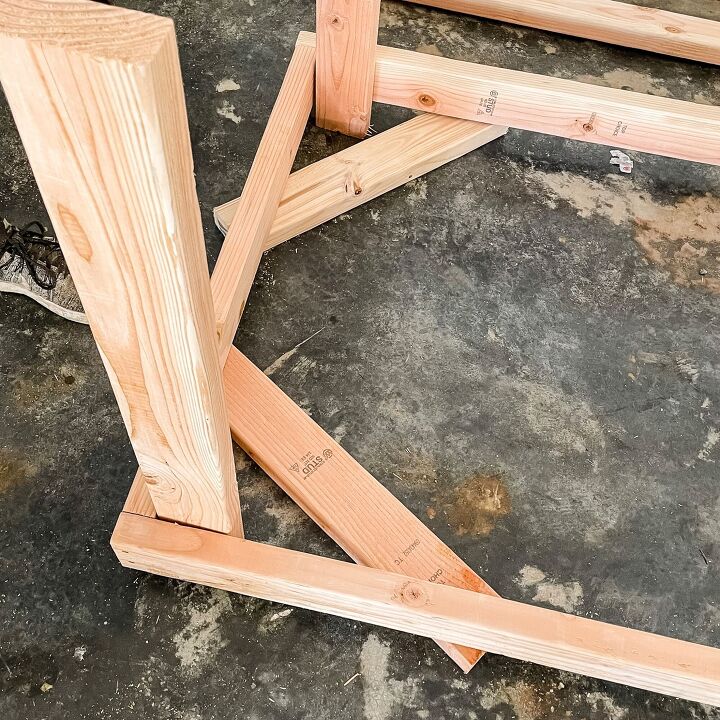
6. Once the spacers are under the base, insert the 2x4x33” leg pieces into all four corners & be sure to clamp & level them so they are nice & straight.
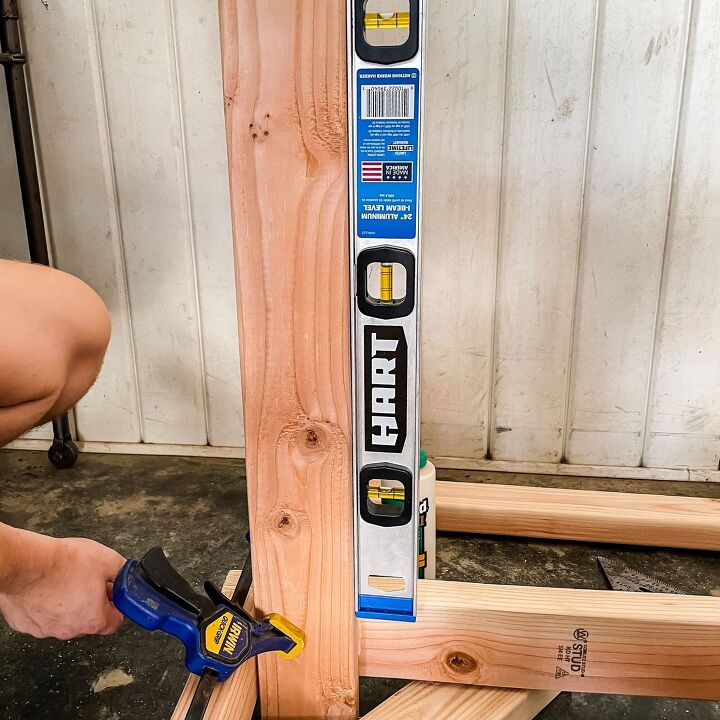
7. Once the legs are level, attach them with the wood screws from the inside.
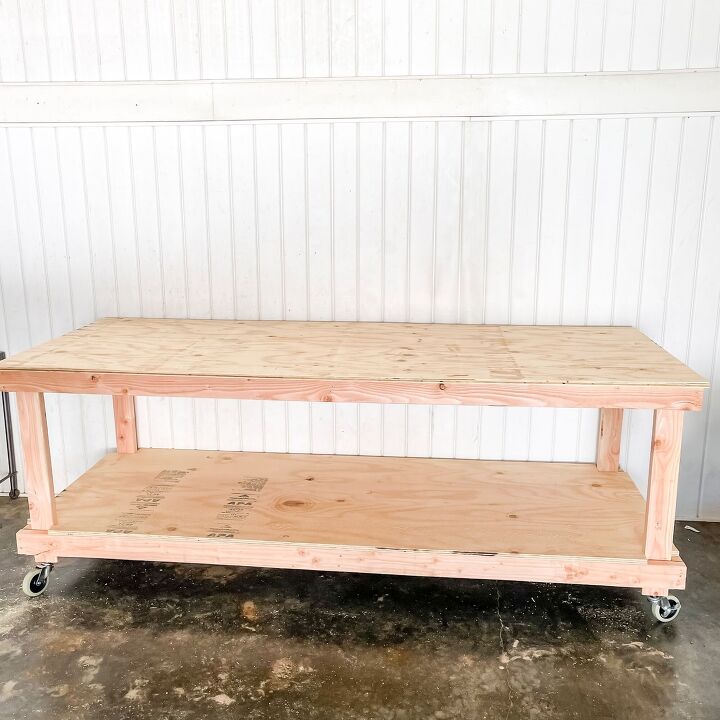
This is how the bottom base should looks once all 4 legs are attached:
8. Now, flip the entire unit over on top of the other base you built & attach the legs the same way. This one will sit flush on the ground because it’s going to be the top of the workbench.
9. After the legs are attached to both bases, it’s time to install the caster wheels. To do this we used different drill bits to step up to a 5/16” hole. (install yours according to manufacturer’s instructions)
10. Once the holes were large enough, we installed our wheels.
11. Finally, it’s time to flip a table! Make sure your table is level & not wobbly. If it’s uneven, start by checking that the casters are all screwed in the same amount.
12. Now we will move onto cutting the plywood for the bottom shelf & top piece. We trimmed ours down to a width of 38 ¾” so that we could have a little overhand off the front for clamping, but left the length alone.
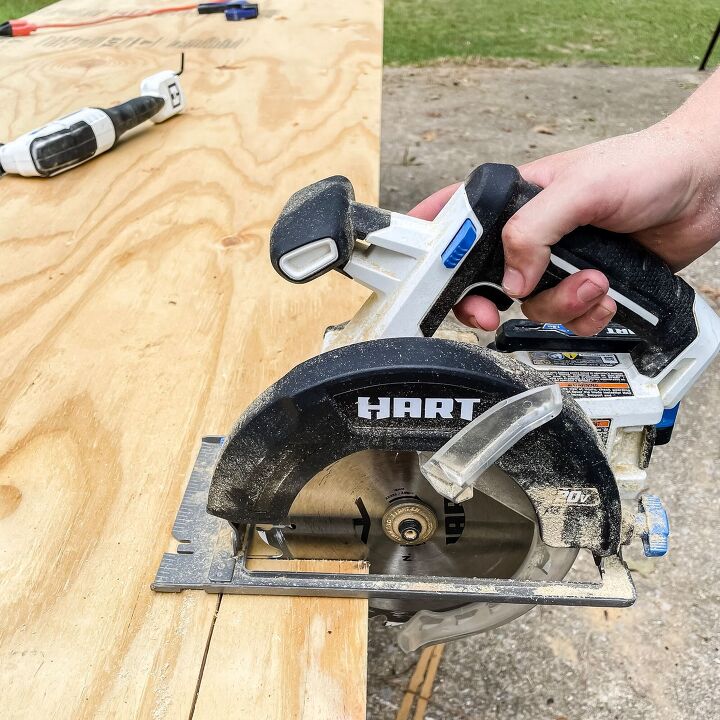
13. The bottom shelf will need cutouts on all 4 sides so that it can fit with the legs. We cut the plywood using the Hart circular saw because it’s easiest to maneuver & still very accurate!
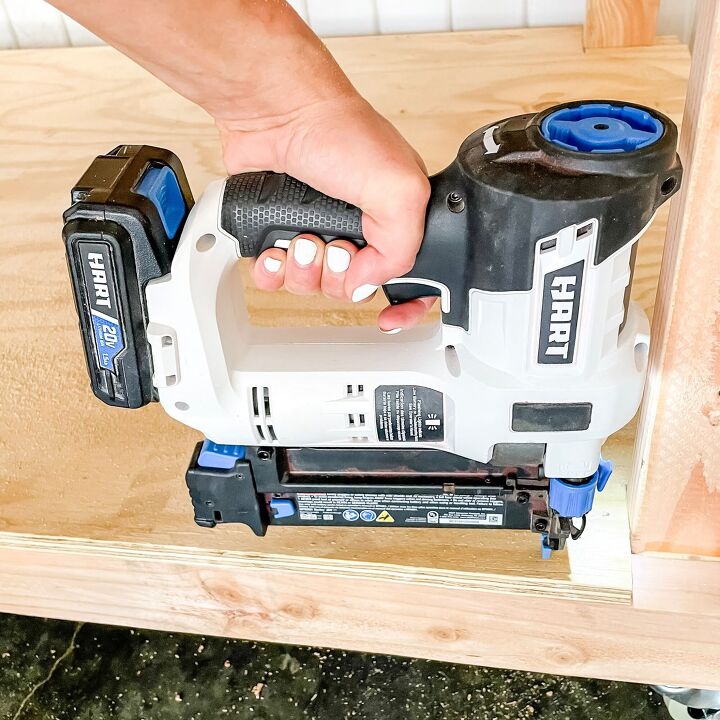
14. Place the bottom shelf on the base before installing the top. Secure both pieces using a brad nailer & 1 ⅔” nails.
Drum roll please… Easiest workbench ever! This build literally took us 2 hours & only 1 Hart battery to complete!
But that’s not all folks!
Battery Charging Station
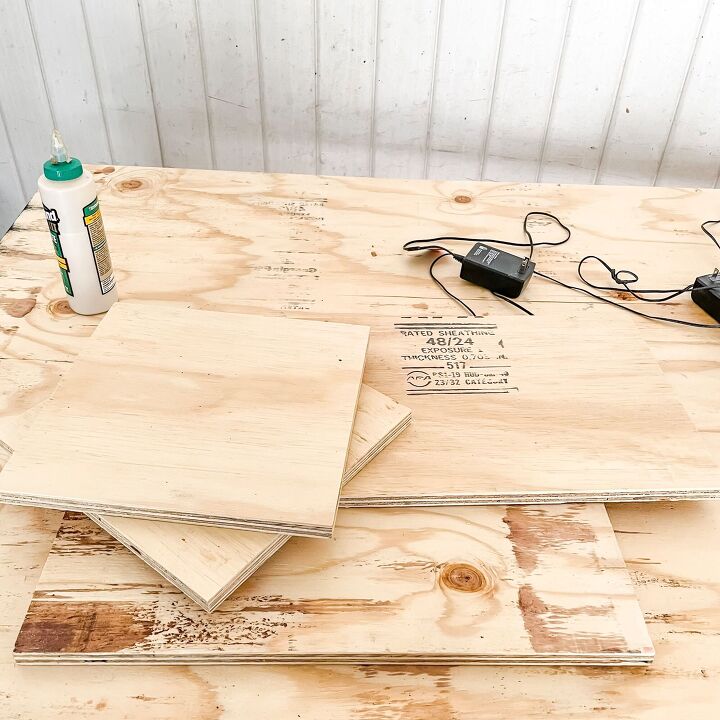
For this simple battery charging station we are simply gonna use the scrap we had leftover from the plywood shelves! Cut the plywood into 5 pieces:
(2) Side Pieces- 9×9”
(1) Back Piece- 9×10 ¾”
(2) Bottom Piece & Shelf Piece- 9×9 ¼”
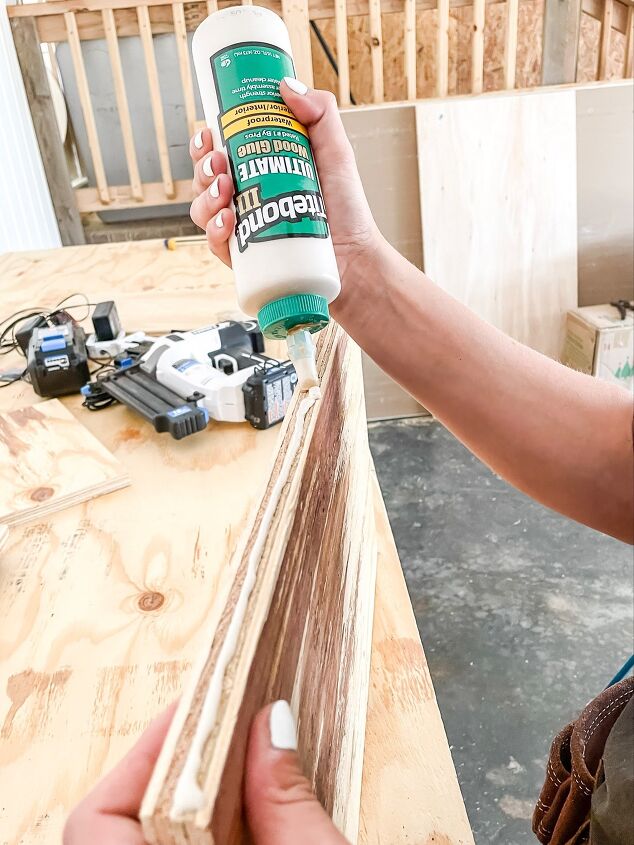
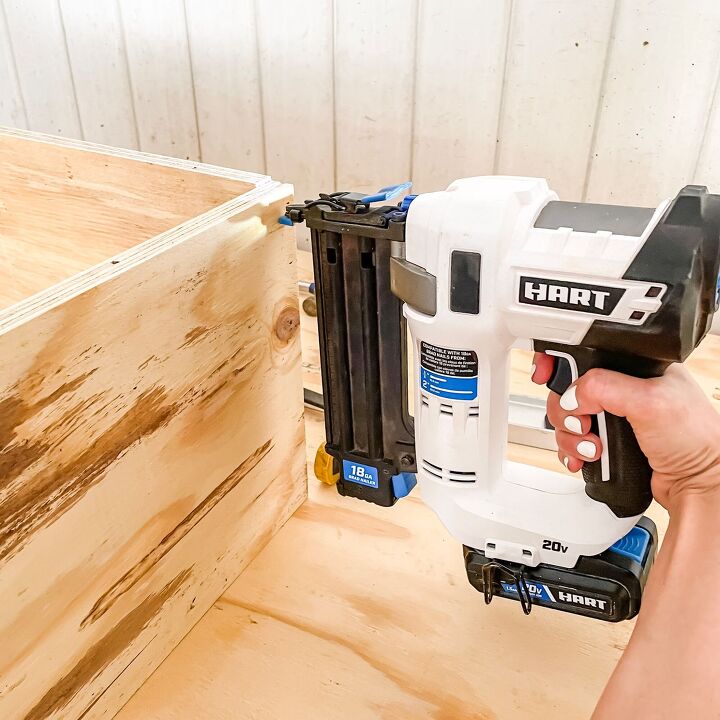
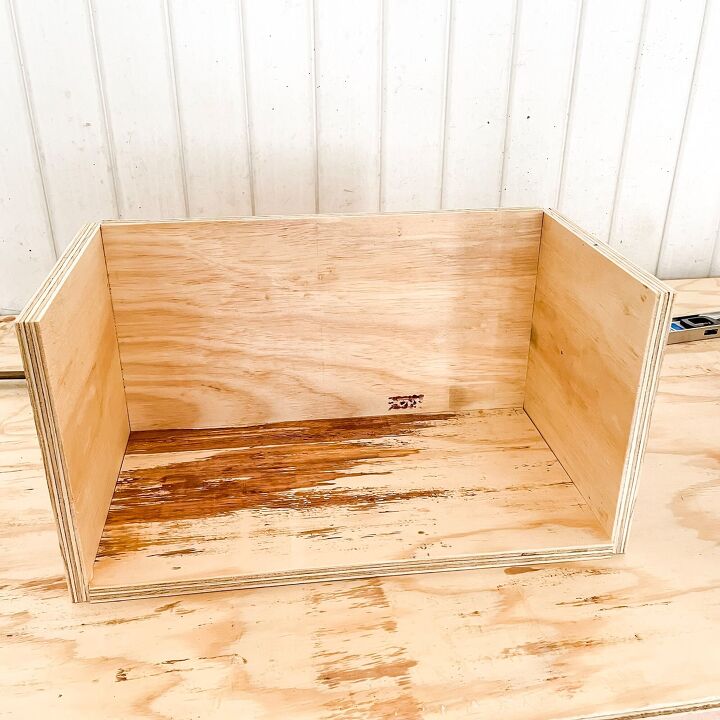
- Next attach the back piece to the two side pieces using wood glue & brad nails
- Next attach the 3 pieces to the bottom of the charging station
Your charging station should now look like this:
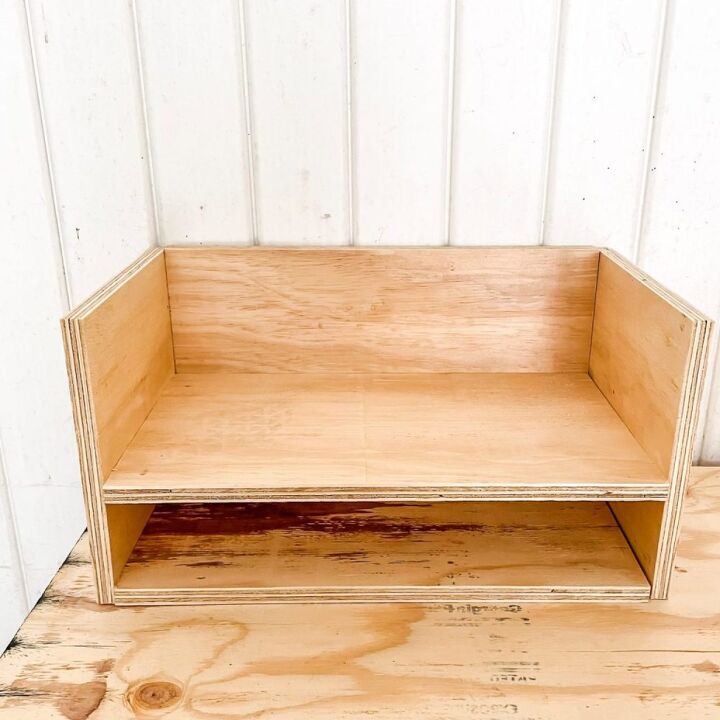
- Finally, add the separating shelf to the station. We used 2×4 scrap pieces to set the distance from the bottom.
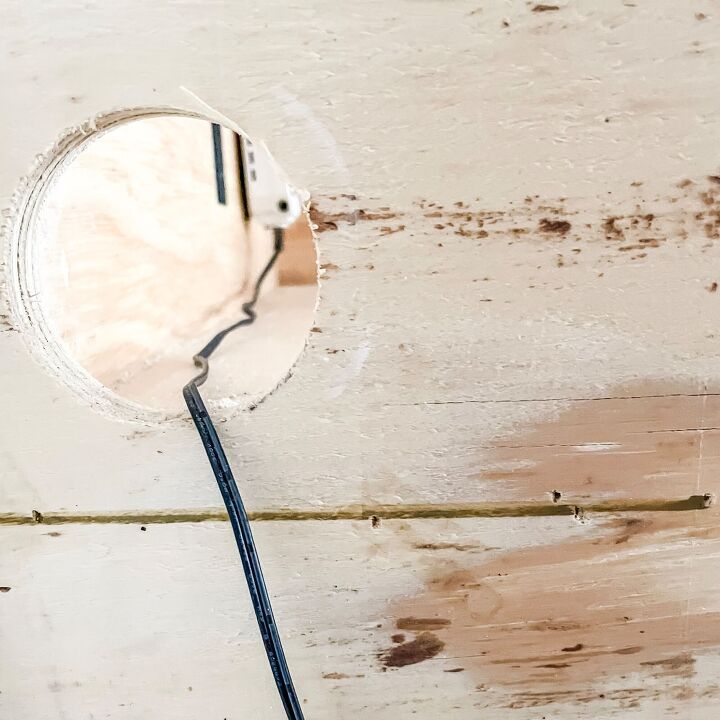
- After the charging station was assembled we decided where we wanted the cord hole to be drilled. Depending on the brand of chargers you use will determine the hole saw size you need.
- Then we simply attached our battery chargers to the back wall using sticky velcro strips!
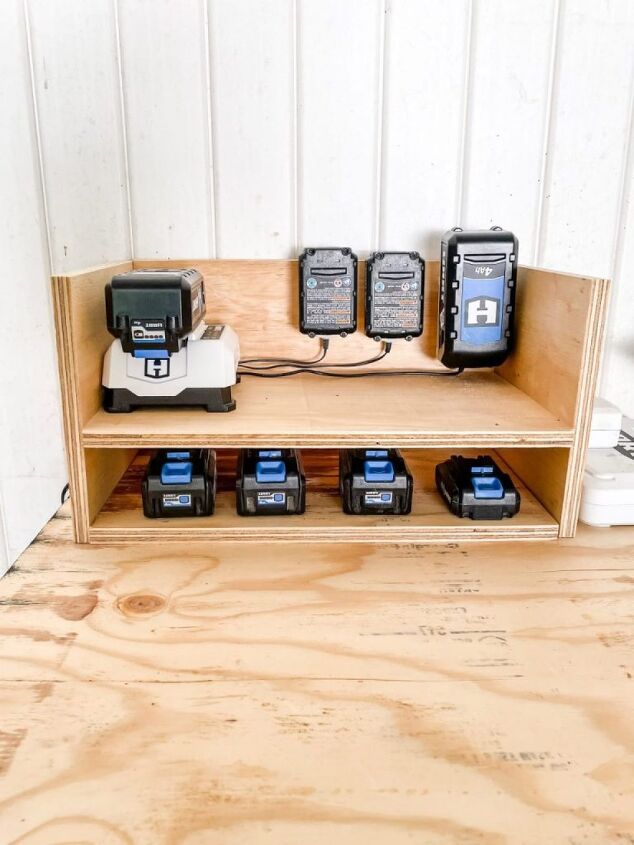
This charging station is simple but will help keep us nice & organized!
Easy DIY Mobile Workbench With Battery Charger


Frequently asked questions
Have a question about this project?