


Game Storage Console
Last month I shared a blog post on an easy entryway table I had made a while ago.
As my style changed and things moved around in the house, I moved the entryway table around and it became a catch all.
I found a home for it but it didn’t look quite right and didn’t love the look of all our family games showing, so I thought why not change it up.
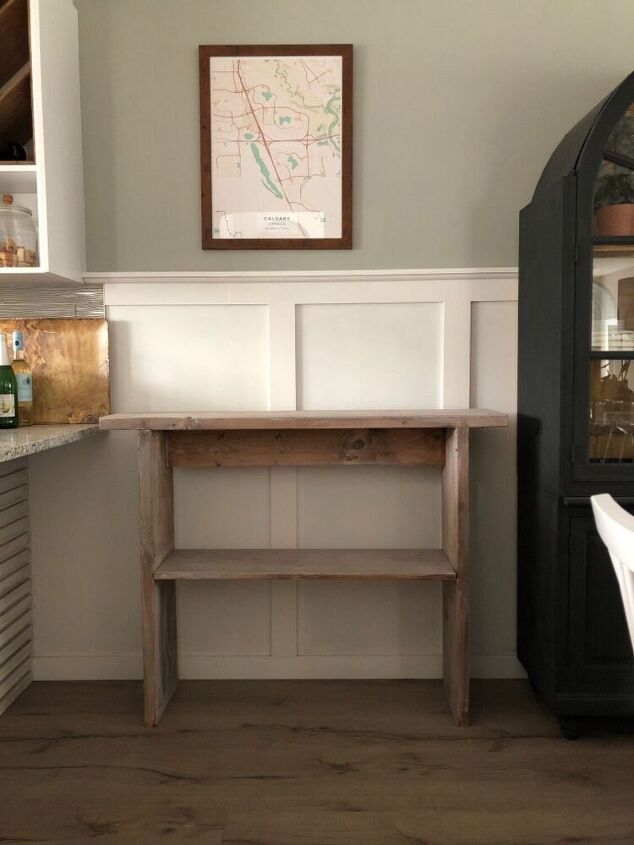
This was the before.
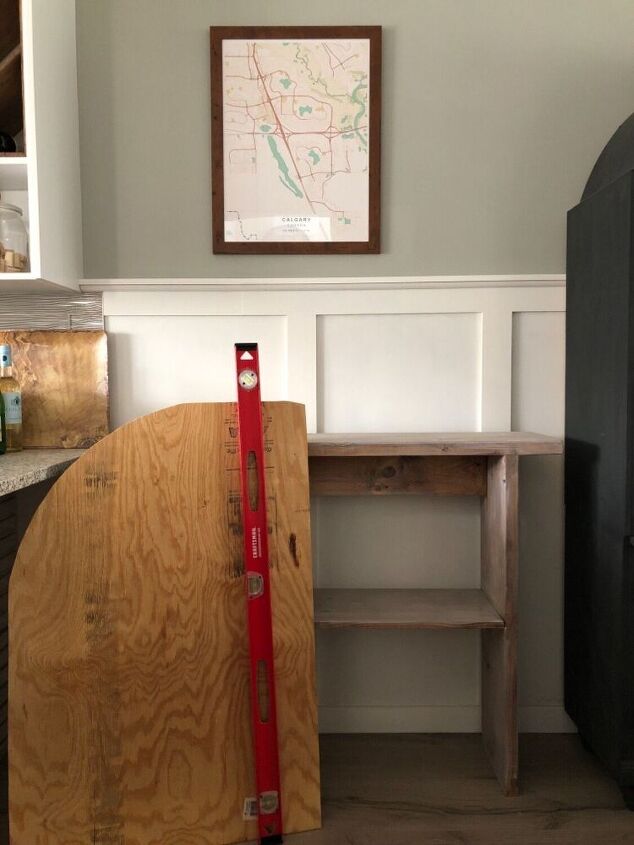
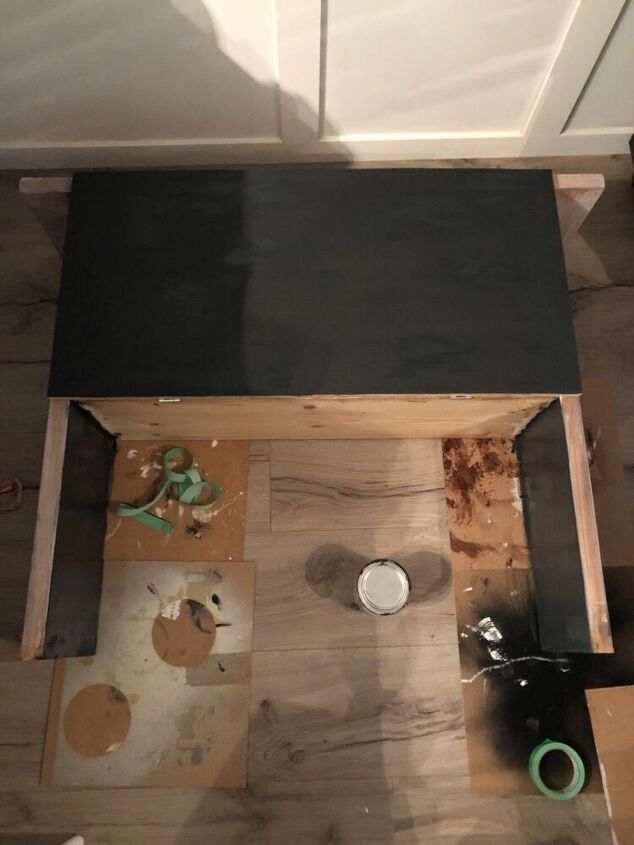
I had a spare piece of plywood that I used for the swing down door.
I cut it down to size which was 39”x19.5”.
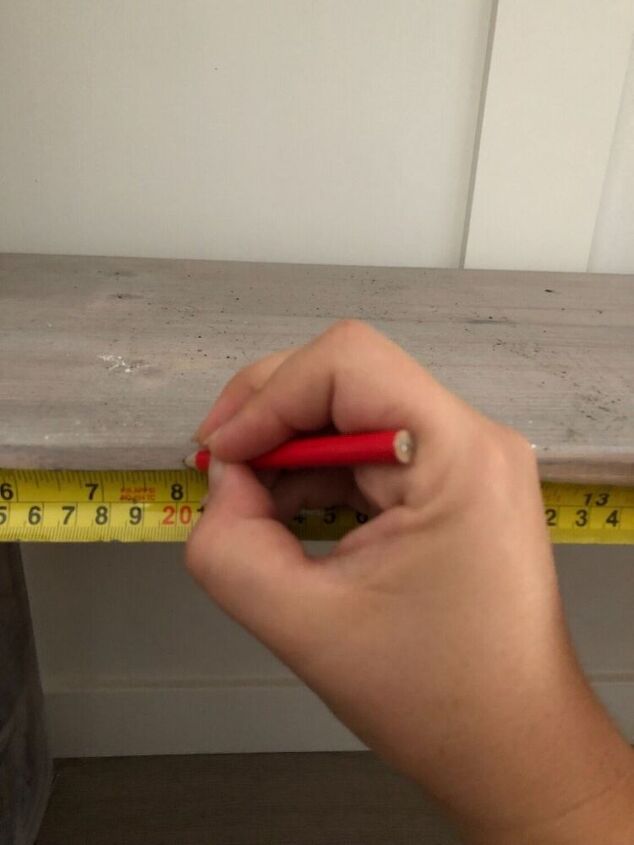
I then marked where I wanted the hinges.
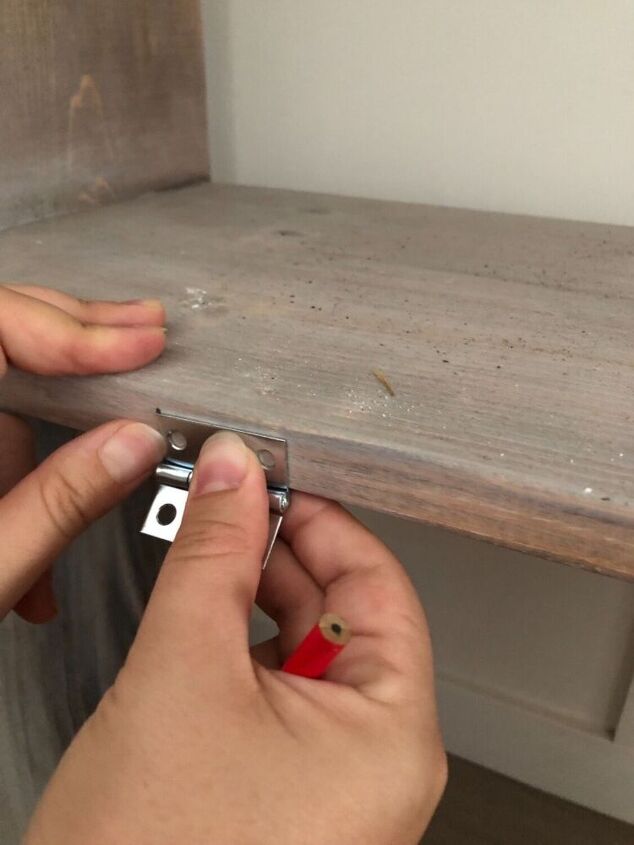
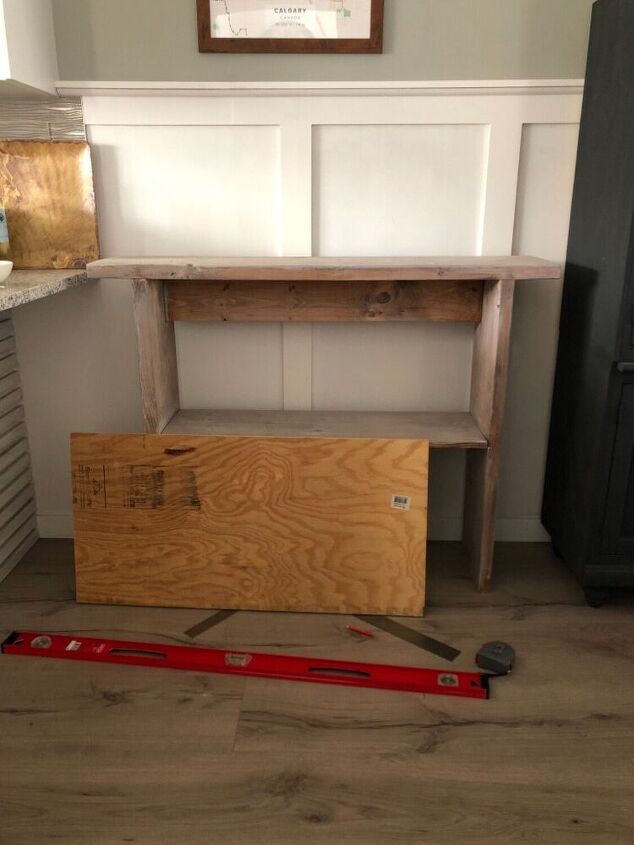
And drew the circles of where I needed to screw them on.
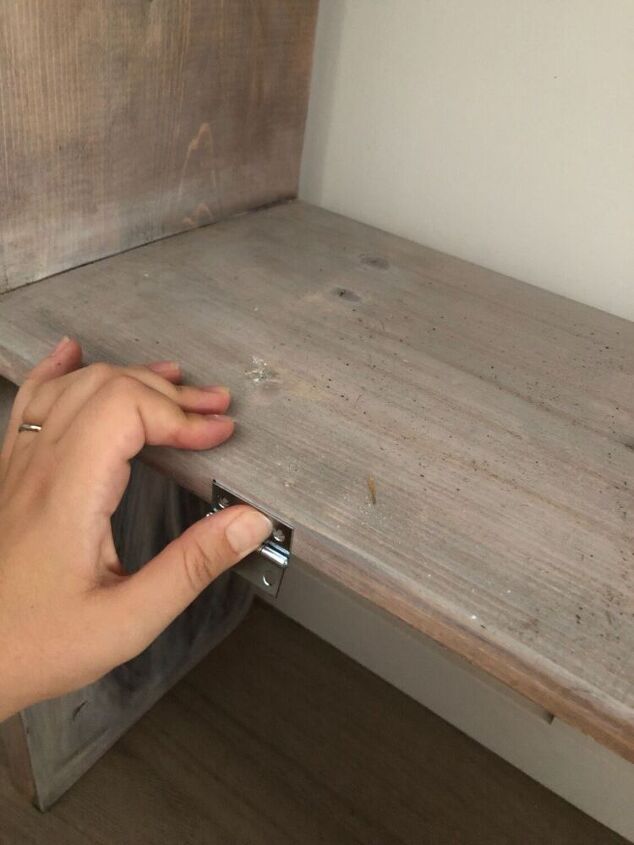
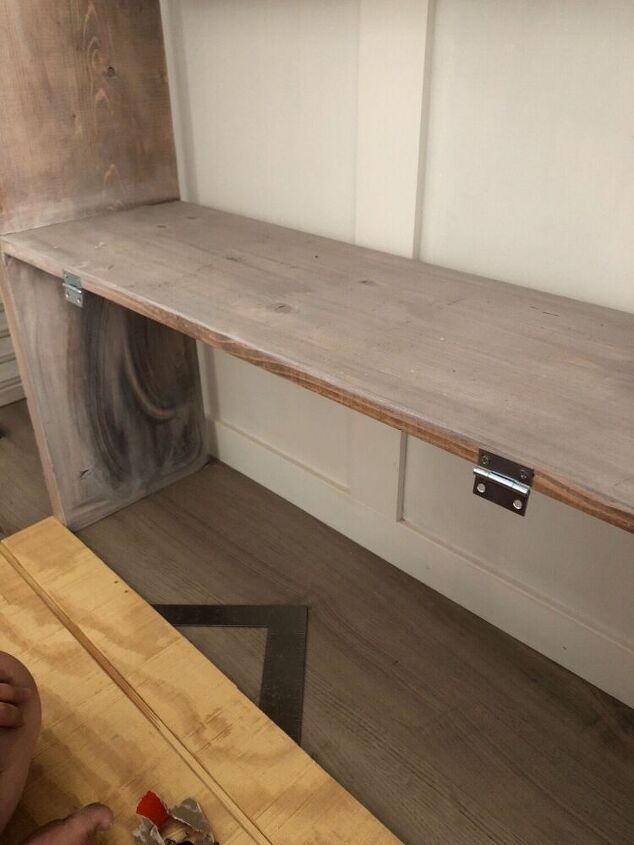
I attached them to the unit first, and then to the swing down door.
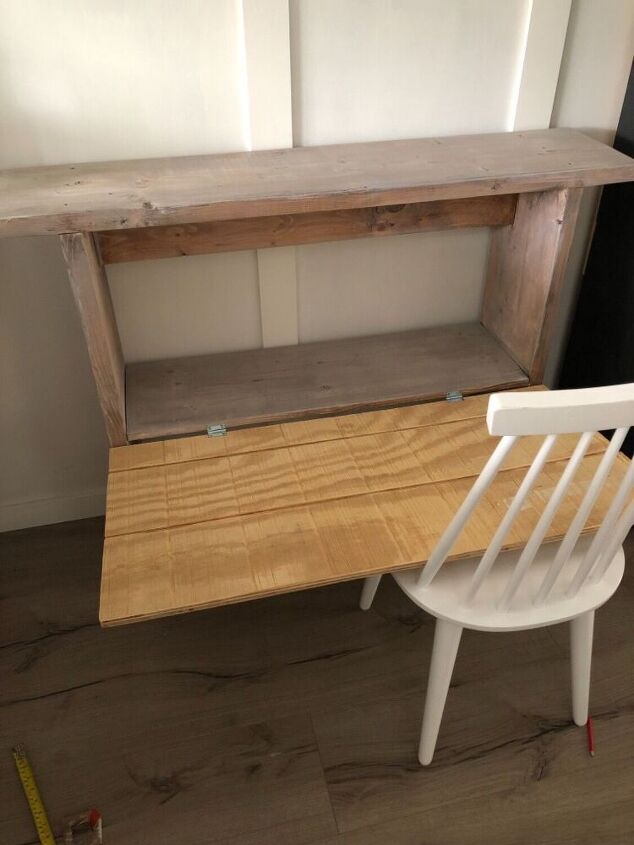
Until I installed the tension brackets inside and the magnet hatch on top, I used a chair to help hold up the plywood.
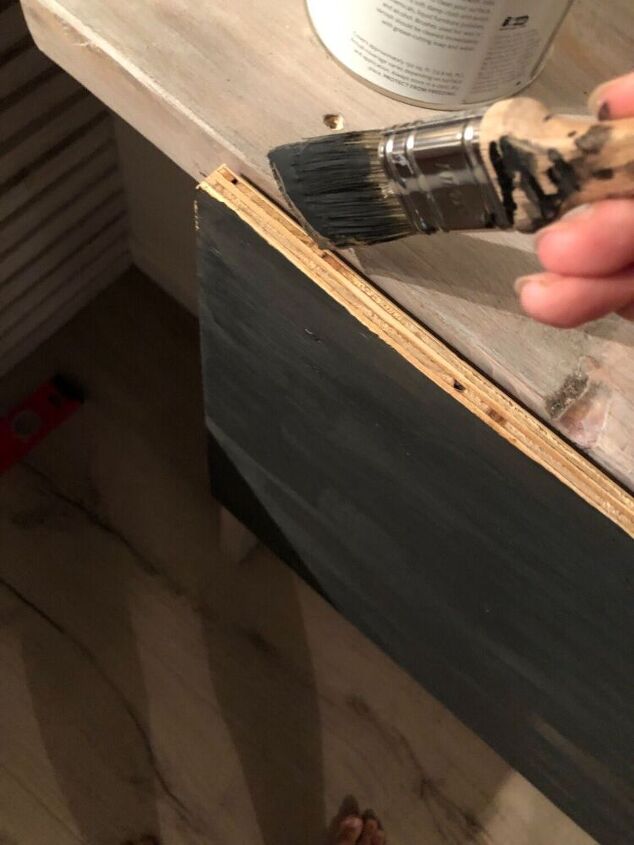
I then used my graphite color chalk paint and applied two coats.
I painted the inside of the legs for extra detail, and then stained the top and sides.
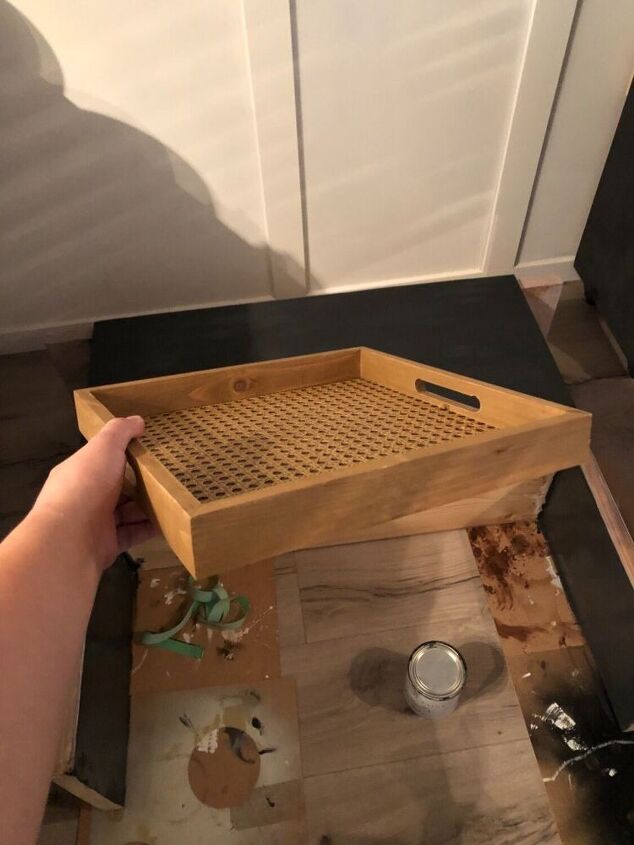
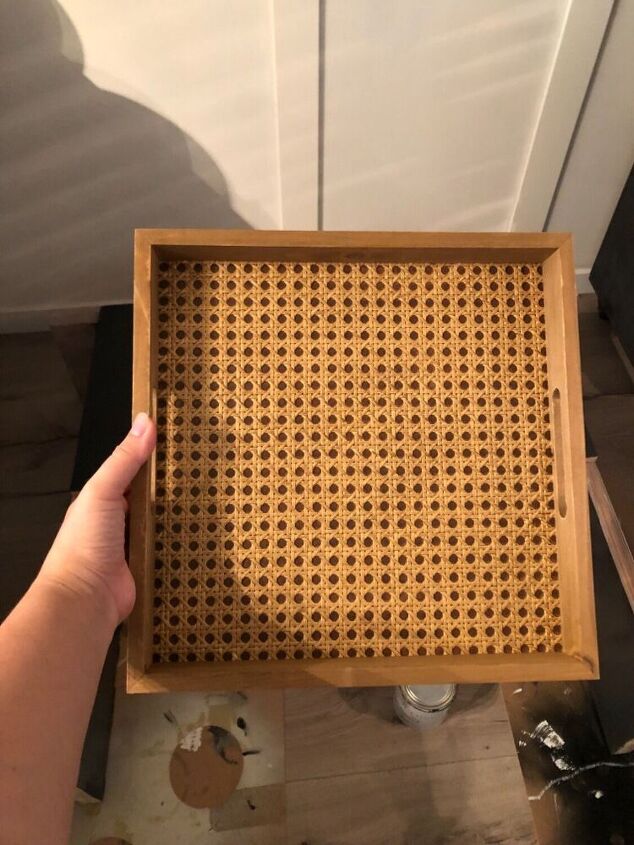
I knew I wanted a cane detail on the front and I found these trays that worked perfectly.
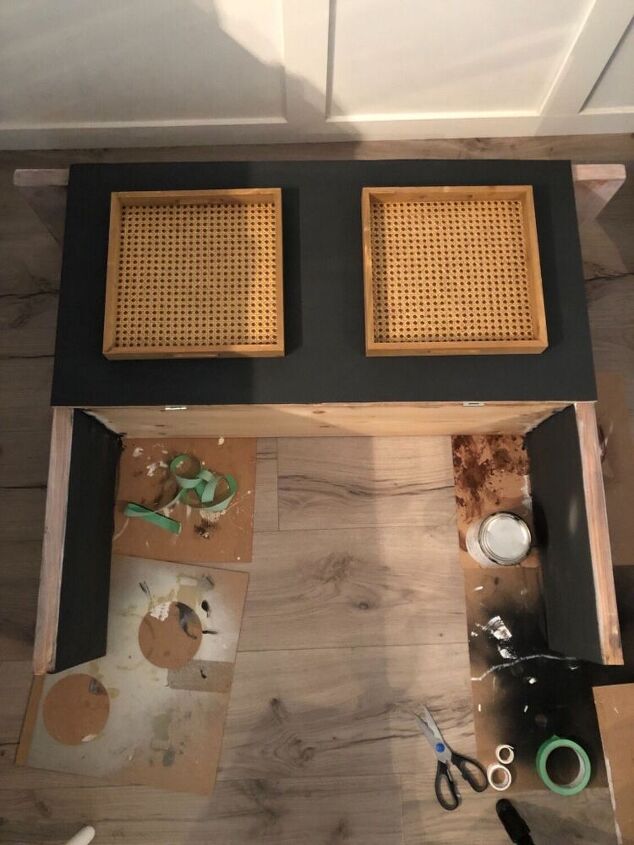
I added some foam double sided tape on the back along with some glue and ta-da!!!
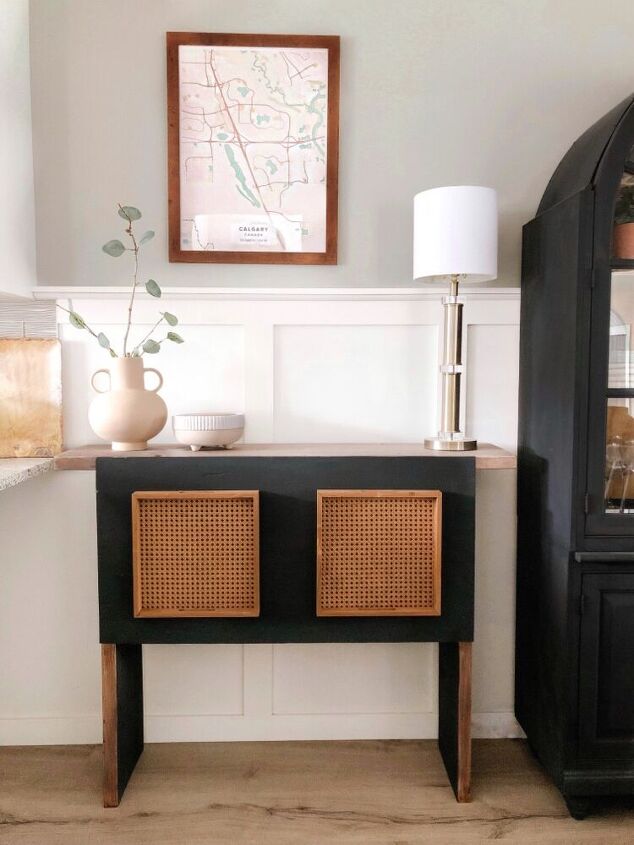
A beautiful storage console that fits right in.


Comments
Join the conversation
-
Clever!
-
Nice. But JoAnns sells cane like fabric too. The premade trays seem easy enough but might save some $’s building box and stapling came in back where not seen..just a thought


Frequently asked questions
Have a question about this project?
Where does the 90.00 come in , looks like you had everything.