


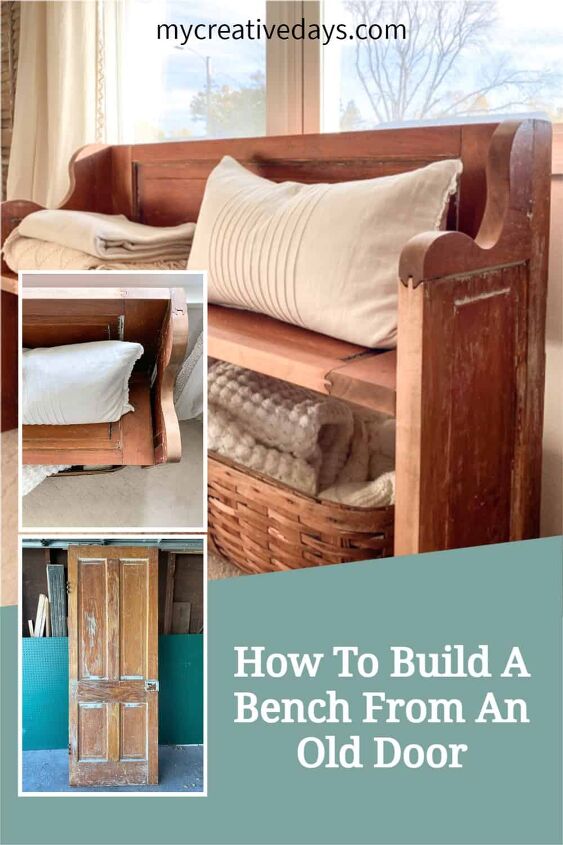
How To Build A Bench From An Old Door
I love picking up old doors. They have so much character and so much charm. You can upcycle them into many things and today, I am sharing how to build a bench from an old door!
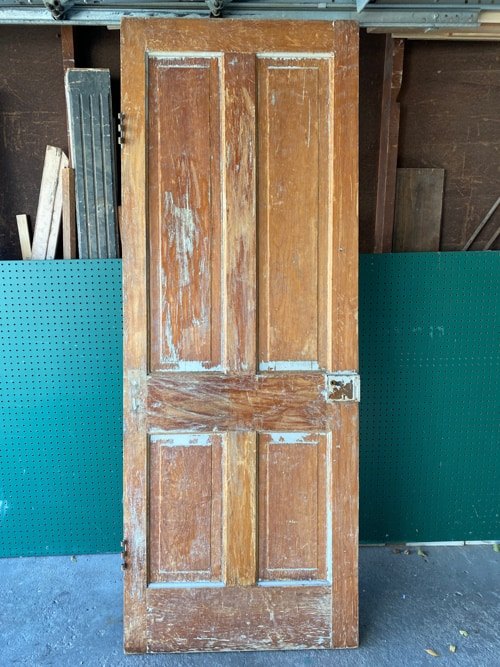
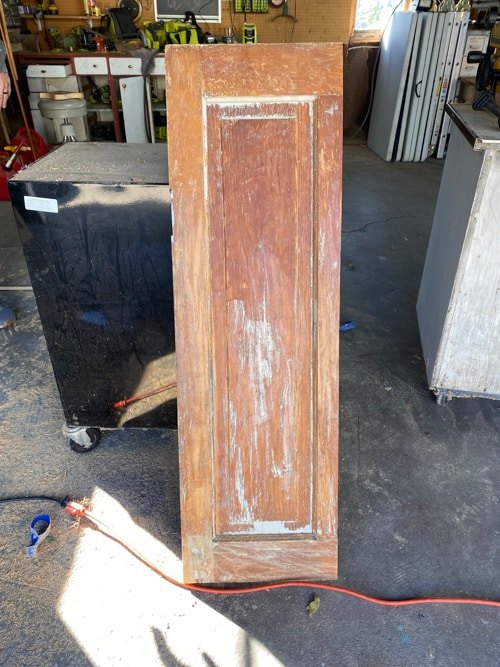
You can use old doors for so many things. I spotted a bench made from a door on Pinterest that inspired me for this project. I had a door that I picked up years ago that had the best patina and I knew it would look great as a bench.
After talking it over with Matt, we both knew we could create a bench with the door I had in mind.
{Affiliate links are used in this post. Click on any of the underlined links to find the products I am talking about. You can read my disclosure HERE.}
Supplies – How To Build A Bench From An Old Door
Door
Retractable Pencil Holder (so convenient for any DIY project)
Screws
Tape Measure
I need to start this tutorial on how to build a bench from an old door by saying that every door will be different. I am not going to give exact measurements because we didn’t really use them. You may have a shorter door or a longer door which would give you a different-sized bench. We didn’t really measure. We basically cut the door in half a couple of times to get the pieces we needed to build the bench.
I am going to walk you through the process we used so you can do the same process with whatever size door you have.
The photo below shows you how we initially cut the door. We measured it out evenly and cut the door in half down the middle with a table saw.
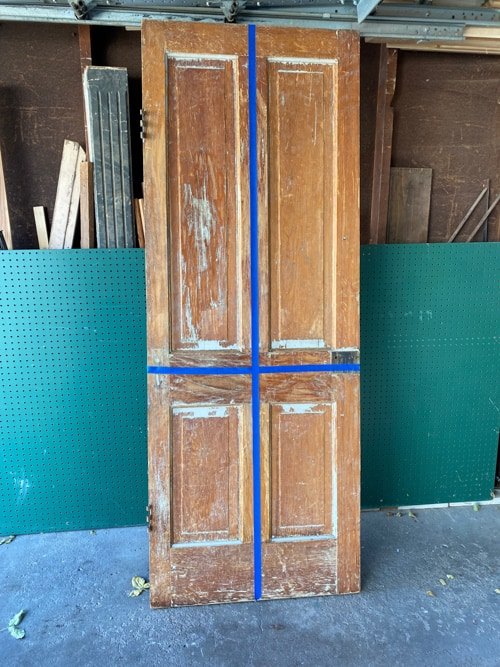
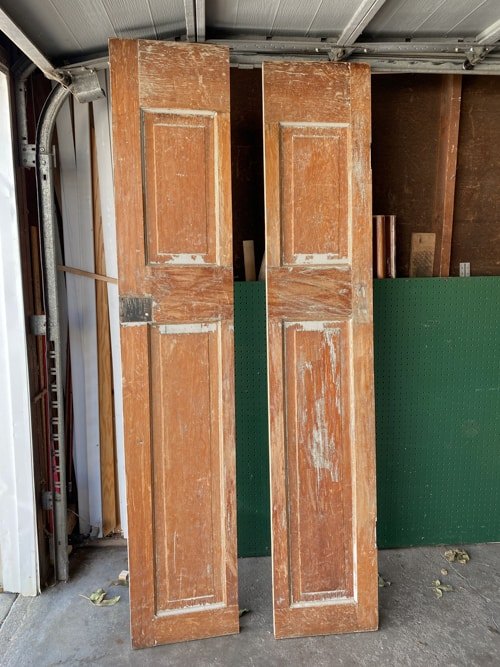
Then, we cut the doors between the panels with a miter saw so we came away with four pieces; two larger pieces and two smaller pieces.
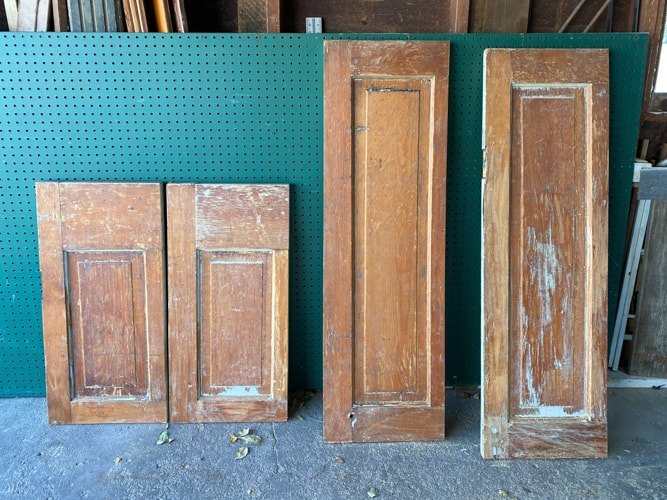
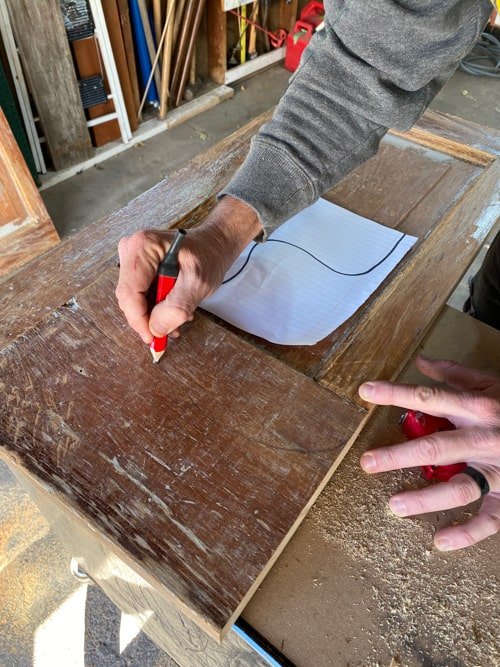
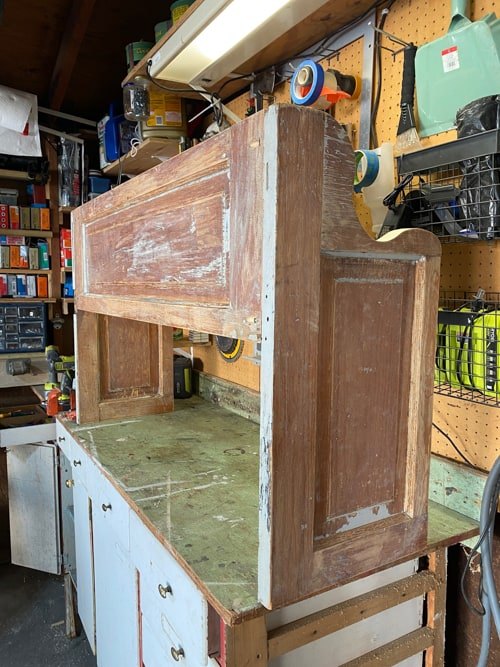
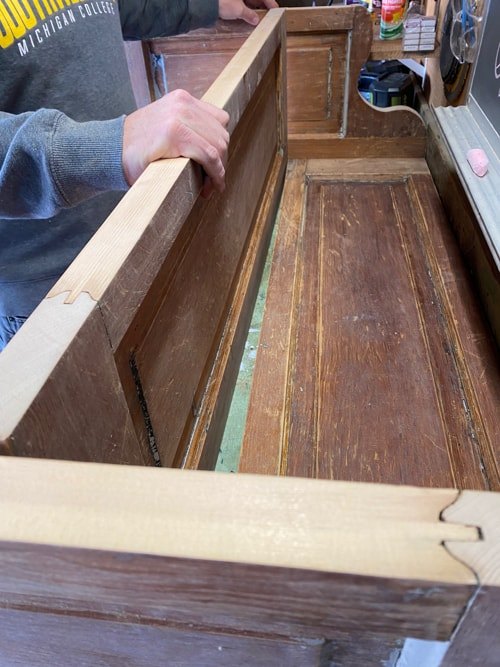
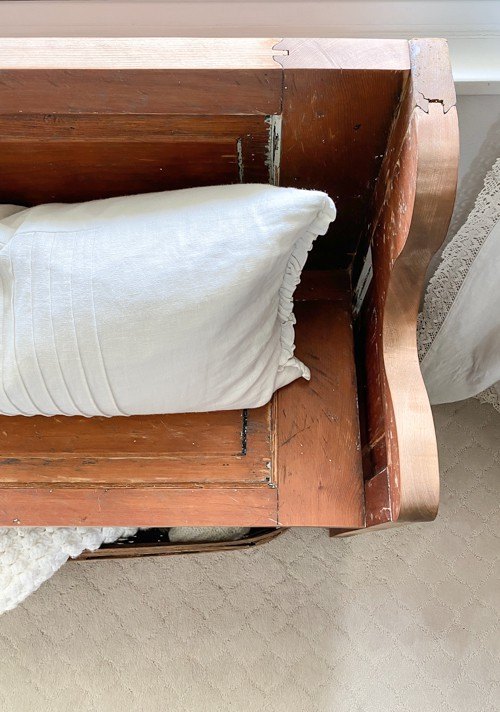
Now, it was time to figure out what I wanted to sides of the bench to look like. Matt and I drew a pattern on a piece of paper. The sides of the bench were made from the two smaller pieces we cut from the door. We sketched the pattern on one of the small sections to see what we thought.
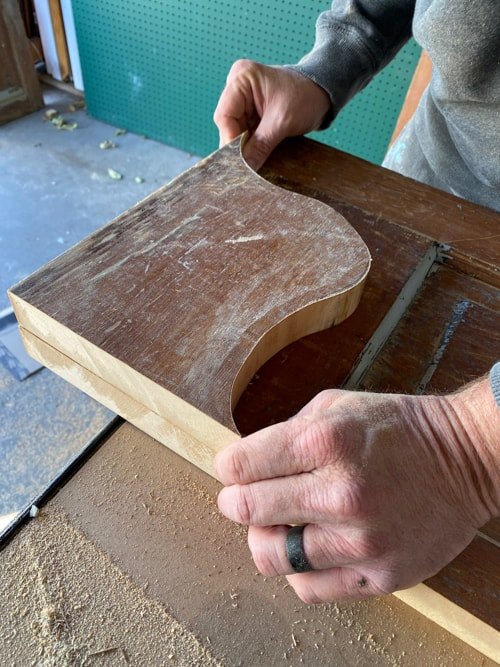
Once we were settled on the curve for the sides of the bench, Matt made a template out of cardboard. He traced it darker on one of the smaller sections of the door to cut it out with a jigsaw.
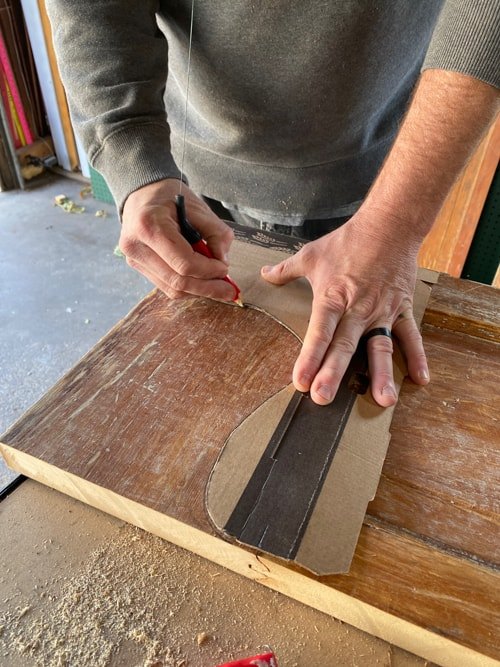
Once he had the piece from the first section, he used that cut-out piece to cut the other small section of the door. Again, these two pieces will be the sides of the finished bench.
Now that the sides were cut, we needed to cut down one of the bigger pieces from the cut door by one inch.
The two larger pieces of the door will be the back and the seat of the bench. The seat piece fit the sides perfectly, but we needed the back to be cut by an inch so that it was flush with the top of the sides and so that the seat wasn’t too low on the bench.
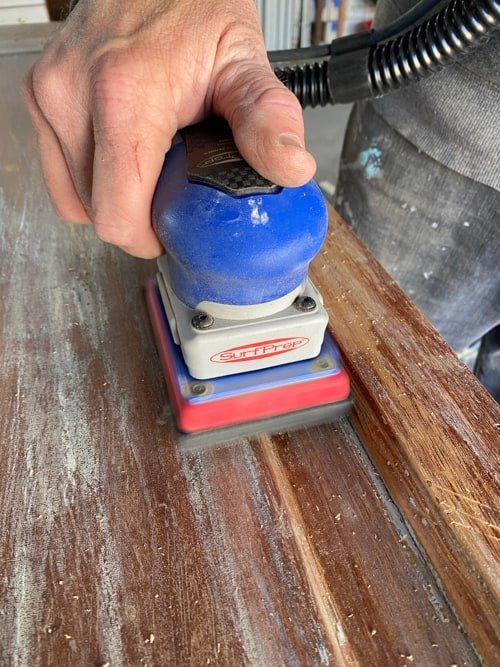
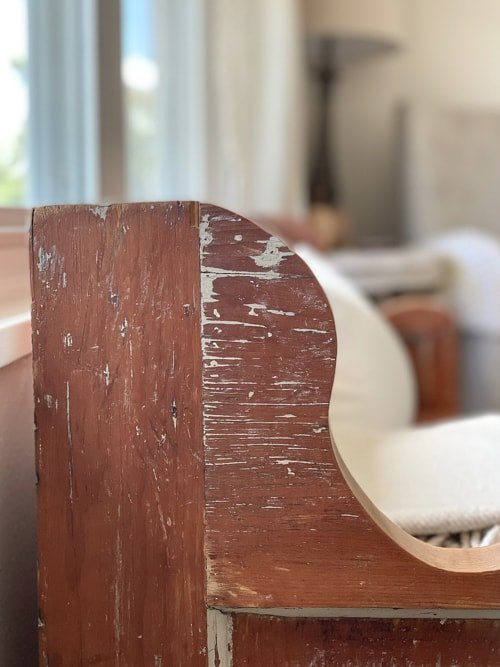
Once all the pieces were cut, it was time to sand. I wanted to keep the look of the old door but just wanted to clean it up a bit. I loved the areas that had the white paint on them and the patina on the rest of the wood was also really good.
After the sanding was done, I wiped off all the pieces with a damp cloth to remove the sanding dust.
Now, let’s put the bench together!
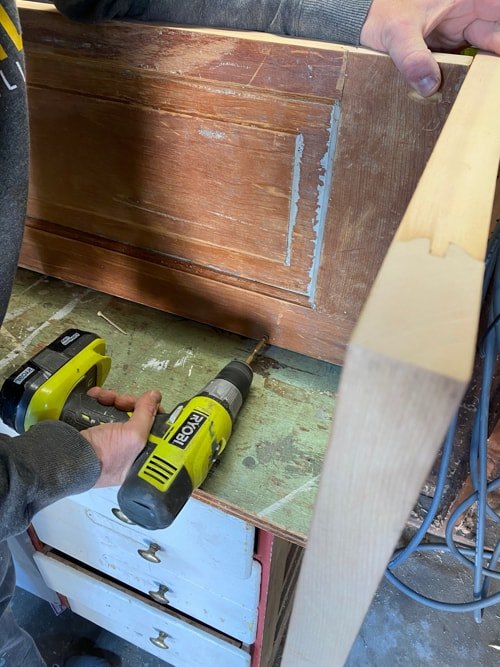
Matt got out the pocket hole kit and made pocket holes where he was going to add the screws when putting the bench together.
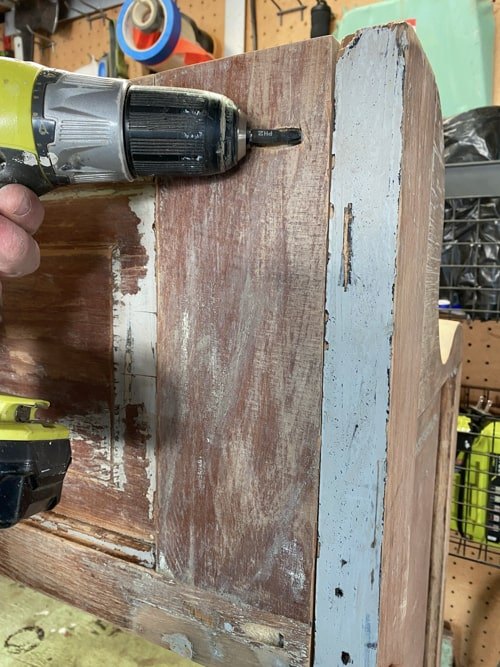
Above is a photo of how the pocket holes look and how the screws fit deep inside the wood.
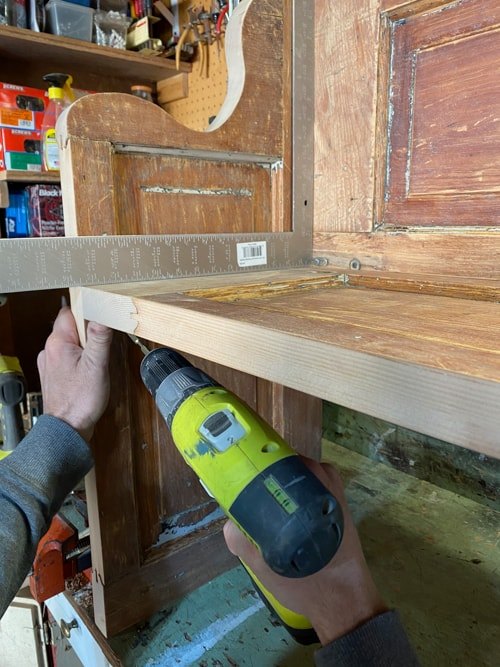
We laid the pieces on the workbench after we screwed in the back and then, Matt screwed in the seat piece.
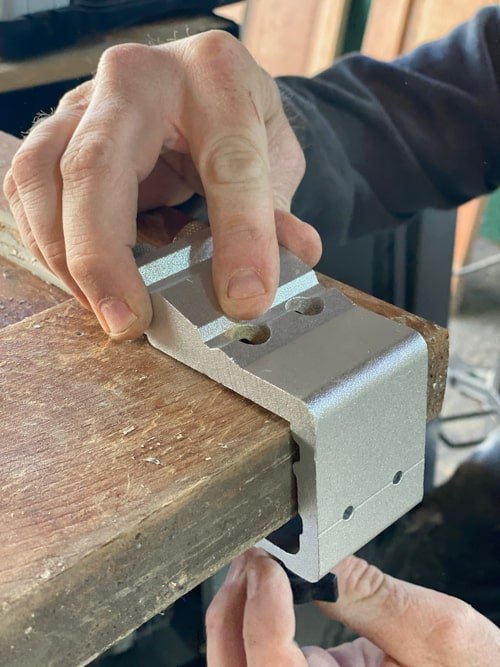
Then, he used a framing square to make sure the seat was straight and level as he screwed it in on the sides.

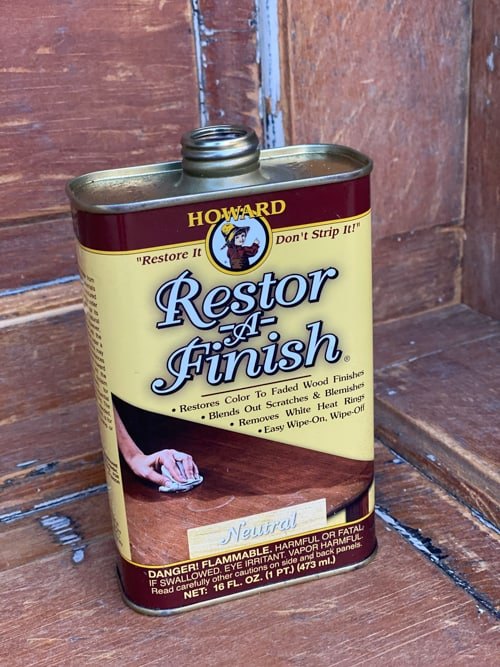
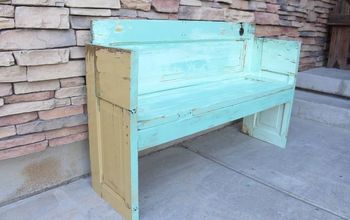
Once the bench was put together, I rubbed Restor-A-Finish all over it. I started with the “Neutral” color, but ended up going with the “Dark Walnut”. I liked the color it gave to the raw edges we cut and it matched the patina of the rest of the door the best.
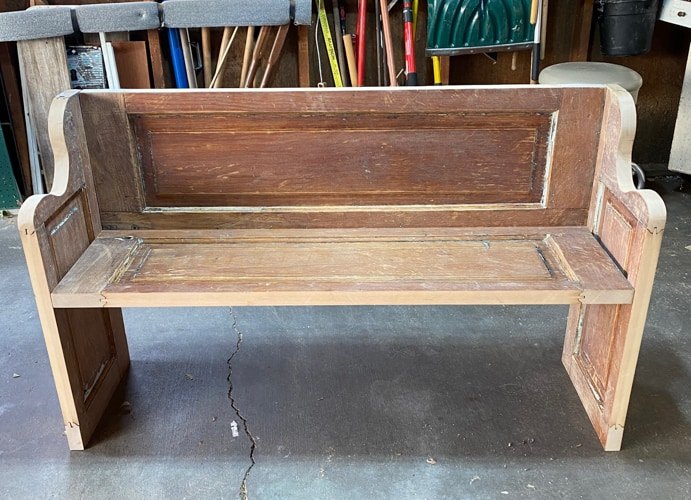
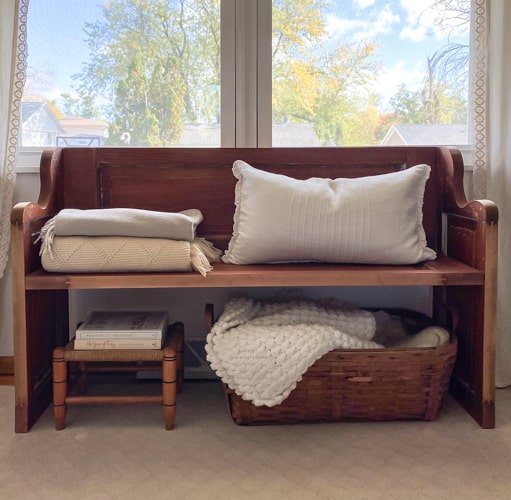
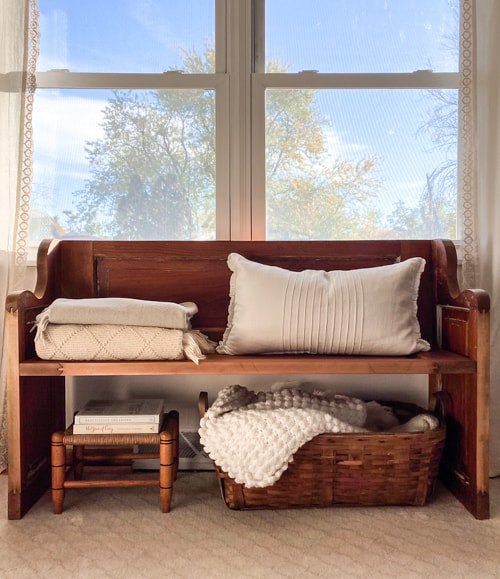
I am blown away!! Matt and I both said that this was a fairly easy project. We didn’t use any other wood other than the door.
Let me say that again for the people in the back: This bench is made with a door and that’s it!
I LOVE repurposing and this is one of my favorite repurposed projects ever!
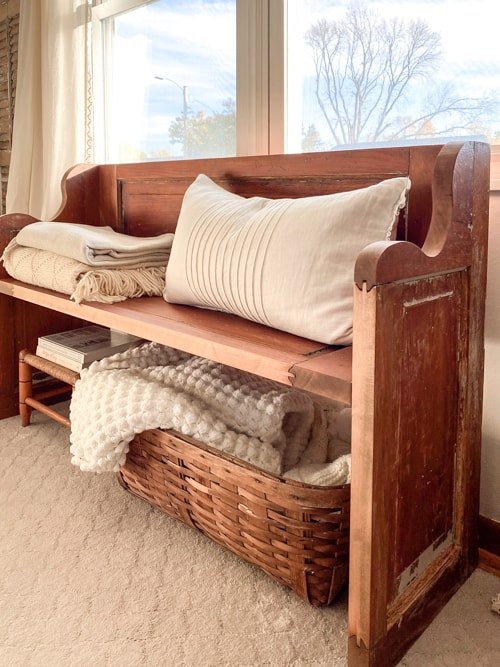
An old door, some tools, a curvy drawing and we came away with an amazing piece!
The sun was coming in differently when I was taking pictures of the finished bench, but I just went with it.
I am just blown away.
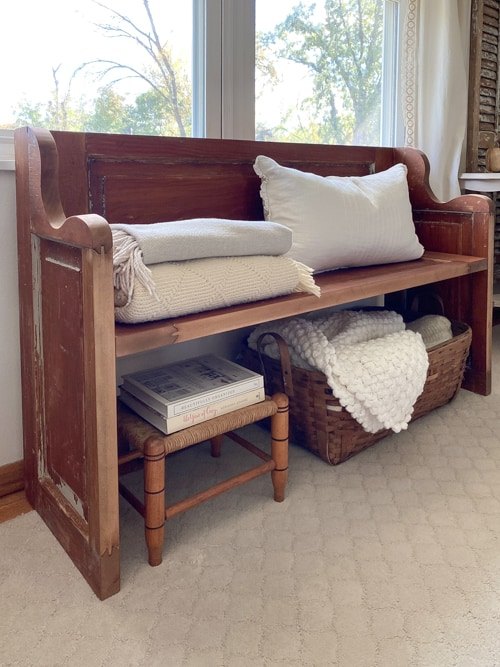
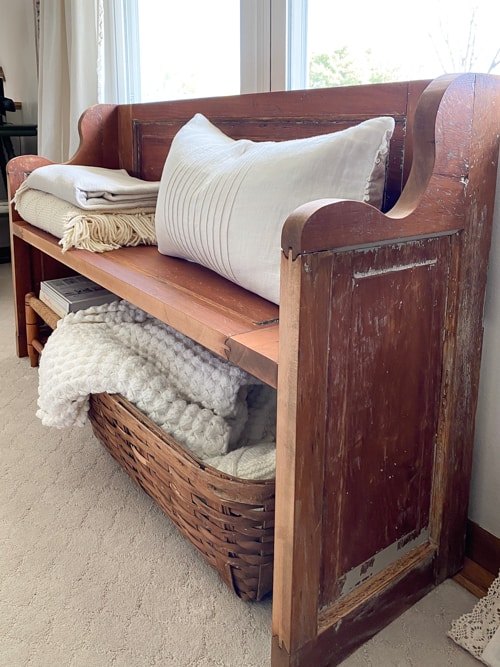
Matt said that if he were to do it again, he may add more wood support under the seat. This door was tall so it made a longer bench. If you had a smaller door, we think you could get away with no support.
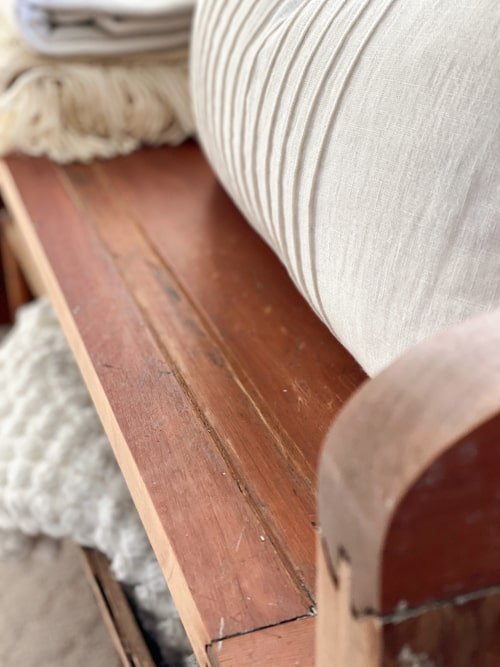
The integrity of the old door is still intact and now it is not just sitting in our garage.
I think we may be selling this gem because we don’t have a spot for it. But, my hunt for old, amazing doors has just intensified because I can’t wait to try this again with a different door.
Here is my YouTube video showing the process of putting this together:
After seeing this tutorial on how to build a bench from an old door, is this a project you would try?
PIN THIS POST!
If you liked this tutorial, you will love these tutorials:
How To Get A Weathered Wood Look Easily
DIY Industrial Coffee Table From A Metal Cabinet
Resources for this project:
See all materials


Comments
Join the conversation
-
No don’t need any furniture. But this is the best reproduction of a church pew I’ve seen. In my earlier years would have definitely tried it.
-
Love it!! I might see if I can find a door.


Frequently asked questions
Have a question about this project?
Still trying to figure out where you got the 'extra" piece of wood to cut the curved pieces. If you use the two long panels for the back and seat and the two short panels for the two sides where did the extra wood come from?
Can you actually sit on it, or is it just for decoration?