


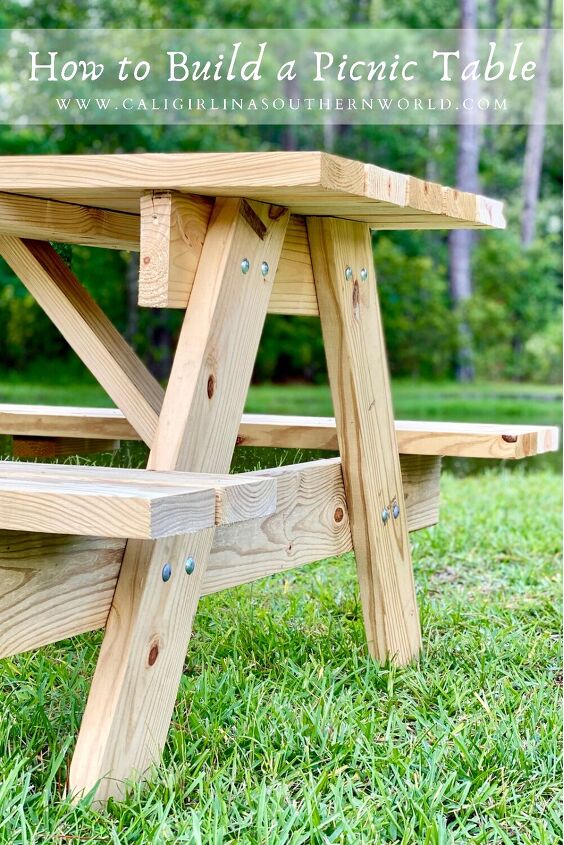
How to Build a Picnic Table
I built a picnic table in an afternoon! Would you like to learn how to build a picnic table too? If I can do it, so can you.
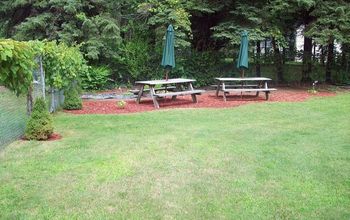
This Summer, our son made a horseshoe pit next to our pond for my husband as a Father’s Day gift. Since then, we have been spending a lot more time around the pond. It’s been lovely! Up until the time the horseshoe pit was built, I hadn’t realized what an underutilized outdoor space this is on the farm. I decided I wanted to change that.
Hoping to take more advantage of the beautiful and peaceful pond which was now also the home to some fun lawn games, I wanted to make this a spot to hang out more often with family and friends. In order to do that, it needed some seating and possibly a table. While trying to figure out the best solution for this space, my imagination was running wild. I thought about many happy hours that could be spent in this spot sharing drinks, food, and laughter with loved ones. Soon we would be experiencing cooler Fall evenings when we love to spend more time outside, particularly at dinnertime. What to do, what to do?…
Make the Dream a Reality
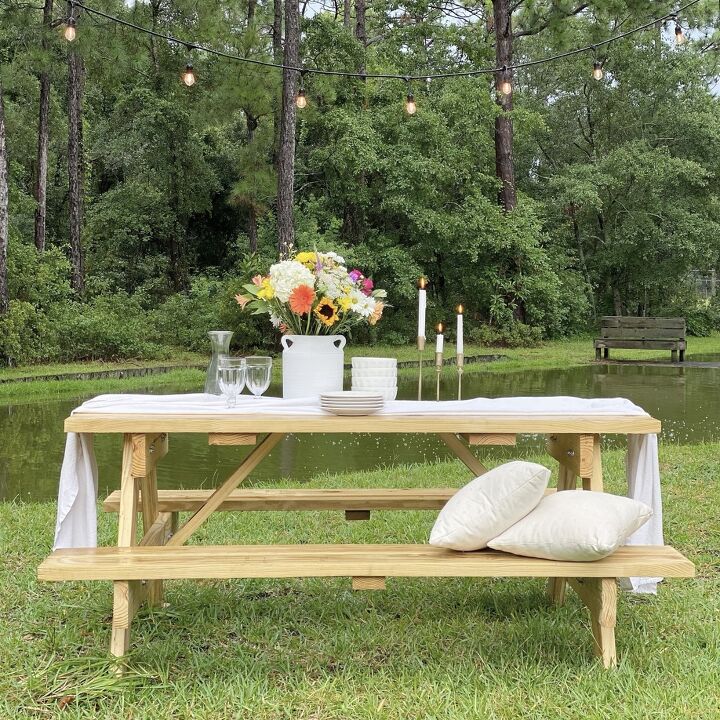
Truth be told, I’ve always wanted a traditional wood picnic table. I imagined everything from twinkle lights and checked tablecloths to playing family games around it. I wanted to enjoy delicious food, drinks, and conversation with family, friends, while enjoying nature all around us. That’s when it hit me. A picnic table would be perfect in this spot by the pond! My picnic table dreams could finally come true! After a quick search online, sadly, I realized that picnic tables are quite costly. Determined not to give up the dream, it was time to come up with a Plan B.
How to Build a Picnic Table
Plan B was to make my own picnic table. After watching several videos on how to build one, it was clear that even someone like me, with very little carpentry experience, could make a picnic table. (It does help to have a handy partner too!) This is the video I used to help make ours and it only took a few hours. What I love about it is that it provides clear instructions and an option to have a cooler in the middle. I did not build ours with a cooler due to the amount of rainfall we get each year, but in more arid areas, I think the cooler is a great idea! The video is made by Home Depot which makes finding all the supplies easy.
What you need:
Materials:
Boards (Pressure treated or #2 or better)
(2) 2 X 6 X 8′ (for table legs)
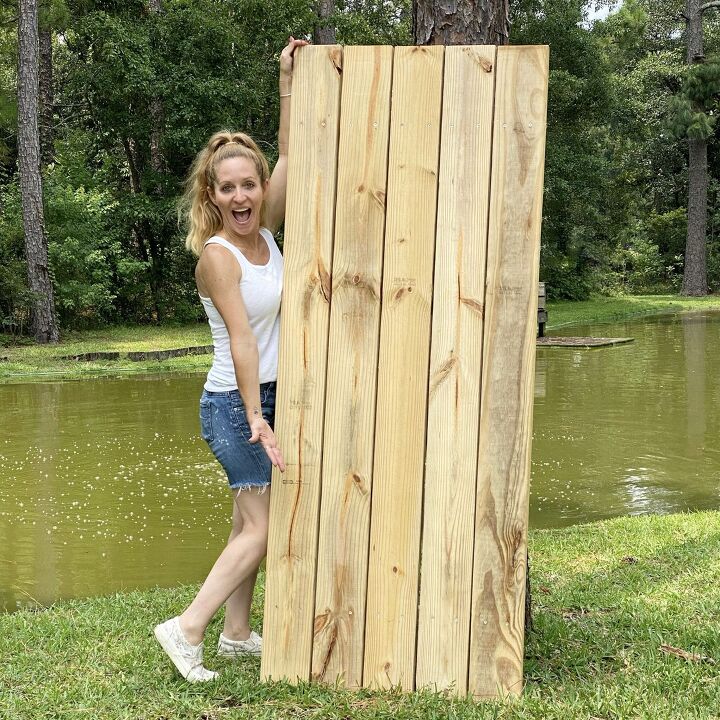
(5) 2 X 6 X 12′ (for top and seats)
(2) 2 X 6 X 10′ (for table supports and top braces)
(1) 2 X 4 X 8′ (for seat braces and angled table to leg braces)
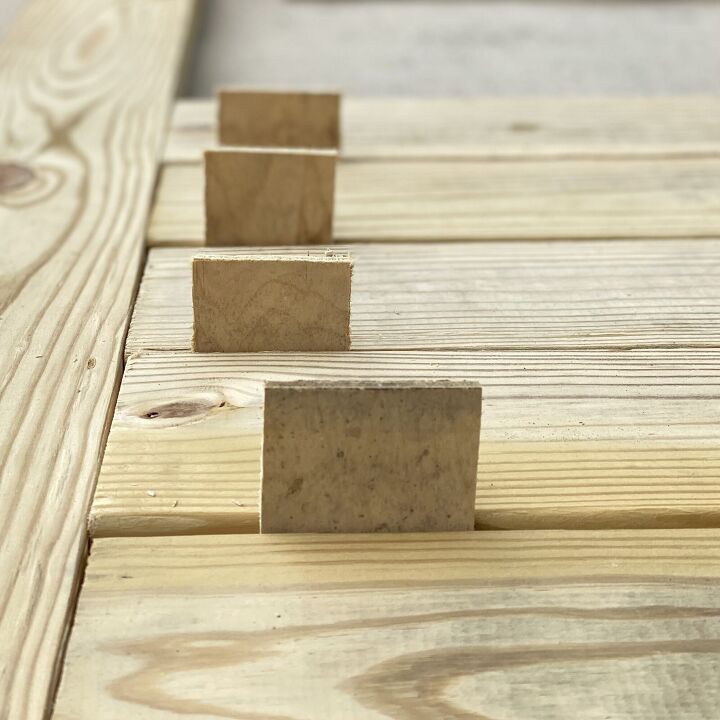
1/2-inch-thick scrap wood to use as spacers
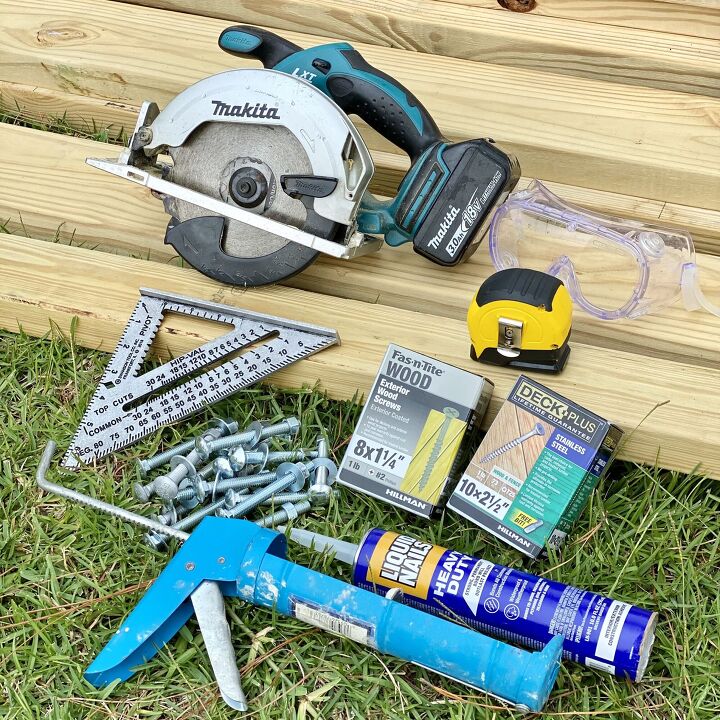
(16) 3/8″ X 3 1/2″ galvanized carriage bolts with nuts and washers
Box 0f 2 1/2″ deck screws
Box of 1 1/4″ deck screws
Tube of construction adhesive
1 quart of spar urethane or similar finish
Tools:
Circular or miter saw
Drill with 3/4″ wood boring bit
Sander
3/8″ adjustable wrench
Quick-grips
Speed square
Tape measure
Pencil
Measure and Cut
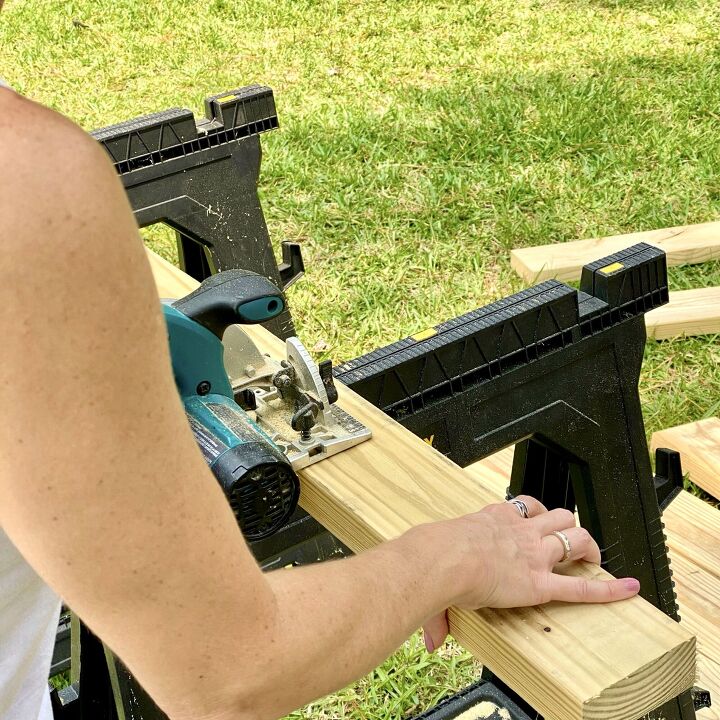
Remember the old carpenter’s rule: measure twice, cut once. This cut list will give you the pieces and measurements you need to build a picnic table.
- Cut the table legs about an inch longer than needed in order to level them later. Draw a 65-degree cutting angle at each end of the legs. Position the cut to get the proper length. Cut each leg at the 65-degree marks with a circular saw. The four legs will have sixty-five-degree cuts and will measure thirty-two inches.
- Cut the twelve-foot boards in half which will yield ten six-foot boards. Set eight aside to be used as tabletop and seat boards.
- Cut the ten-foot boards down to: 1- 27″ top support, 1- 27″ top brace, 1 – 58″ long for the seat support. Two of each of these are needed.
- The eight-foot board will be cut into a pair of 9″ center seat braces. Leaving the rest for later for the two table to leg angle braces.
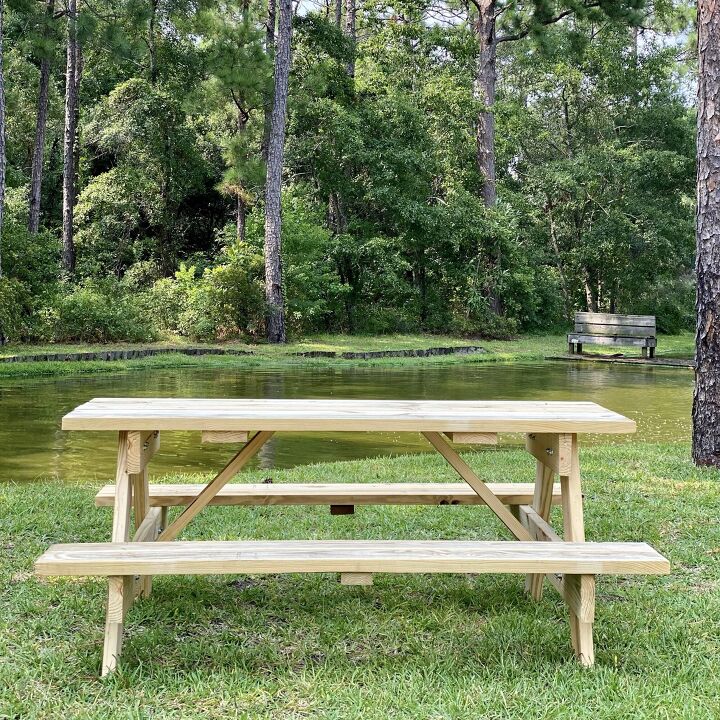
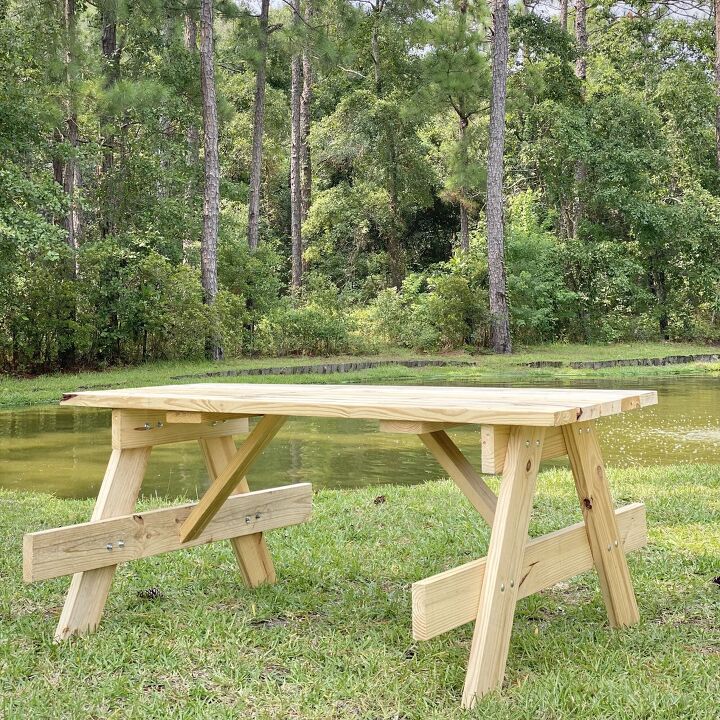
The above lumber will build a picnic table that is 6 feet long, 30 inches tall, and 30 inches wide.
Make the Tabletop
Once the lumber is cut, it’s time to start building the picnic table, starting with the tabletop.
- On a flat surface, lay out the tabletop boards.
- Place spacers between the tabletop boards and clamp them together. (I didn’t have clamps large enough, so I used other boards to help keep them in place.)
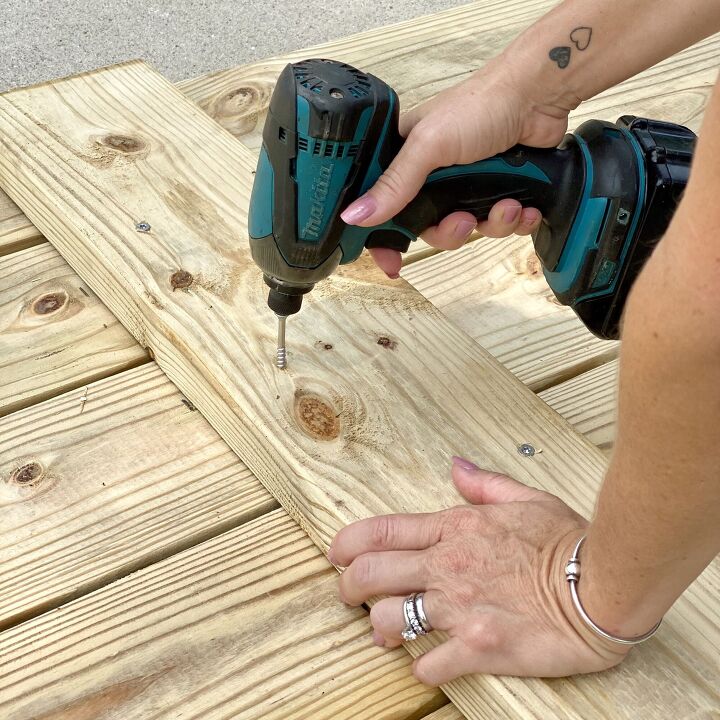
- Place the table braces on the boards. The table braces should be 17 inches from the end of the table. With a pencil, mark the outline of the braces and remove them. Apply the construction adhesive inside the lines of the brace outlines. Replace the braces on the tabletop boards over the adhesive. Use 2 1/2 deck screws, two per board to secure the braces.
Attach the Legs
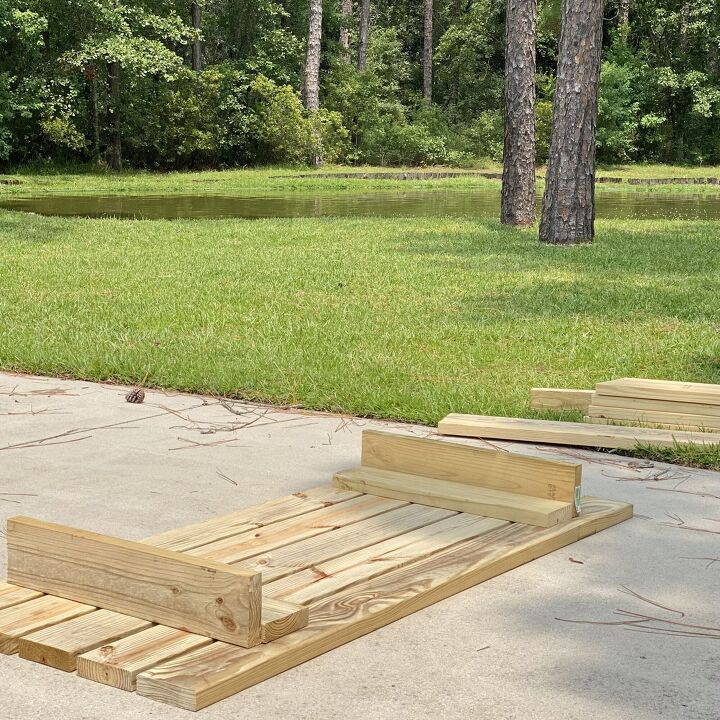
- Mark, apply construction adhesive and place the top leg supports on edge 8″ in from the table edge. Use 2, 2 1/2 inch deck screws to toenail the supports in place.
- Flip the table over and using a pair of 2 1/2 inch deck screws per top board, screw the leg supports from above to draw the pieces securely up to the underside of the tabletop. When the glue has been set, this will provide a strong brace for the legs.
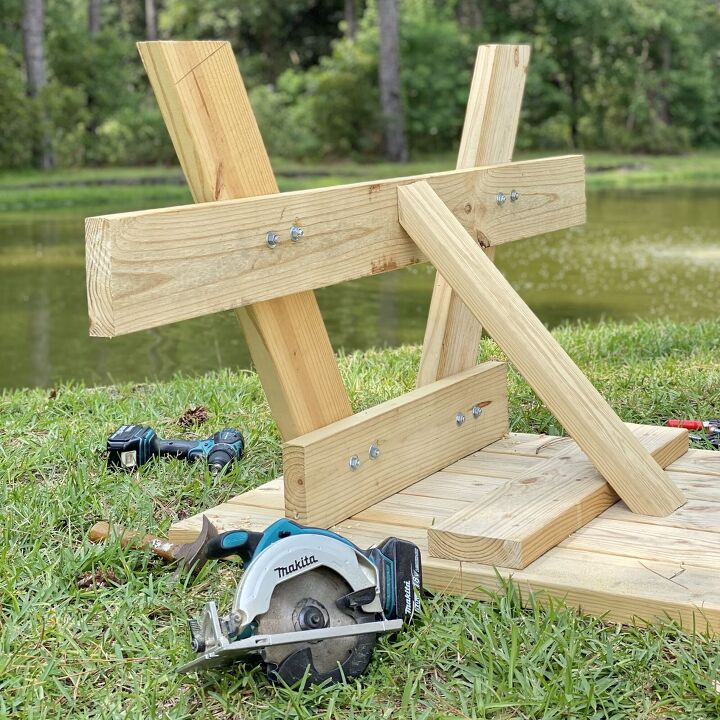
- Now it’s time to mount the leg pieces. Flip the tabletop over again and securely clamp each leg to the top support so that they line up with the second and fourth top boards and are flush to the underside of the top.
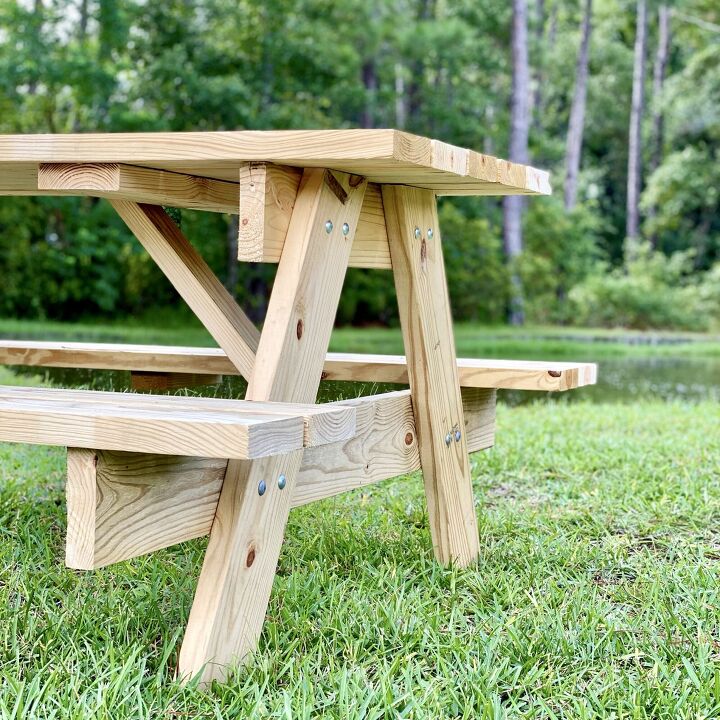
- Drill two 3/8 inch holes in the legs through the supports. Then, remove the clamps, apply the construction adhesive where the legs meet the supports, set the legs in place, and install the carriage bolts.
- Measure ten inches from the leg bottoms and draw parallel lines across the legs. This marks the lower edge of the seat supports.
- Carefully center and securely clamp each seat support to the legs and drill two 3/8 inch holes in the legs through the supports, remove the clamps, apply the adhesive where the legs meet the supports, and reattach them with the carriage bolts.
Attach the Seats
- Center the outer boards on the seat supports with a one-inch overhang off the back edge.
- Mark, glue, and screw the boards down using a pair of 2 1/2 screws into each support.
- Next, position the inner seat boards using the same spacers used on the tabletop spacing.
- Flip the table over and install the seat braces from below using the adhesive and screws. Do not let the screws protrude from the seat top.
- Now, measure and cut the leg to top braces. These should be cut on 45 degrees attached to the center of the leg supports using adhesive and 1 1/4 inch screws.
Finishing Touches
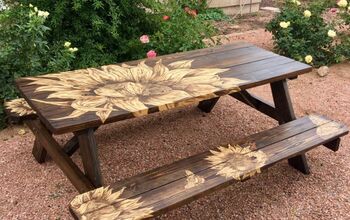
Now that the picnic table is built, it’s time for the finishing touches. Sand the picnic table to create a smooth surface for comfort and safety. I chose to keep my picnic table natural. However, you can stain or paint your picnic table. Although I kept it natural, I did seal our table to help it last longer year and after.
Time to Enjoy
Building your own picnic table is not only a wonderful confidence booster but’s it’s also a great way to continue honing your DIY skills. You can build one with the video, the lists of materials and tools, and the step-by-step instructions provided in this post. Having a picnic table of your own means lots of family fun can be enjoyed around it for many years to come! Remember, if I can build one, you can too!
These easy DIYs are perfect to use with your new picnic table for the upcoming Fall and Winter season:
DIY Wood Farmhouse Tray
How to Make a Wood Riser
Concrete Pumpkins for Fall
Happy building, yall!
Follow me on Pinterest and Instagram for more ideas and inspiration!
Resources for this project:
See all materials


Comments
Join the conversation
-
Very cool. Looks amazing. Super job and great share.


Frequently asked questions
Have a question about this project?
Aren't you proud of yourself?? It looks easy to make and it looks great. Now you can celebrate 4th of July with your family by the pond.