Landscaping Project

Landscaping Project for picnic tables. I was tired of moving the picnic tables every time I had to mow. So, I came up with this project. It's easy to do and beautiful.
Best natural weed killer!
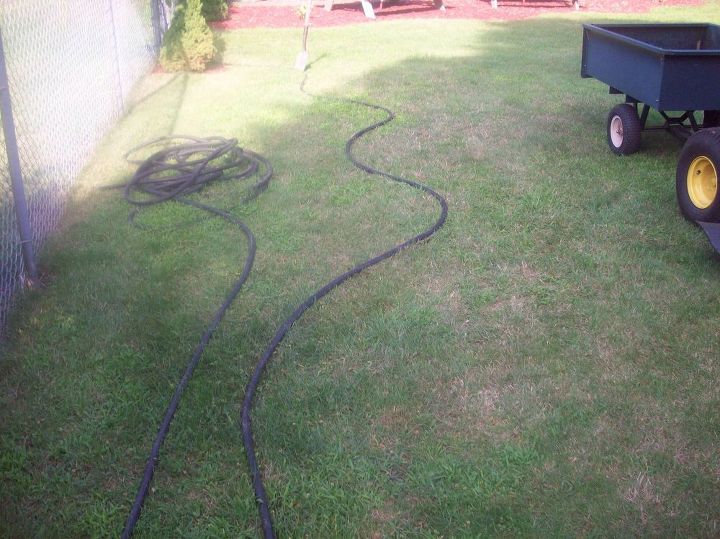
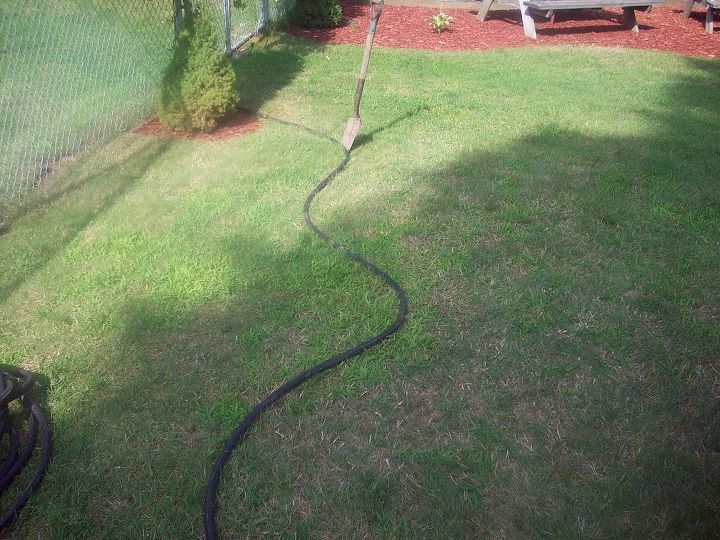
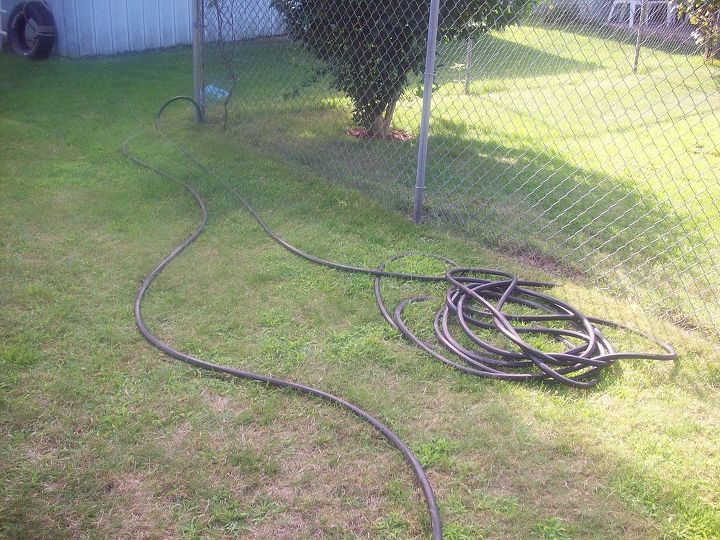
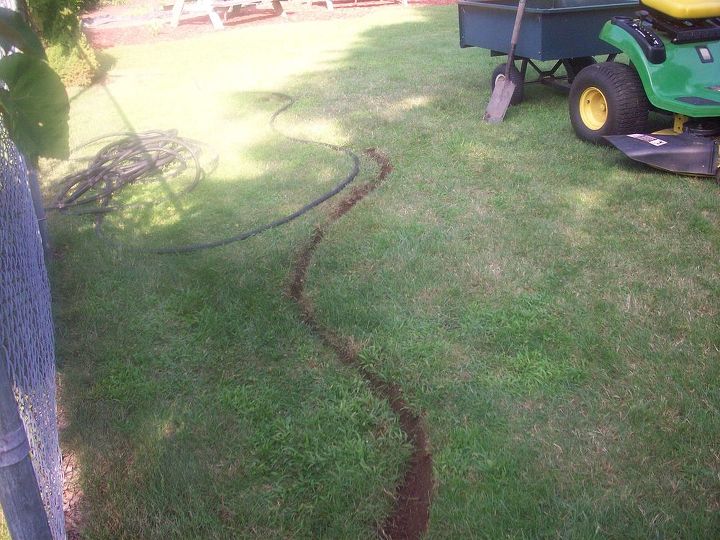
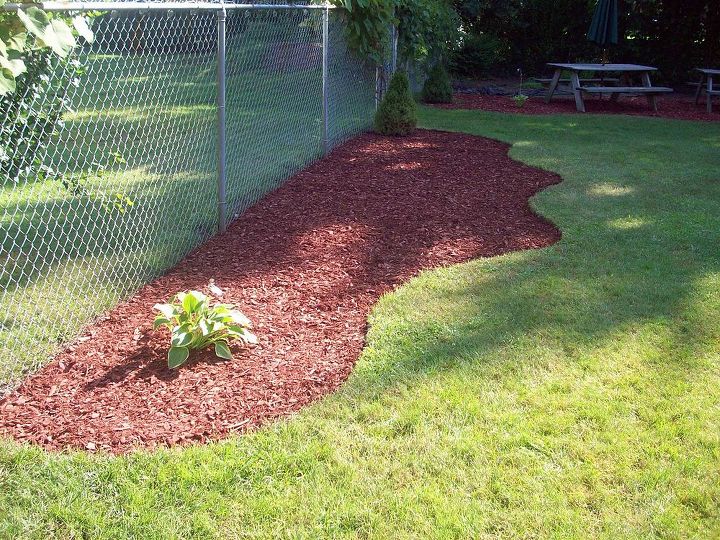
Step 1-Pick your area and outline with a garden hose. My black hose was very flexible and perfect for the job. My squiggly edging I call it Lagoonin.
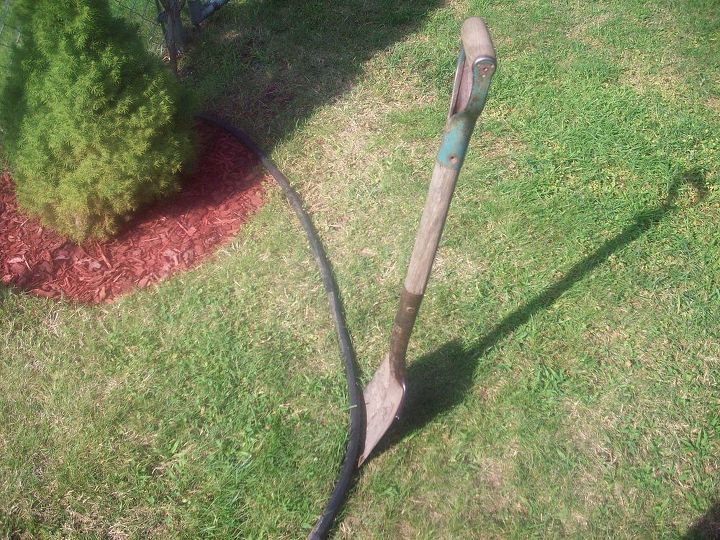
Step 2-A flat headed shovel. ( I have a magic shovel its doing it by itself. loling! )
Step 3-A close up. This shovel was left here when we moved in 16 years ago. My favorite landscaping tool EVER!!!!!!!!
Step 4-I dug straight down about 3 inches all along the outer hose. I know you can't see it but it's there. The deeper you go the less weeds will grow.
Step 5-Then I made a very small trench of the line I just made in pic 4.
Step 6-Start shoveling the grass up. You have to get real low, dig into the grass, lift, repeat.
Step 7-Almost done!
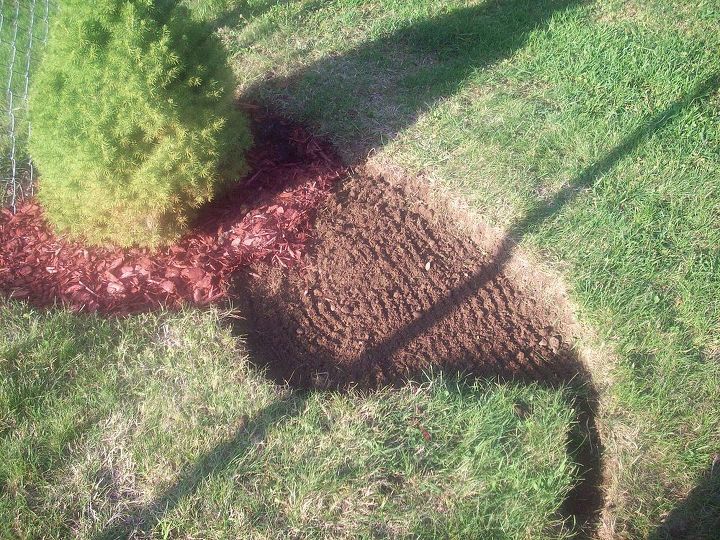
Step 8-I raked and leveled it with a hard rake. ALL DONE, shoveling that is.
Step 9-Lay your mulch down. I wore gloves, it's very messy while laying it down. Now your ALL DONE! And this is why I LOVE Landscaping. A child's wooden picnic table is going right in the middle.
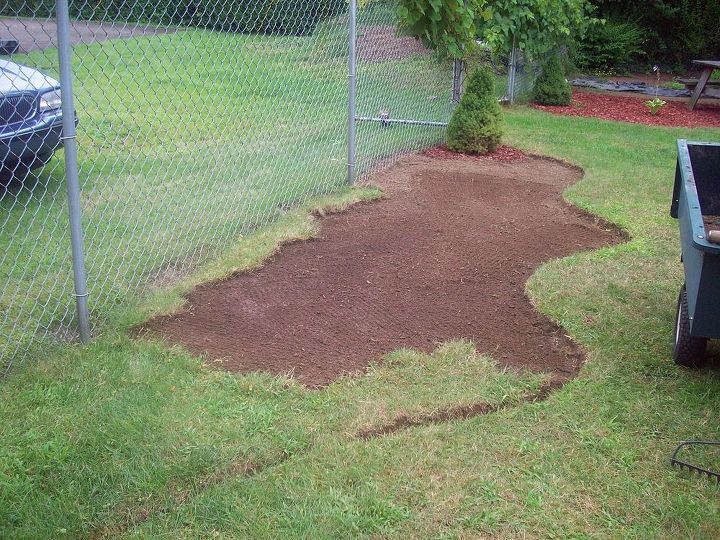
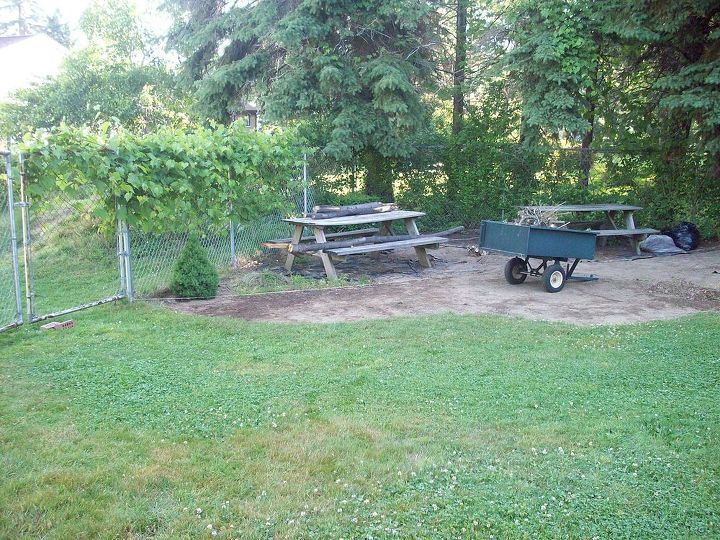
10-part A-Here is the beginning of the 2 picnic table area. I did this area before I did the child picnic table area. Yes, my inspiration!
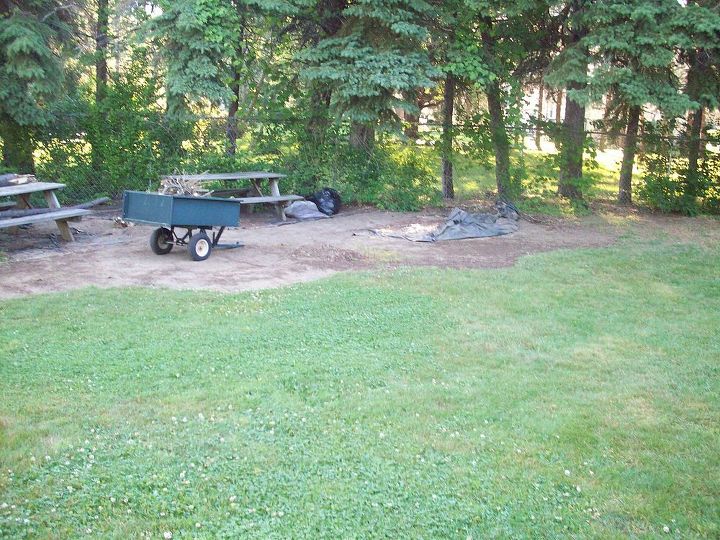
10-part B-Here is the other half of part A. It was a good size area.
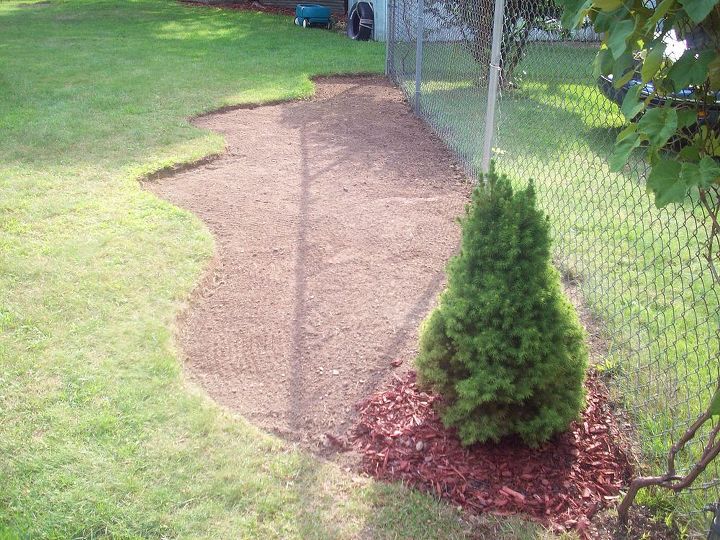
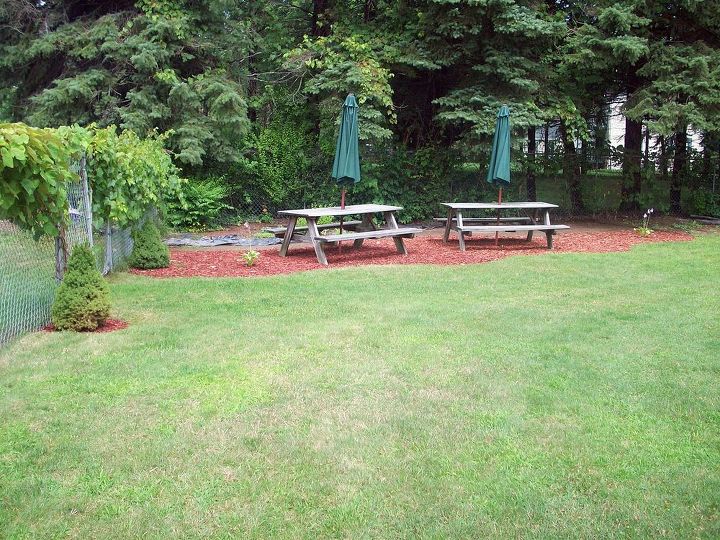
10-part c-2 picnic table area. Mulch half way done. I don't have a finished photo but I think you get the idea of it finished.
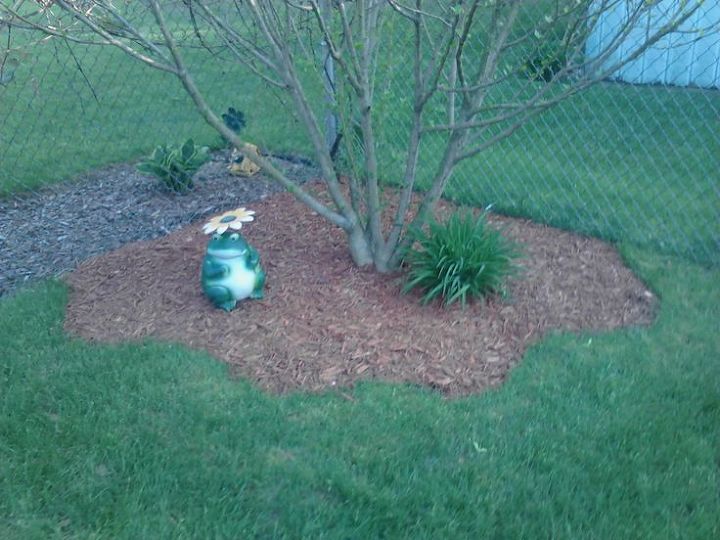
11-More Lagoonin edging. I did this area the year after. My rose of Sharon, day lily and big ole frog with a sunflower umbrella. It's beautiful when the rose of Sharon blooms at the end of July.
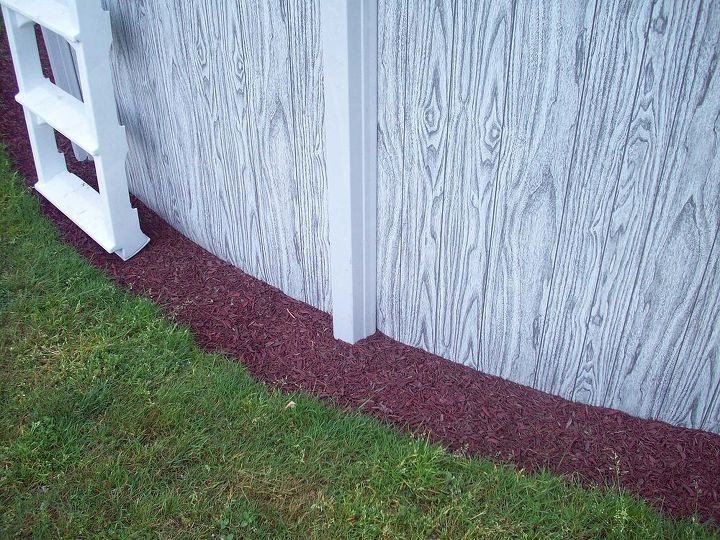
12-My last photo. Rubber mulch around the above ground pool. My next project will be to paint or stain the picnic tables. Hope you enjoyed my step by step instructions. Happy Landscaping!
Enjoyed the project?
Comments
Join the conversation
-
 Cher
on Apr 06, 2023
Watch out with mulch around your above ground pool. We use to do this as well as it looks great but in 2020 we kept loosing water in our pool & had it scubadived to see what was going on. Our diver told us that the mulch had created the perfect breeding ground for TERMITES!! These termites chewed 39 very tiny holes in our pool liner from underneath!...the damage was all done where the mulch was laid down!! I've had a pool for 30+ years and never hear of this happening...we will never put mulch around out pool again! Keep your eyes on it maybe install some of the termite stekes that distrbute termite killer into the ground in the location where the mulch is laid down!!
Hope this is helpful to ya!! Other then that it looks great!!
-
-
 Danni Steinmeier
on Apr 09, 2023
Yes, wood mulch can/will draw termites. I prefer rubber mulch for that reason.
-















Frequently asked questions
Have a question about this project?
Omg you done a super job how long did it take you,,,I love the garden,but I have osteoporosis arthritis in my joints very painful but I dnt let it stop me,,,my garden is my pride and joy,but seeing your puts mine to shame
Does the grass and the weeds know it is not supposed to cross that line? If so I need to know what kind of grass you put down.
a. Why did you not use a black liner for weed rejection before you put down the mulch chips? and why would you recommend rubber mulch? Probably not good for my dogs to chew on-which of course they will....?