


How to Make a Pallet Headboard in 8 Easy Steps

Follow these 8 simple steps to build your pallet headboard. It’s an easy DIY project that can be completed in just one day. By using inexpensive fence posts you can create this rustic but pretty headboard.
For more simple and budget-friendly DIY project ideas, be sure to follow us on HomeTalk and visit our blog!
As our daughter became a teenager she outgrew the style of her bedroom furniture she had since she was a little girl {insert sob}.
I was a little sad.
But she was so ready for something new.
And since I really enjoy redecorating my kid’s rooms we started looking on Pinterest for ideas.
I kept coming back to pictures of pallet headboards while we were searching for inspiration for her teen bedroom makeover.
They were so cool and rustic!
I just loved the different styles of pallet headboards I saw for teen girls bedrooms.
They weren’t just distressed natural or stained brown wood colors.
I found lots of different painted styles.
Emma decided on a style and color she loved for her new headboard.
And I got to work with my husband’s help.
How to Build a Wood Headboard Using Fence Pickets
1. Measure to Determine the Size Needed
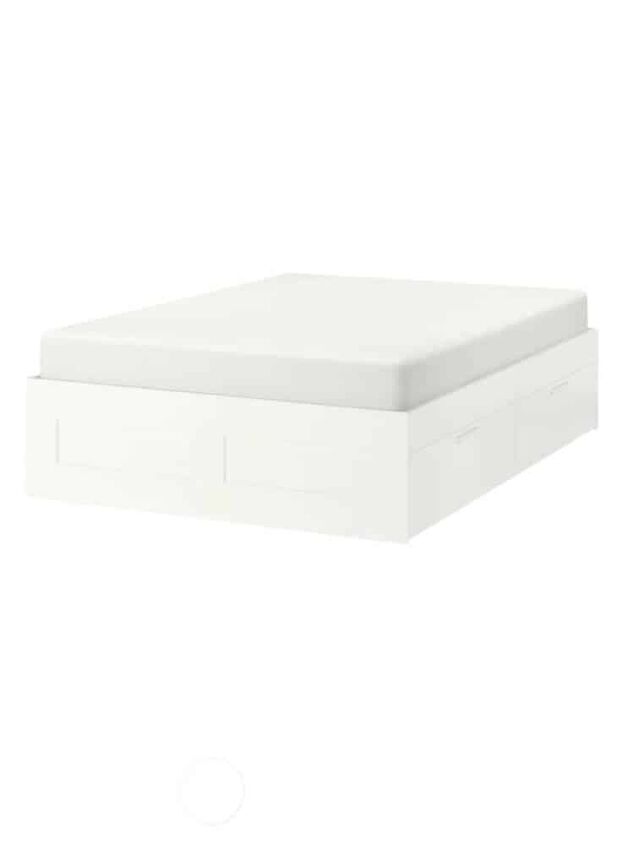
We chose a bed from Ikea in a queen size with lots of storage underneath.
After putting it together…thanks Ikea…we measured the width of bed.
It was 64 1/2″ wide.
Since I wanted the headboard to be a few inches wider than the bed frame, we decided to make the headboard 68 1/2″ wide and 54″ high from the top of the bed frame.
2. What Kind of Wood Should I Use to Build Headboard
After doing some research, I decided to go with new wood fence pickets for this DIY project instead of reclaimed pallets.
The fence pickets were inexpensive and easy to find at our local home improvement store.
We bought the wood fence pickets in two different widths…. 5 1/2″ and 4″ wide.
These particular fence pickets were rough, which is what I liked about using them.
They looked more rustic and similar to reclaimed wood pallets.
But I didn’t have the extra work of taking pallets apart and removing all the nails.
Simple!
And all the boards we needed for this project only cost about $17.
Cheap!
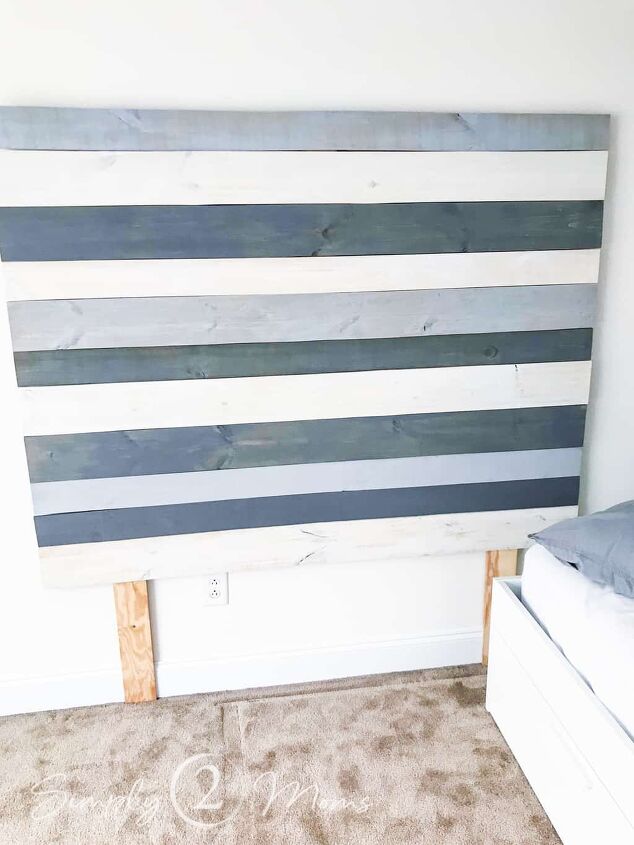
3. How to Build Support Posts for DIY Headboard
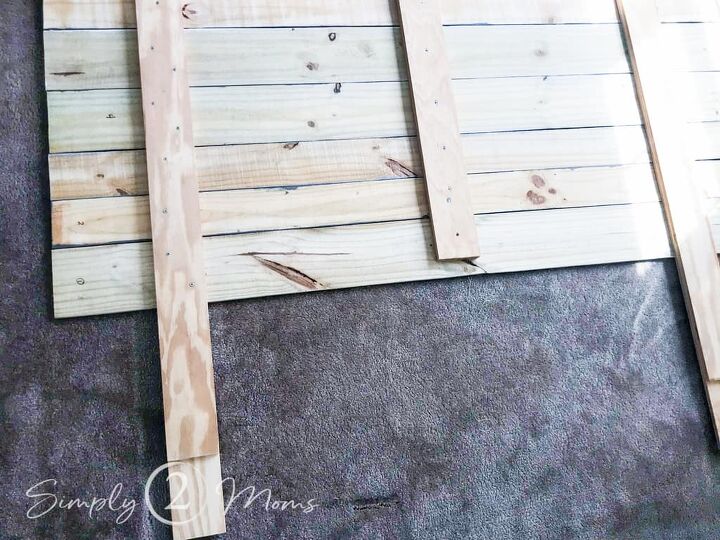
We built three support posts out of leftover wood we had from our master bedroom board & batten project.
Since we wanted the headboard to attach directly to the wall we used 2 pieces of wood one on top of the other.
This would allow us to build the support posts around the baseboard molding.

An old scrap piece of molding was used to measure the difference in length we needed for the support boards.
This prevented us from having to do any fancy wood work and kept the project super easy.
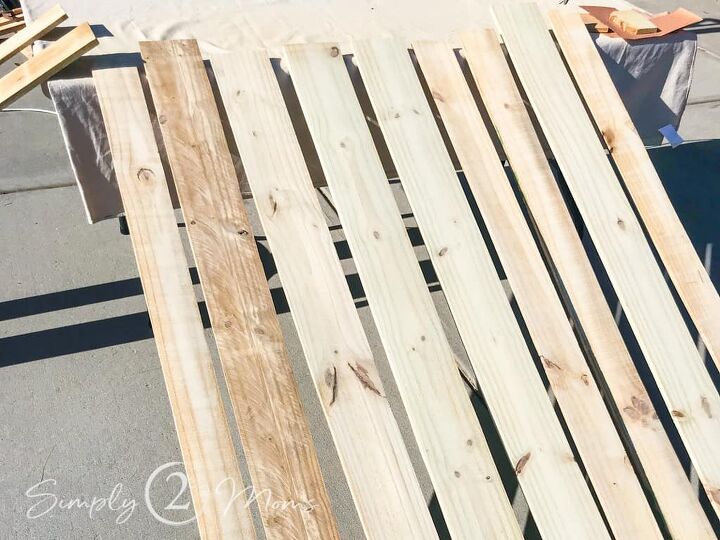
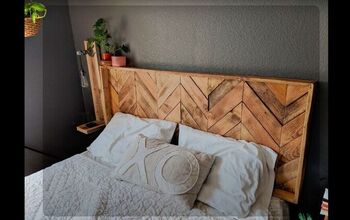
4. Design Headboard Pattern Using Different Wood Widths
Using fence pickets in two different widths allowed me to create a random design for her wood headboard.
Our design and size needed for Emma’s headboard used six of the 5 1/2″ boards and five of the 4″ boards.
The 11 fence pickets gave us the 54″ height for the headboard.
Next, I numbered the back of each board.
This helped keep everything in the order I planned while completing the next steps.
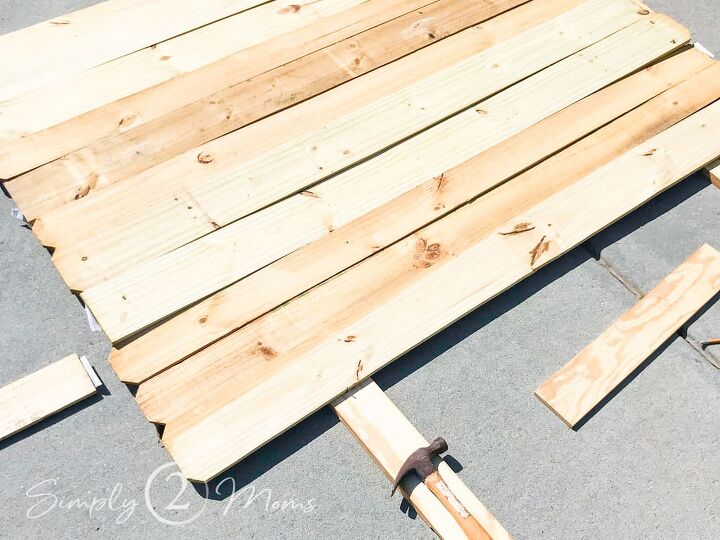
5. How to Trim Fence Pickets
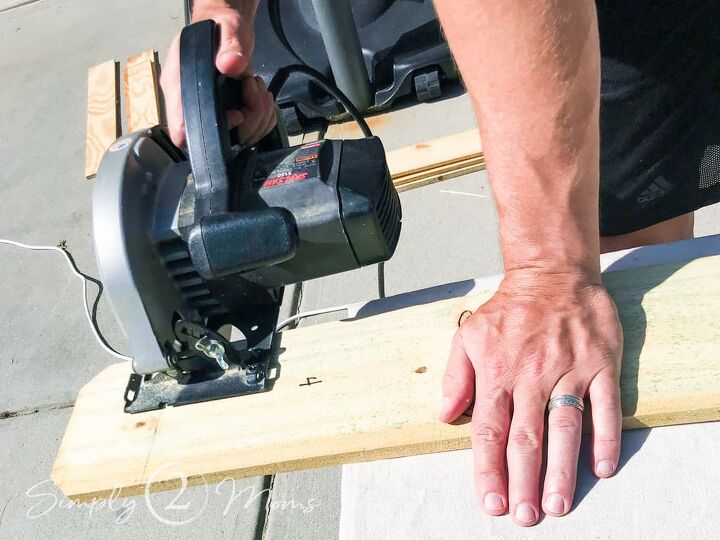
Once the design was laid out, we measured each piece and marked it with a square.
Then we trimmed each fence picket at the mark using a circular saw.
A table saw would have been great for this project but we don’t have one…yet!
Maybe someday soon I’ll have to invest in one.
The pickets had a dog ear style top which we cut off to make each board 68 1/2″ long.
6. How to Finish Pallet Headboard

I lightly sanded all sides of the pickets with a palm sander because I wanted to keep the headboard looking rustic but didn’t want anything to get caught on a rough patch.
It wouldn’t be good if Emma’s hair got caught on a piece of rough wood while sitting up against her new headboard.
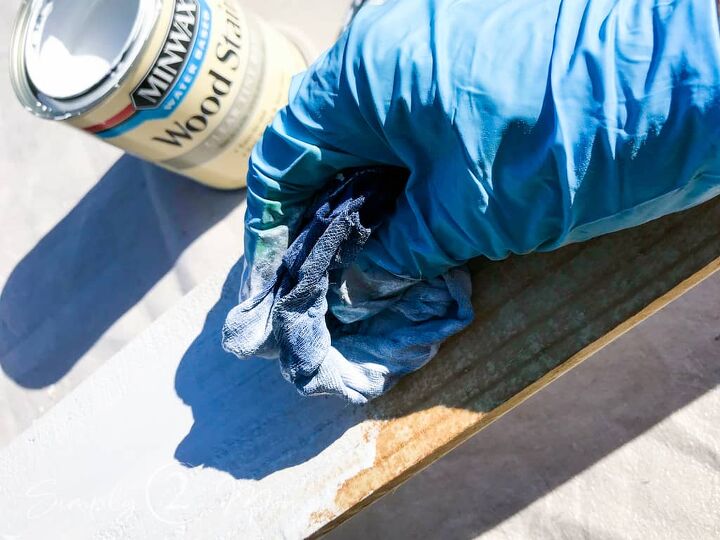
After all the pieces of wood for the headboard were smooth from sanding it was time to apply the stain.
I used two different Minwax water-based wood stains for this project.
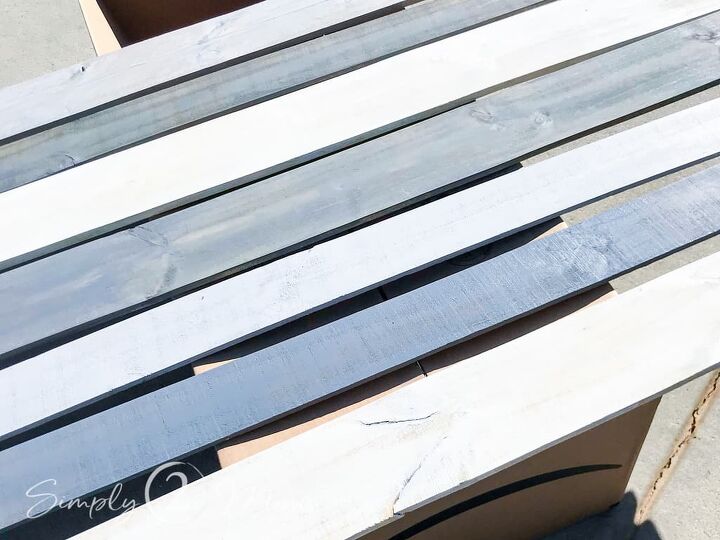
Coastal Gray and Marshmallow were the perfect colors to stain the headboard to match her new room décor.
I also combined those two colors to create a third variation in a light gray.
Using a clean rag I applied the stain to all the boards.
7. How to Assemble DIY Pallet Headboard
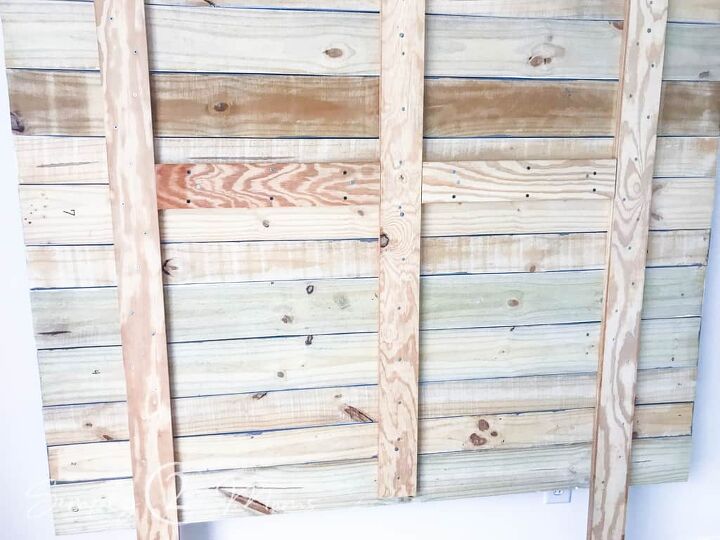
Once all the boards were stained and had time to dry we attached them to the back supports.
We secured the stained fence pickets to the back support with 3/4″ finishing nails.
The boards were nailed from the back so that they were not visible in the front of the headboard.
We carried it up to my daughter’s room and held it in place.
It looked perfect!
Just what we wanted!!
8. How to Secure Headboard to Wall
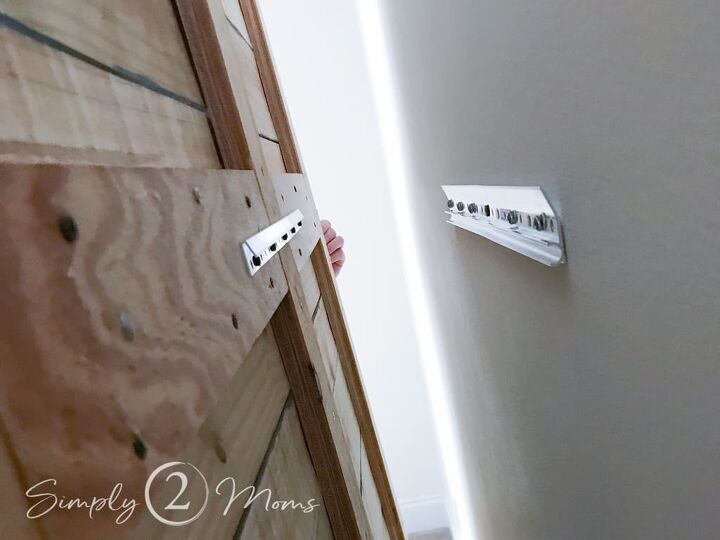
After seeing the completed headboard, I didn’t want to ruin the front of the pretty headboard by drilling holes through it to secure it to the wall.
We ordered this french cleat to hang it from the back of the headboard to the wall.
Two horizontal boards were added between the back supports so that we could attach the french cleat.
The headboard was super secure because of the interlocking brackets.
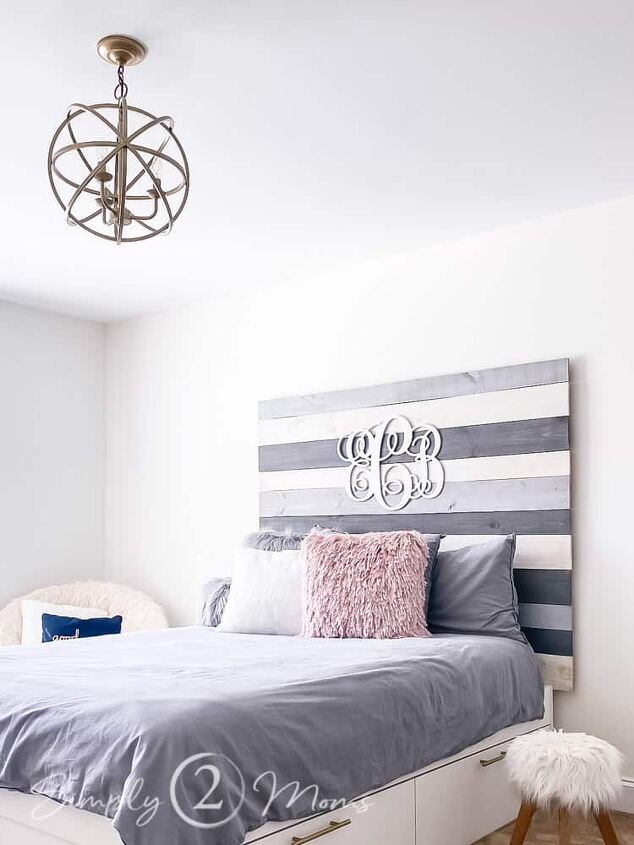
Once the headboard was secured to the wall…we pushed the bed back against the new pallet headboard and marveled at our handy work.
Haha!
We were super proud of ourselves and more importantly…our daughter loves her new bed!
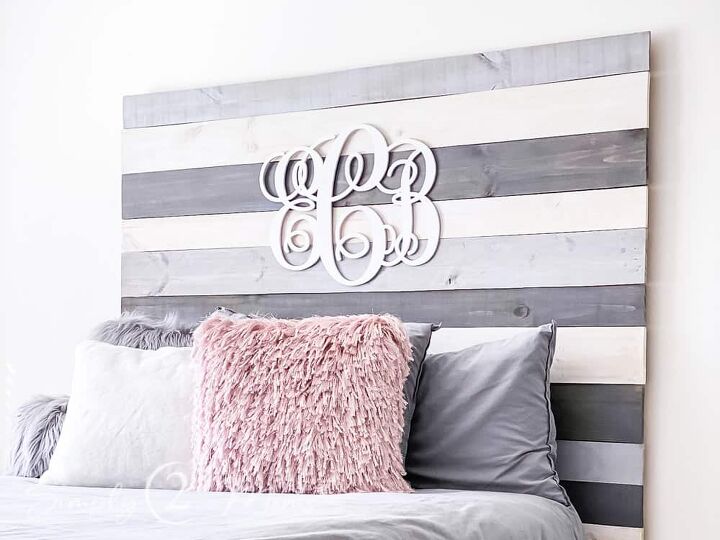
A white painted monogram from Etsy is the perfect finishing detail on the DIY pallet headboard project.
Have you built a headboard or bedframe?
It’s a cost effective way to get exactly what you want.
Check Out the Other Projects in Emma’s Teen Bedroom Makeover:
- How to Style a Bedroom Gallery Wall
- Update Hardware and Fixtures with Paint
- How to Create a Vanity Are for a Teen Girl
- Teen Girl Bedroom Final Reveal
Resources for this project:
See all materials


Comments
Join the conversation
-
Great job! It looks like something an older woman, like me, might like like in my bedroom....:)
-
This turned out very nice. Love the different colors.


Frequently asked questions
Have a question about this project?