


How to Scribe for the Perfect Countertop or Shelf Fit
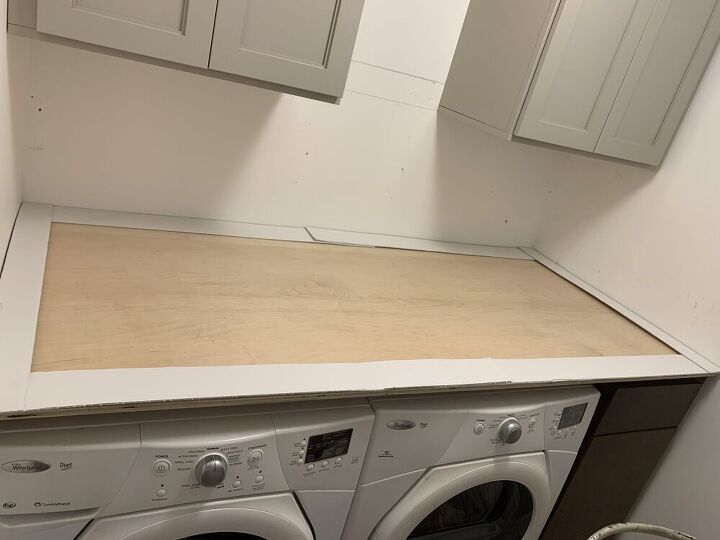
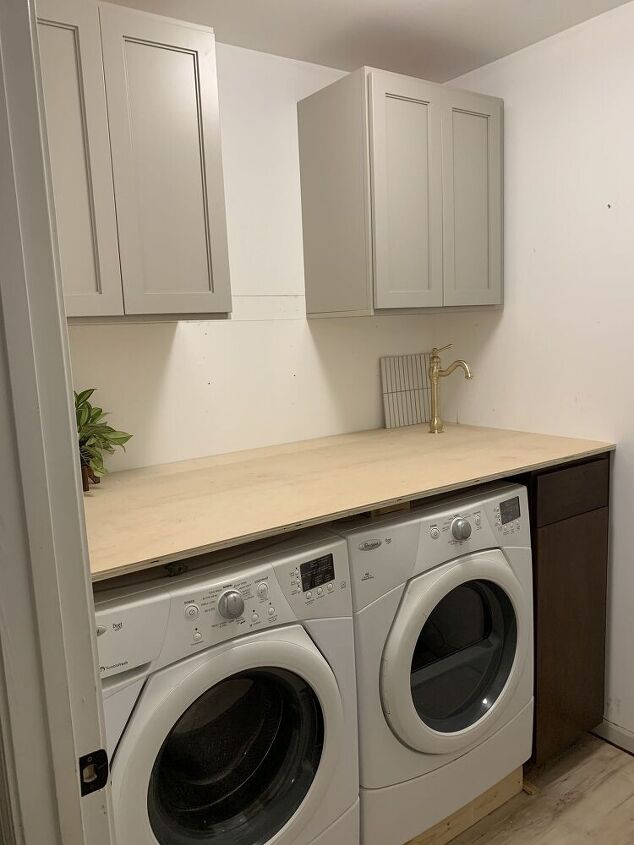
I found myself with a dilemma in the laundry room. Our walls are crazy wonky. Nothing is square, and when it came to fitting my DIY countertop in between the two walls I knew I was either going to have to learn how to scribe, or end up with big gaps and using a lot of caulk.
Scribing is a method that allows you to transfer the profile of a wall onto your material so you are able to cut it to fit the wall exactly. An important skill if you live in an older home, or the effects of time and your house settling have left you in the same funhouse situation we are in.
Scribing is easy if you have only one side against a wall. In my case my countertop was “trapped” between two walls, which meant I couldn’t easily lay my piece of wood down, scribe and then make a cut. Obviously the wood has to be cut to fit in the space to begin with, so I had to create a template. Here is the process I used to get the perfect countertop fit (also applicable to shelves!).
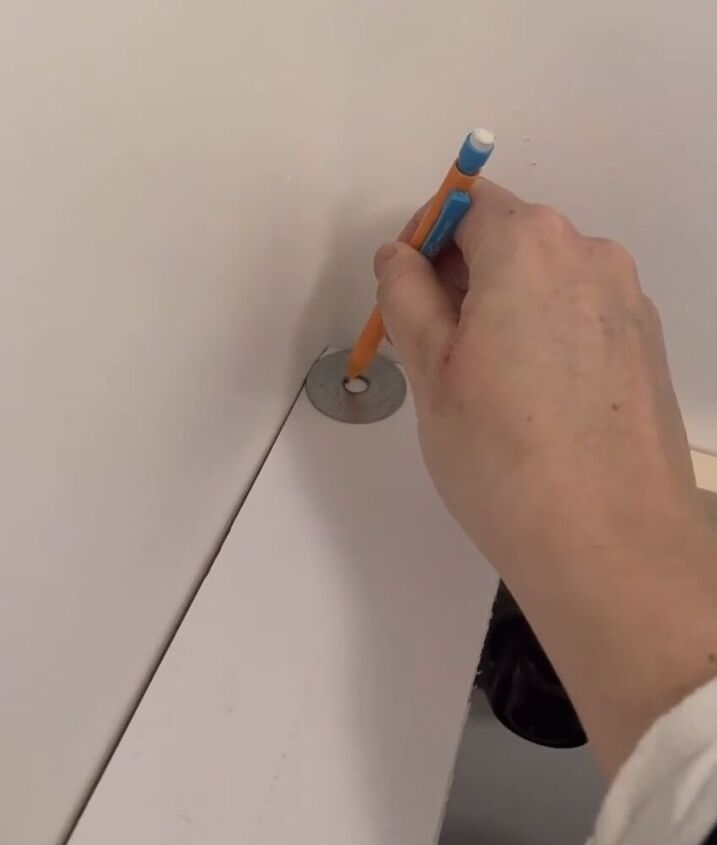
Step 1: Create your scribe line
You can use a variety of things to create your scribe line. A compass or a washer work great! I used a wide washer, rested it against the wall, inserted a pencil in the middle, held tight against the washer and the washer tight against the wall. Then I ran the washer and pencil down the wall. I first tried this on painter’s tape, but later realized I had to make a full template and redid it on foam board strips.
Redoing on the foam board. I cut the board into strips the length of the walls.
Once you have your lines scribed onto the foam board, use a pair of scissors to cut along the line, and check the fit.

Once you have your template strips cut for any sides against walls, as well as a fourth strip to complete the box, use hot glue to attach the strips together and create your full template.
I used my jigsaw with a fine blade to get a clean and precise cut along the line.
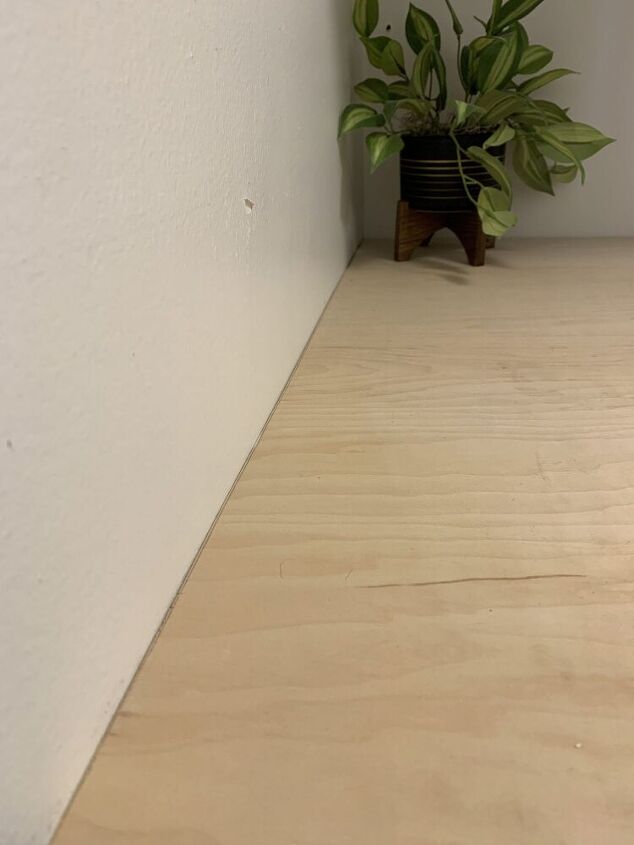
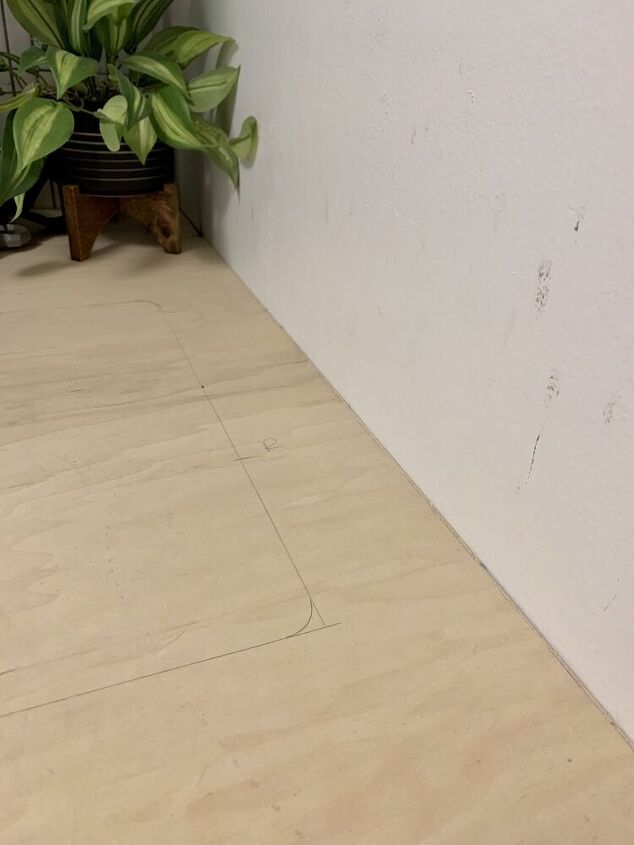
I moved the plant for these pictures trying to get a good picture for instagram 😂. The pencil line makes it look like there is a gap, but these are actually nice and tight against the wall. To a point I had to tap it into place with a rubber mallet. I love the satisfaction when that happens!
Next steps on this countertop will be facing out the front to cover the raw plywood edge, adding supports underneath, and cutting out for the sink.
Comments
Join the conversation
-
Such great tips, thanks for sharing!


Frequently asked questions
Have a question about this project?