Create This Stunning & Affordable Bar For Your Dining Room

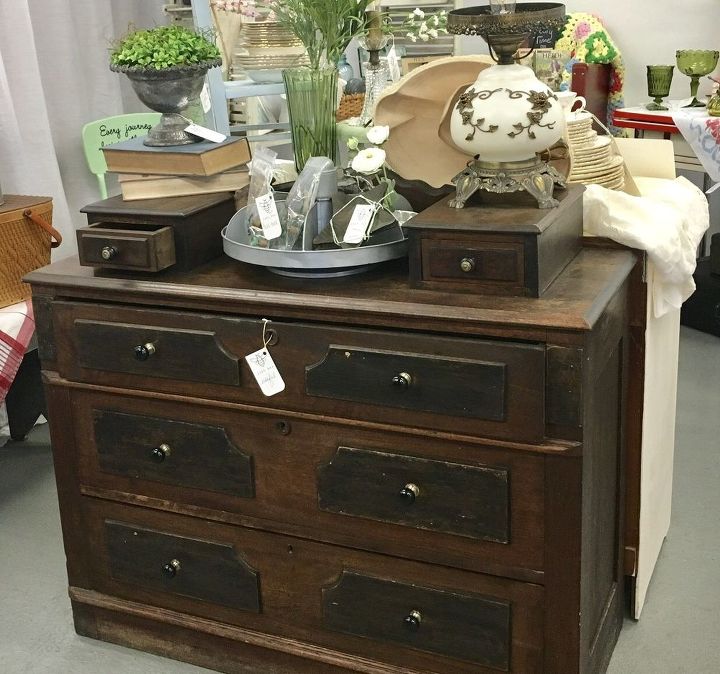
I had this old dresser and I used two of the drawers for another project so I was left with a dresser with one drawer. I'm always up for an up-cycle project so I decided to turn it into a bar.
Step 1: Remove the drawers
The dresser originally had three large, bottom drawers but I only had one left.
I also removed the top drawers and the decorative back piece.
Step 2: Add Legs
This dresser needed to be taller so I wanted to add legs to the bottom. I began by laying the dresser on it's back.
A - I measured the width of the leg top plate
B - I cut a 1" pine board into four squares using the measurements I had taken. I then found the middle.
C - I placed the leg top plate in the center of the board
D - And screwed it into place
E - I screwed the board with the leg top plate onto the bottom of the dresser
F - And attached the legs
Step 3: Remove drawer runners
I removed the drawer runners from the inside of the dresser for the drawers that no longer existed. I also removed the molding from the front of the dresser.
Step 4: Finish inside back
I sanded and stained the inside back of the dresser
Step 5: Add shelf
I wanted to add a shelf to the inside
A - I measured the inside width and length
B - I cut a piece of 1/4" plywood to length
C - I painted the shelf
D - I then measured the inside corner
E - And cut the corner out of the plywood
F - I nailed the board to the inside of the dresser
Step 6: Fill Holes
There was some damage to the dresser so I filled any holes with wood putty.
Step 7: Sand
I sanded the entire dresser then I used a tack cloth to remove all the dust then wiped clean with a damp cloth.
Step 8: Paint
I painted one coat of paint. Once the first coat is dry, I lightly sanded using fine grit paper, then added another coat of paint.
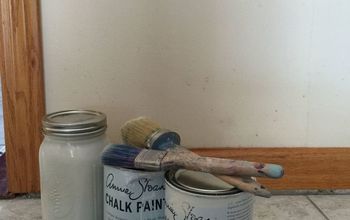
I used Valspar Chalk Paint in "Her Delicates"
Step 9: Sides & Drawers
A - I sanded the drawer fronts
B - Taped off the raised wood and painted the drawers. Once the paint was dry, I stained the raised wood using Minwax "Early American"
C - I taped off the recessed panels on the sides of the dresser and painted
D - Once the paint was dry, I removed the tape and stained.
E - Once the entire dresser and drawers were dry, I waxed all of the pieces using Valspar Sealing Wax.
Step 10: Reattach Removed Pieces
I reattached the molding that was removed and the drawers on the top of the dresser.
I placed the bottom drawer back into it's space.
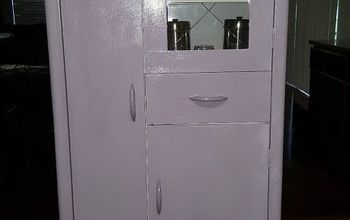
And here she is!! I added a wine rack to the shelf (which I made and painted to match).
No one believes that this was once an old dresser.
Enjoyed the project?
Resources for this project:
See all materialsComments
Join the conversation
-
 Maria Coleman
on Oct 01, 2018

-
-
 RJ Bastedo
on Oct 28, 2018
Omgosh this is stunning. You did an amazing job. ♥️
-









Frequently asked questions
Have a question about this project?
Did you ale the small wine rack? If so, of what material?