


Sawhorse / Trestle Legs

1 Material
4 Hours
Medium
Having an extra surface to work on or the ability to work outside is very handy. So that I could do some worn in the sun I built these sawhorses.
{
"id": "3822056",
"alt": "",
"title": "",
"video_link": "https://www.youtube.com/embed/5bWwJgFRvF4",
"youtube_video_id": "5bWwJgFRvF4"
}
{
"width": 634,
"height": 357,
"showRelated": true
}
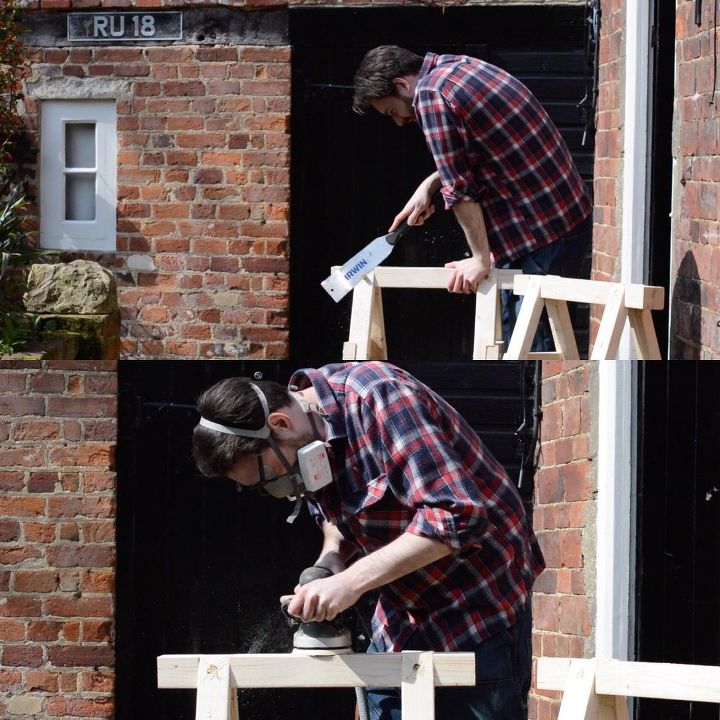
I used 2 x 3 timbers for this project. First thing I did was lean a 2 x 3 at an 18” angle then mark how high it would be comfortable to work at. I then cut 4 legs to this length with an 18” angle on the bottom.
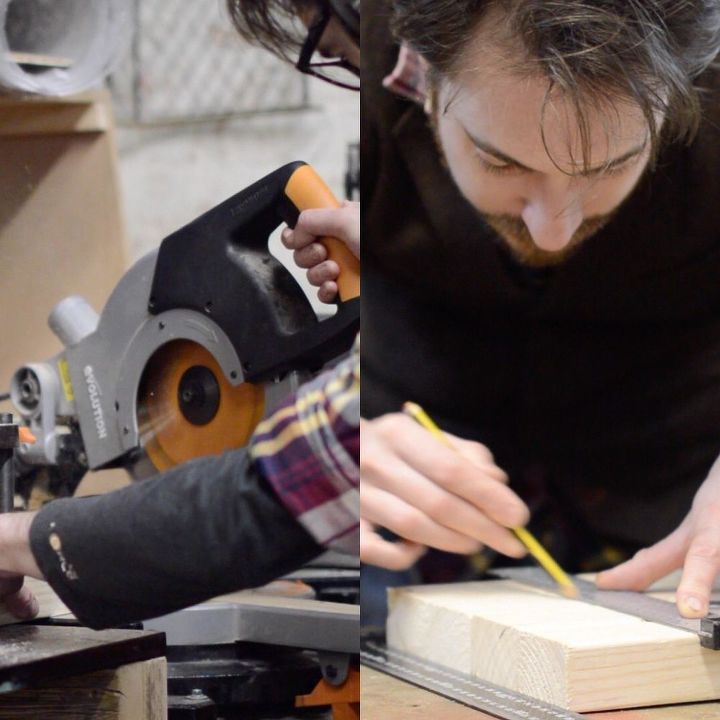
Using a bevel gauge I then marked a 18” angle on the top.
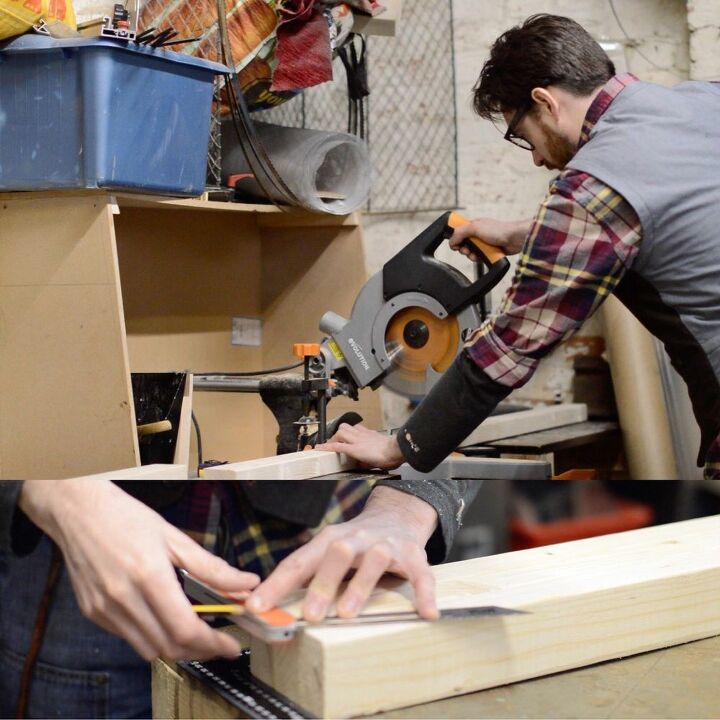
I cut this angle using the bandsaw.

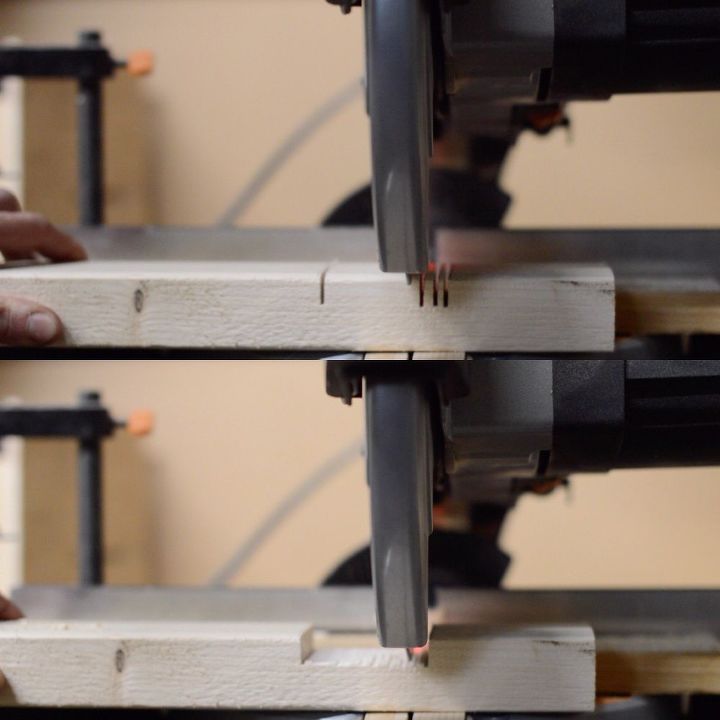
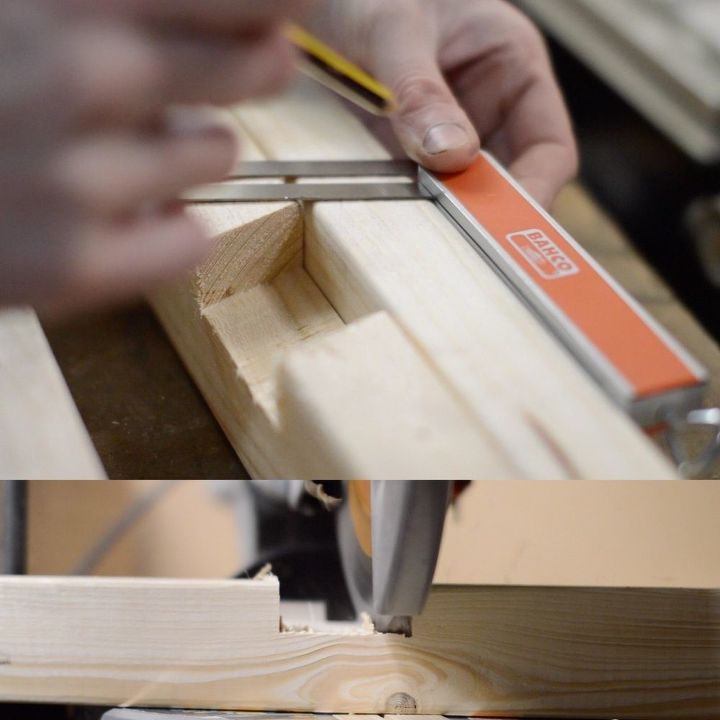
I made the top from two bits of 2 x 3 but before I could glue them together they needed cuts made in them to accept the legs.
On my miter saw I set a depth stop and made a many cuts to make a slot for the legs to go into.
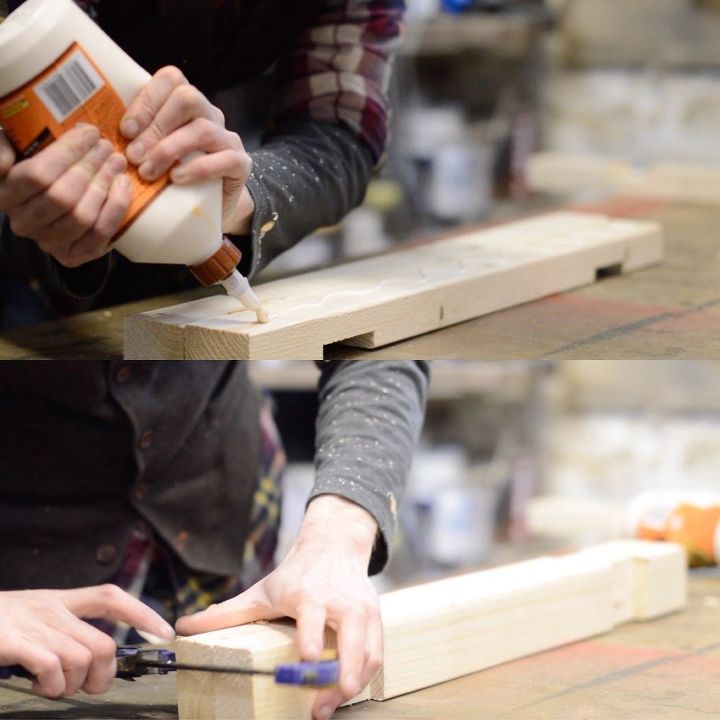
With the slots cut the two bits for the top could be glued and clamped together.
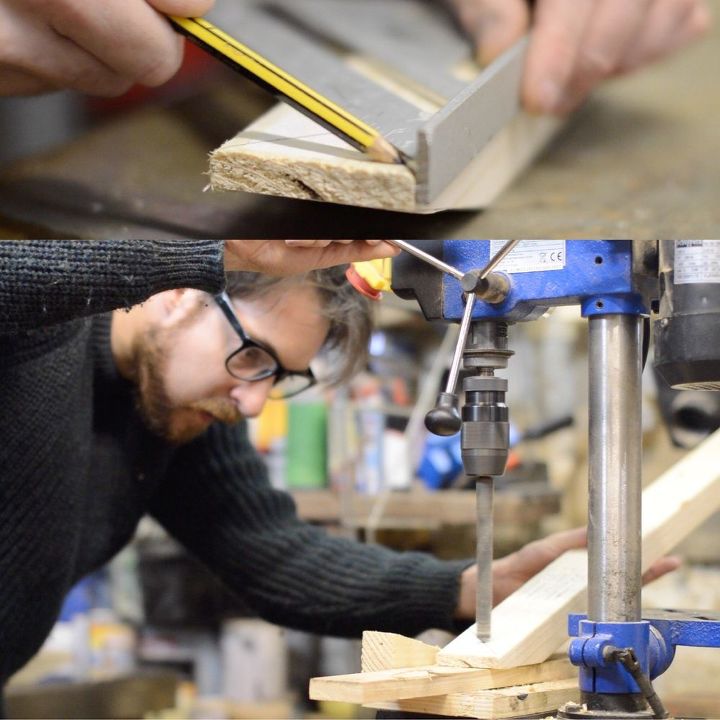
The legs needed slots cut into them to accept a side brace. I still had my bevel gauge set to 18” so I marked out where to cut and made the cuts again on the miter saw.
The legs were going to be held in place with glue an dowels, so I marked and drilled the holes fro the dowels.
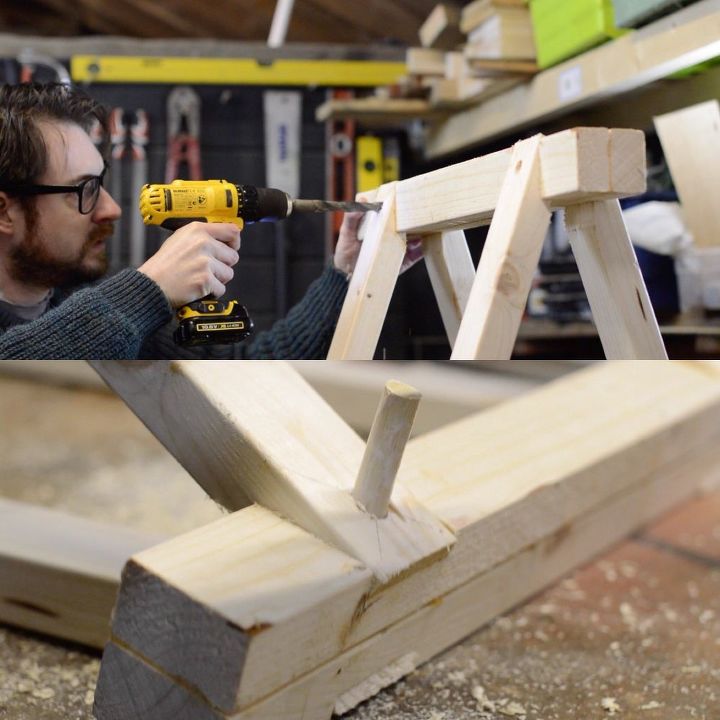
The legs could then be glued and clamped into place.

When the glue had dried I drilled a hole all the way through and glued the dowels in place.
I cut the side braces at the same 18” angle and glued then into position.
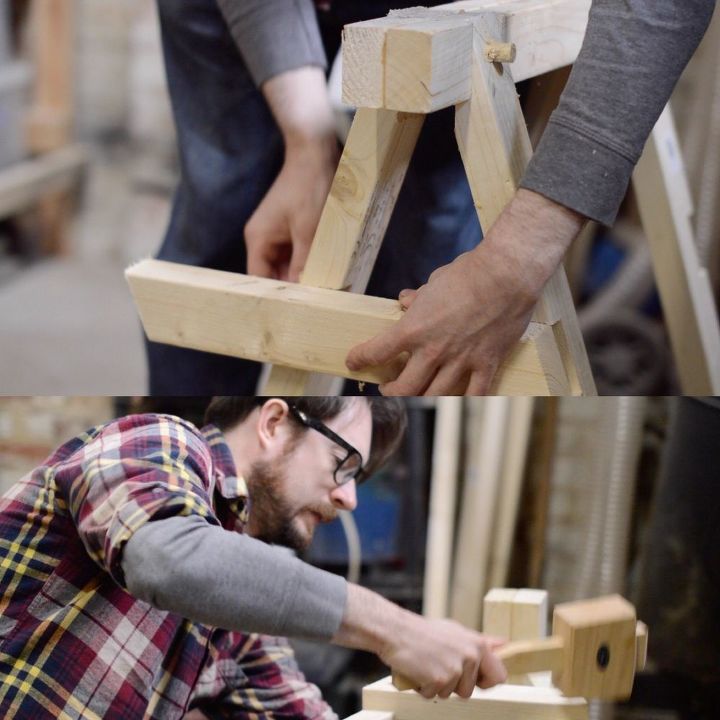
They then got drilled and dowel put in.

Then everything had dried I trimmed off the dowels and gave it all a sand.
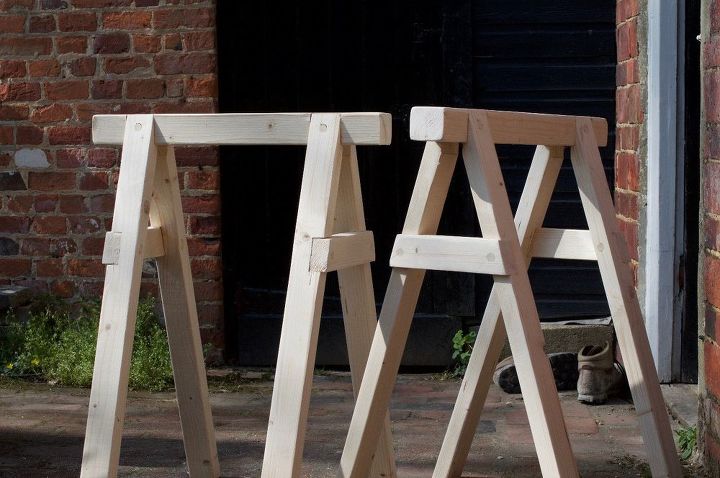
Thats them all done.
Please watch my video for more information. If you enjoyed the video please subscribe to my YouTube channel for a new project each week.
Comments
Join the conversation
2 comments
-
These "sawhorses" are a work of art. I also see them with a hunk of wood on top for a spur of the moment workshop party! Thanks for sharing. 😊


Frequently asked questions
Have a question about this project?