


Simple Oak Bookshelf

I built this bookshelf for friends who weren't stoked about the idea of paying $1,200 for the bookshelf they liked at Room & Board, especially since it wasn't even going to be solid wood. The roughly $200 materials cost on this ended up being a much better price point! They wanted something to fit behind their couch. I was thrilled to help. The best part of building custom furniture like this is that you can design it to be the perfect size for your space. In this case, a perfect fit for the length and height of their couch. Their request was for real wood and a very clean, simple look.
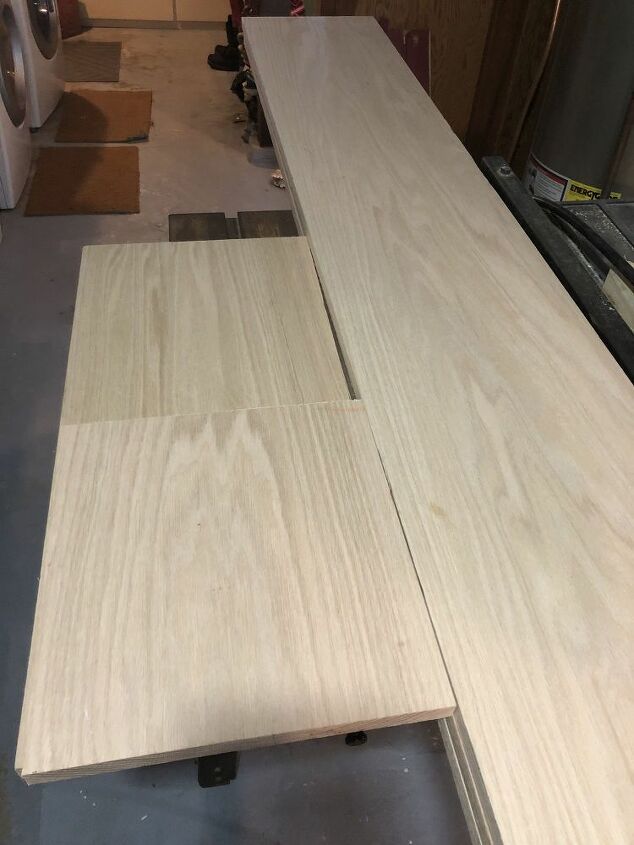
We decided on oak boards. It was more expensive than a cheaper, softer wood like pine - but wasn't significantly more. I used 1x12 boards from Home Depot. The first step was to cut the top, bottom, sides and middle shelf to length. The bookshelf was 6' long and 26' tall (with 4' legs to add later).
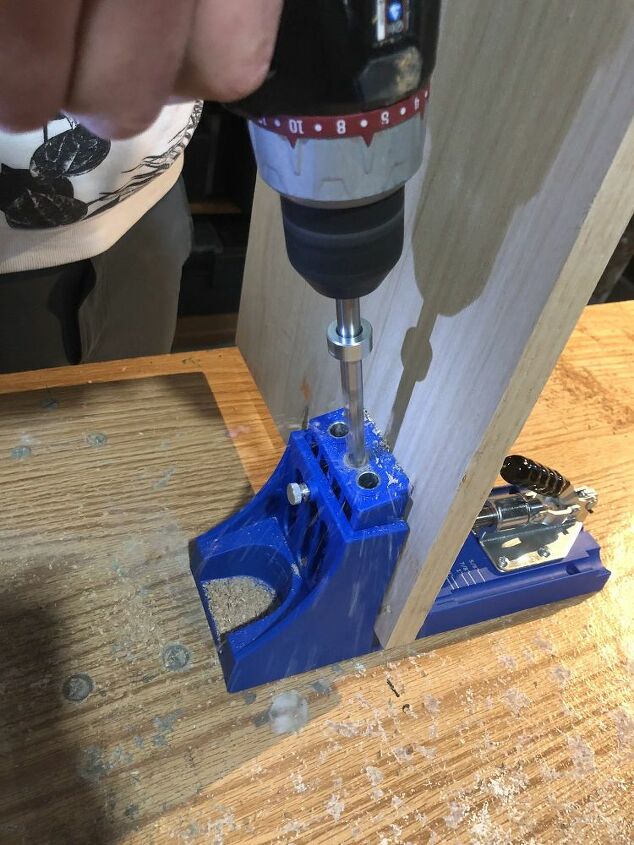
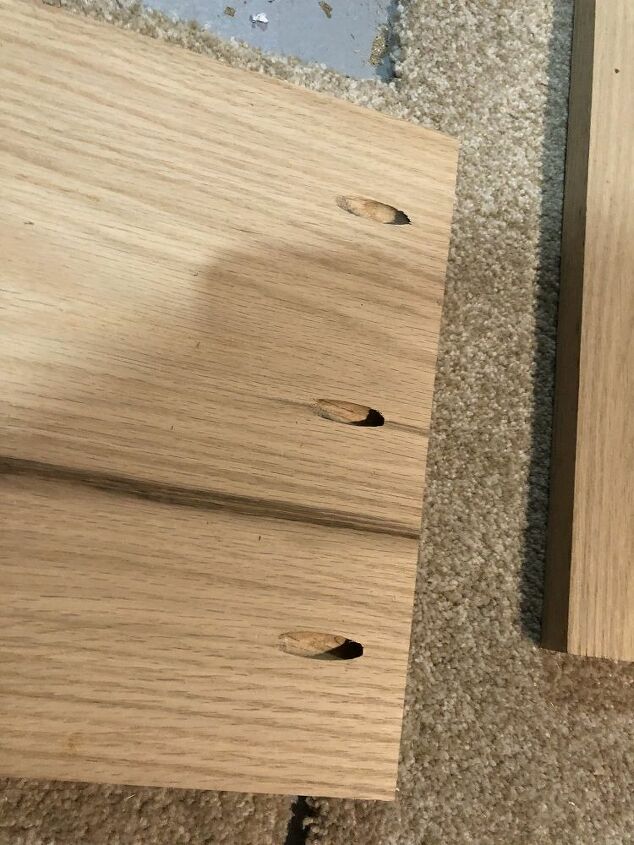
I was committed to making sure there were not visible screw or nail holes on the outside of this bookshelf. So, the first step was drilling pocket holes on the top, inside portion of the side pieces and the bottom side ends of the middle shelf. I drilled three pocket holes in each piece. Holes 2" in from each edge and one centered.
Pocket holes may seem intimidating, but with a good jig, they're a piece of cake. But I'll stress, you get what you pay for with jigs. I've tried a cheap one and it was a disaster. I also want to point out that you can make a bookshelf like this without a pocket hole jig. Just pre-drill and countersink holes for screws on the outside edges and fill them later with wood putty.
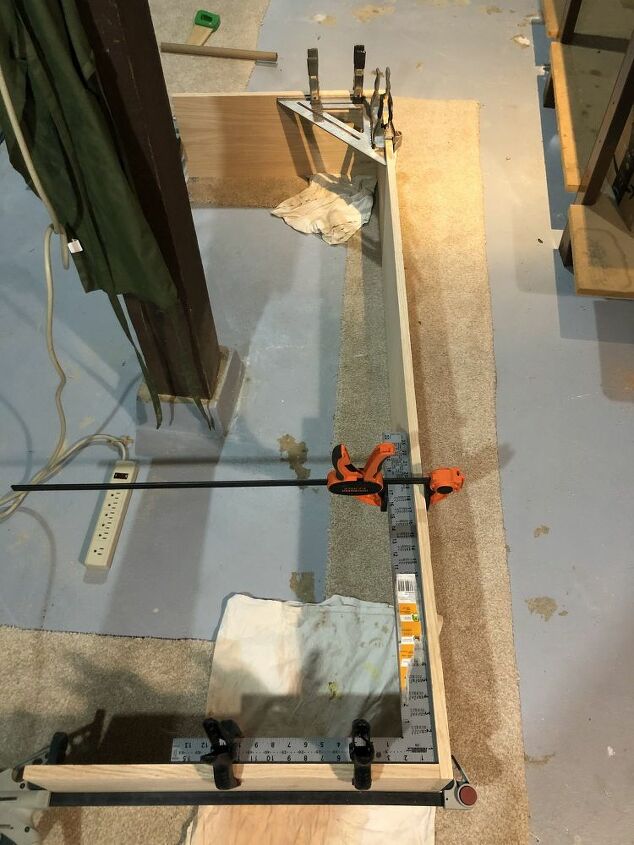
I took a slow and steady approach with this, assembling it one piece at a time. First, I put the top on. I used wood glue and pocket hole screws. As you can see, I used squares when clamping it together before tightening the screws. I kept the squares clamped on when it dried.
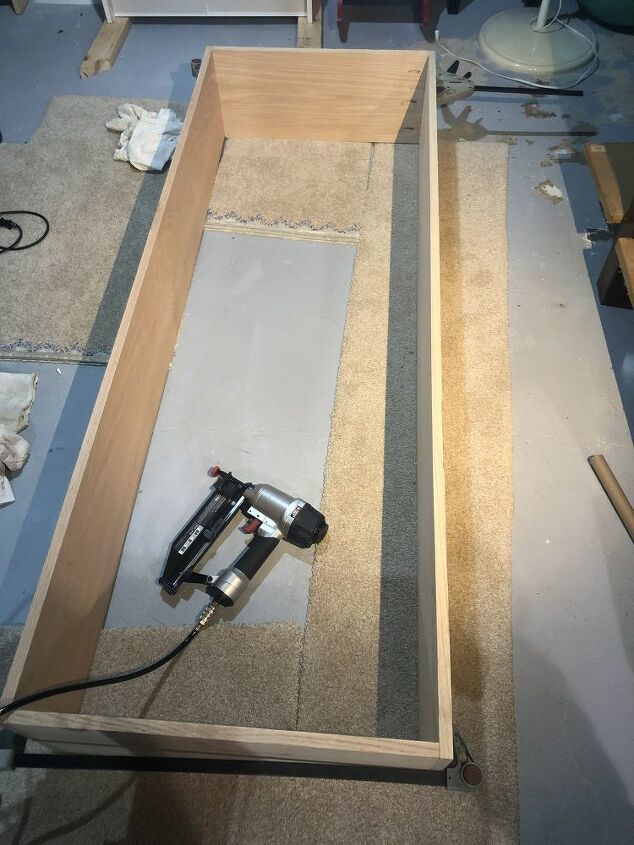
Next, I assembled the bottom. For this, I used wood glue and a nail gun. No one will ever see the bottom of the bookshelf, so I saved some time by popping in nails instead of using the pocket holes.
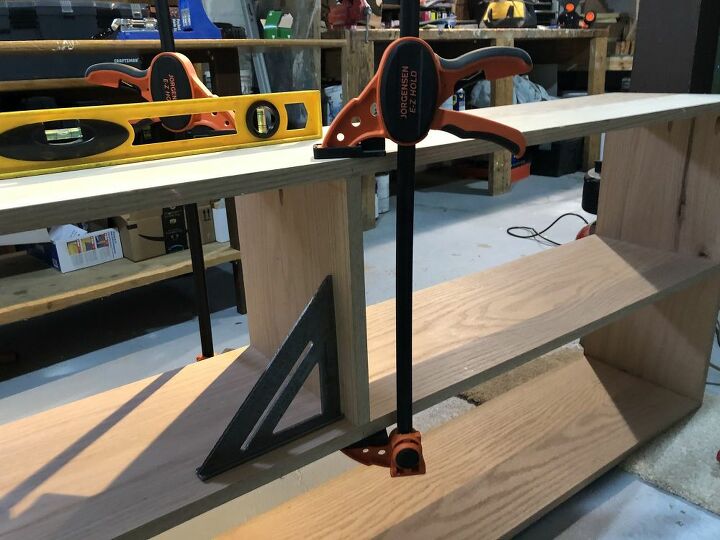
The last assembly step was cutting and inserting the middle supports. For these, I put two pocket holes (2" from each edge) on one side of the board and one pocket hole (centered) on the other side. Again, I also used wood glue. Make sure to line it up with a square so the pieces are straight.
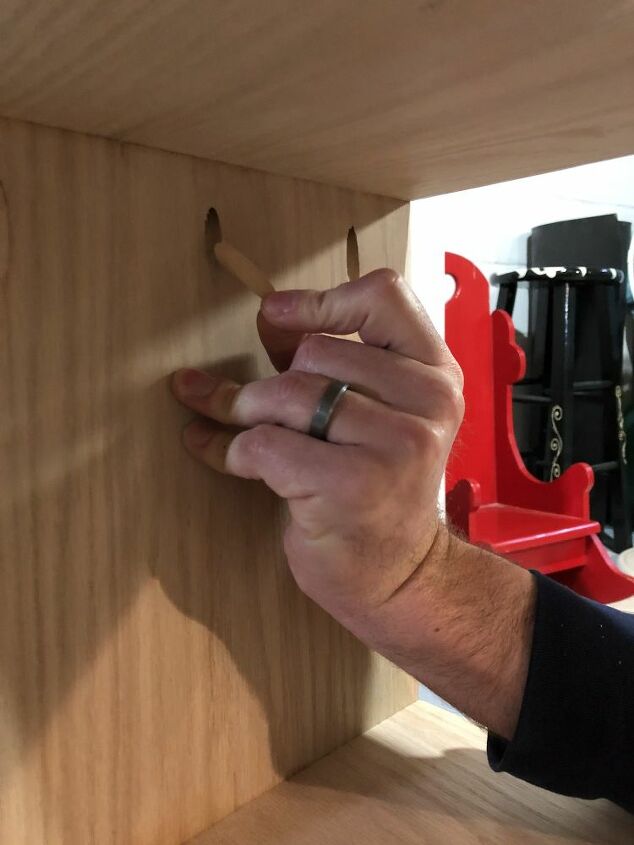
Now, it's time to insert the pocket hole plugs. I used a a garden shears to shorten them so they fit well. They make them a little longer than needed.
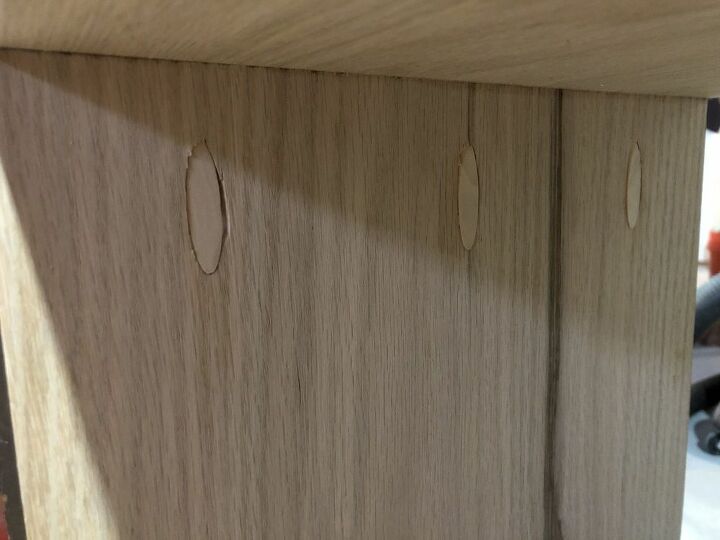
Just put a little wood glue in the holes and then push in the plug with your finger.
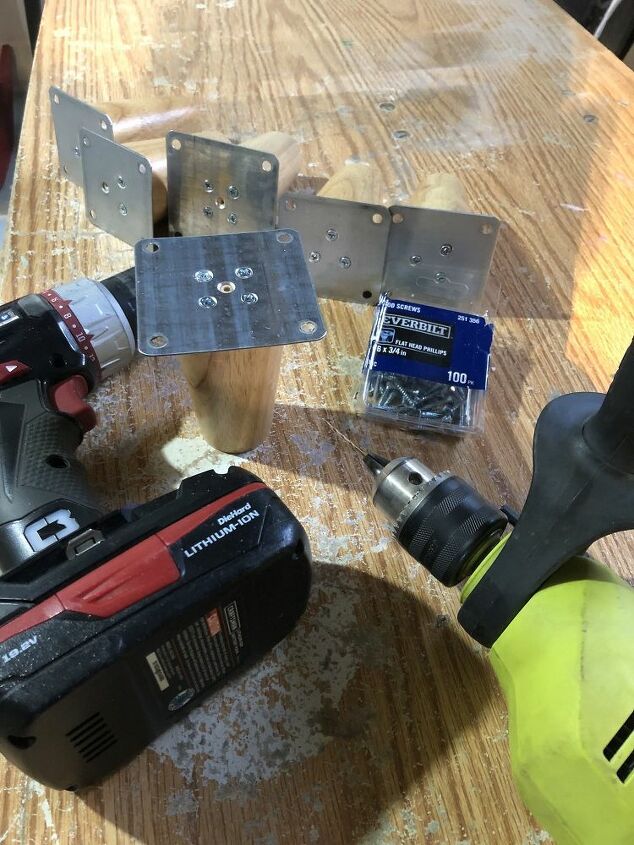
These are the legs I bought to use. They were 4", tapered oak. The set came from Amazon and included flat metal plates to attach them. I did have to buy the screws separately. They had to be short, 3/4" , so they wouldn't poke through the other side of the board. Make sure to pre-drill holes in both the top of the legs and the bookshelf before driving screws.
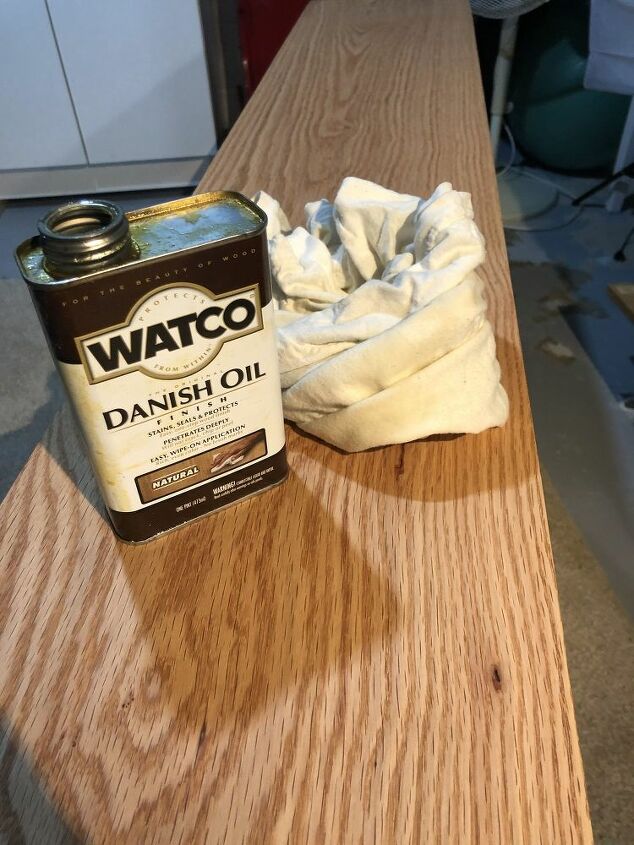
I used natural Danish Oil to finish the bookshelf. Oak is already such a pretty color and matched our friends' living room setup well. The oil protects the wood and also really brings out the grain. I learned another lesson here - always use multiple coats. I tried to get away with one coat and quickly realized it wasn't going to work. Because different spots on the boards absorb the oil differently, I used three coats before I was happy with how it looked.
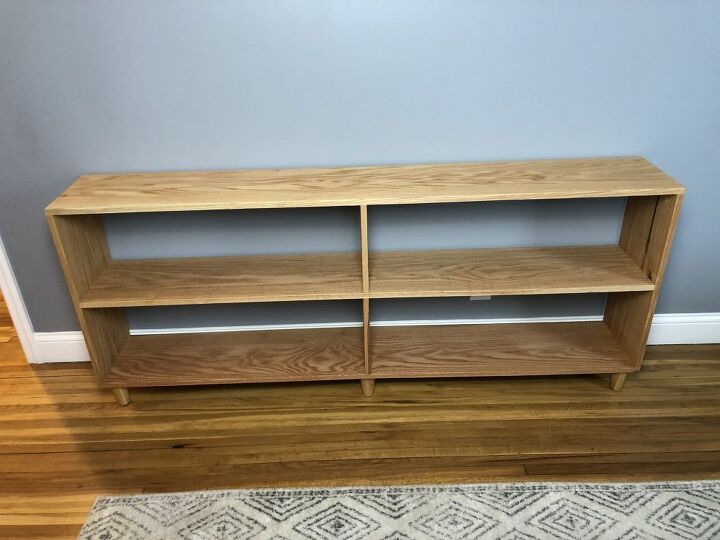
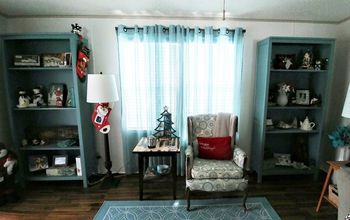
Here is the finished product!
Clean and simple just like they asked for.
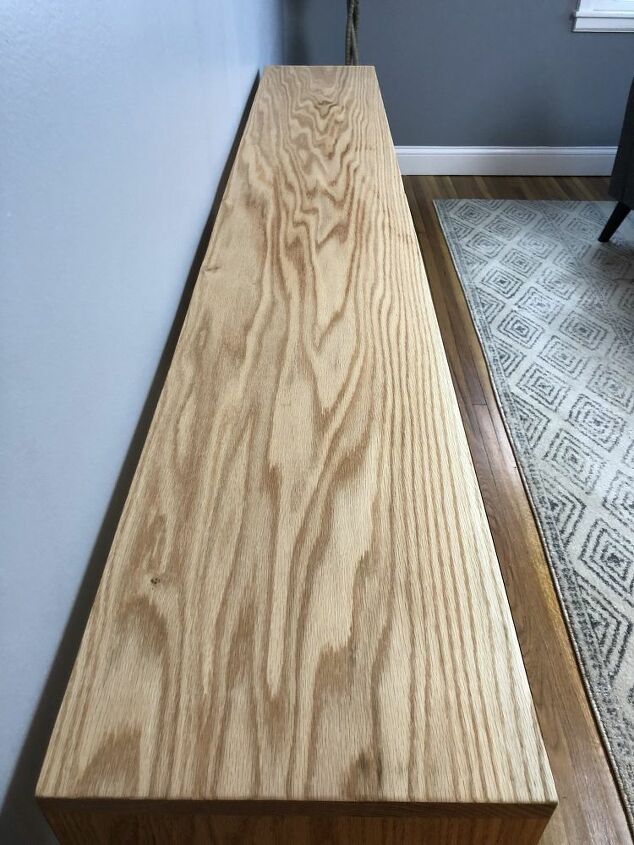
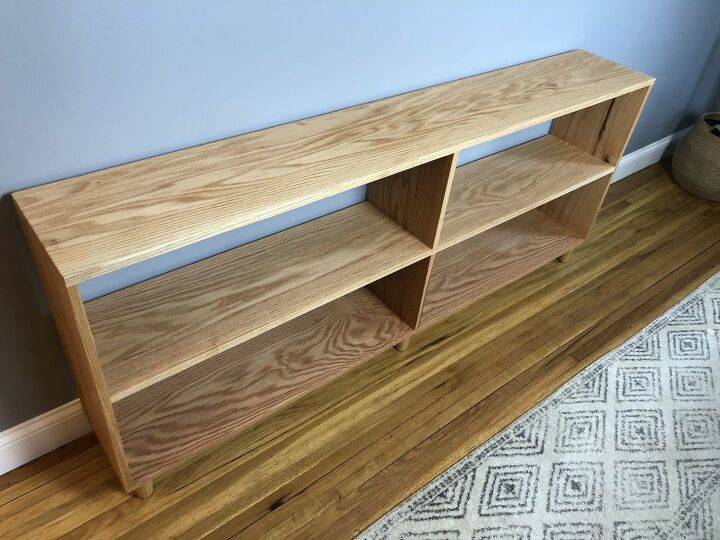
I absolutely loved how the oil made the grain pop. I'm also very glad I took the time to pick out the best boards I could find at Home Depot and was deliberate about which sides would be the tops and bottoms.
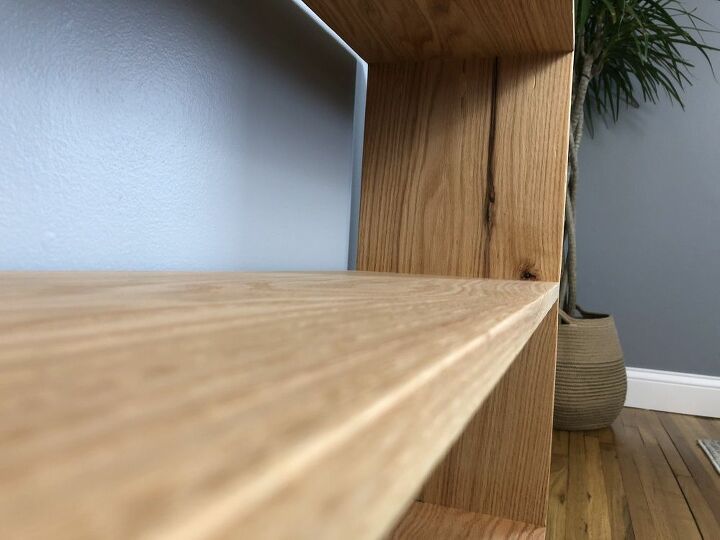
There were just enough imperfections in the wood to give it a little bit of character, but I purposely put most of them on the inside.

I thought the dark line on the bottom support really gave it a little life. Follow me on Instagram at @woodyworking more simple woodworking DIY or home improvement projects. Happy building!
Comments
Join the conversation
-
Looks great. You did an amazing job.
-
Wow this turned out beautifully!


Frequently asked questions
Have a question about this project?