


Homemade Kreg Jig for Pocket Holes

Hello!
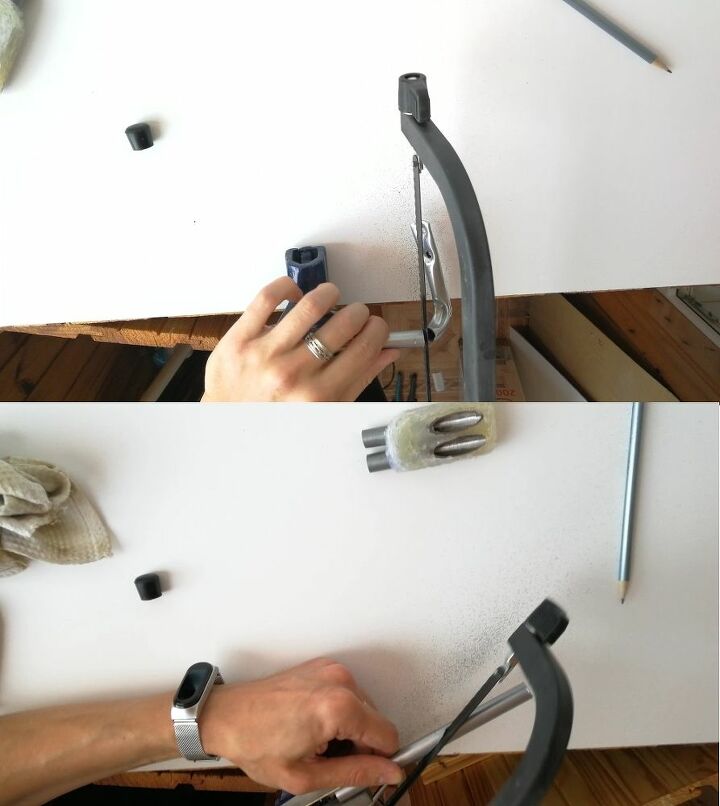
Once upon a time, for my homemade crafts, I made a conductor to connect to the oblique screw.
It looks not very nice, but copes with its task perfectly. For the manufacture needed a piece of tube and a hot-glue gun.
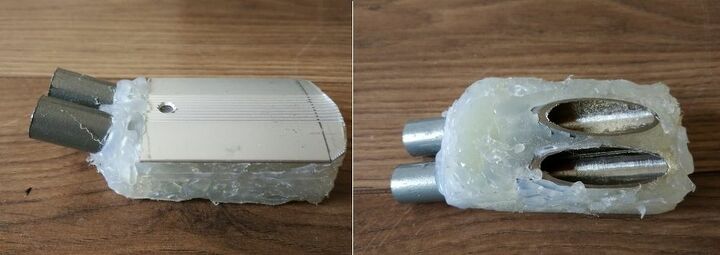
So I decided to upgrade my conductor a little and made a new one. Materials and functionality have not changed much, but the appearance has improved significantly. Welcome! Conductor on oblique screw, version 2.0.
Compared to the old conductor
For the manufacture I needed:
1. Steel tube
2. Hot-glue rods
3. Metal corners
4. Tape-aluminum tape
Tooling:
1. Hacksaw on metal
2. Metal scissors
3. Sandpaper
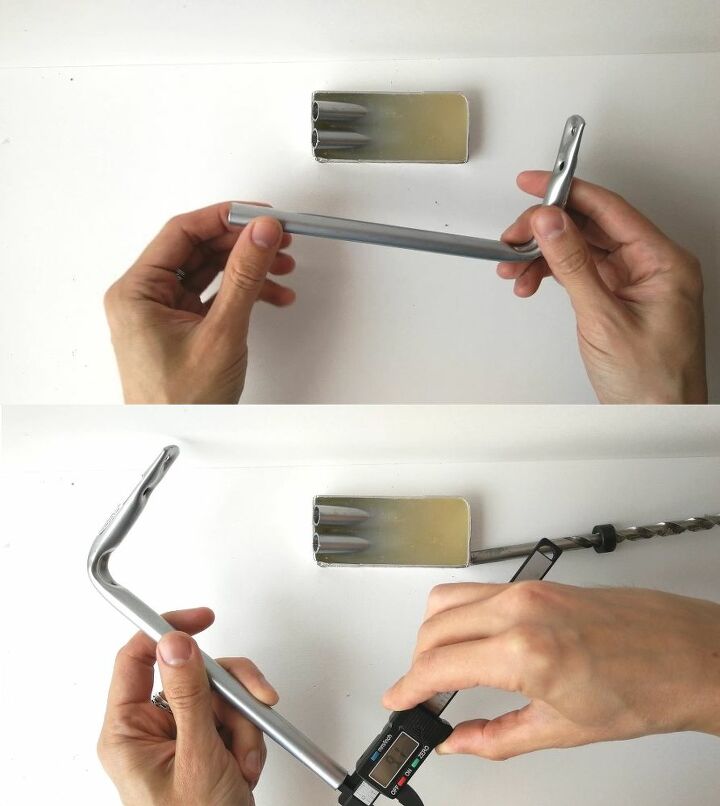
I used a metal corner for the tube. The inner diameter of the tube is 9.1 mm.
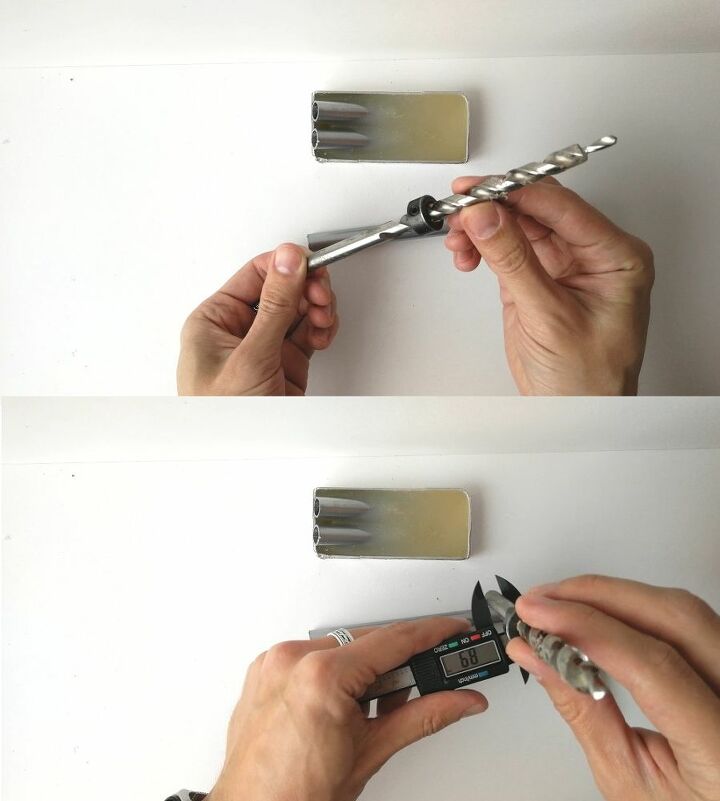
I ordered the drill in China. The drill diameter of 8.9 mm. The drill enters with a small backlash.
Sawing off excess. And cut tube at angle of 75 degrees. It turned out 2 tubes.
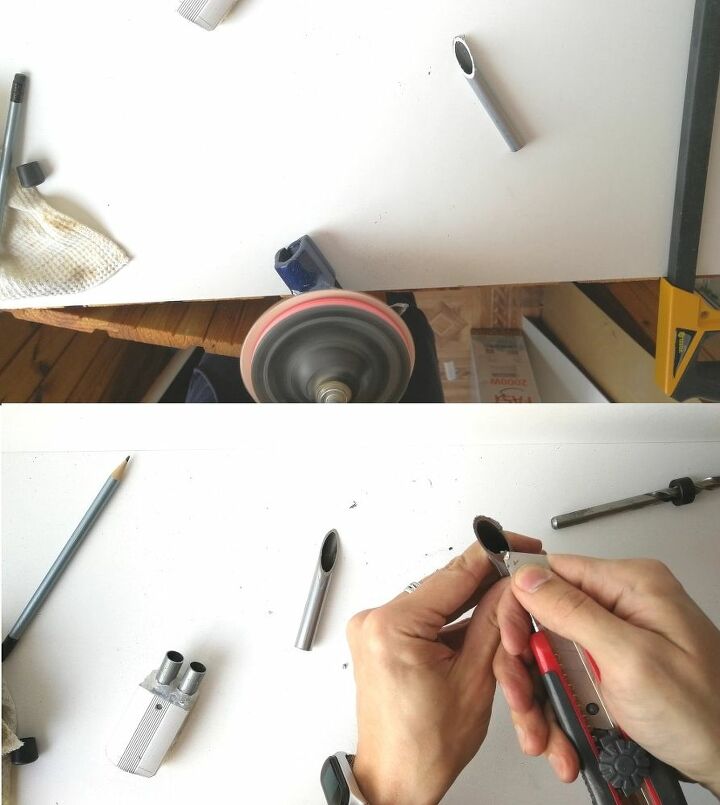
Sanded a little with sandpaper. I cleaned the pipes and set them aside. The hardest part is over.
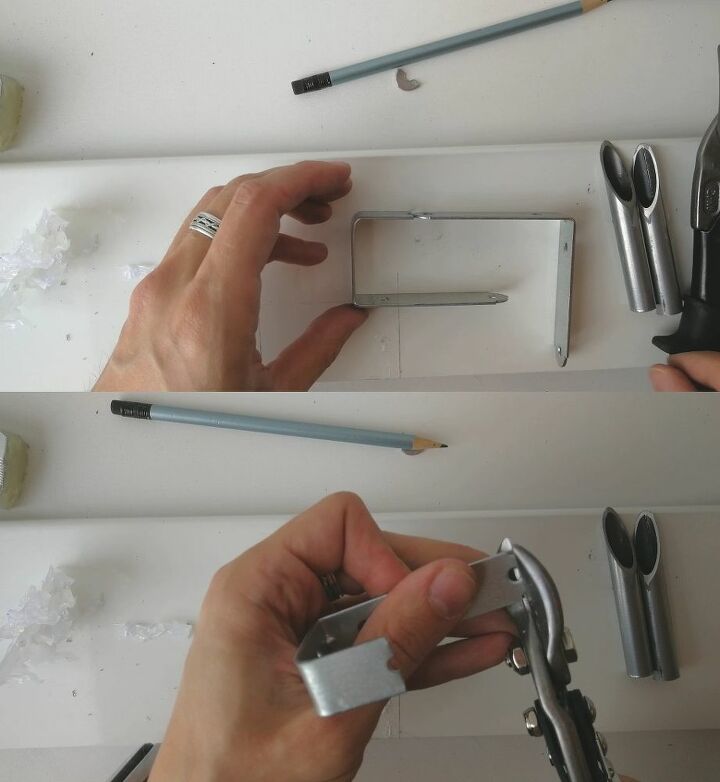
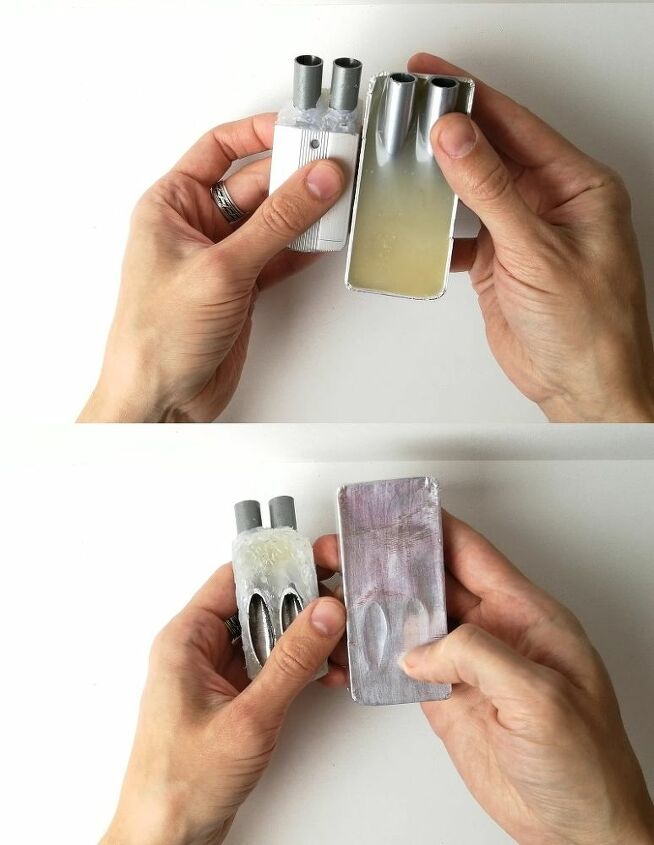
Proceed to the manufacture of molds for pouring. For this took 2 metal corner. Bent one of the sides at 90 degrees and cut the ears.
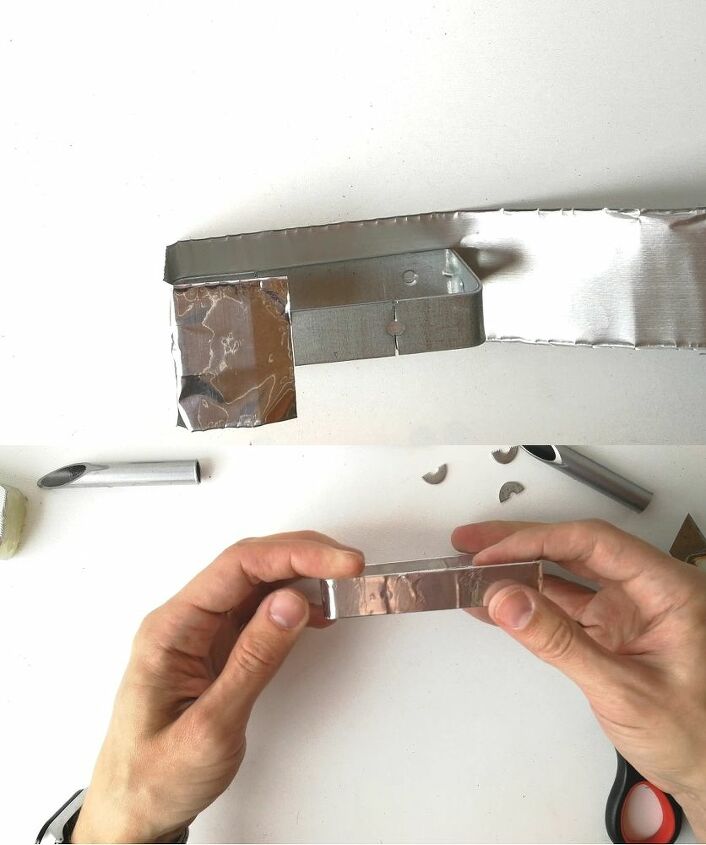
Form pasted with aluminum tape.
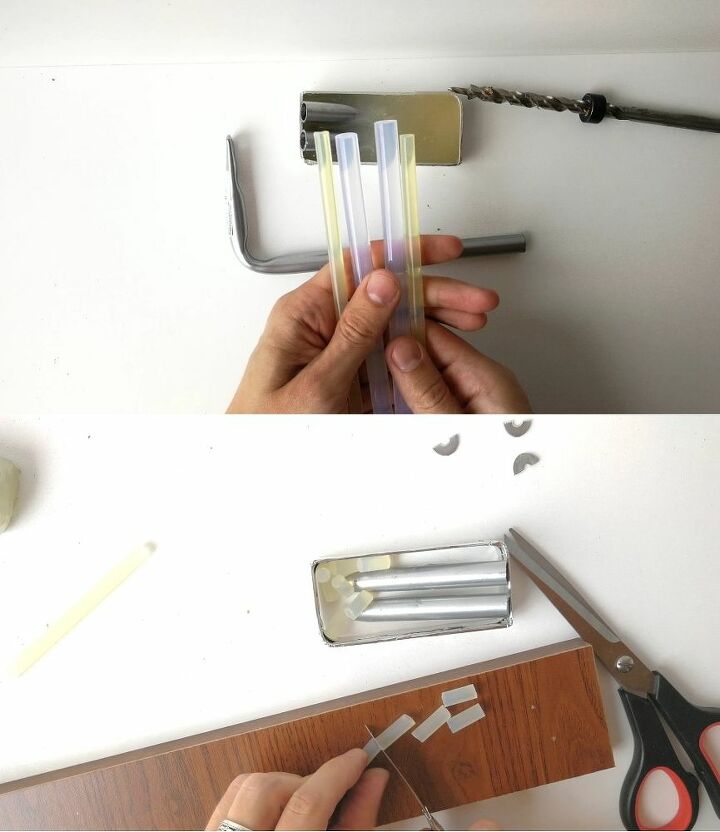
The next step is to cut the rods for the glue gun. I put them in the form.
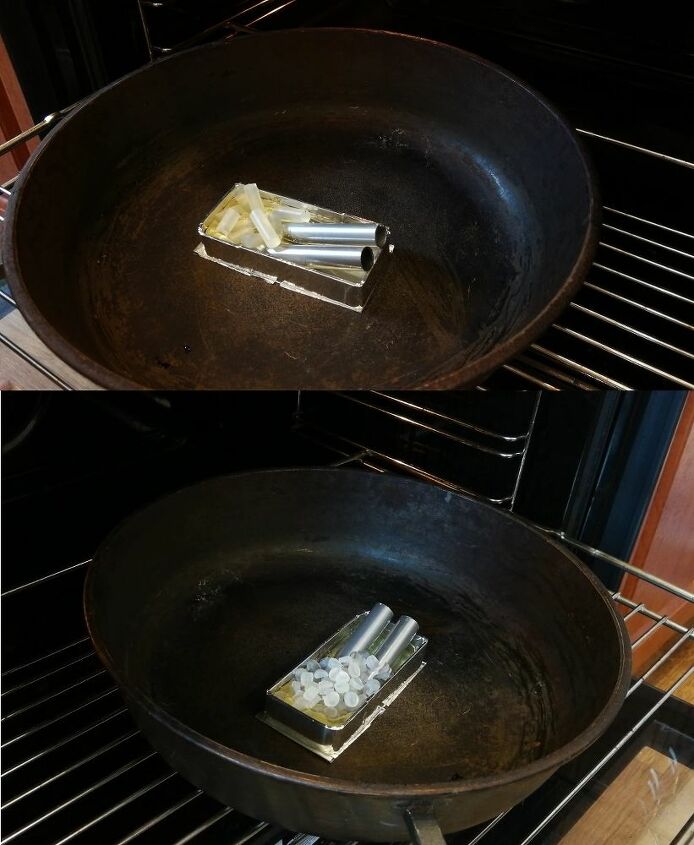
I take another piece of aluminum tape and stick it on the form. When the glue melts, it will not allow it to flow out of the mold. I take an old frying pan, place the form in it and lay the pieces of hot melt glue. Immediately do not need to put too much, because the glue may be too much and it will start to flow out of the mold.
Put in to bake. The temperature of 200 degrees. Add salt and sugar to taste) When the first batch melts, add more glue. Just added 2 times.
When all the glue had melted, I removed the air bubbles with a toothpick.
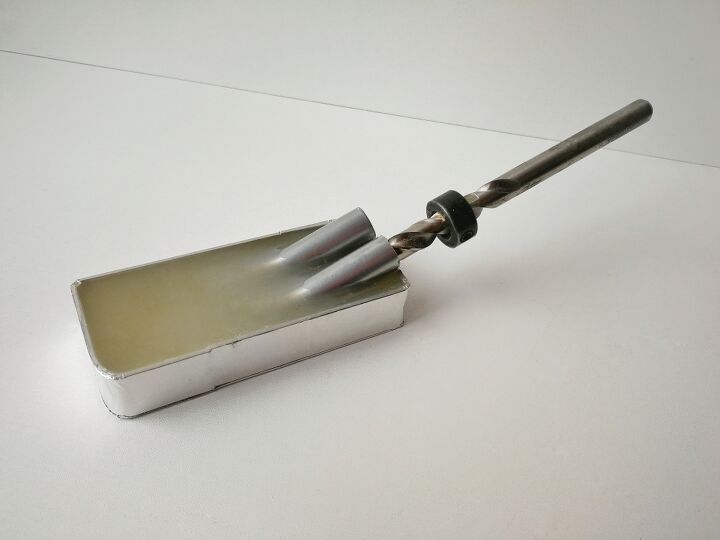
The conductor is ready. Left in the oven to cool evenly.
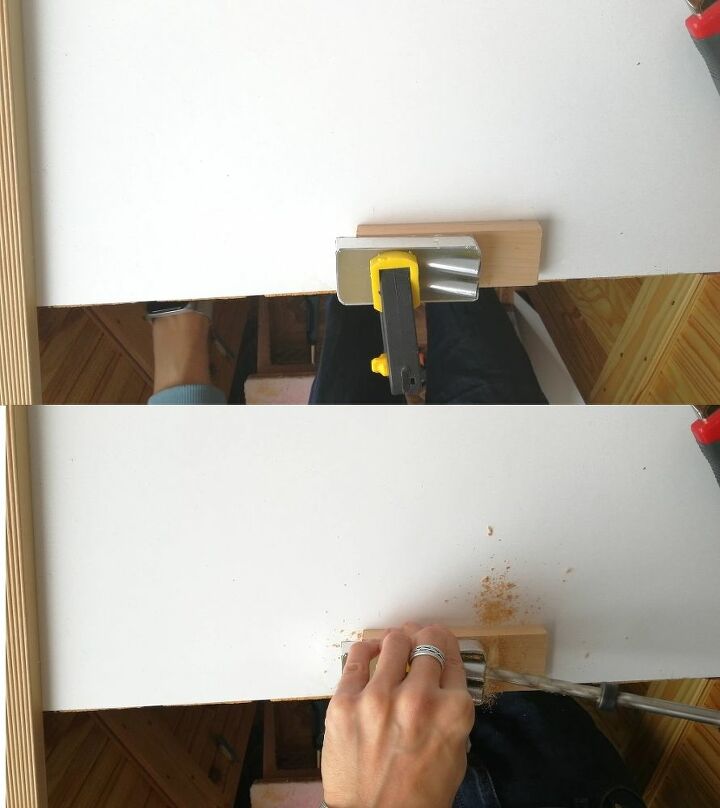
Time to check the conductor in action. I fix the clamp and drill.
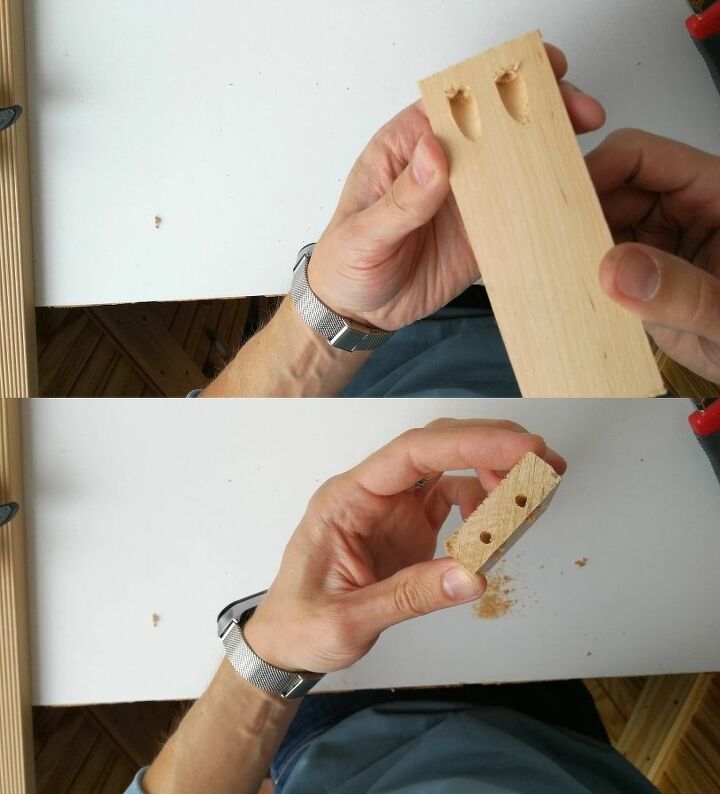
It turned out quite well. The entrance and exit holes were on the same level.
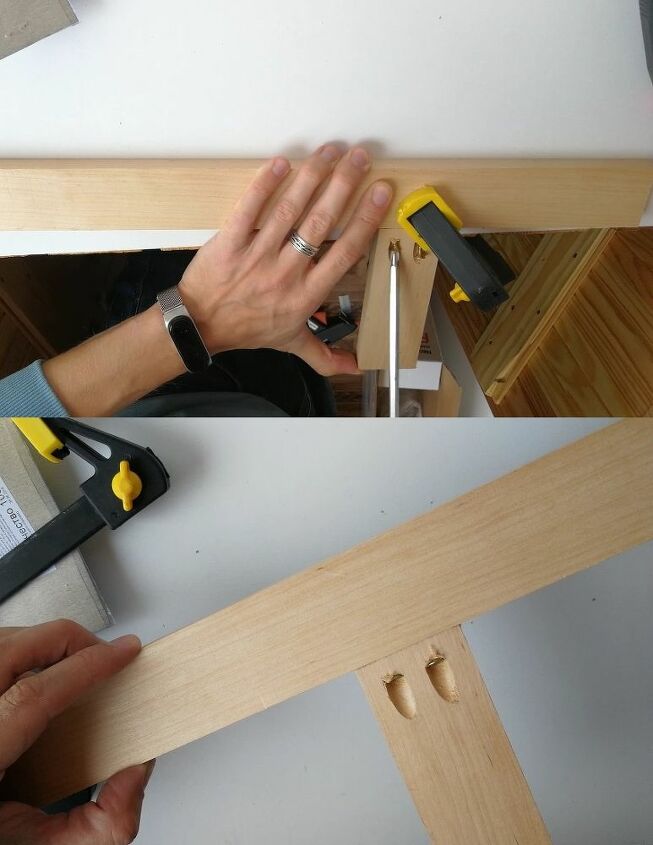
The connection was smooth and strong. I couldn't break it with my hands.
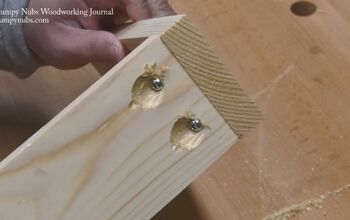
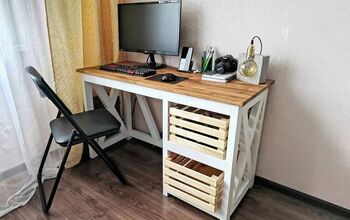
I can say that the conductor works well. Copes with the task not worse than the original. And if you compare their cost, then my conductor is a clear favorite. To make such a conductor or not, I leave the choice to you.
That's all. See you soon!
Resources for this project:
See all materials


Comments
Join the conversation
-
Great thinking and wonderful job.


Frequently asked questions
Have a question about this project?