


How to Make a Two Tier Raised Garden Bed
I have three gardens on my property. All three of them are raised beds. One is an herb garden, and two are vegetable gardens. This year, we had to replace our three-tier raised bed because of wood decay, so we decided to revamp both raised beds and create a double-tier extra-wide raised bed garden. Here's how we made it. This post talks about our old garden when we installed it. ORGANIZING RAISED BED GARDEN
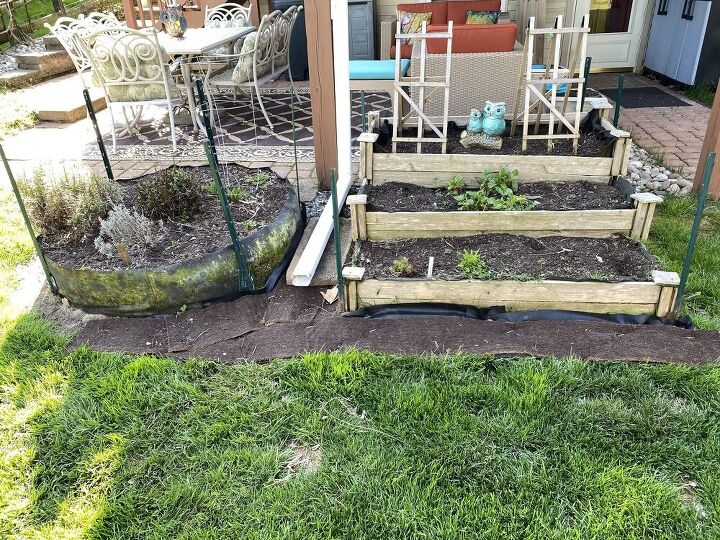
This is the before image. We had a drain running down the center and would get filled with weeds. So, I cleaned it up. I was planning on using it for one more year, but we decided against it.
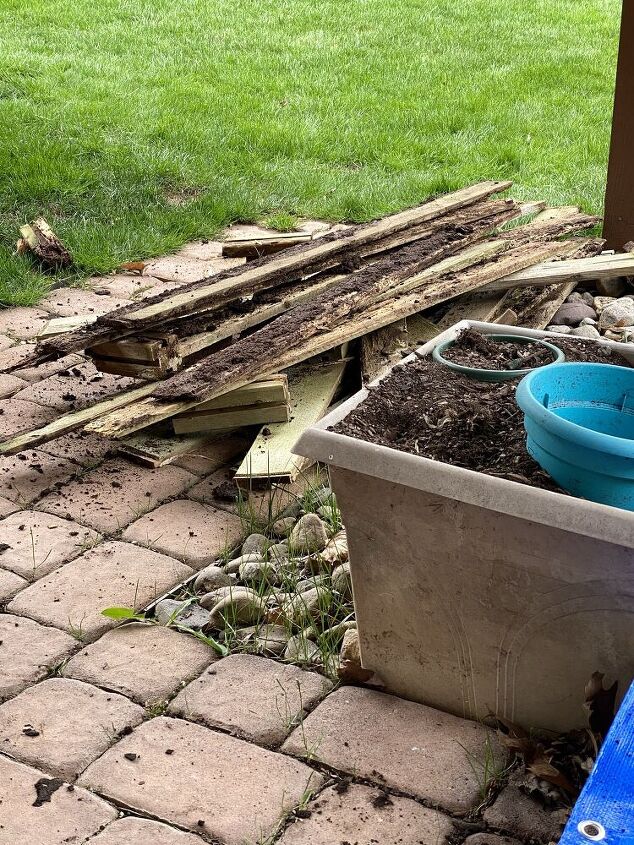
I first took the tier garden part. Here is the wood for the sides.
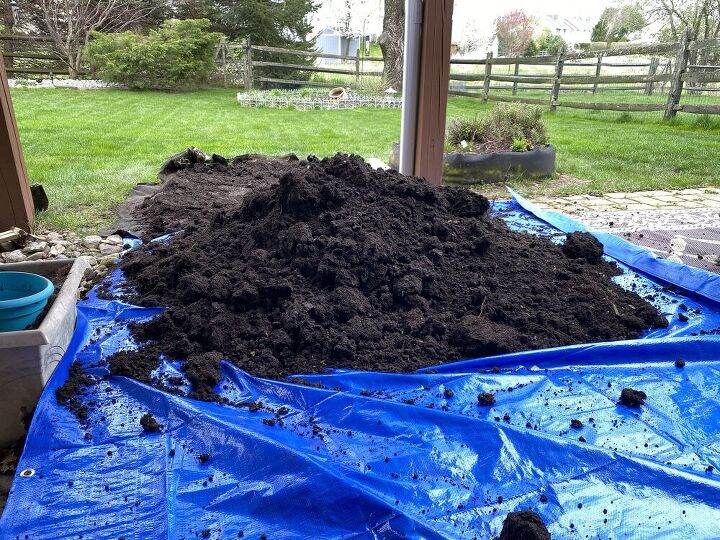
So to reuse the soil we had from that garden, I placed the soil on the tarp. Then, if it rained I could cover it to protect it.
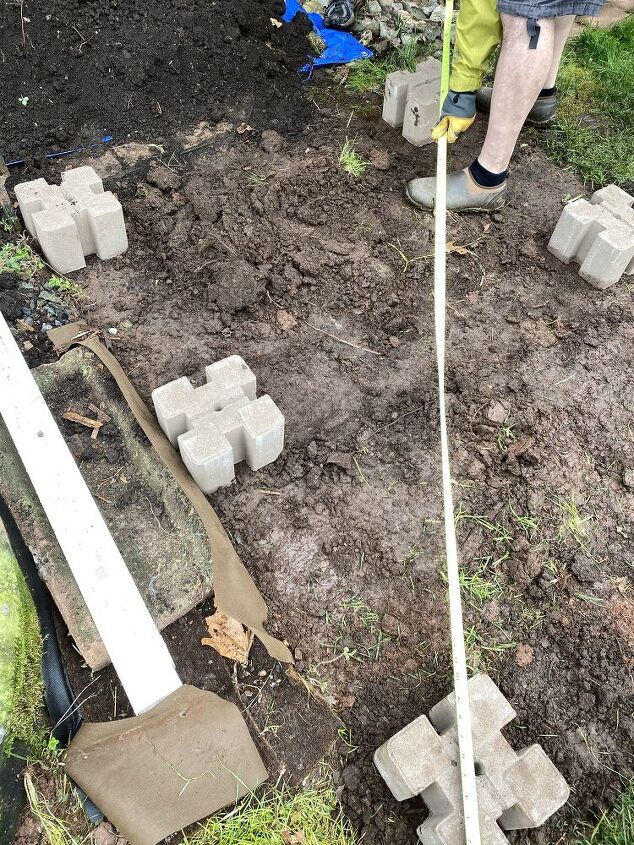
Then we figured out the measurements and removed the excess dirt so we could level the area and make it the dimensions we wanted.

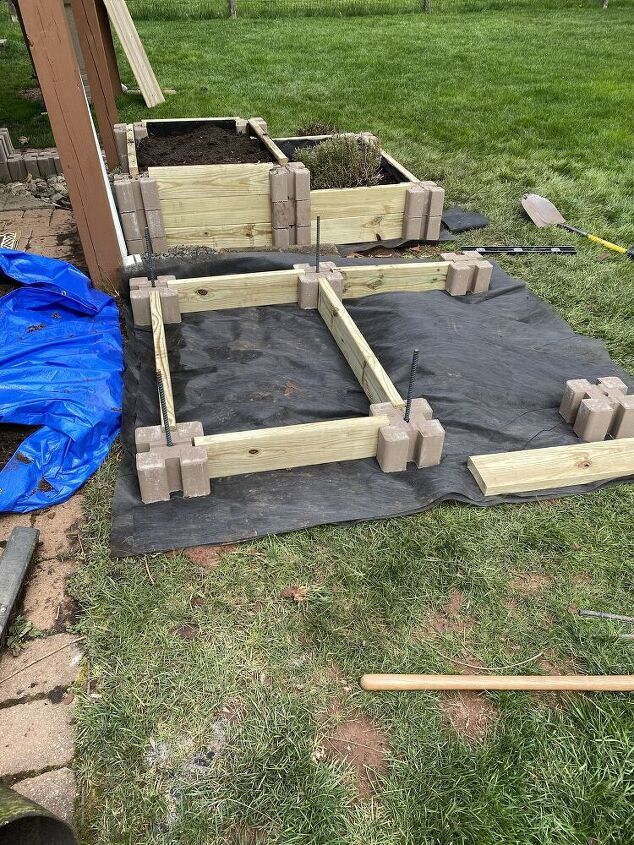
We then added the weed barrier fabric and leveled the blocks vertically as well as horizontally.
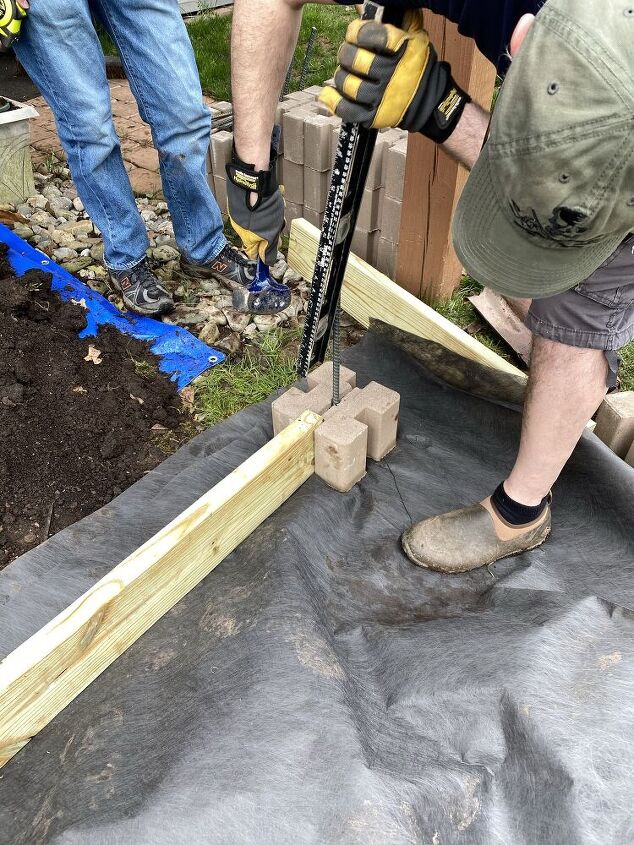
We had a slit angle forward so the soil and water would not go toward the patio. Then added the rebar to the center of the blocks. Read more on the blog for details.
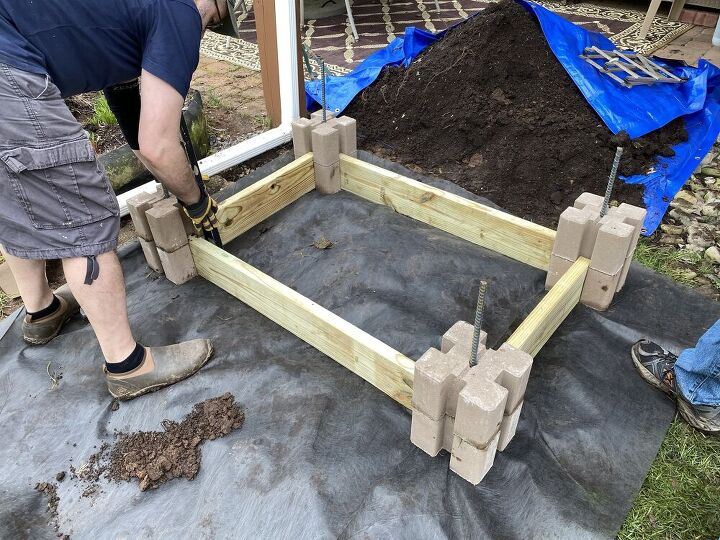
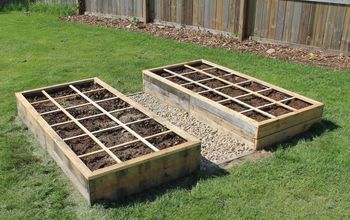
This is the first bed of the two-tier garden bed.
We finished the other bed and added the dirt from the tarp.
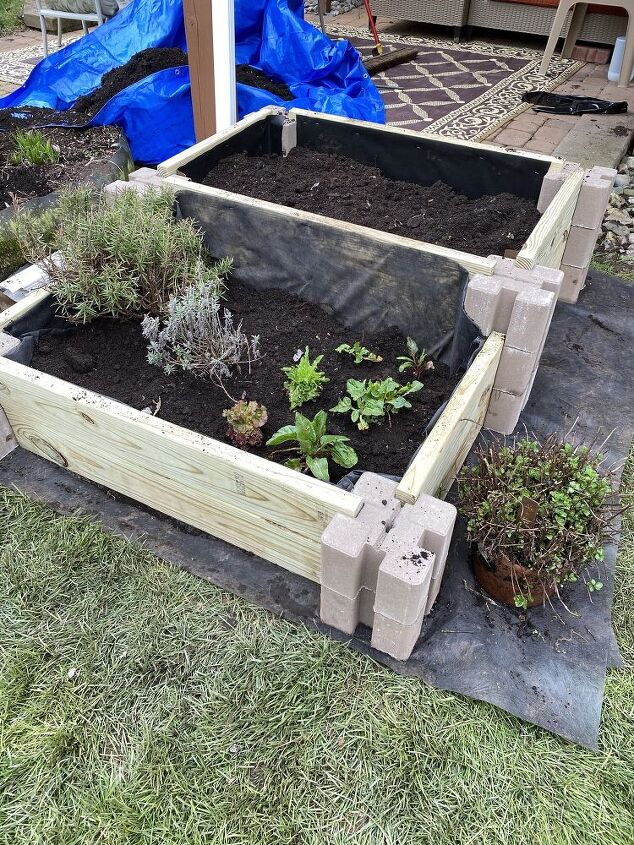
Here's how the first bed looked. We transferred the plants from the other bed and started to take that apart and moved the dirt to the tarp.

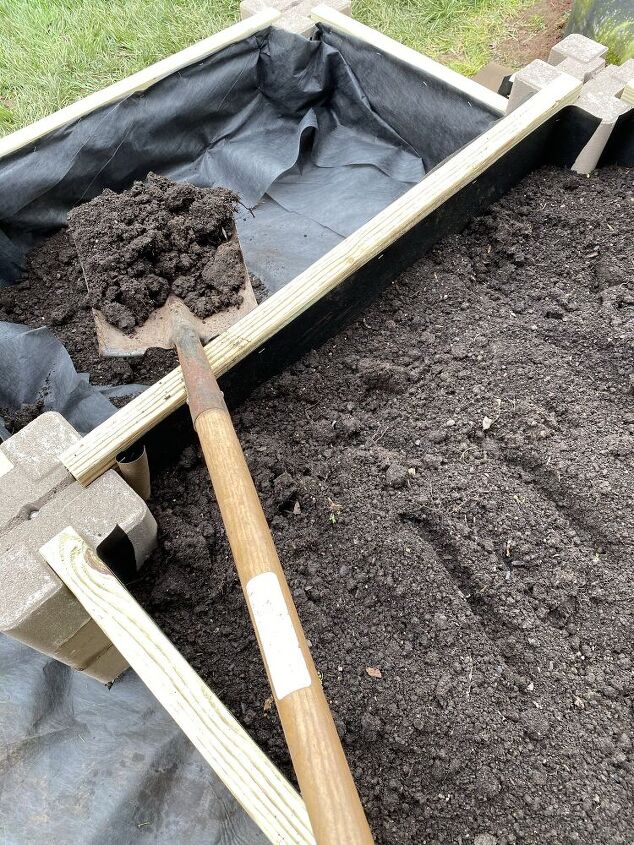
Here is how we transferred the dirt for less loss of dirt.
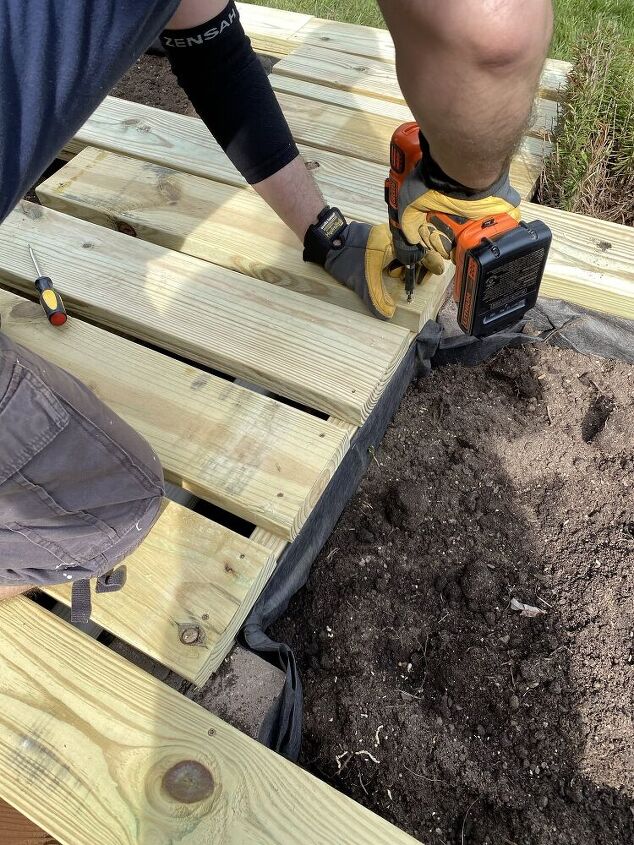
Then we did the same thing with these raised beds. Level, covered with weed barrier, rebar, then level again, and added cut and added the 2 x 6-inch pieces.
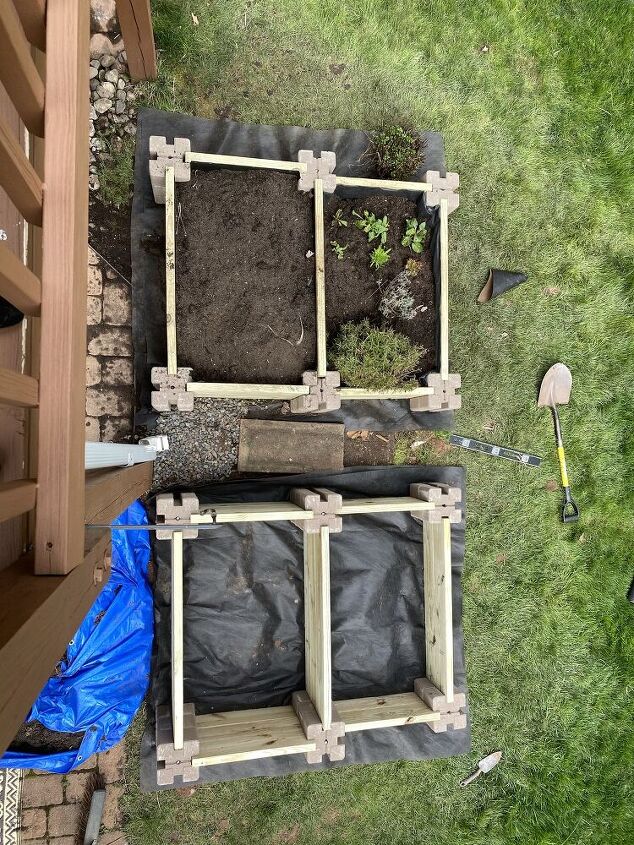
Here is what it looked like from the top.
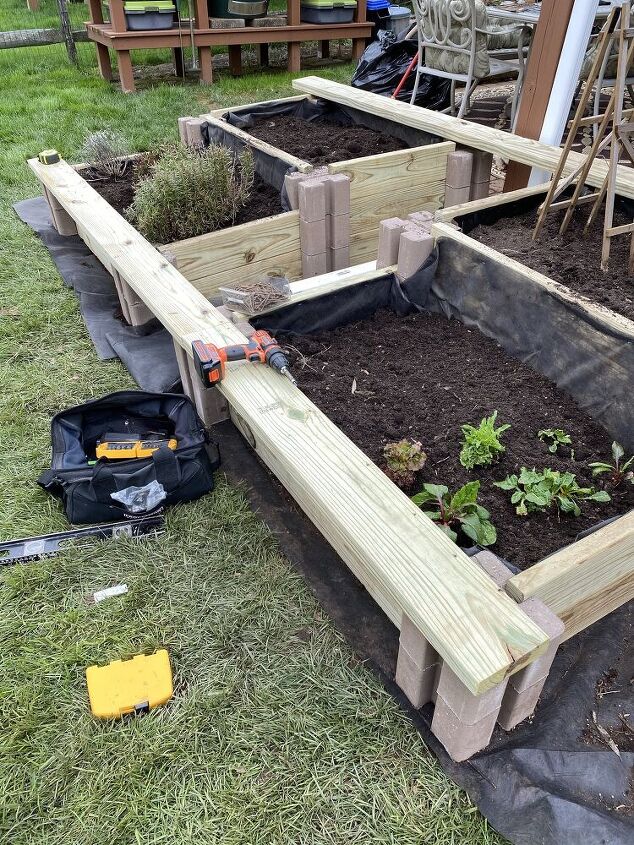
We then added the 2 x 6 wood pieces to cover the edges.
Then, we did the top of the sides. But left the middle open.
We then, cut the boards to the width we needed to finish the center to connect the pieces together. Note: we added rocks and a weed barrier fabric to the bottom so there will be minimal weeds.
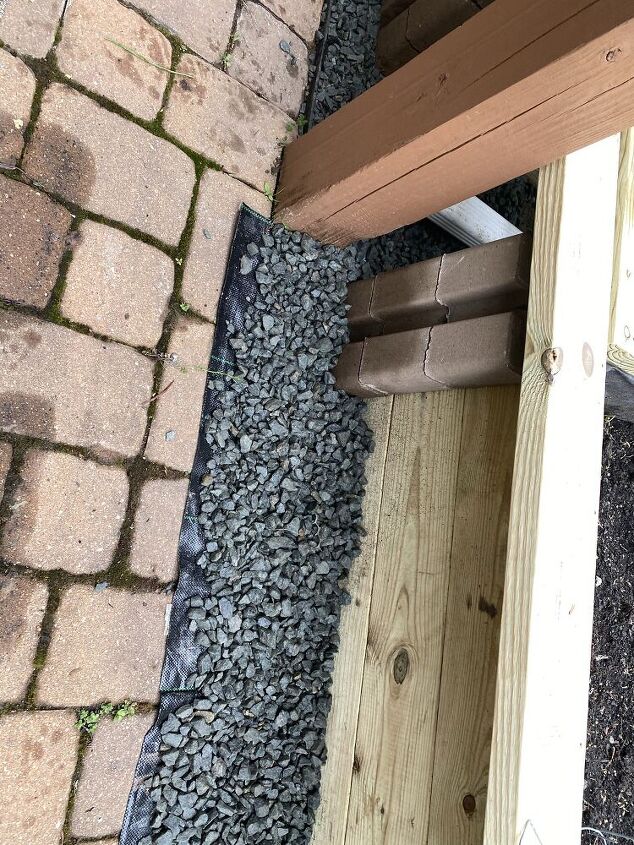
We added a weed barrier and rocks around the outside of the garden.
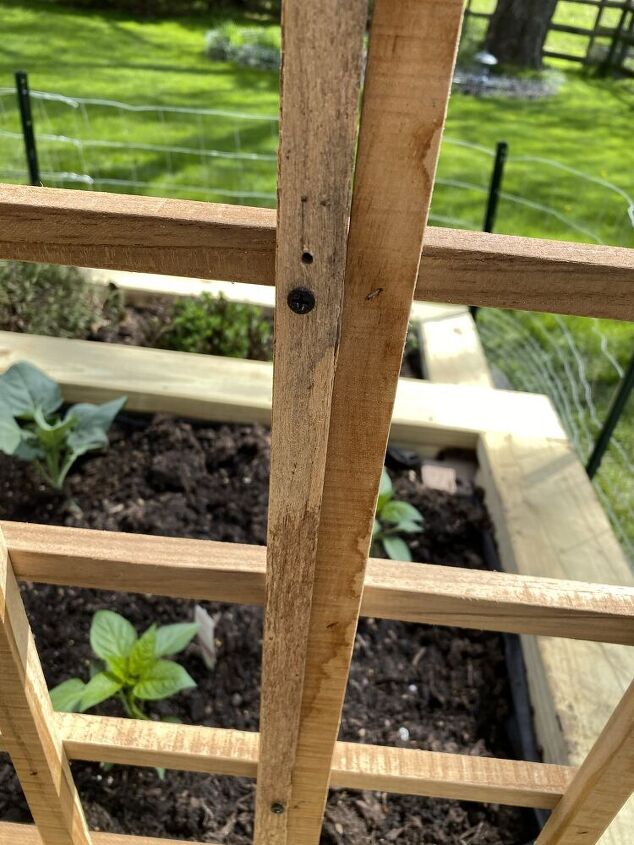
To add the lattice, used long stakes and screwed them to the lattice back.
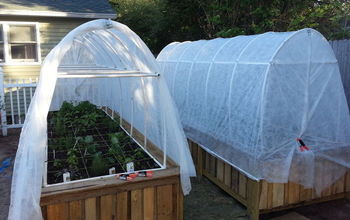
Then added the stacks and wire to protect the veggies.
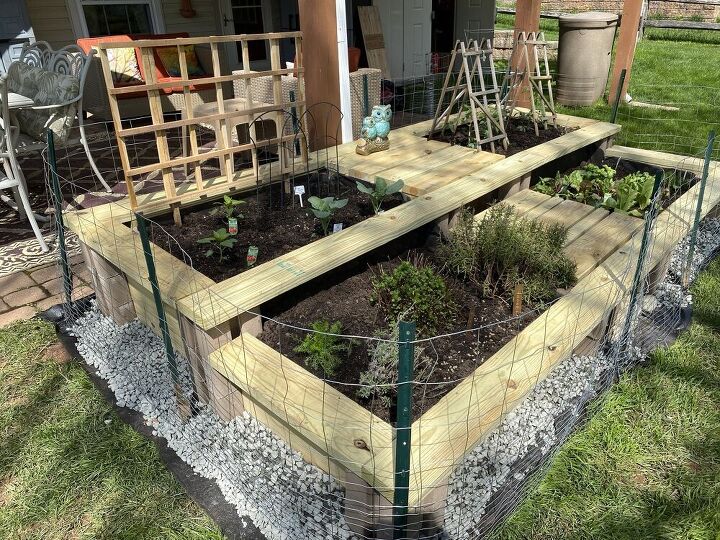
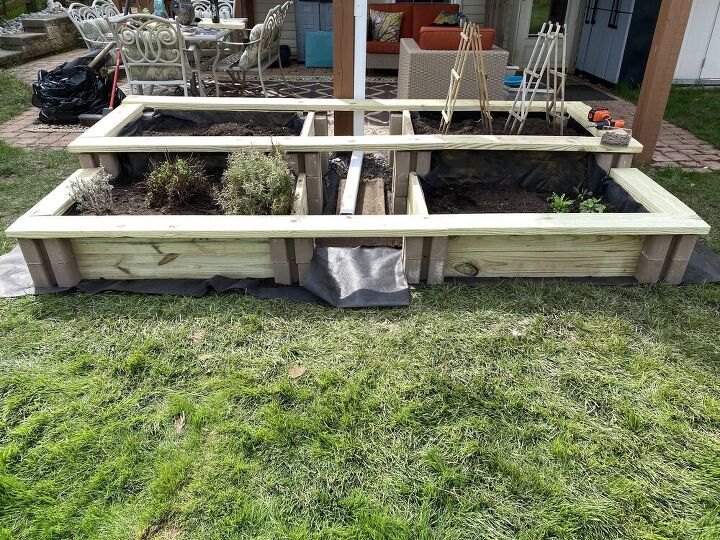
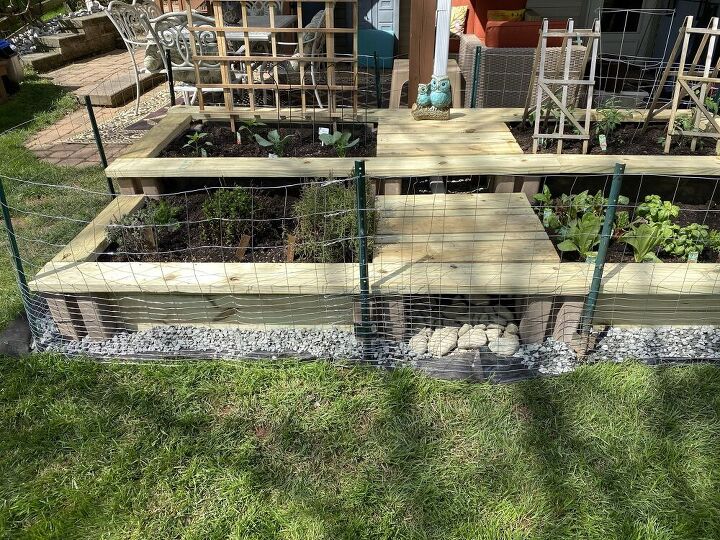
Here's what the garden looks like. I just got the food safe stain in and will be staining the tops this soon to protect them from the cold and sun. What do you think?

Here is the top view. Feel free to share to give others inspiration.
Feel free to visit our YouTube Channel to get inspired to do DIY projects.
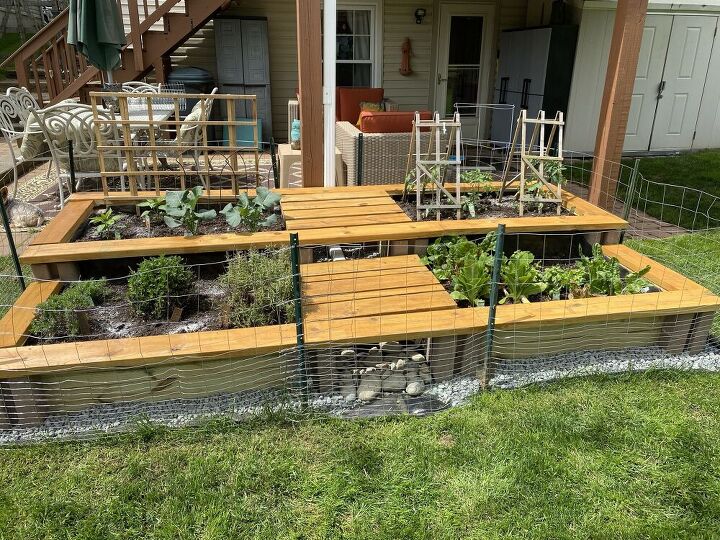
This past weekend I stained the top of the garden with a garden safe stain from Gardeners.com. Doesn't it look amazing? It warms it up.
Resources for this project:
See all materials


Comments
Join the conversation
-
Inspiring! I bought two raised bed planters, put them together and used them last year. This year I dug them up and will add some new container dirt. This year it will be flowers and I will plant veggies in the ground. And my herbs did not do bad in the raised beds last year! I do this from a wheelchair or sliding on the ground!
-
Beautiful!


Frequently asked questions
Have a question about this project?
What are the blocks you used?
From what I can tell, the tarp is under the soil. But tarps are waterproof - so what about drainage?
This is awesome!! I have a tiny back yard,, and height raising would be absolutely ideal!!
BUT HOW do you get into the garden? You reach over the stakes and wires?🤔or is the a section you can remove and put back??