


Behind the Range Shelf
I was getting kind of tired of the large, and boring backslash area behind my range so I decided to build a shelf to display my wooden cutting boards on.
This project was fun and can be fairly easy and straightforward depending on the design or details you want.
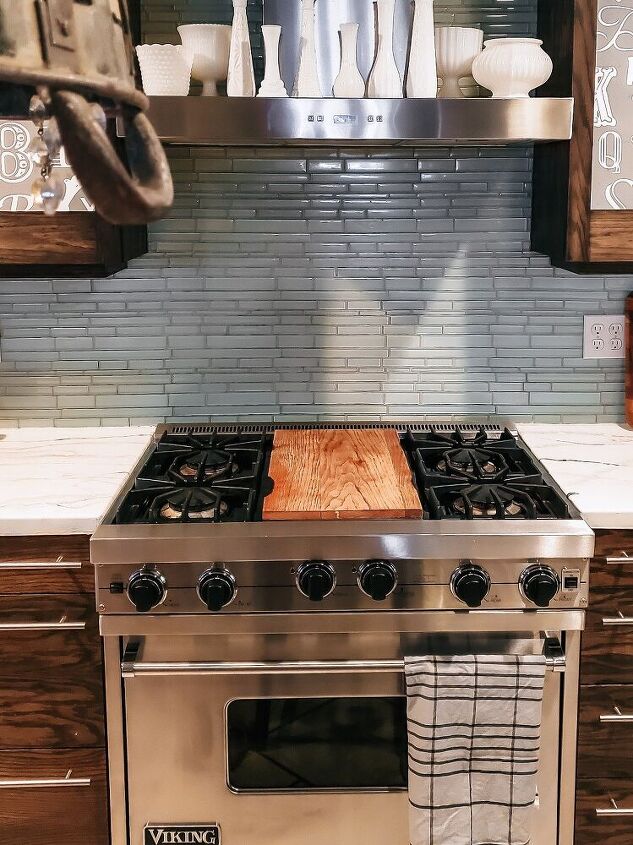
Here's what this space looked like before. Nothing necessarily wrong with it but I just felt like it had a lot of potential! I'm also one of those people who like to change things up every once in a while so I'm sure I'll go back to this nice clean look at some point for a little while too. 😂
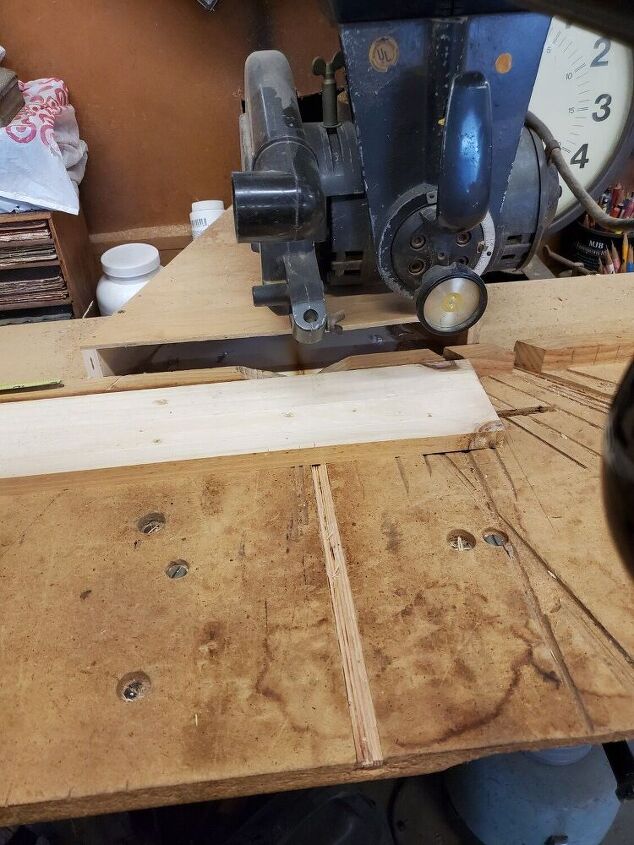
I started with a scrap board that I already had. It was pretty rough and uneven so I had to run it through the planer. If you're buying wood from a lumber yard, you most likely won't need to do that. I cut it to length using a radial arm saw. I measured the length of my range and added a 1/16 of an inch plus the width of the two side pieces to get my overall shelf length. I wanted it to fit nicely around the side of my range with just a tiny bit of wiggle room. I then cut my two end pieces to size.
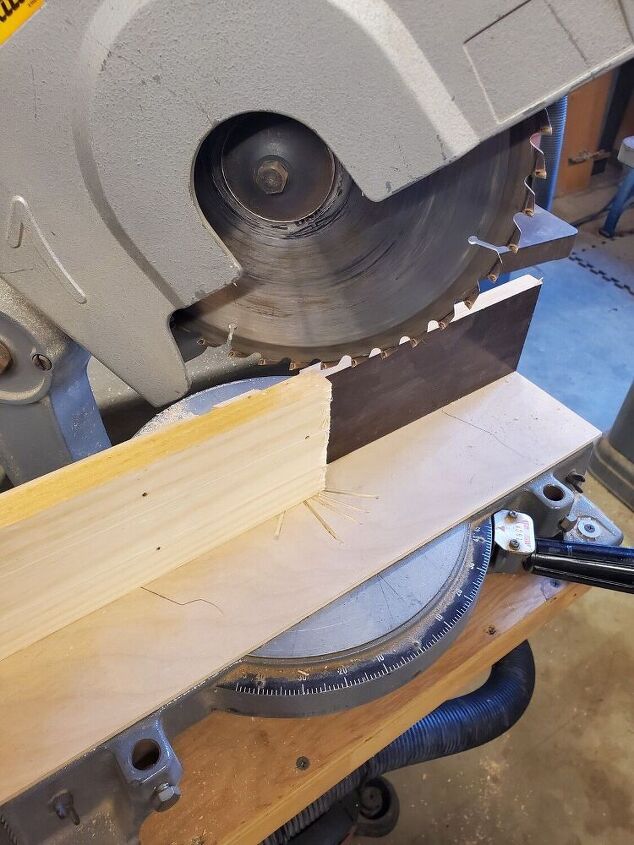
If you've seen any of my other projects, you know I love a good butt joint lol. Miters are always a little tricky for me but for this project, I thought that mitering the edges would give it a cleaner and prettier look since the sides and top will both be very visible. I went to cut my miters on the chop saw but the wood was actually too tall.
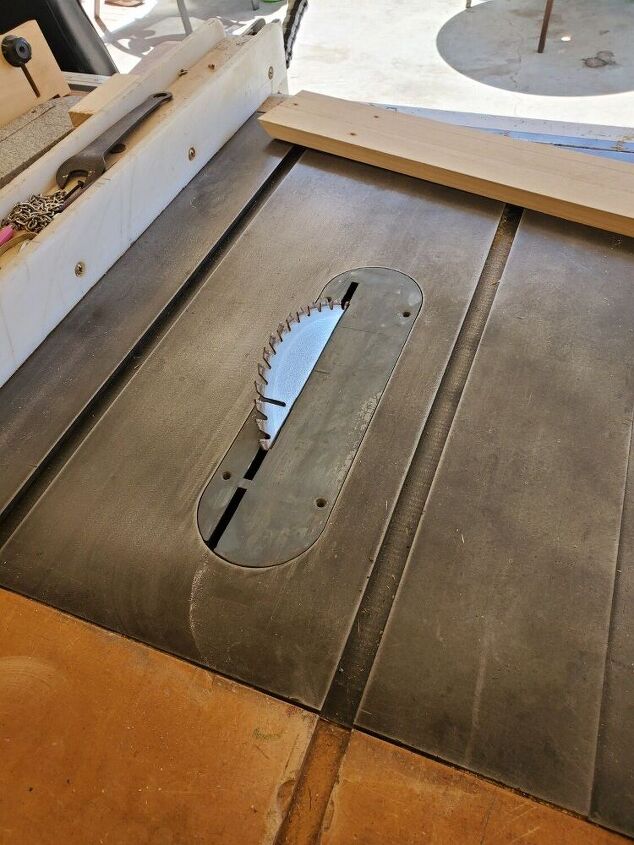
Table saw to the rescue! There's more than one way to make a miter cut. 😉 You can also simplify the project by doing a butt joint if you'd like.
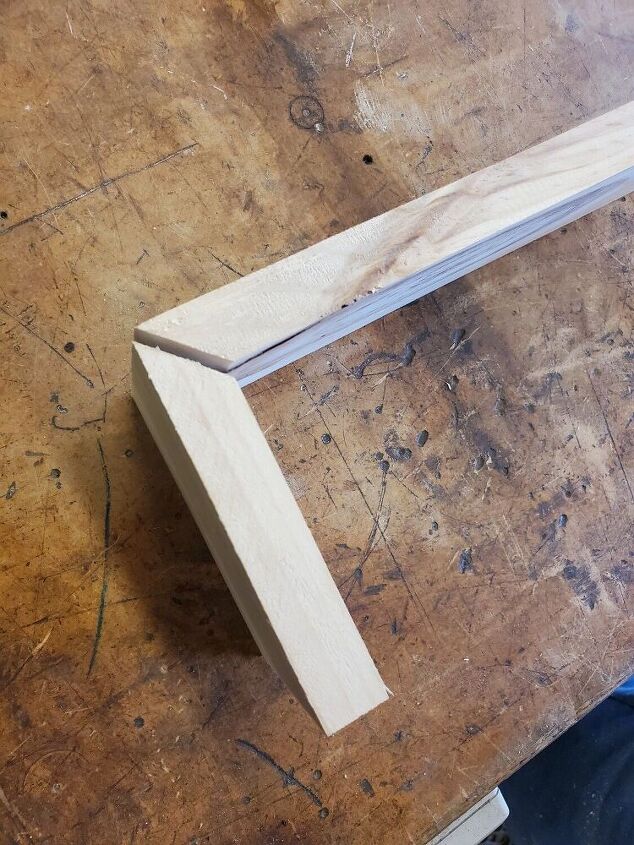
I made sure all of my miters lined up nice and tight.
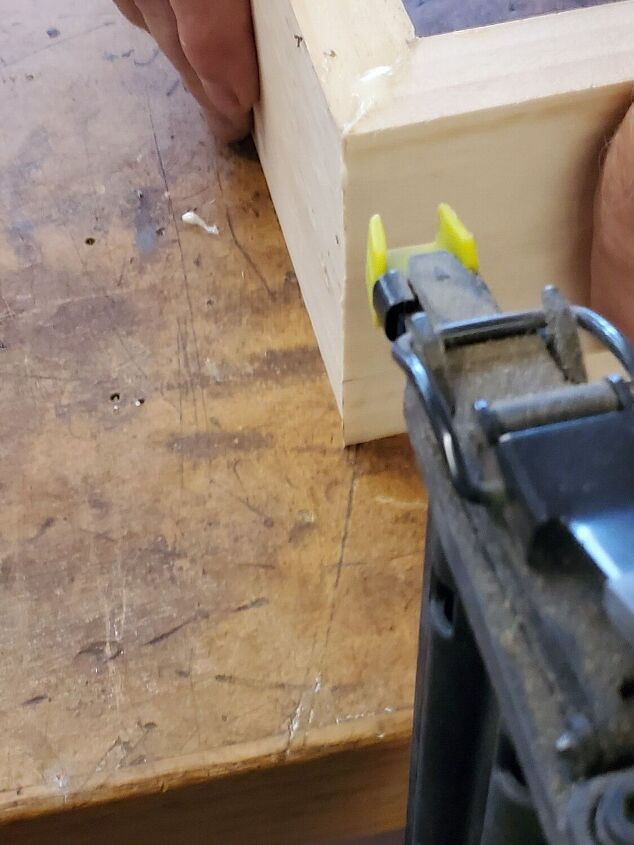
Next, I nailed and glued them up. They ended up slipping a little bit on me but it wasn't too bad. I still haven't found a good way to clamp them up. Even using my corner clamps haven't worked too well for me so if you have any tips, please let me know!
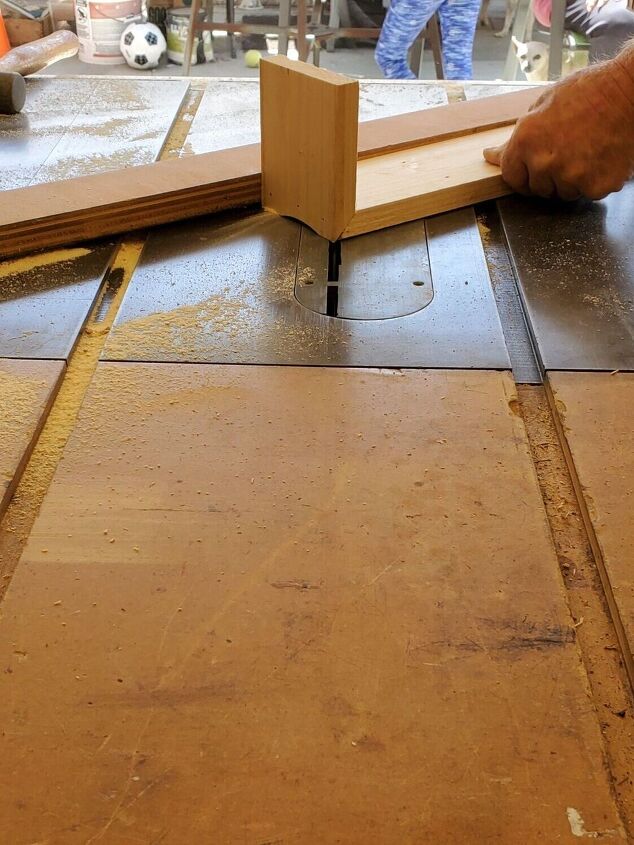
At this point, you could sand and stain it and call it day. I decided I wanted a coped detail on it so I enlisted the help of my dad (the master woodworker!) to help me out with that. We set up and clamped a straight edge onto the tablesaw. To get that coped or "hollowed" detail you have to make several passes across the table saw raising the blade slightly each time until you get the depth and width that you want. I found this so fascinating! Depending on the angle and height of the saw blade you can make different shapes. This is the step that took this project from easy to more advanced. (At least for me lol)
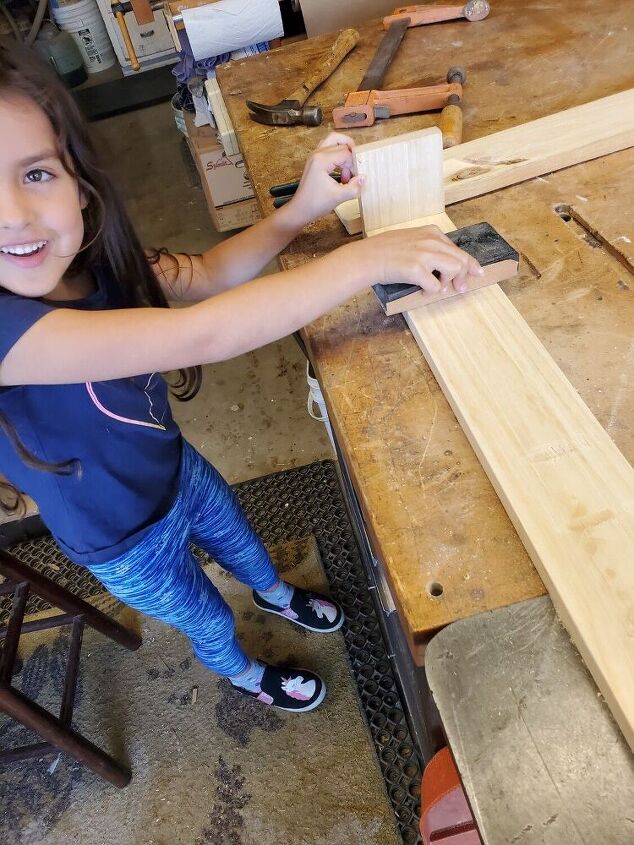
Next I filled the nail holes and sanded the entire piece and broke all the edges. My daughter even wanted to get in on the action!
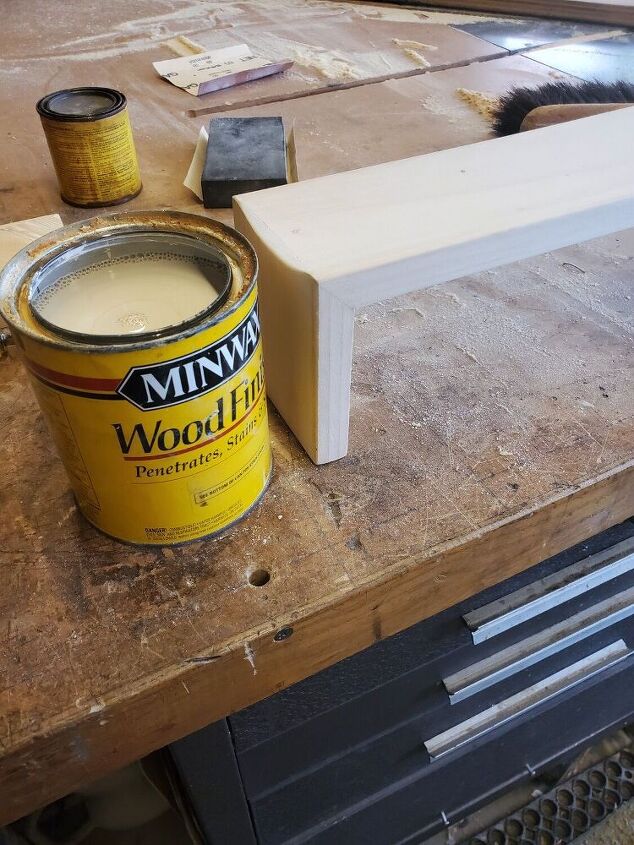
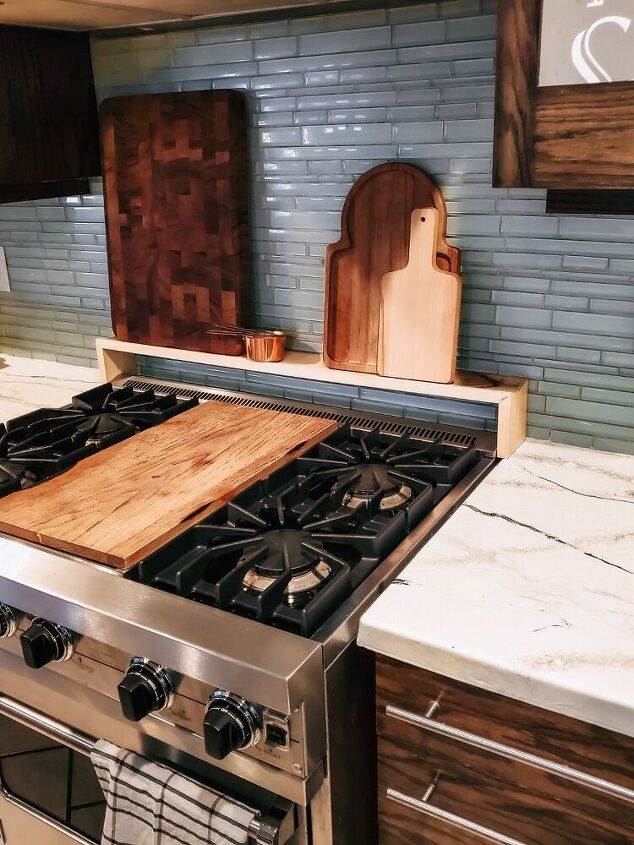
I chose a pickled white oak stain. I like mixing wood tones in my kitchen and I think this will be a nice contrast with my cutting boards. You can see how the coping looks in this picture!
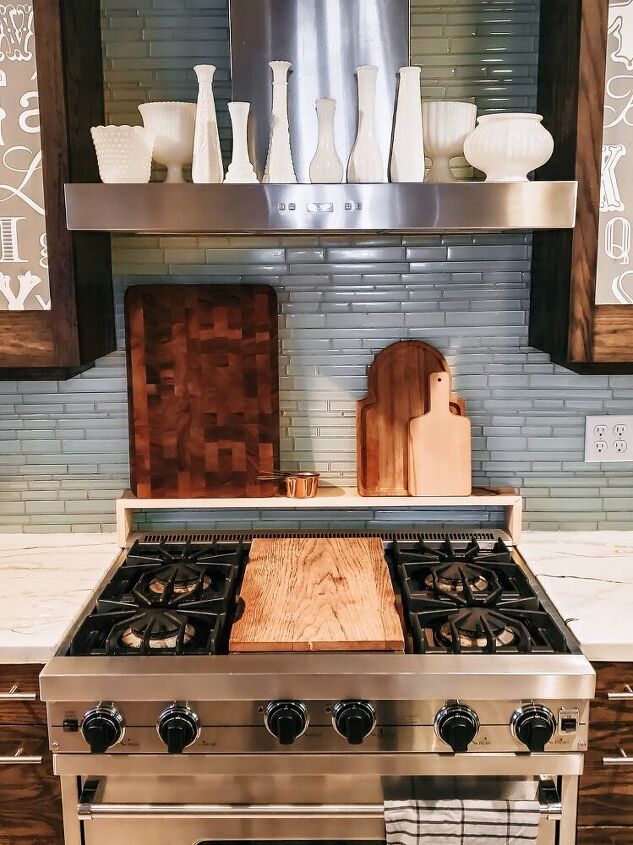
All done! The coping helps the cutting boards stay in place but isn't 100% necessary. You could even add a little lip or edge at the front if you'd like. There are so many details you could change or add to make this fit in with your kitchen and style. Now, I will say, I am slightly concerned with the heat that will come out of the vent at the back of the range when the oven is in use. I chose my measurements with this in mind but will pay close attention to it when I do use my oven next. I don't use it too often so if it does pose a problem, I have no issues with just moving everything away while the oven is in use. Thanks for following along!
Resources for this project:
See all materials


Comments
Join the conversation
-
I love what you did. We are getting ready to go very tiny. However, that doesn't mean you need to forget fun or style. I love my cutting boards. I inherited several from my late mother in law. My new to be tiny trailer is posing a problem. I tried to lean them and they all fall down. Space is so limited. You've given me some ideas. Thanks for sharing. Like the other post love your kitchen.
-
love how you jazzed this space up. The cutting boards really warm up the space and I really like the way you displayed the white glass on your hood. I need to get busy with this sweet project.


Frequently asked questions
Have a question about this project?
Your entire stove area is gorgeous and the shelf fits right in. Especially for those of us that never can find a good place to put the cutting board. It’s a bit off topic, but I have to ask, where did you get the tile for the backsplash? I love it!
Hi Chris, Your project came out lovely thank you for sharing. On an aside I was wondering if you allowed the glue to set before you pin nailed it? Not sure why your clamps didn't work if you did want to set the glue first. You could make a jig to hold the wood while you let the glue dry first but I would try the clamps again. Maybe Dad has an idea. Just a thought :)