


DIY Hexagon Shelves
I have been wanting to build some of these hexagon shelves for awhile now. I wasn't sure I could make them on my own. WIth a little guidance from my husband I was able to pull it off. Here is how.
Step 1 in making DIY Hexagon Shelves, Make a Test one….
I thought it would be a good idea to make a test one before I went any further to see if I could do it.
Off to the garage I went, and was happy to have found the perfect piece of scrap wood to test out my building skills. It was a 4 inch wide by 1 inch deep x 5 foot long piece of white wood. Not sure where it came from, but I thought it would be a good piece to try my hand at making one shelf before I bought more wood.
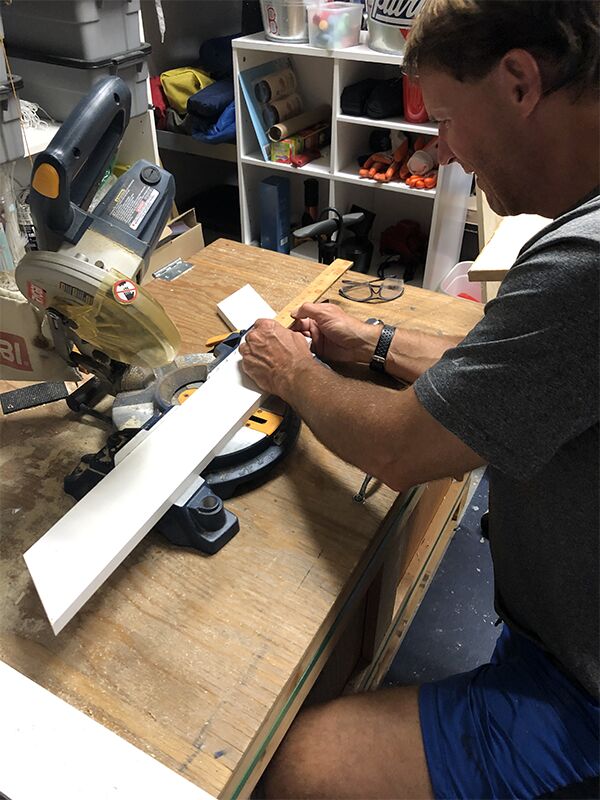
My husband helped me adjust the saw, but then I was able to figure out how to make one on my own.
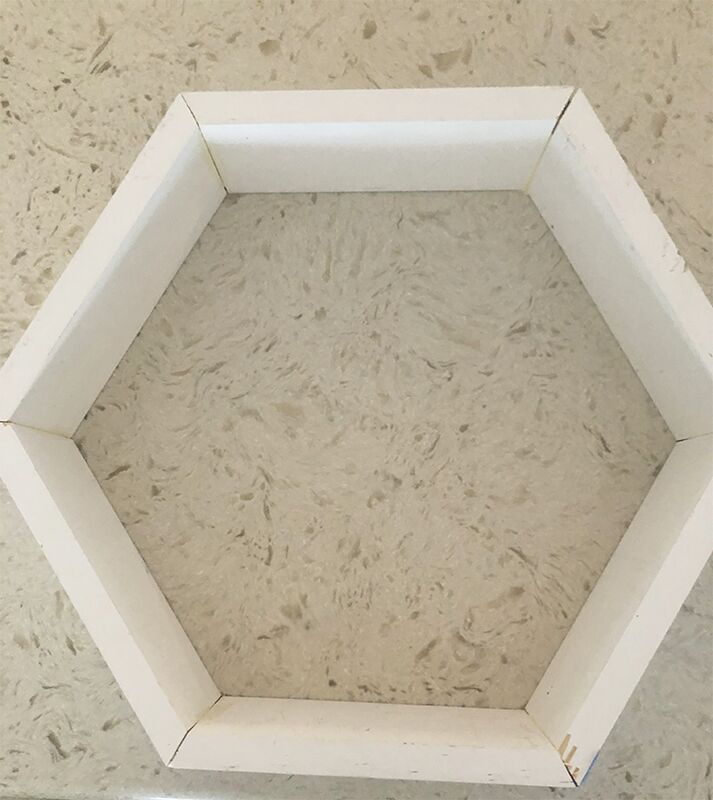
Once assembled, I decided that my test one came out pretty darn good and that I would keep going! The image below was before I sanded, filled in any gaps and painted. It’s also not perfect so don’t look to close. LOL
Step 2, Cut Your Wood…
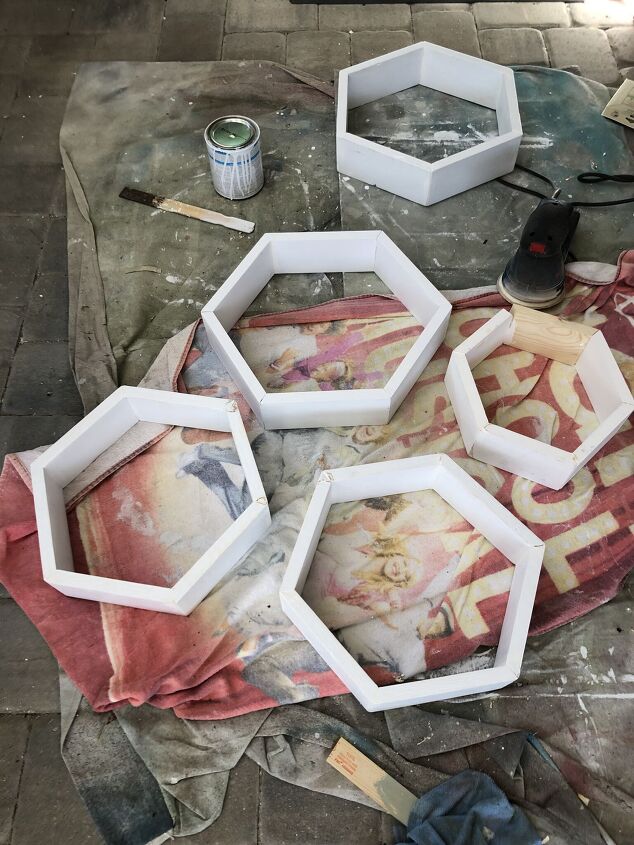
Off to Lowes I went to get more wood. I decided to make another 8 inch hexagon (like my test one), 2 – 6 inch, and 4 – 5 inch sized ones. To do this I bought, 2 pieces of wood measuring 4 inch wide x 6 foot long and 1 piece at 4 inch x 8 foot. Each piece of wood cost under $10.
Once home with my new wood, I started cutting and was pretty proud of myself for doing this all by myself. First, you will need to put your saw at a 30 degree angle. Next, figure out the length you want. My ‘test’ hexagon was cut at 8 inches with a 30 degree angle on each end.
Go me!!! Okay, okay, maybe not all of them were perfect, but still, I did it.

Step 3, Sand and Assemble….
After all my cuts were made, I brought them outside and gave each piece a light sanding. Next, I glued them together. I used wood glue and then applied painter’s tape to secure them in place while they dried. After the glue dried, I used some wood filler to fill in any gaps. You could also use a small brad nail to secure them as well, or a staple gun on each corner. I used a staple on a few of mine where my cuts weren’t exact.

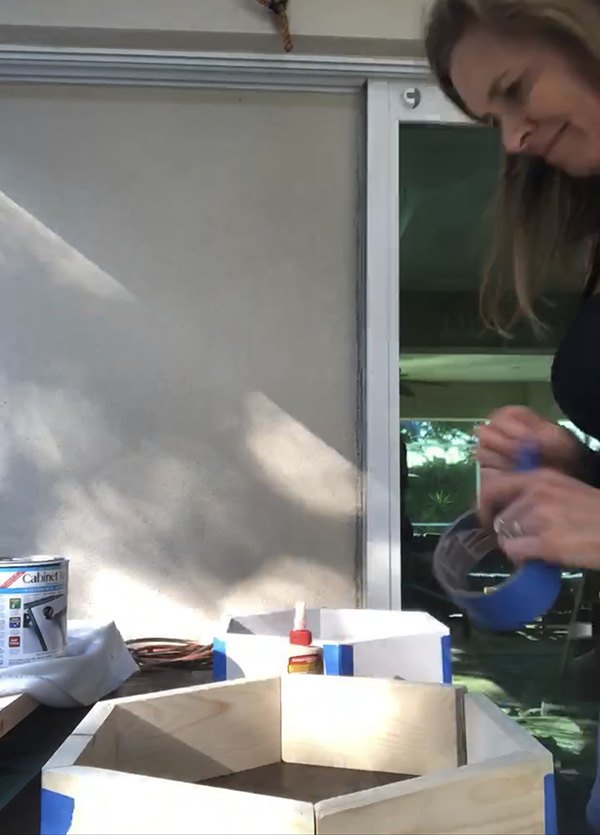
Step 4, Sand Again and Paint…
After the glue and wood filler dried over night, I gave them another light sanding. Once they looked good, I painted them white using some furniture paint I already had on hand.
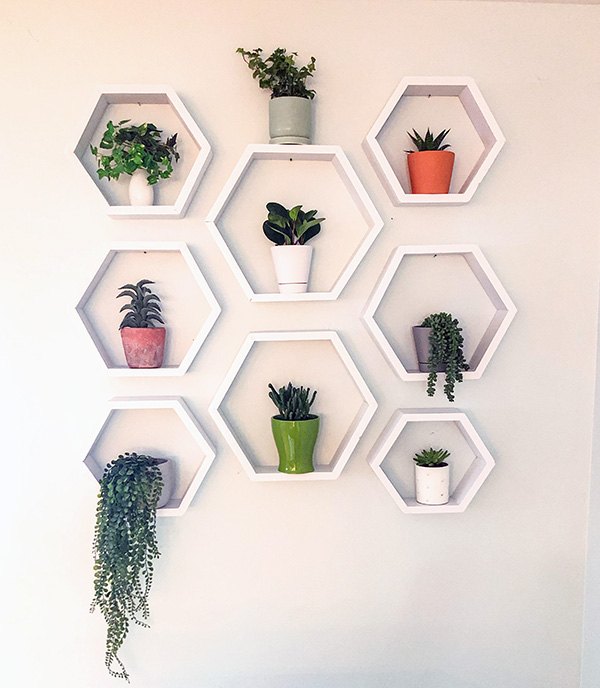
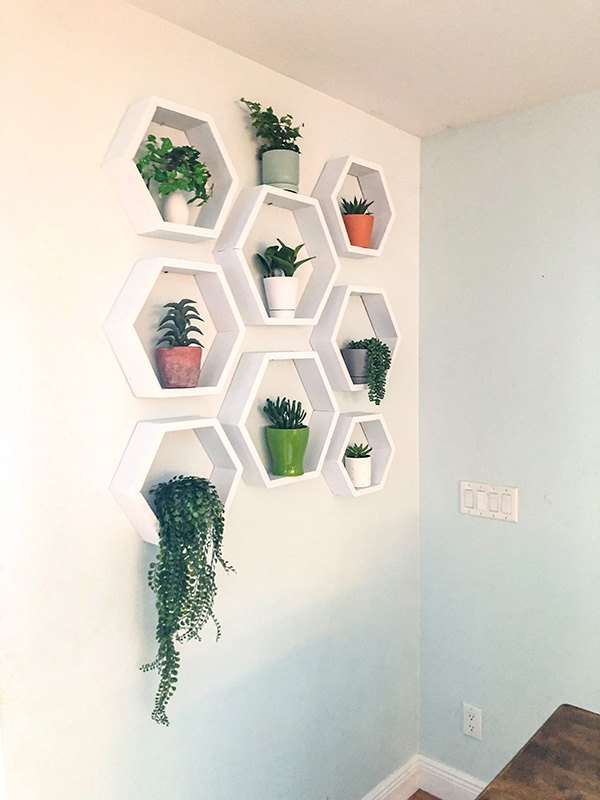
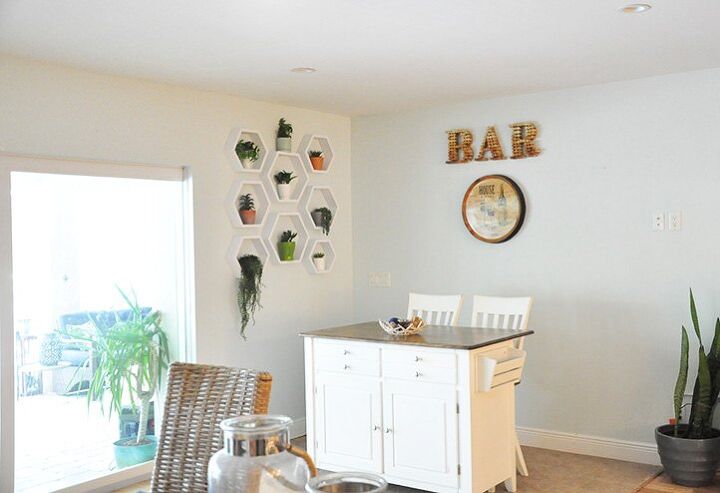
Step 5, Hang and Enjoy…
Now the fun part. Once they were all sanded, painted, dried and looking good I hung them up and filled them with plants. Half of these plants are real and half are faux. Can you tell which is which?
Also, please note, I realize these are not all perfect looking. BUT, I don’t mind that. I think it is part of the look and charm, and it was my first time making them.
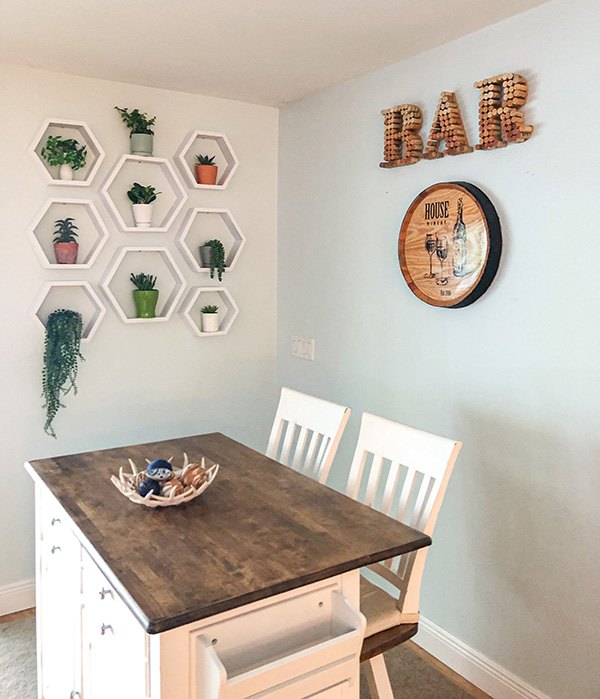
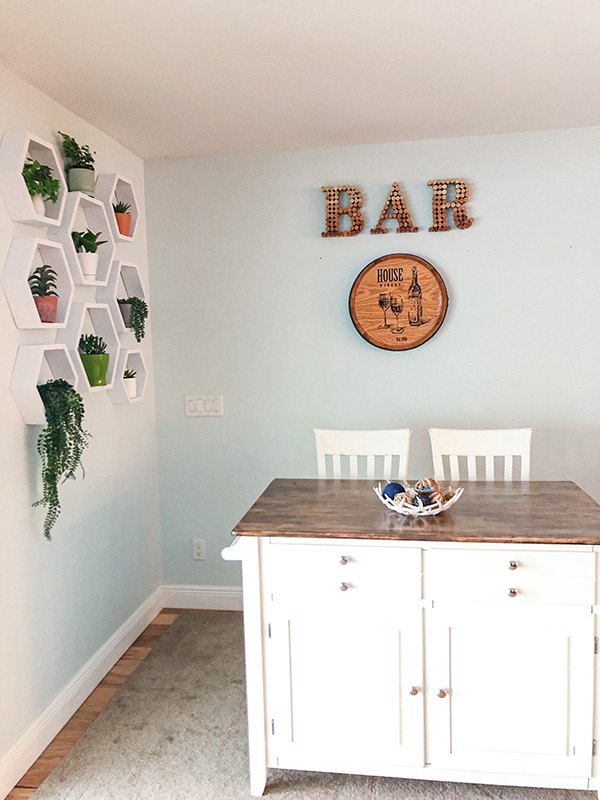
In case you were wondering, the wine cork BAR sign was another DIY I did a few years ago.

Comments
Join the conversation
-
They look nice - and I appreciate your taste in color 👍️
-
These are really beautiful great idea really nice


Frequently asked questions
Have a question about this project?
The projects are 👍🏼
where did you get the “Island” table?
I love your table and chairs! Where did you get them?
How do you hang these shelves?