


Hanging Mug Rail

We recently removed all our upper cabinets from our kitchen and installed floating shelves. Best. Decision. Ever! I know open shelving isn’t for everyone but it really opened up our kitchen and encourages me to stay organized. It also makes those every day items more accessible.
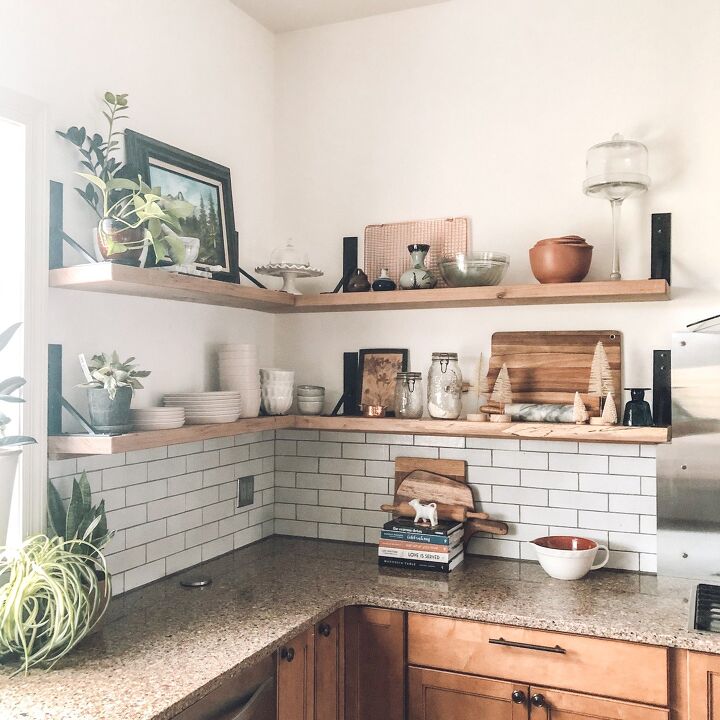
Inspiration
We are big coffee drinkers and with open shelving I knew I wanted to display our coffee mugs and the new hand made ones I purchased. Again, making them easily accessible. But I didn’t just want to stack them on the shelf. In some of the inspiration kitchens I pinned, I kept seeing rails below the shelves. Some had towels hanging, others with mugs or cooking utensils, and some even larger ones with small pots. deVol kitchens have been a huge inspiration for me recently. I love the layered, loved in and cozy feel they give off.
Materials
Our budget was small, but my will was BIG! I settled on copper as the metal finish I wanted, so to coordinate with our copper pendants that hang over our island. As an added bonus we already had leftover copper pipe from a plumbing project. But if you don’t have any you can purchase pipe at your local home store. I used 1/2” pipe. The only thing left to get was something to hang the rail from the bottom of the shelves. I searched and searched and found copper pipe hangers at Lowe’s. They were exactly what I had pictured, rustic industrial, and they cost $2 per hanger. You will also need a pipe cutter (silver tool shown below).
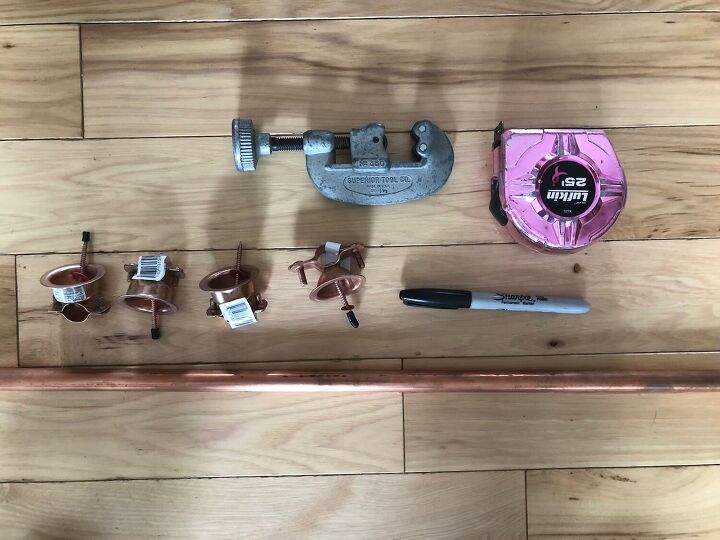
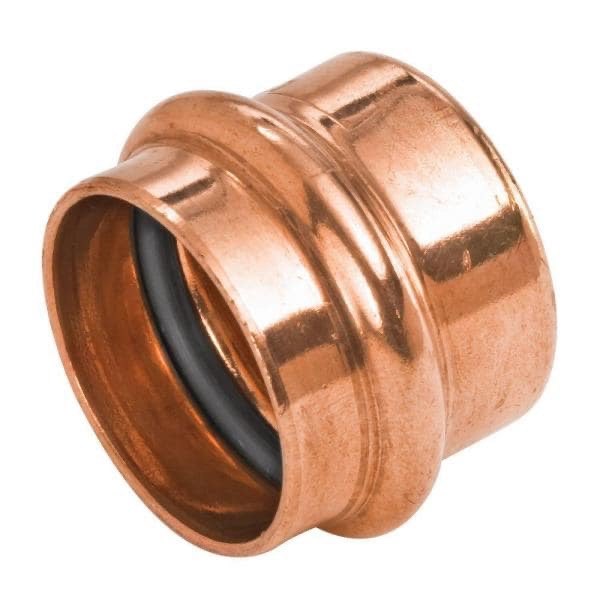
To finish the ends of the pipe I ordered copper pipe end caps from Home Depot. There are a few options for end caps and I preferred these traditional looking ones. Here is another option that cost leas and in my opinion, have a slightly modern look.
How to:
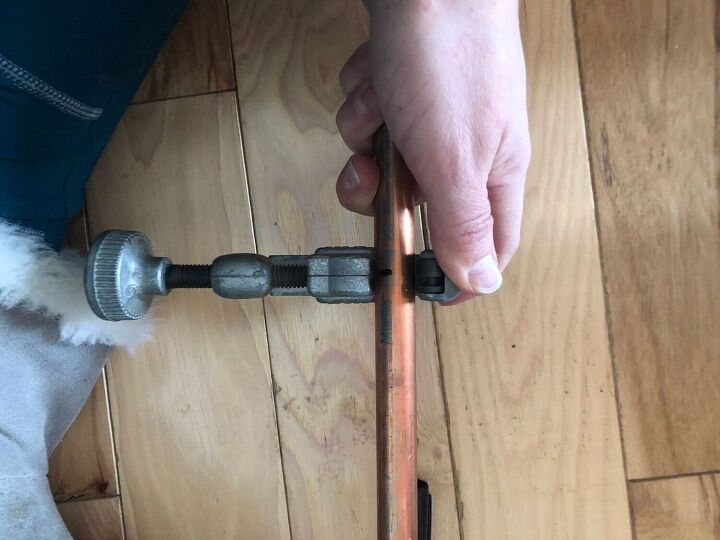
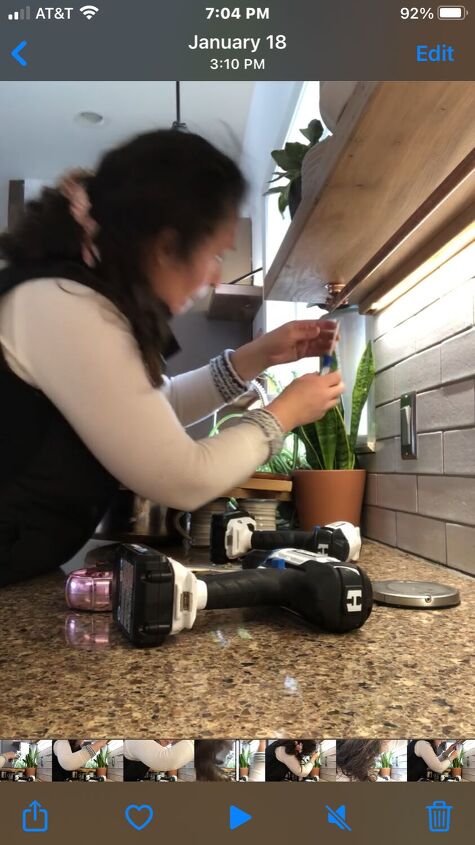
First decide how long you want your rail. Measure and mark on the copper pipe to your length. Line up the pipe cutter blade on the line and start rotating the pipe cutter. After each 1-2 rotations you will need to tighten the pipe cutter. Enjoy this video with my three girls helping me cut the pipe!
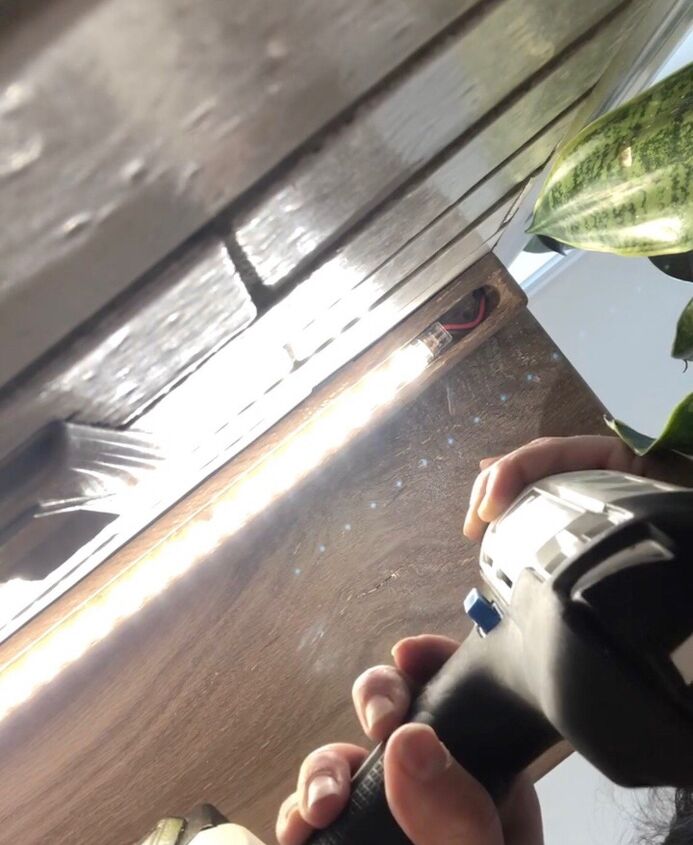
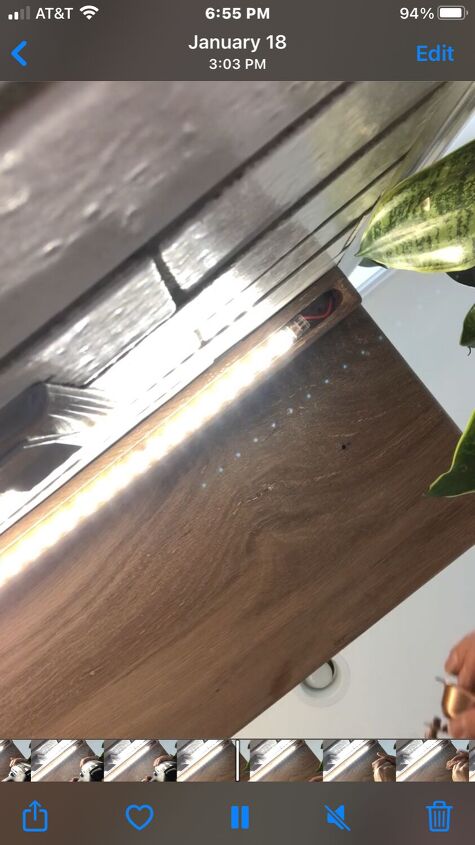
Next it’s time to install the pipe hangers to the underside of the shelf. Decide where you want you rail to hang and what amount of rail you want to extrude past the pipe hanger. Pre-drill each hole and install the pipe clamps. Each pipe clamp only takes one screw to be installed.
Note: I am working with Oak, a hard wood, pre-drilling is important so you don’t break the screw when screwing in the pipe hanger (I pre-drilled and still broke a screw). This might not be necessary for softer woods like pine, but still recommend for a cleaner install.
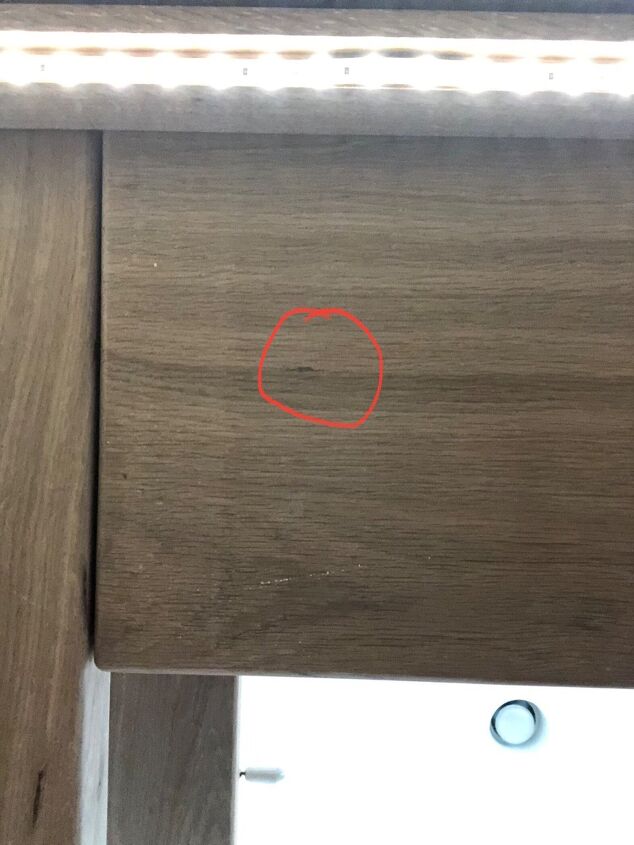
The hole is barely noticeable. Similar to some of the character worm holes in other parts of the shelf. I like to note this so that if you ever change your mind, you oh can see that the hole you have drilled won’t be too noticeable.
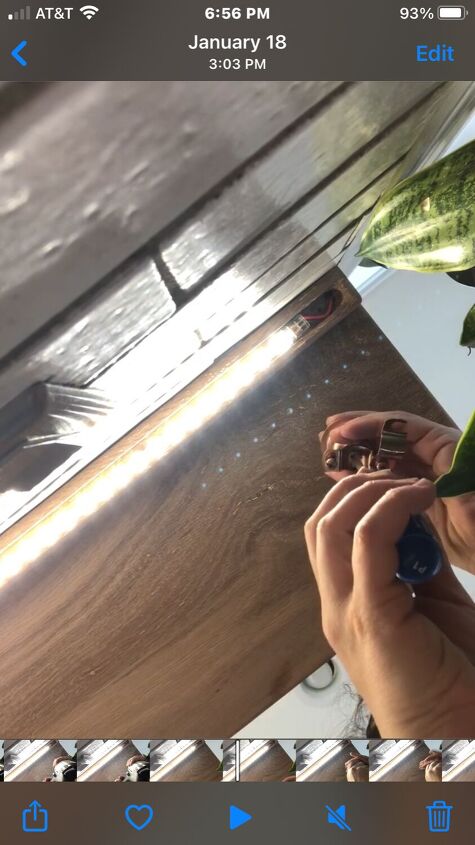
I installed the pipe clamp starting with an impact driver and finishing it off with a manual screw driver. I did not want to strip the screws.
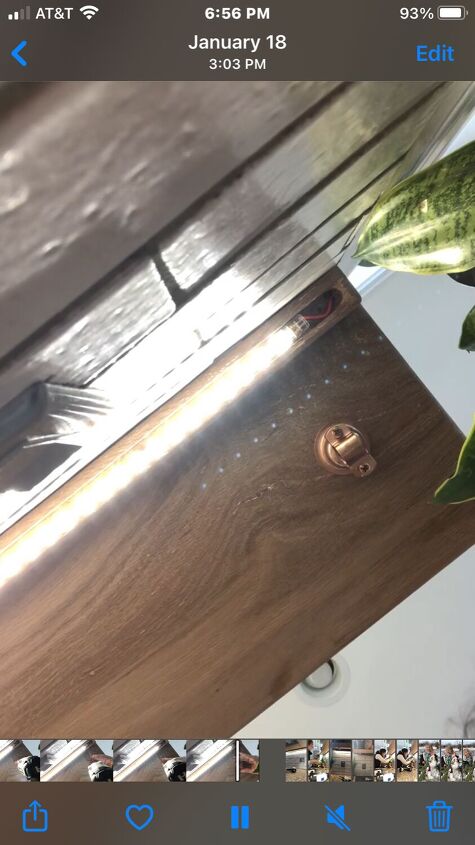
Install the second pipe clamp
just like the first, by pre drilling your hole then screwing in the pipe clamp. Next install the pipe rail inside the two clamps.
Tighten the clamps down using a manual screw driver. These are small screws and easy to tighten. No need for a big drill.
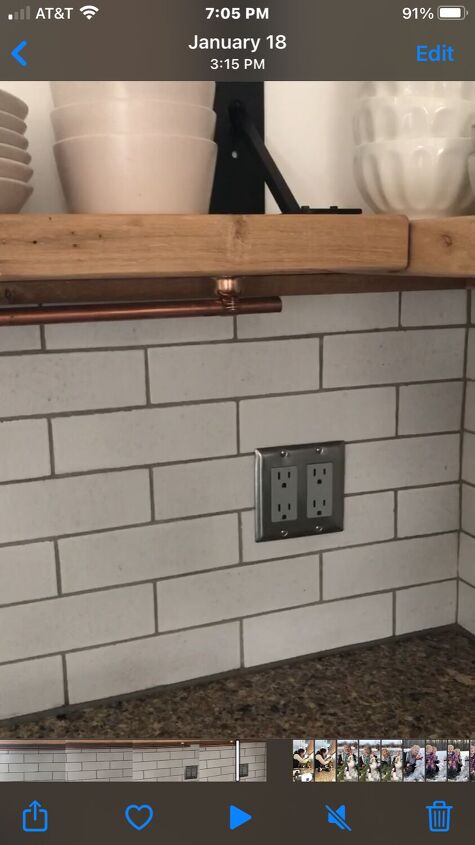
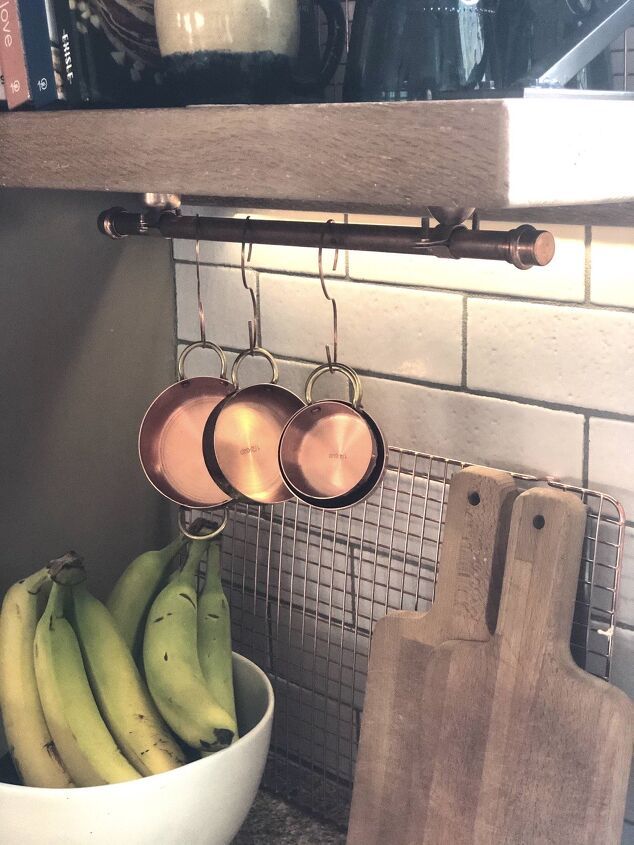
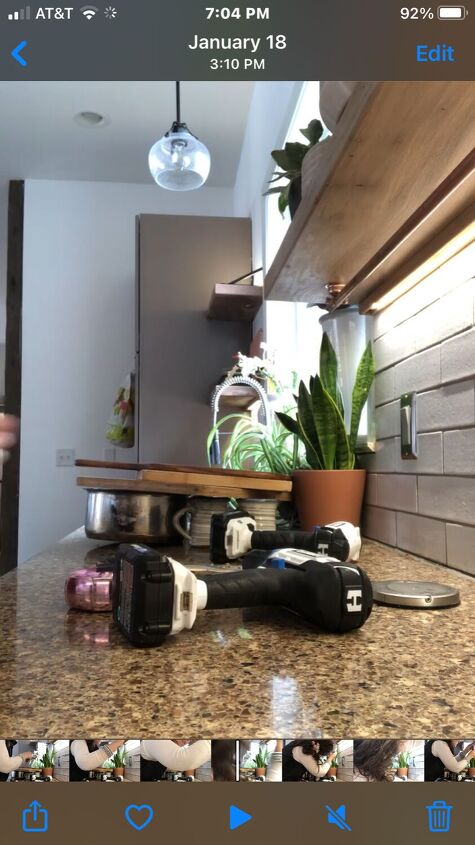
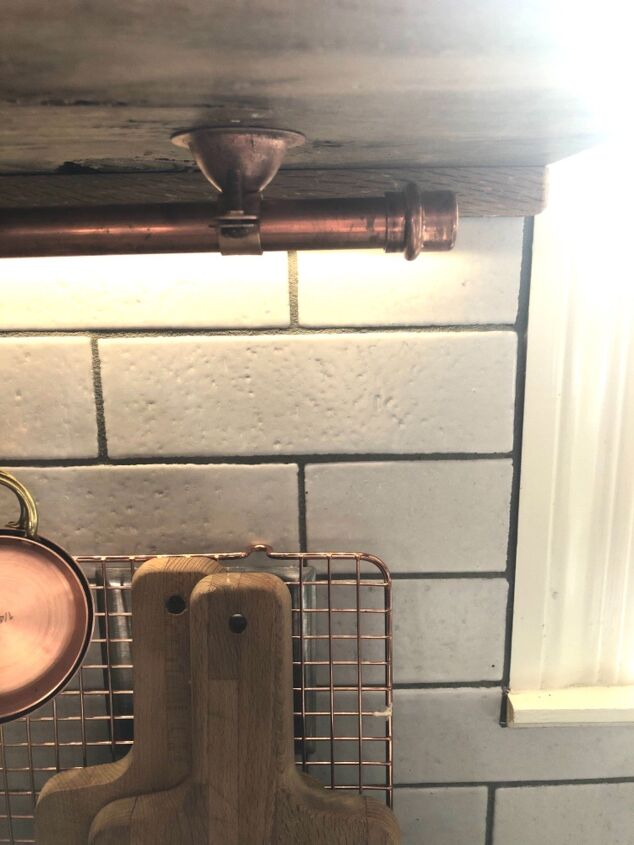
Here is the rail installed without end caps. You can choose to leave it like this or install end caps. Personally, I like the more finished look the end caps give. Just lightly hammer the caps on and you’re all done!
In my next post I’ll be showing you how I made “s” hooks to hang my mugs.
Go DIY!
Alissa
Resources for this project:
See all materials


![Pipe Cutter [1/8" - 1 1/8"] Tube Cutter Tool for Copper Pipe, Stainless Steel Tubing, Metal, Plastic, Brass - Copper Pipe Cutter - Compact & Tight Space Rigid Tubing Cutter Set for Plumbing](https://m.media-amazon.com/images/I/41e6-Jdo5xL._SL75_.jpg?size=80x80&nocrop=1)
Comments
Join the conversation
-
This is really cool. I love handmade copper things! ❤️
-
It looks great! I’ll bet it could be added to the bottom of a cabinet also. Excellent idea ❤️


Frequently asked questions
Have a question about this project?
Did you need to seal it to keep the copper bright, or do you intend to let it look tarnished? Does it, and your copper hanging over your island, need a lot of dusting and cleaning?