


How to Build Storage for Scrap Wood of All Sizes
Anyone who works with wood always has scraps leftover. Leftover wood is an ongoing byproduct of woodworking, and we have our fair share of scraps and offcuts. Prior to this build, we did not have an efficient way to store these wood pieces so we ended up not using them--because we didn't know what we had!
We built two units to store larger pieces as well as smaller ones. Now we can see instantly what we have available to use.
Please take a minute to click here to sign up for the Mother Daughter Projects weekly newsletter. You'll get notification about our new projects and what is up and coming.
See the build through video.
- 4x8 Plywood- cut 22”x6’
- 2x4- cut 80”
- (4) Wood Dowels
- 4x8 1/2” Plywood (cut list to right)
- (4) Rubbermaid Clear Food Storage Box ( Home Depot)
- (8) Grade Stakes-Pine ( Home Depot)
- (4) Casters ( Home Depot)
- 10’ 3” PVC Pipe ( Home Depot)
For your convenience, there are links to the products we use in our projects from Amazon as well as The Home Depot, Wall Control. (Mother Daughter Projects is a participant in the Amazon Services LLC Associates Program, an affiliate advertising program designed to provide a means for sites to earn advertising fees by advertising and links to Amazon.)
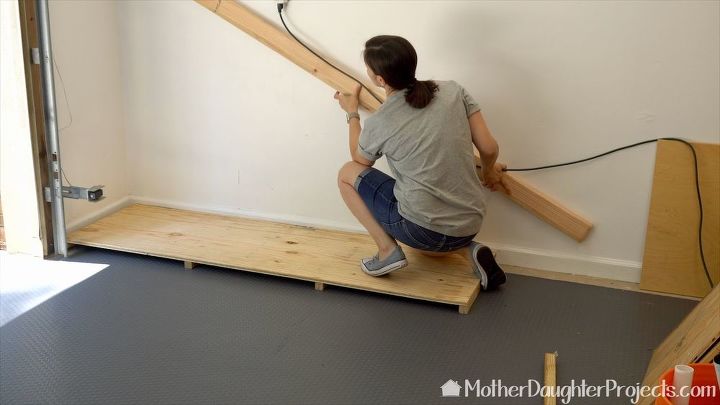
The vertical wood storage is simply a piece of plywood cut to size which is raised up from the floor with 2x2 pieces of wood. Those pieces were glued and brad nailed to the bottom size of the plywood. Here, Steph is checking the angle needed for the separators.
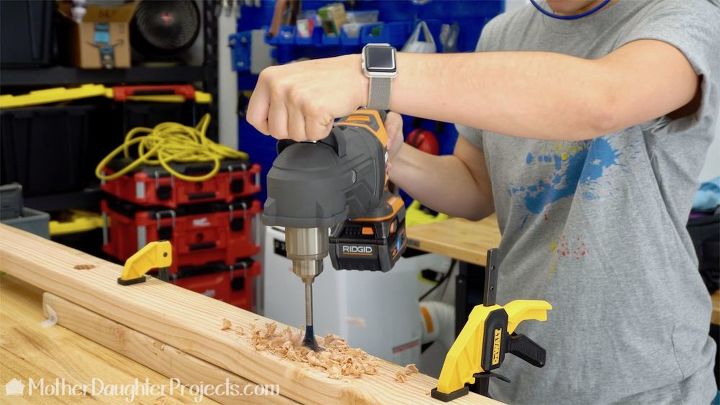
Once we determined the spacing of the separators, Steph drilled holes into the long 2x4 for the wood dowels.
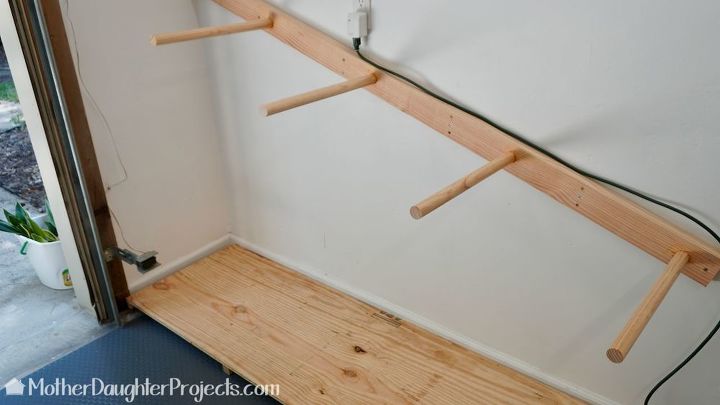
The dowels were glued into place and allowed to dry overnight. The separator piece was simply screwed into studs on the wall. This piece is finished! If you have a lot of shorter boards, the separator board can be positioned lower on the wall. It's adaptable to your wood storage needs.
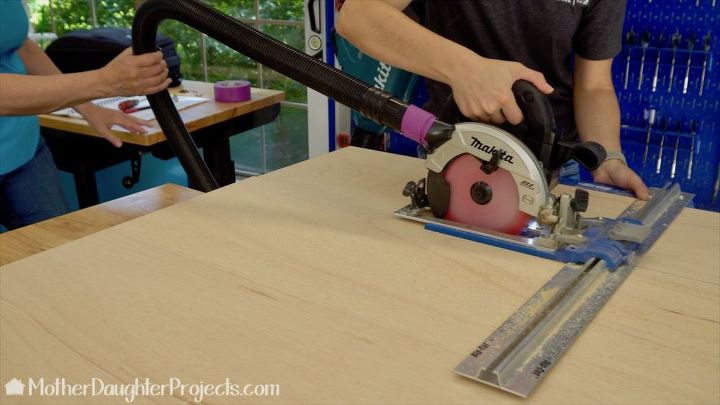
With the vertical storage finished, it was time to move onto the portable cart build. Steph first cut all the pieces to size. I sanded them and then it was time to assemble the unit. See full cut list on our website.

Assembly was like putting together a puzzle. Everything was glued and then brad nailed into place.
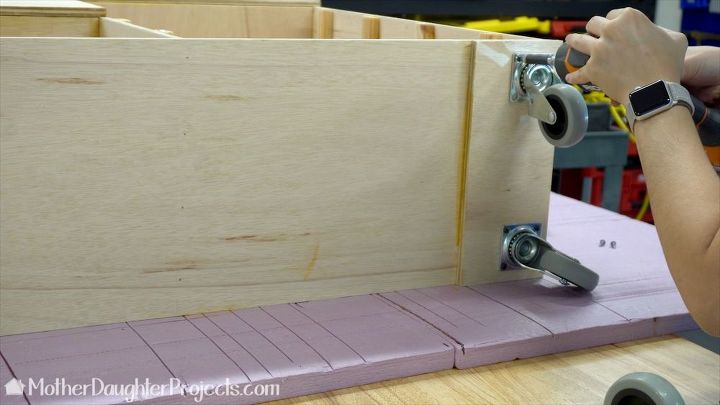
To make it movable, we added extra boards to the bottom and then screwed casters into each of the four corners.
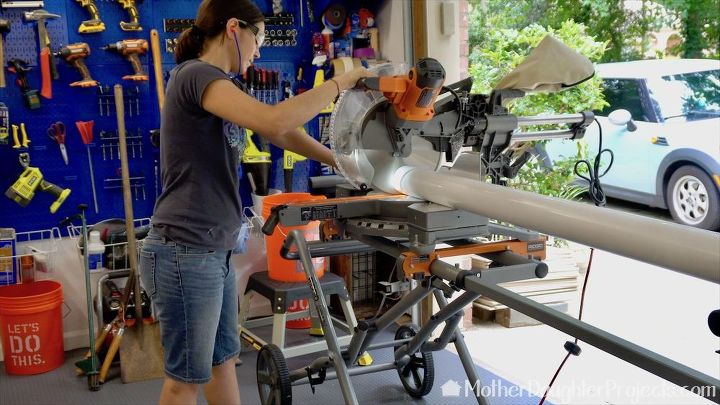
To add another layer of functionality to the unit, Steph cut pieces of 3" PVC to add to the top where we could store long, skinny pieces of wood like dowels.
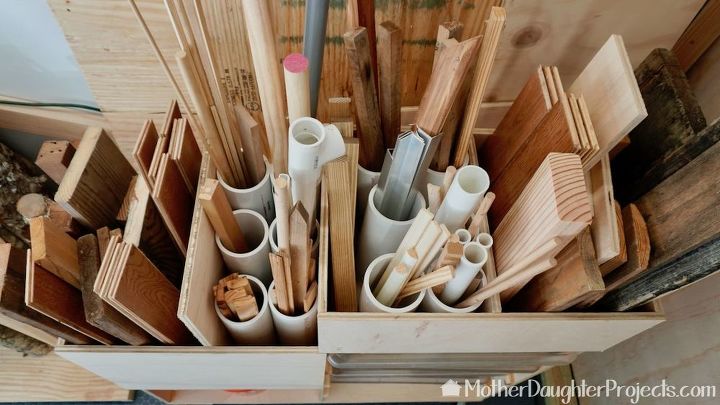
Here are the PVC pieces fitted into place. They keep those hard to store pieces upright and easy to see.
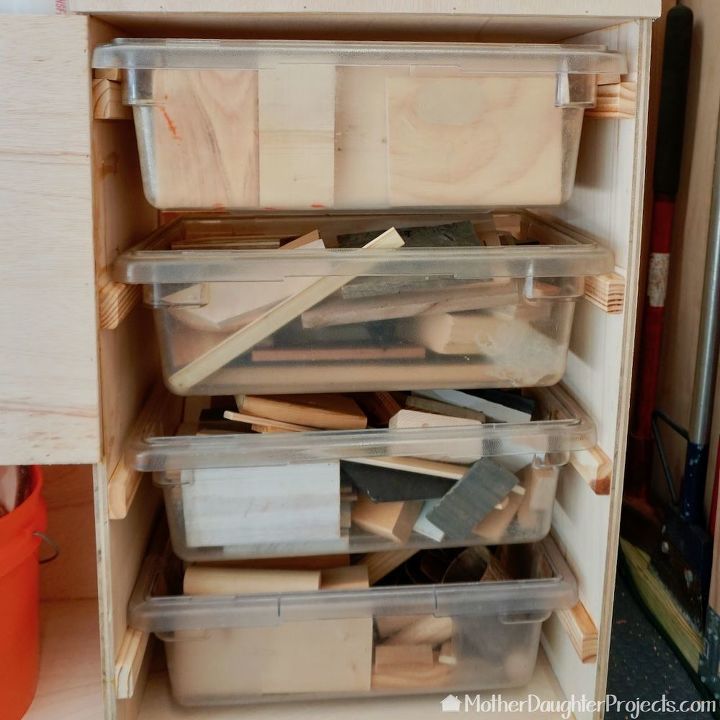
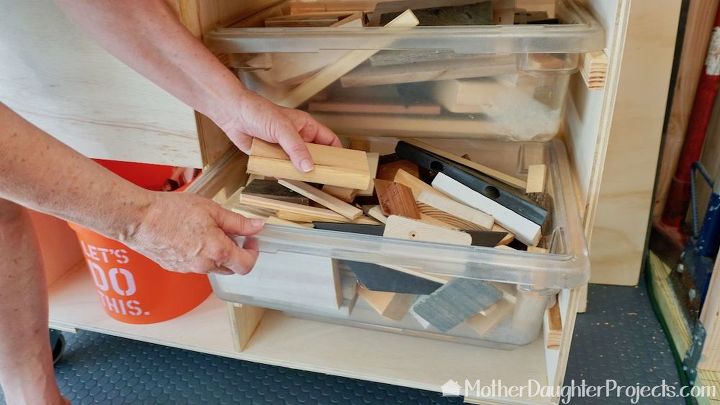
We used restaurant plastic bins to hold small pieces of wood. They move easily on the wood runners we added. The bins are easy to remove to take to where we are working. Note: we got our bins at a yard sale so they were very inexpensive.
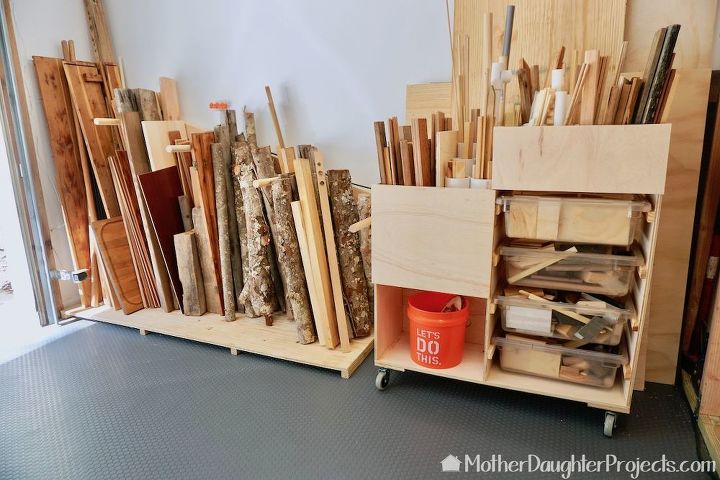
Here they are--all finished and loaded up! Because the cart is on wheels, we can move it out of the way to store large sheets of plywood behind it.
Everything is easy to see and to access!
Resources for this project:
See all materials


Comments
Join the conversation
-
Clever idea to keep your extras.
-
Fantastic idea!!! I have been thinking about how to arrange mine in the garage What timing!!! Lol!!! You guys have great ideas and work together beautifully!!! How nice to be able to work together!!! God bless!!!


Frequently asked questions
Have a question about this project?
How can i make houseplants stands out of tomato cages .