


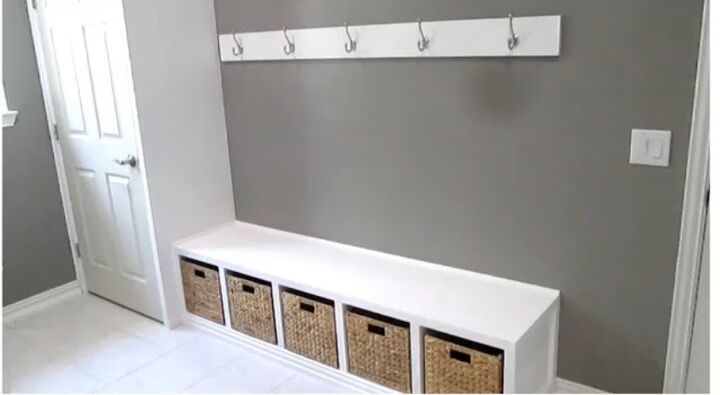
Not Just for Detergent: How to Make a Laundry Room Command Center
Every family faces the challenge of where to put coats and bags away neatly when arriving home. A laundry room command center that provides storage and hanging space can take the place of a foyer or mudroom in a small home and is a fantastic way to make use of wasted space in a room that is often overlooked. I wanted to make use of the extra space in the laundry room in a way that was stylish and functional to replace the large empty wall with unsightly utility shelves.
You will need:
- Several sheets of ¾ inch plywood
- Door and doorknob
- 1x3s
- 1x2s
- Casement and base trim
- Oscillating saw
- Nail gun
- Circular saw
- Chop saw
- Construction adhesive
- Magnet or stud finder
- High gloss latex paint
- Closet hooks
- Storage baskets
- Caulk
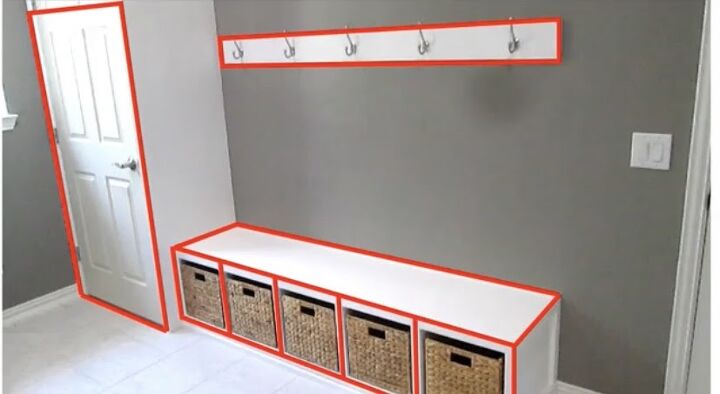
This laundry room command center project was comprised of three components: a closet, storage bench, and a coat hanging wall.
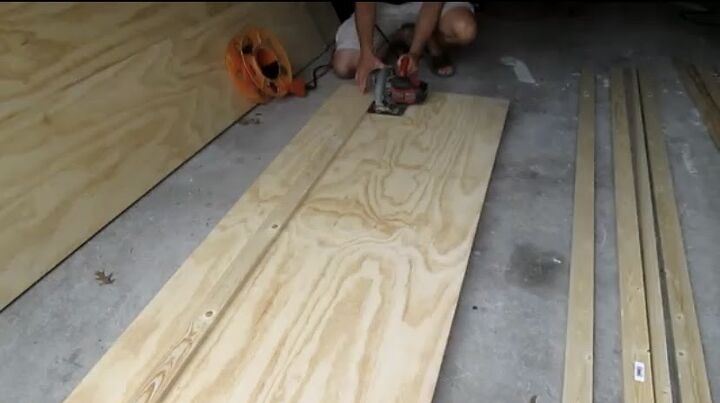
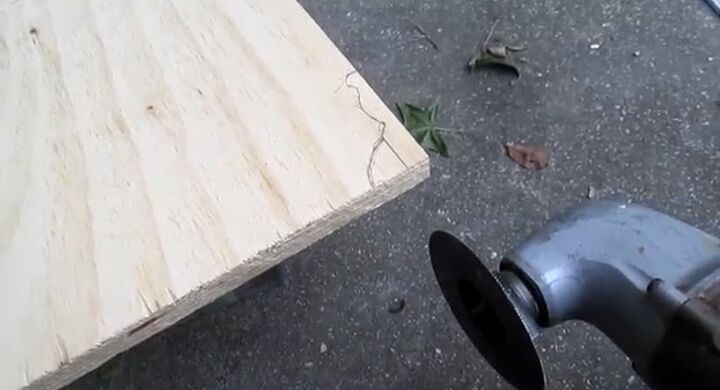
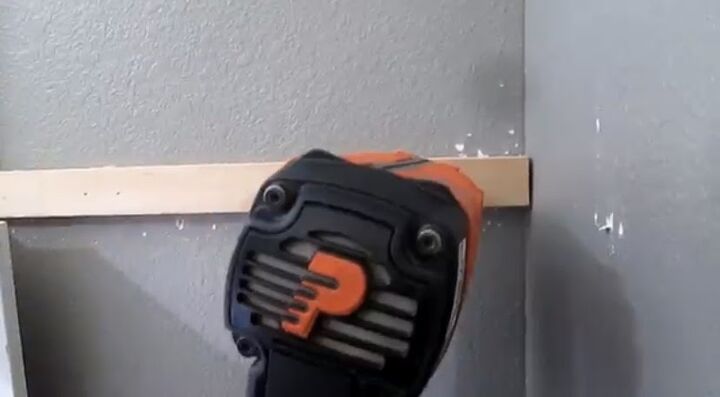
Step 1: Add Guide to Plywood
Before I made the long cuts I needed to make on the plywood, I nailed a straight piece of wood onto it to temporarily act as a guide for the saw.

Step 2: Cut Plywood for Closet Wall
I cut my plywood to create the wall for the closet. I did not want the closet to be so deep that it covered the window in the space and cut the board to adjust for that. Because plywood only comes in eight-foot lengths and my ceiling is nine feet tall, I cut a one-foot piece of plywood and attached it to the larger piece using glue and nails

Step 3: Cut Plywood for Bench
I cut the board that would create the storage bench seat about 3 inches narrower than my closet wall board. Measure your space for the best length and width for your laundry room command center and make your cut accordingly.

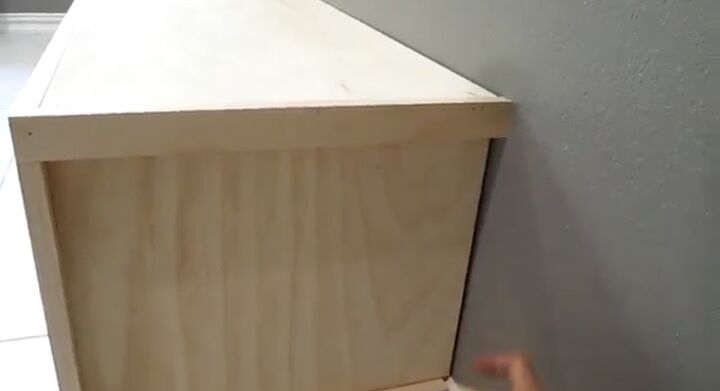
Step 4: Cut Notch in Closet Wall Board
I cut a small notch in the closet wall board to ensure that it would fit flush back against the laundry room wall without having to cut into the baseboard trim.
Trace the shape of the molding onto your board and then cut it out using an oscillating saw.

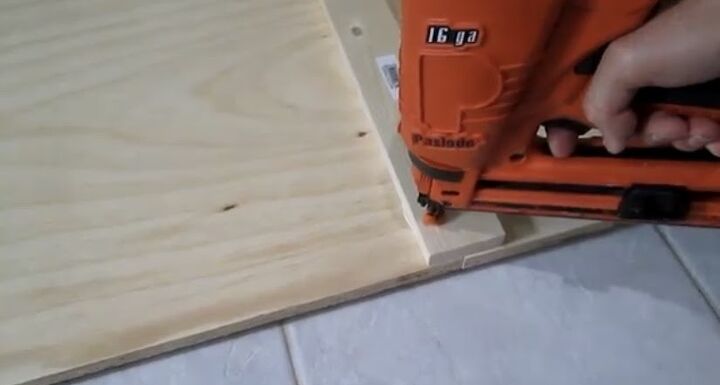
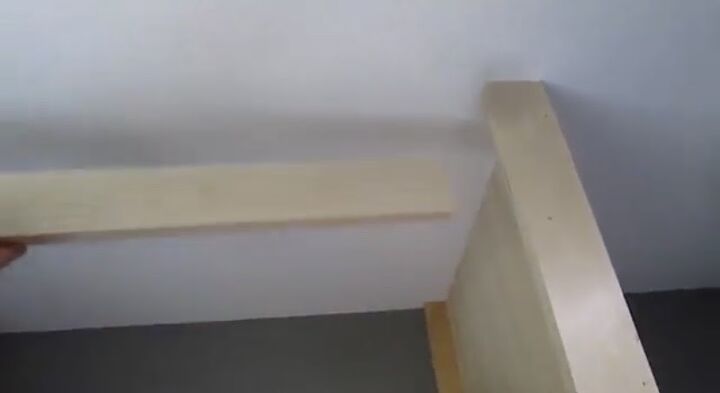
Step 5: Trim the Outside Closet Wall
I attached two 1x2s to the plywood closet wall (one in front and one in back at the laundry room wall) to touch the closet door frame, to give it rigidity, and also to give me a way to anchor the closet wall to the back wall. I covered the front with the casement trim using both glue and nails.
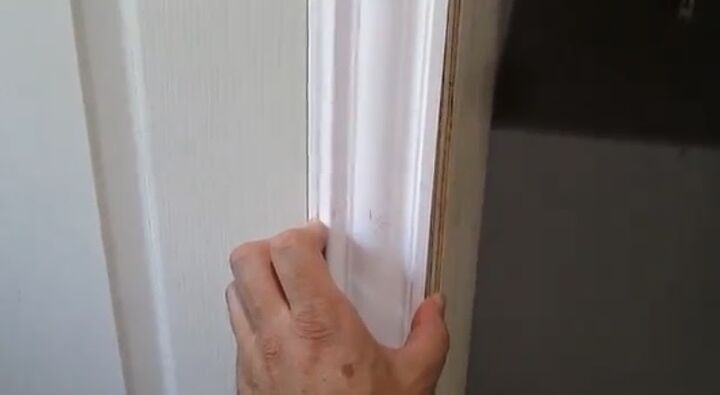
Step 6: Prepare to Install Closet Door
I added small pieces of cardboard at the top, middle, and bottom of the door to keep the appropriate gap between the door and the frame. I also added a temporary brace between the door and the wall behind it.

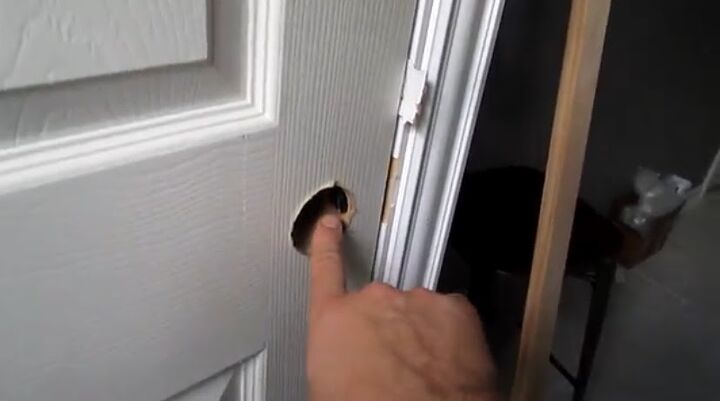
Step 7: Install Closet Door
For the interior facing side, I used a 1x2 and a 1x3 to trim and anchor the closet door to the wall not facing out into the room.
I attached with construction adhesive then nailed the 1x3 to the wall for the anchor and attached the 1x2 to the door frame with construction adhesive.
Step 8: Install Closet Shelf
I wanted an open shelf above the closet door of the laundry room command center. The plywood wall and existing laundry room wall already created the frame, so I needed a shelf board and trim pieces to finish off the shelf.


Step 9: Trim Closet Shelf
Now that my shelf was installed, I finished it by adding trim all the way around the edges of the closet shelf. I used 1x3s nailed to the sides and across the top.
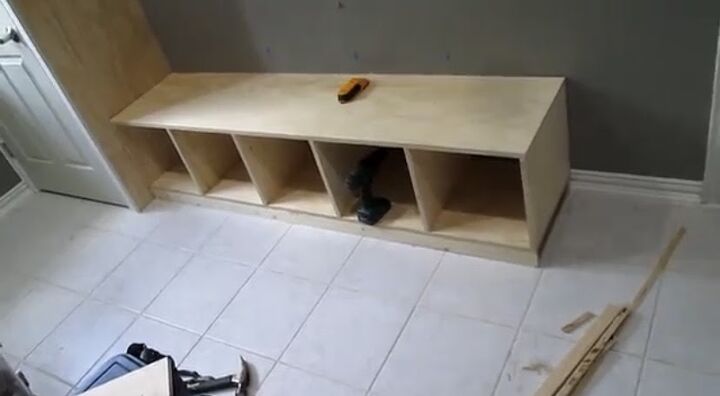
Step 10: Build Bench Top and Bottom
I used two 2x3s to create the raised platform underneath my plywood storage bench and cut two identical boards to use for both the seat and the base of the bench.
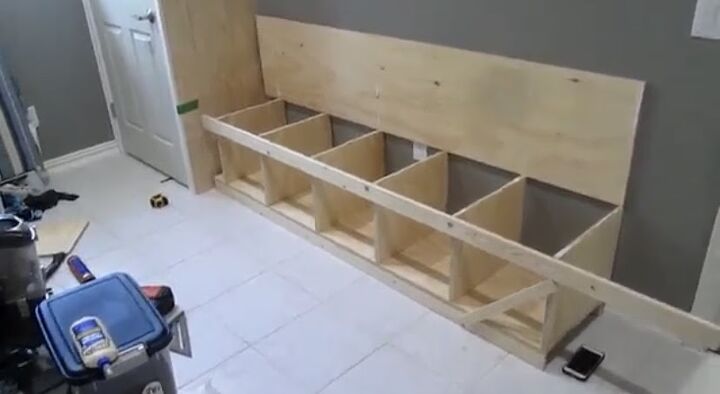
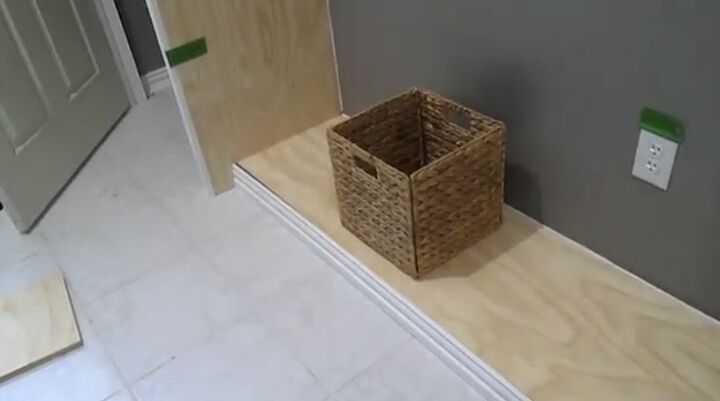
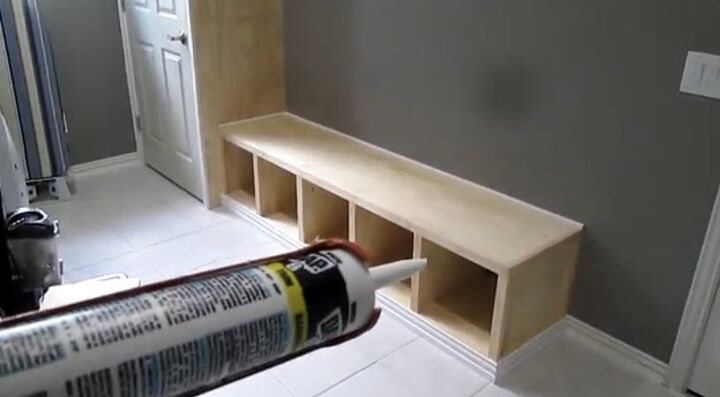
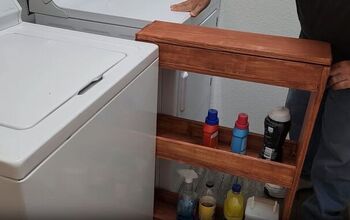
Step 11: Build Storage Cubbies
I cut six squares to create my divided storage cubbies and the sides of the bench. I glued the bench top to the tops of the dividers. Make sure to space the cubbies wide enough to hold the type of basket you want to use.

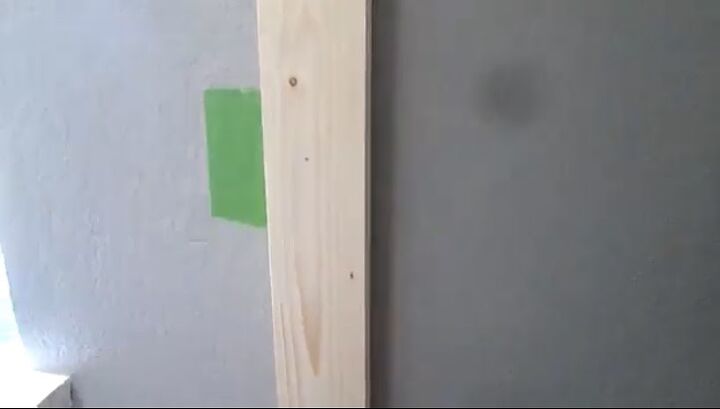
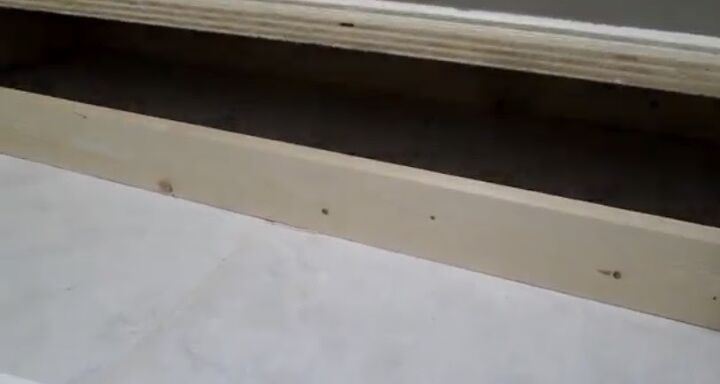
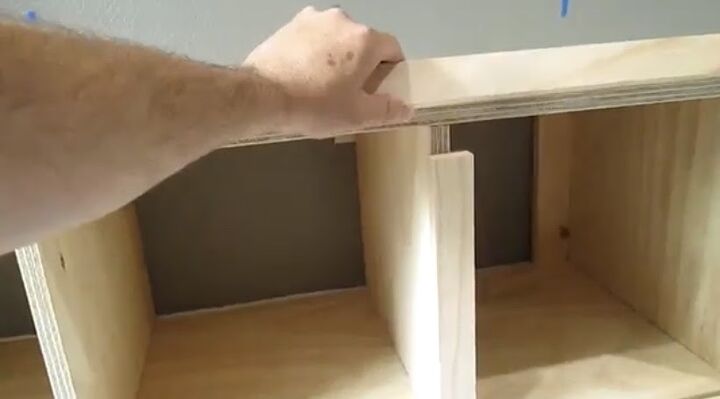
Step 12: Mount the Bench to the Wall
I installed a cross brace in the back of my cabinet and screwed it to a stud. Use a stud finder or a magnet to find the screws inside the wall and mark one stud on each end of the bench. Using a small piece of wood, install your brace and securely attach the storage bench to the wall.
Step 13: Trim the Front of the Bench
I used two 1x2s and a small piece of base trim on the bottom of the bench, 1x2s on the front of each divider, and finally, a 1x2 across the top. Center the 1x2s on the front of each divider except for the one on the outside-facing end.
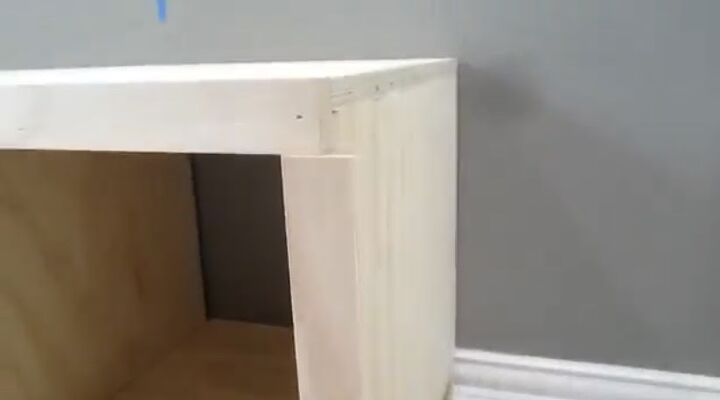
On the end, let the 1x2 trim piece stick out to the side to create a lip for the side trim to sit on top of.
Step 14: Trim the Side of the Bench
I continued to use 1x2s to trim the side of my bench and placed the top piece on top of the lip created in the previous step. I put a second 1x2 against the wall to cover the gap and then finished the bottom with trim molding that I pre-shaped to fit flush with the baseboard.
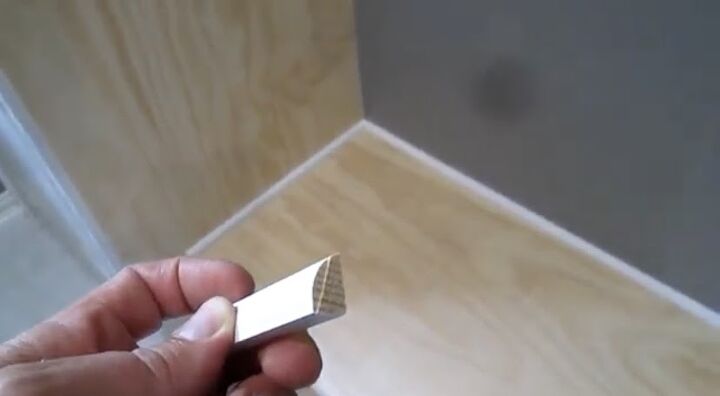
Step 15: Trim Bench Along Wall
I added quarter round molding along the back and side wall where the laundry room command center bench bumps up against them.
Step 16: Caulk Visible Cracks and Trim
I added a thin line of caulk along the trim and in any cracks or seams so that the laundry room command center would retain a like-new look even after withstanding the day to day use and abuse a busy family will put it through.
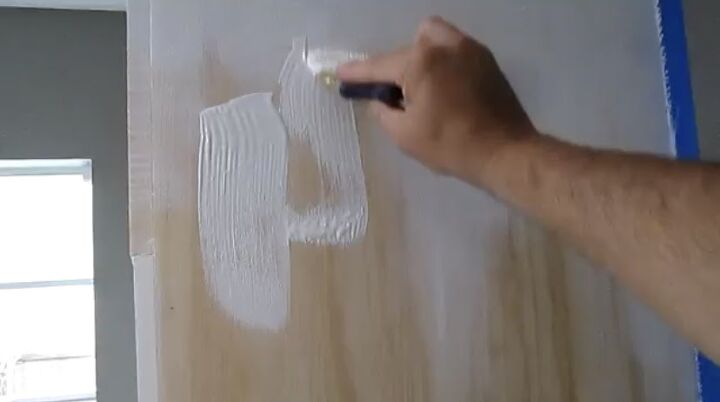
Step 17: Paint
I painted my closet, bench, coat hook board, and all of my newly installed trim pieces using a brush and two coats of a high gloss interior latex paint. I chose a bright white but you could paint any color that would complement the wall color in your space.
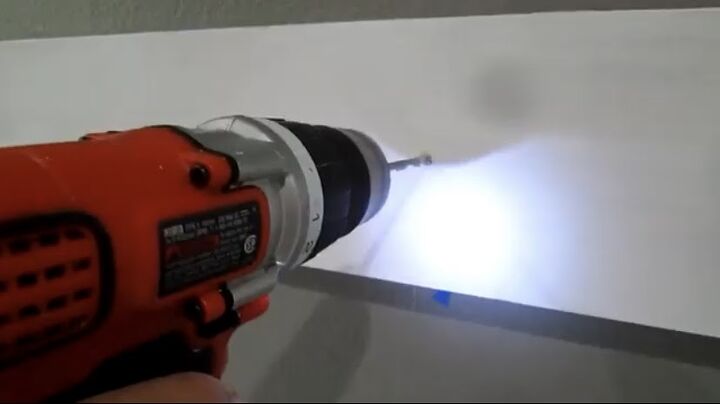
Step 18: Mount the board
I mounted the laundry room command center coat hook board above the storage bench. I sunk the screws deeply and then I spackled over them to hide the holes and the shiny screws.
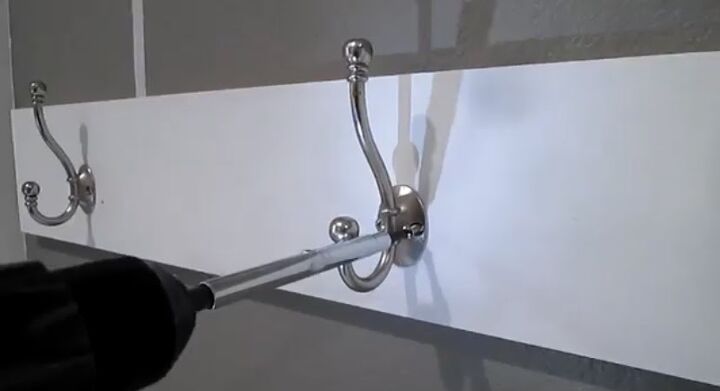
Step 19: Install Hooks and Add Baskets
After hanging the painted coat hook board, I attached 5 traditional silver coat hooks that were sturdy enough to hold multiple coats and heavy school backpacks.

Place a storage basket in each cubby to complete the command center storage bench.
Finding a place for all of the gear that a family brings into and out of the house each day can be a huge challenge—especially in a small home. This laundry room command center with a storage bench, closet, and coat hooks created a space to neatly store—and easily find on busy mornings—coats, backpacks, sports gear, and shoes, in what formerly held only laundry soap!
Have you created a laundry room command center or another brilliant storage solution in your home? Share your DIY projects or find inspiration for projects like this one on Hometalk!
Resources for this project:
See all materials


Comments
Join the conversation
-
That looks very nice and would be very functional. I have no entry area for that kind of thing either. I may need to do something like it to my laundry room.
-
Love this!! What color of grey did you use on the walls?


Frequently asked questions
Have a question about this project?
Where’s the washer and dryer? Did you move them out? If so, where did you put them?