


How to Make a DIY Baking Soda and Dish Soap Cream Cleaner

Welcome to my step-by-step tutorial on creating your own DIY baking soda and dish soap cleaner! This simple yet effective cleaner can be used for various cleaning tasks around your home, from scrubbing sinks to cleaning stovetops and even toilets.
With just a few common household ingredients, you can make a powerful cleaner that's safe and eco-friendly. Let's get started!
Hometalk Recommends!
Tools and materials:
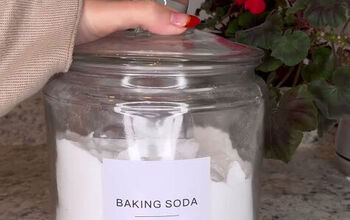
- 1 cup of baking soda
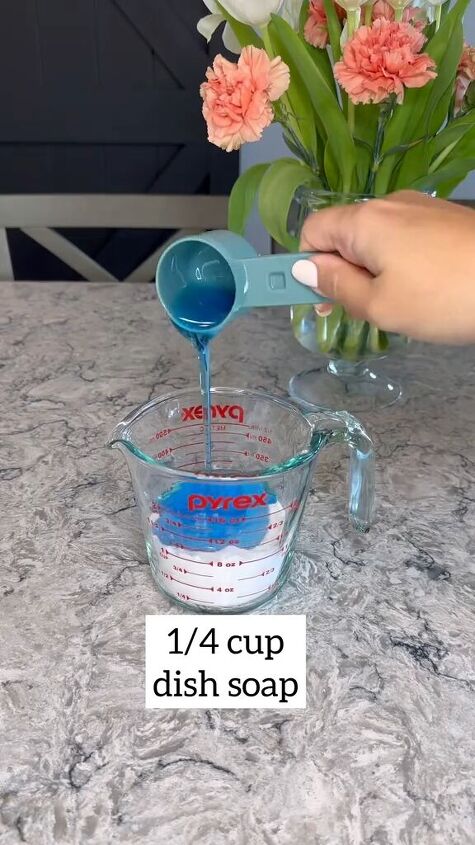
- ¼ cup of dish soap
- ¼ cup of water
- Mixing bowl
- Spoon or whisk
- Empty bottle with a nozzle
DIY baking soda and dish soap cleaner
Step 1: Mixing the Ingredients
Begin by measuring out 1 cup of baking soda, ¼ cup of dish soap, and ¼ cup of water. Pour them into your mixing bowl.
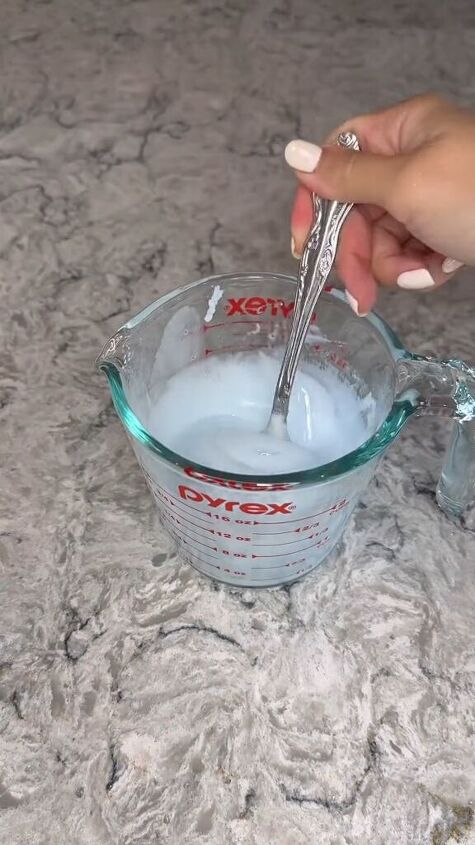
Step 2: Stirring
Using a spoon or whisk, stir the ingredients together until they form a smooth paste. Make sure to mix thoroughly to ensure all ingredients are well combined.
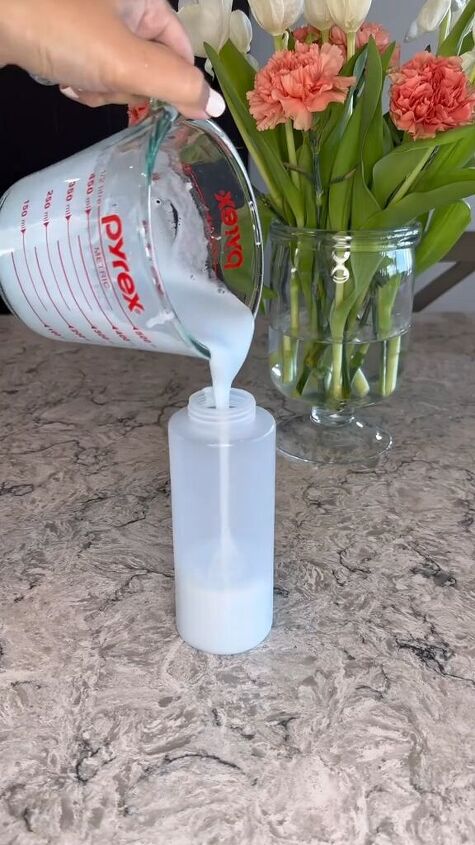
Step 3: Transferring to a Bottle
Once your mixture is smooth, carefully pour it into your empty bottle with a nozzle. A funnel may be helpful for this step to avoid spills.
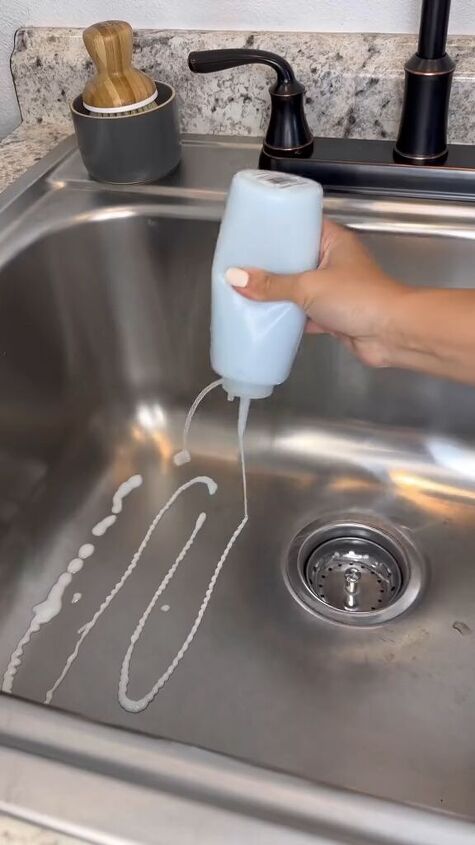
Step 4: Application
Your DIY baking soda cream cleaner is now ready to use! Simply apply the cleaner onto the surface you wish to clean. You can use it to scrub sinks, stovetops, countertops, and even toilets.
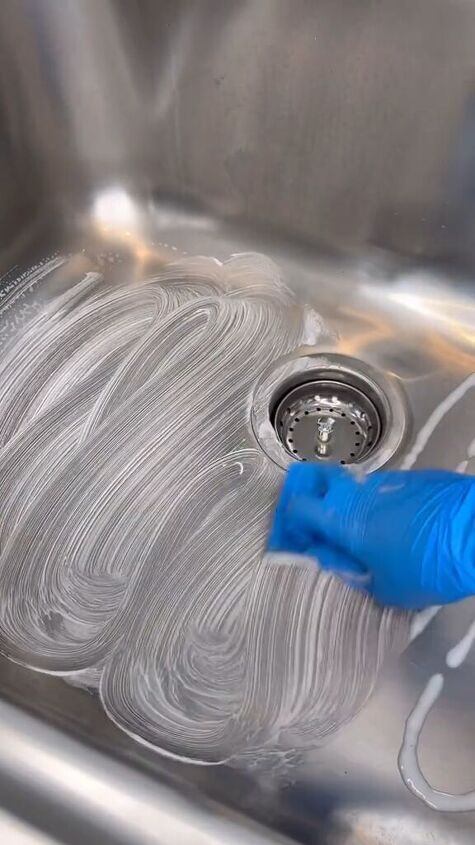
Step 5: Scrubbing and Cleaning
Using a sponge, cloth, or scrub brush, scrub the surface with the cleaner to remove dirt, grime, and stains. Baking soda for cleaning acts as a gentle abrasive. The dish soap helps to cut through grease and grime.

Step 6: Rinse
After scrubbing, rinse the cleaned surface thoroughly with water to remove any residue from the cleaner. For tougher stains or heavily soiled areas, you may need to repeat the cleaning process. Simply reapply the cleaner and scrub as necessary until the surface is clean
Step 7: Storage
Store your DIY cleaner in a cool, dry place when not in use. Make sure to label the bottle clearly so you know what it is and keep it out of reach of children and pets.
DIY baking soda and dish soap cleaner
You've successfully created your own DIY baking soda and dish soap cleaner. There are so many uses for baking soda, and this is one of my favorites.
Not only is it effective for cleaning a variety of surfaces, but it's also environmentally friendly and budget-friendly. Experiment with different scents of dish soap for a personalized touch in addition to the baking soda benefits.
Leave me a comment to let me know if you love this cleanser as much as I do.
Follow @elnazhamai on TikTok for more DIY ideas.
Comments
Join the conversation
-
I'd like to see a video of it on a surface that wasn't already clean to see how well it works.
-
Remember to use the correct measuring cups for solids (baking soda) and liquids (Dawn). They aren’t always equal.


Frequently asked questions
Have a question about this project?