


DIY HOME DECOR: CANDLE HOLDER TRAY (PLASTER ROSES AND PINECONES)

by
MAdd
10 Materials
$15
3 Hours
Medium
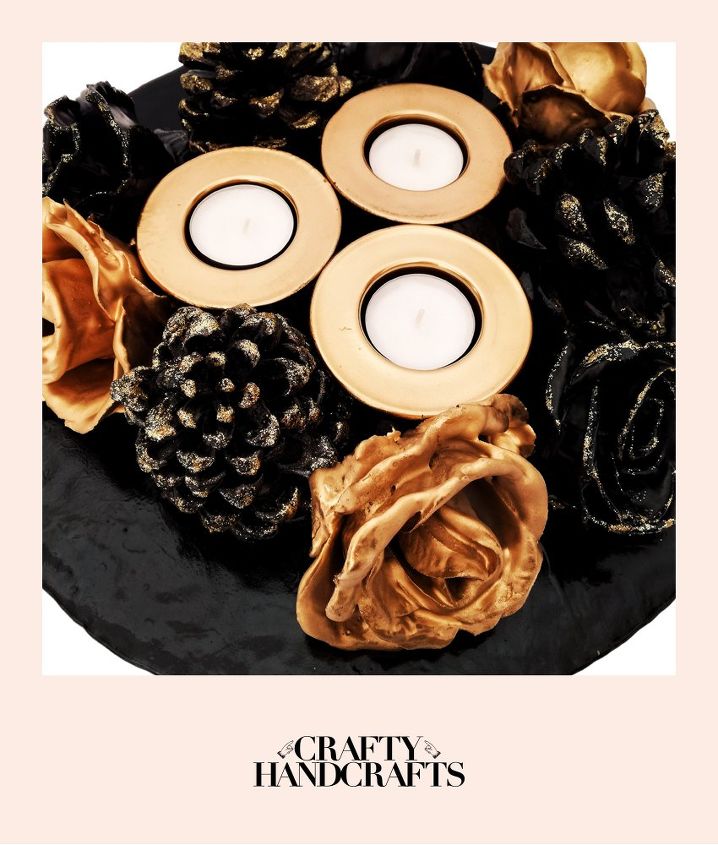
Do an amazing and unique home decor piece: a glass candle holder tray decorated with gold and black plastered roses and glittered pine cones.
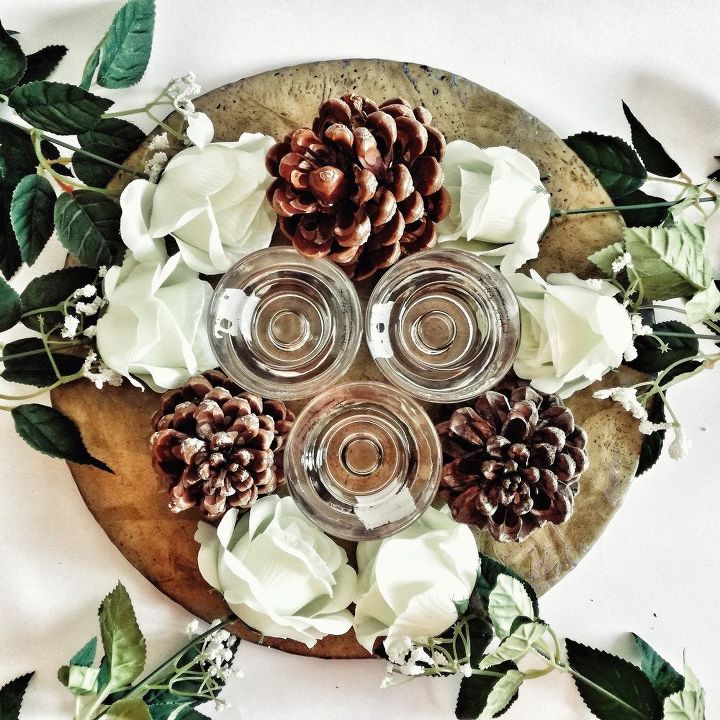
DO A BRIEF COMPOSITION FIRST TO CHECK BALANCE
Take all of the objects you need for the composition: three big pinecones, three glass candle holders, six artificial roses, a flat glass dish. This summer I found some nice pinecones in my parents' garden: I toke them because I knew it was just a matter of time for using them in a creative project. About glass candle holders I went for IKEA's ones: same story, I bought them a while ago because "I knew". While about glass plaet dish I had it at home: it was a dust catcher on a shelf, waiting to be turned into something outstanding.First things first: take your plate glass dish and place it on a table.Then get the candle holders and place them in the middle of it: try to find the best visual shape that suits most. I went for a triangle. If you like you can go for a line.Then get pinecones and set them according to the shape you went for, trying to balance the whole composition while creating.Eventually place the roses.You need to do this first to undertsand if the objects work well together according to mutual sizes and mainly, if they all fit on glass plate dish. I like full compositions: some others like less stuff. I think it depends also on how balanced the result is.According to my creative idea, I'm going to paint in black the dish and pinecones, while glass candle holders will be varnished in mirror gold. Plaster roses will be painted both black and gold. I'll add a hint of golden dust on pinecones and some glitter here and there (but we'll see this later on). So, if you are not changing colours, you'll need just two cans of spray paint (one glossy black, the other one mirror gold).To paint all of these items you need a spray varnish.To paint all of these items you need ground cloth and spray varnish.We are going to use some spray paint: I strongly suggest to varnish outdoor rather than indoor (like for example a garage leaving door open or on a balcony) because these kind of sprays have strong solvents.Second, unless you want to find black and gold stripes on floor and walls I recommend to place a ground cloth on the surface where you'll place objects to be painted (you can purchase it in same store where you buy spray varnish: usually it is used by house painters).
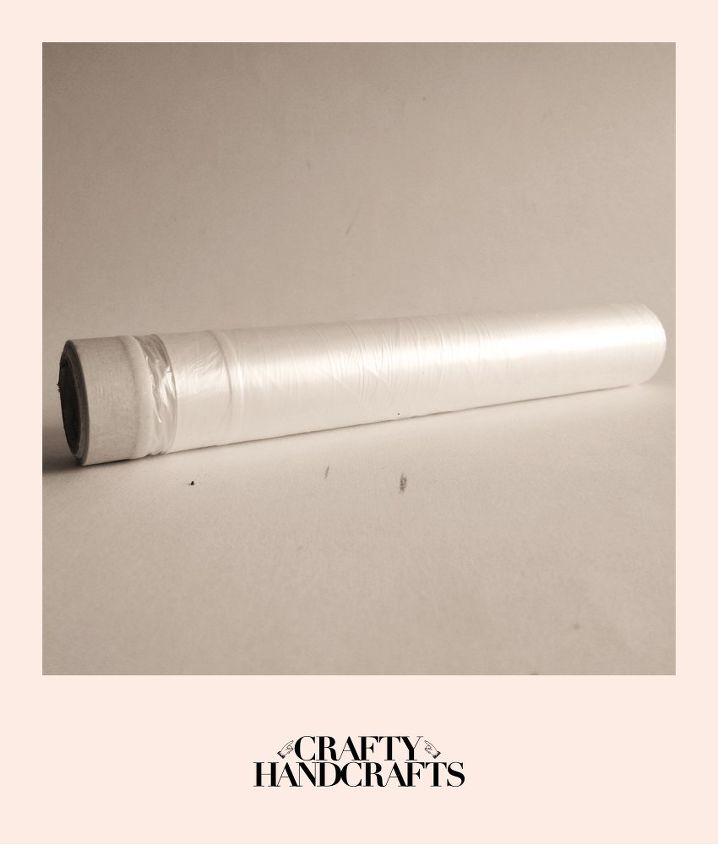
USE GROUND CLOTH TO SAVE WORKING SURFACES
To paint all of these items you need ground cloth and spray varnish.We are going to use some spray paint: I strongly suggest to varnish outdoor rather than indoor (like for example a garage leaving door open or on a balcony) because these kind of sprays have strong solvents.Second, unless you want to find black and gold stripes on floor and walls I recommend to place a ground cloth on the surface where you'll place objects to be painted (you can purchase it in same store where you buy spray varnish: usually it is used by house painters).

HOW TO BLACK VARNISH GLASS DISH
Okay, we can start!Let's say we start with black colour.Take the plate dish that we'll use as base (tray) and the glossy black spray can.Let's say you are going to paint objects in the garage as I did: place the ground cloth on the floor.Usually, unless your name's Dexter, the ground cloth comes quite thin: so open it carefully because if you break it, varnish might get through, staining floor. Spread it in order to cover about a surface of a couple of squared metres. Place the dish in the middle of it: follow use directions as labelled on product. Shake the spray can for a couple of minutes: then kindly and accurately spray the varnish on all the object surface.I think it is better to create a thin layer first and then repeat the process again, rather than use too much varnish that might create unaesthetic drops. The thinner the layer, the quicker (and even) to dry.Allow the varnish to dry according to directions of use labelled on can: repeat the varnishing until the surface is sully covered and even.When you are sure varnishing has dried, turn the dish upside down, and spray the bottom of it, just close to edges.Allow the varnish to dry according to directions of use labelled on can: repeat the varnishing until the surface is fully covered and even. Let it dry for 24 hours (masterpieces require time).
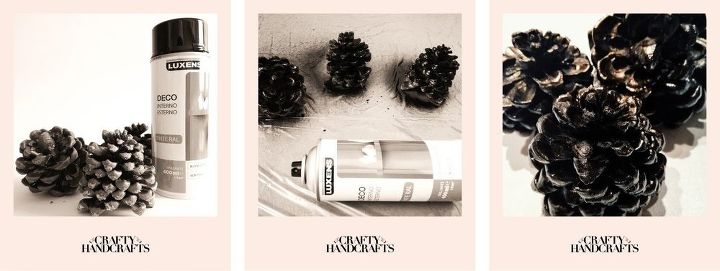
HOW TO BLACK VARNISH PINE CONES
Varnish pine cones the same way you did with glass dish.Do not forget your best friend: the ground cloth, of course.Mind to properly spray the whole pine cone, paying attention not to leave unvarnished corners: surface is uneven, so it might happen.Move pine cones accordingly to get this purpose: use some disposable gloves to save your hands skin.If you want you can blow a hint of gold varnish on top of black coat: result will be sligthly bronze. You should go for this only when pine cones are well varnished: to get a "dusty" effect, keep the spray can quite far from the object when spraying (30 cm should be fine). Allow them to dry for 24 hours.
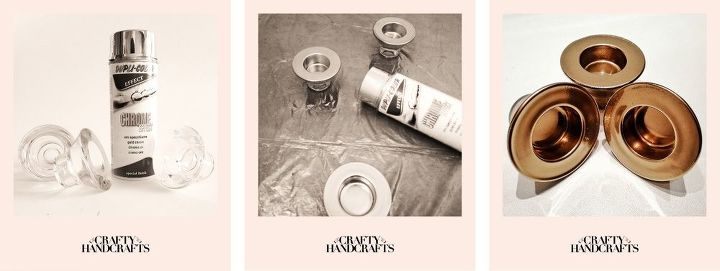
HOW TO GLOD VARNISH GLASS CANDLE HOLDERS
Take the golden spray can: repeat same procedure mentioned in previous step.Paint first the reverse side of glass candle holder, placing them upside down on ground cloth.Allow varnish to dry and then turn the objects upside down again: mind to properly spray the inner surface of candle holders. The whole object has to be varnished.Allow them to dry for 24 hours.

PREPARING ARTIFICIAL FLOWERS FOR PLASTERING
It is very important to prepare artificial flowers surface: this step will allow them to harden, keeping the shape while plastering later on.Take a brush, a disposable plastic glass, vinyl glue, some water and a spoon. Place about six spoons of glue in the glass: add three spoons of water. Result must be not too liquid, not too thick. This is quite a long process (it should take half an hour for six roses) and you must be patient: if you are, you'll be rewarded with an outstanding result.Brush EACH petal with the mixture of glue and water.Yes, I mean it: each one of them. Both sides. Don't put too much glue neither too little: half way should be fine. At the end, when water dries off, petals will be covered with that thin film.Place roses in a vase to dry for 24 hours.
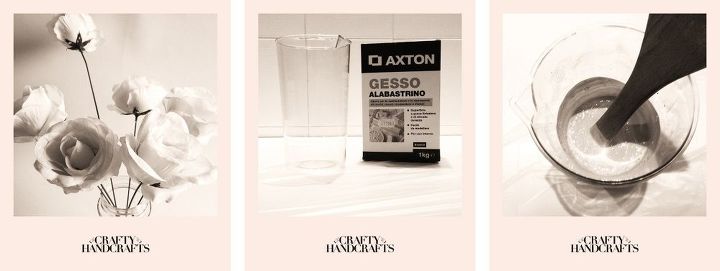
PLASTER PREPARATION
Game is getting harder, uh? ;)Now it is plastering time!Get some Plaster of Paris (we don't have it, I went for Alabastrino that works anyway), an empty plastic bottle and something to blend (I went for a wooded spoon).MIND YOU: it is better to use an empty plastic bottle because plaster dries VERY QUICKLY. As soon as it starts to dry, it is almost impossible to remove it from container: so, if you don't want to chuck something you might like indeed, use something disposable. Same for the wooded spoon: if you want to go for that, mind to wash it as soon as mixture is ready.I'd go for about 400 grams of plaster: place it in the bottle and add some water. Proportions should be 3 (plaster) : 1 (water). Blend it carefully: mixture has to be a little bit less than liquid: not thick, not too liquid. Plaster has to "stick" on flowers. Trust in your eyes and in your instinct.

PLASTERING FLOWERS
Dip flowers in the mixture.You must be very quick because plaster hardens in a very short period time: dip properly (inner surface inbetween petals has to be fully covered as well) and gently shake them.Place them in a vase to dry for 24 hours.
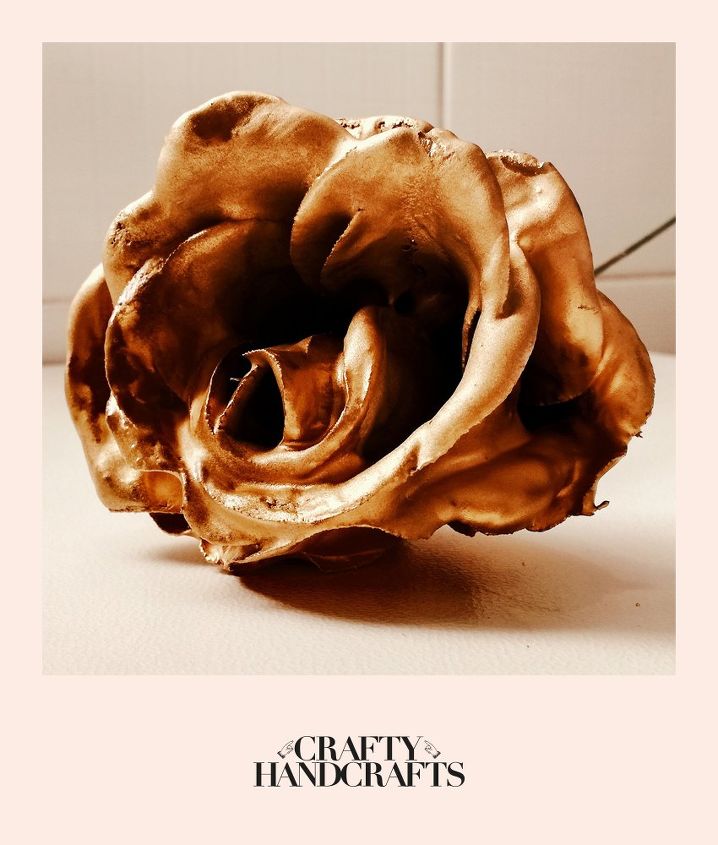
As soon as roses are dry, varnish them with spray paint the same way you did with pine cones (3 roses in gold varnish).Allow them to dry.
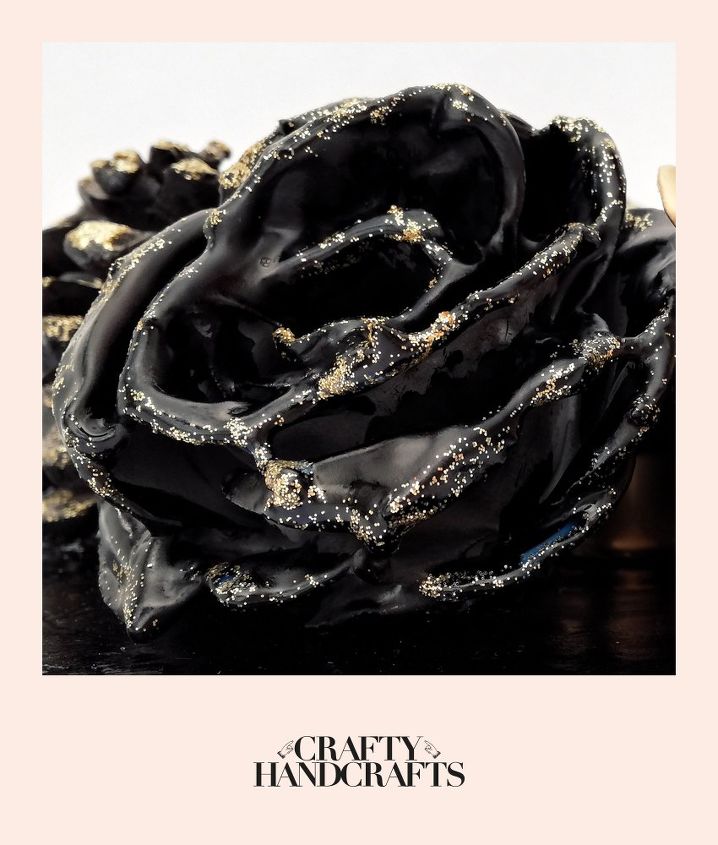
As soon as roses are dry, varnish them with spray paint the same way you did with pine cones (3 roses in black varnish).Allow them to dry.

GLUEING ELEMENTS
Eventually!!!Take all of the elements: glass dish, pine cones, candle holder, roses.Get a strong glue and start with candle holders.Place them in the middle of the dish, creating a triangle: once you like the composition, put some glue at the bottom of each candle holder. Press them against the dish. Do the same with pine cones, glueing them where you like most or according to my picture. Be generous with glue on pine cones: surface is uneven and they might require some more.Take your roses and cut stem with a wire cutter.Again: be generous with glue.Wait 24 hours to dry.Put candles in and be proud of your creation
CANDLE HOLDER DETAIL #1
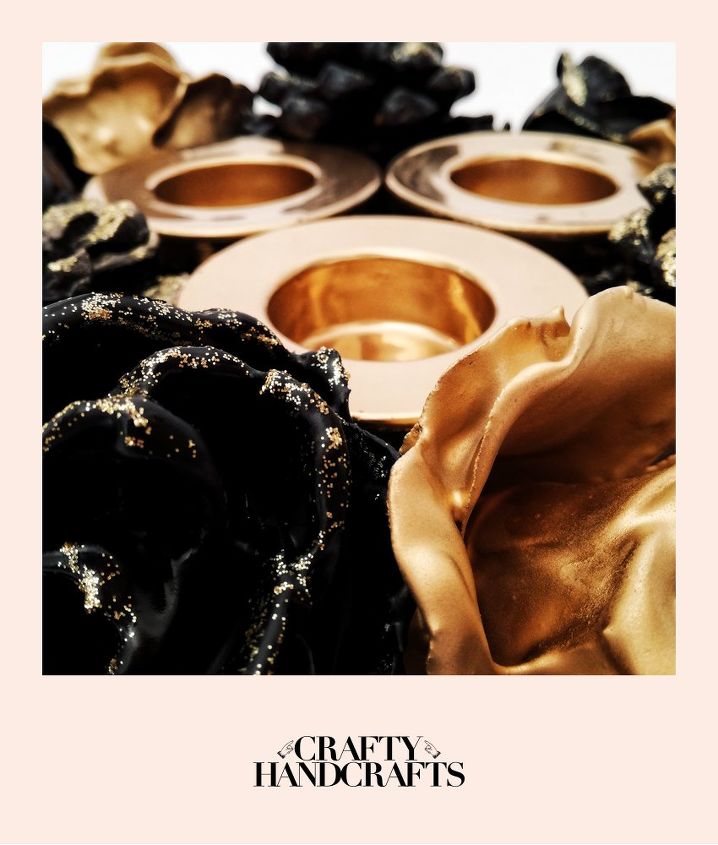
CANDLE HOLDER DETAILS #2
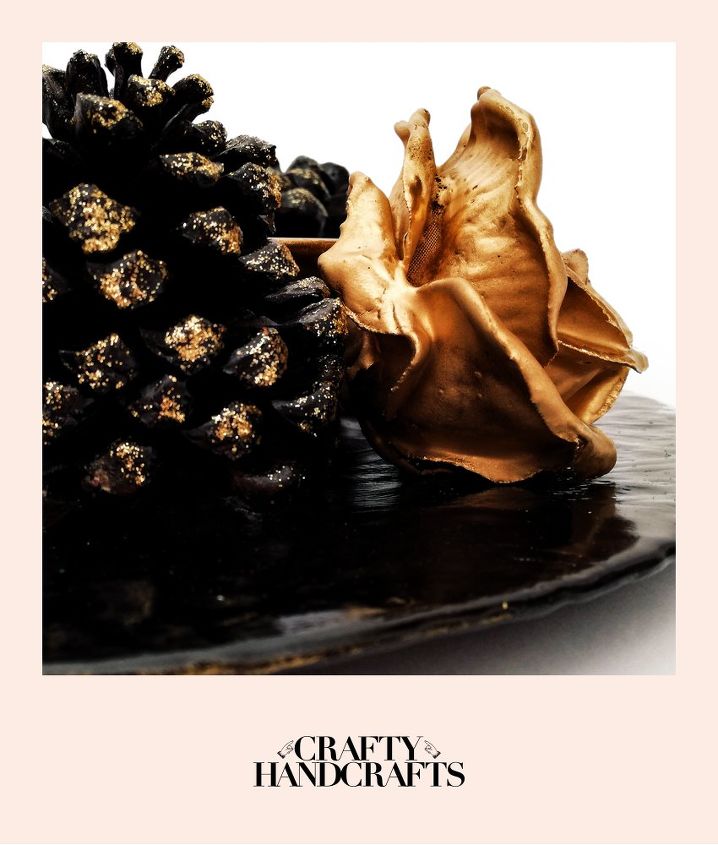
CANDLE HOLDER DETAILS #3
CANDLE HOLDER DETAILS #4
Want more details about this and other DIY projects? Check out my blog post!


Frequently asked questions
Have a question about this project?