


4th of July Wreaths

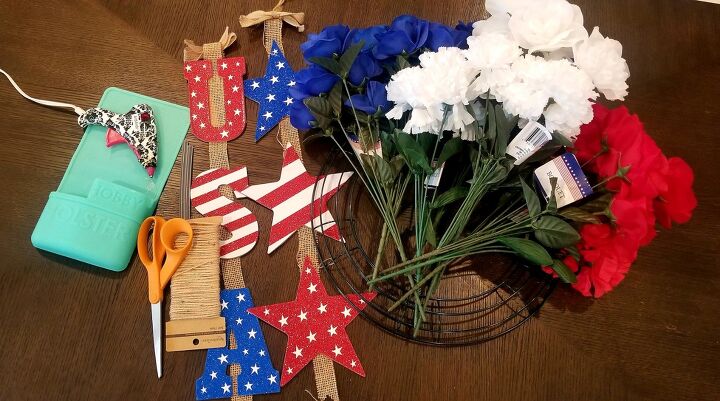
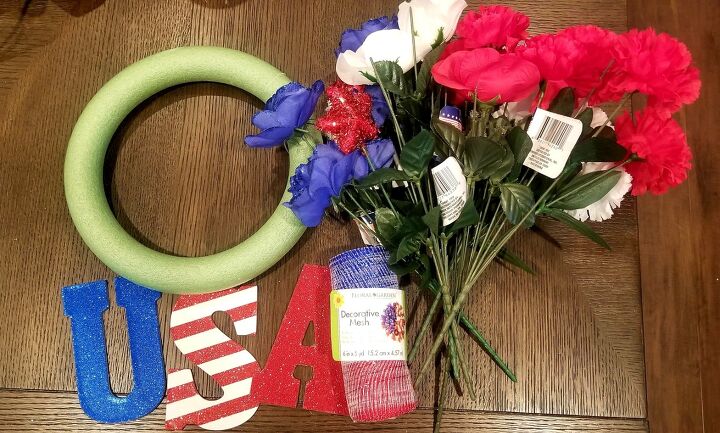
It's not too late to make a fun festive wreath for the 4th. I used inexpensive items I found at the Dollar Tree. For just about $20 dollars I made a couple of super cute wreath for my front doors.
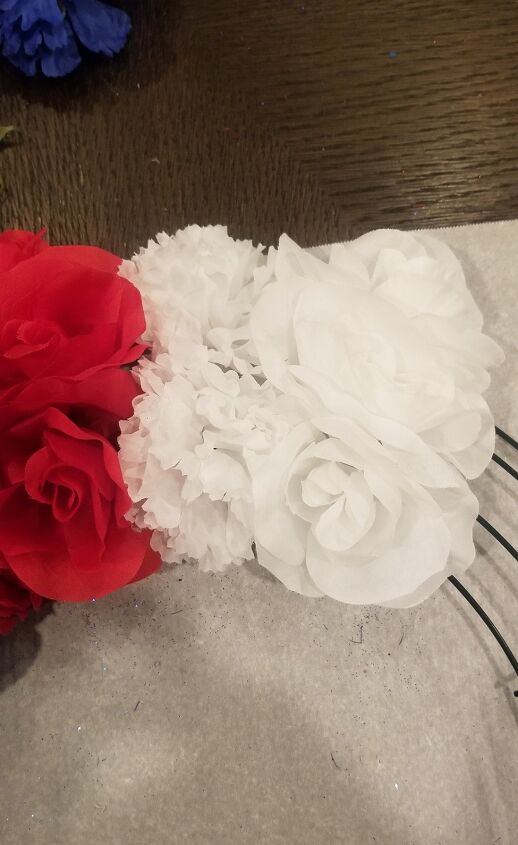
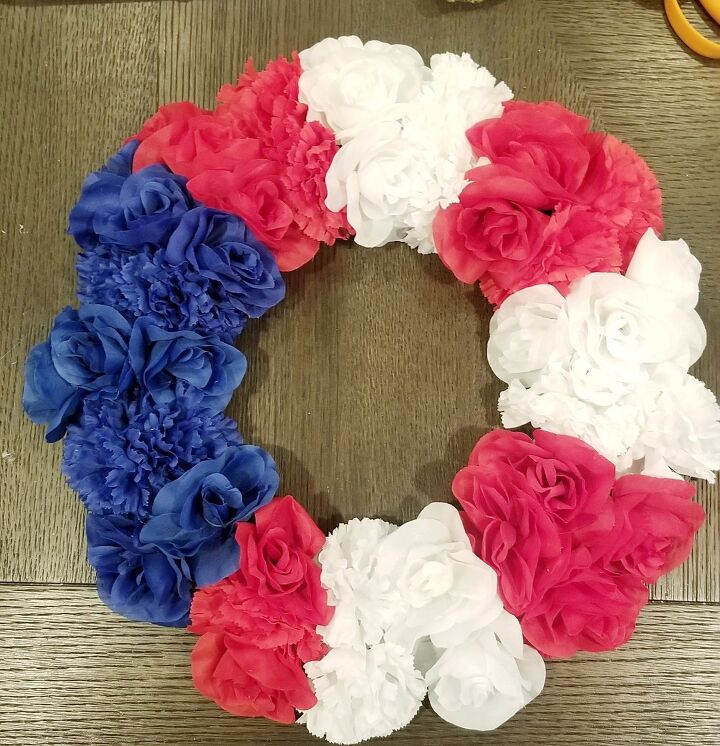
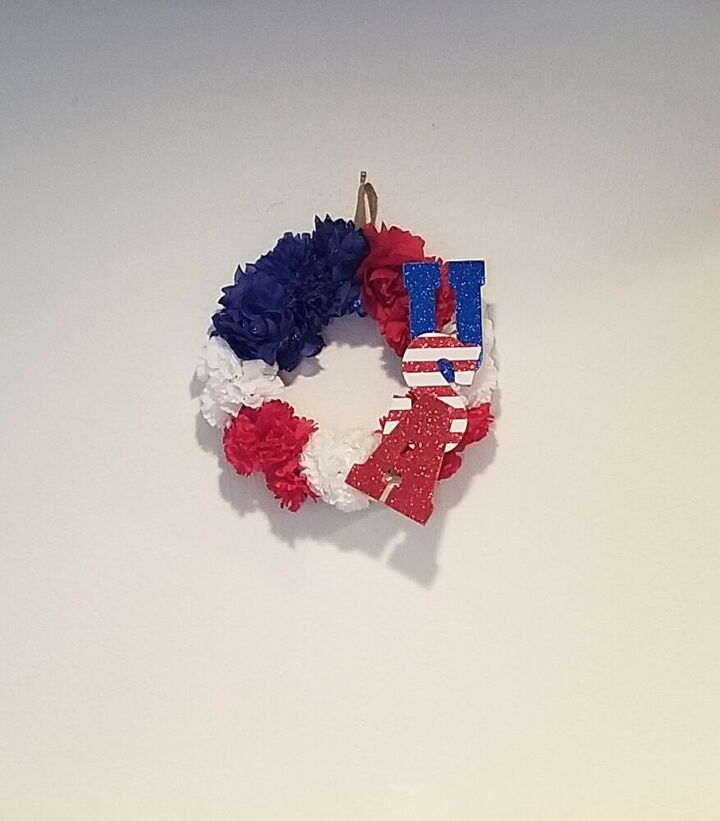
I first started with pulling off the flowers from the stems. I purchased two types of flowers roses and carnations. I started with my blue flowers rotating between the two types. For the roses I used 3 in a roll and for the carnations I used two in a roll for a total of five rolls of the blue flowers. I then did two rolls of red flowers rotating the same with three rose's and two carnations. Repeating the process with the white flowers and so on and so on until I had red and white flowers reaching the other end of the blue flowers I started with.
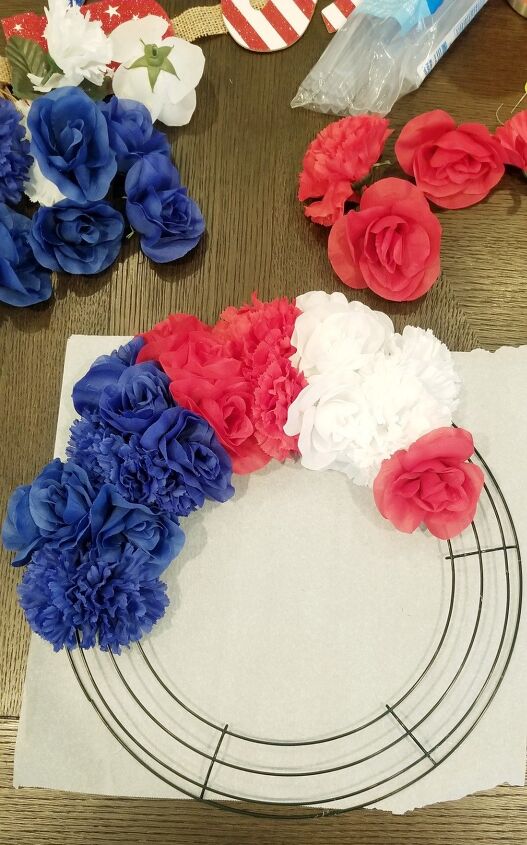
For the very last roll of red flowers it turns out I could only fit one roll of flowers. It really all depends on how close you glue down your flowers to determine how many roll you end up with. I had a total of 18 rolls of flowers on each wreath for a total of 46 flowers on each wreath. You can also use less flowers if you only use two roses instead of three.
You will need plenty of glue sticks for this project. Once all your flowers are glued down you can stop there and it would make for a pretty wreath.
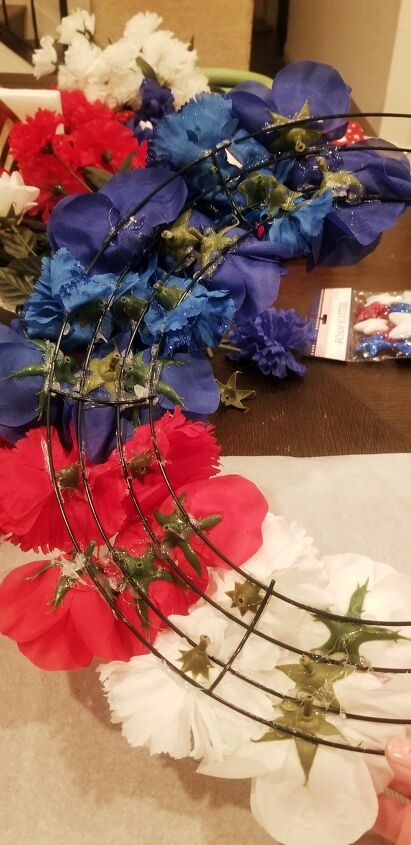
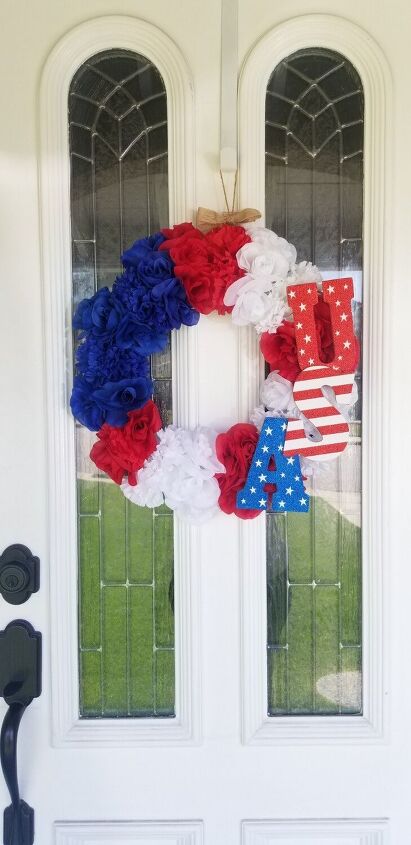
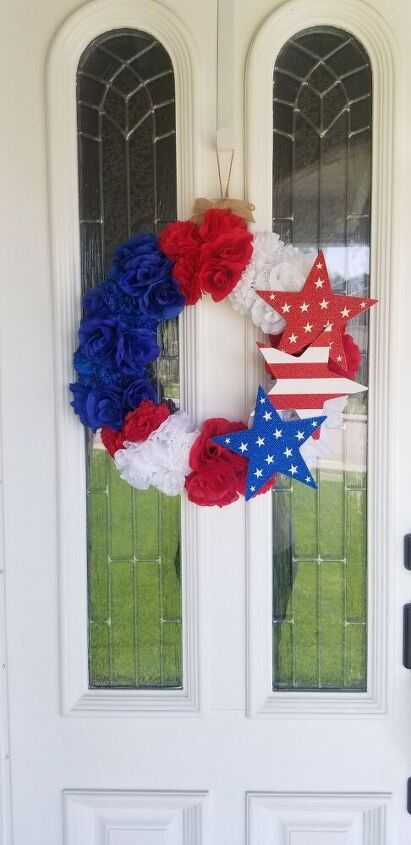
I didn't stop there. I added the letters USA and stars that I ripped off of two Dollar Tree signs.
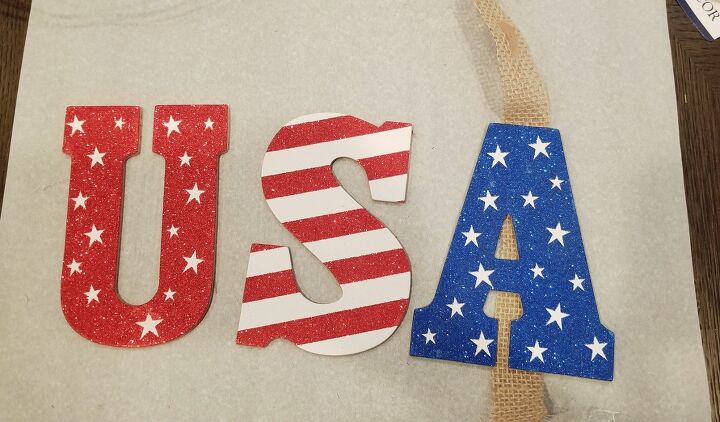
The letters are actually very easy to detach from the ribbon. They are also very pretty and good quality.
I placed the letters over the wreath to determine where I would like them. I glued the letter together then glued them down to the wreath. I made sure to line up both wreaths to match where I placed them down. Once i completed my wreath and it was dry I added a ribbon to hang. I initially thought i was going to use my jute but decided to use the tops of the ribbon from the letters I had ripped off. It was much cuter with a bow and loop already intacted.
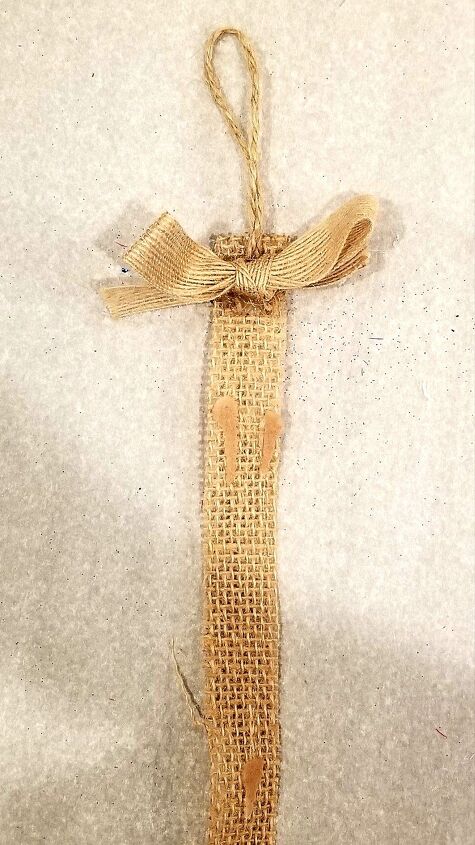
I cut ribbon down to desired size.
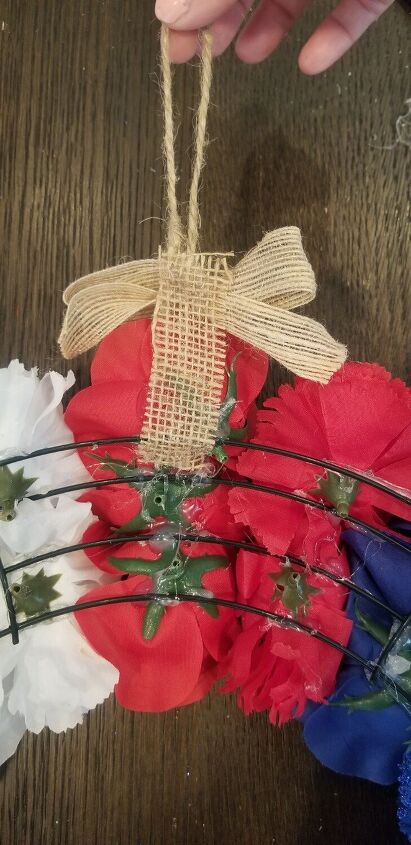
Before I glued down I turned back around to be sure it's where I wanted it to hang from.

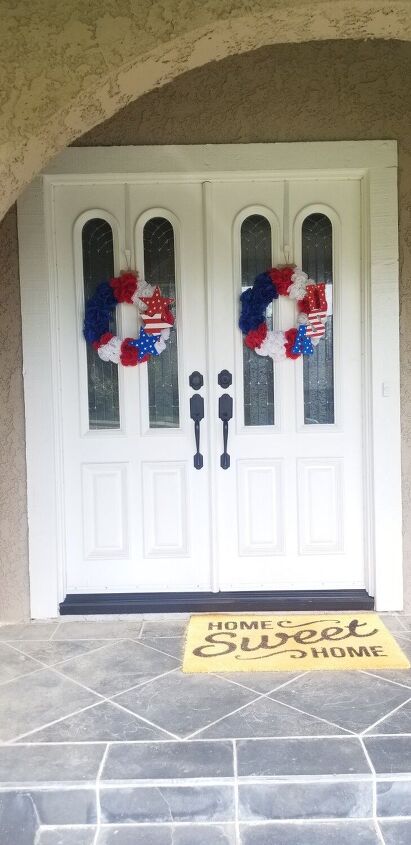
I absolutely love how they came out!
A little video so that you can see all the bling 😉
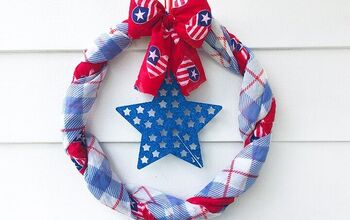
I also made a small one for my niece using a styrofoam wreath as the baseand same process. The only difference was that I rapped it with a red,white and blue ribbon first. I didn't want any of the green showing. It was just as pretty!!!!
Materials for the smaller wreath not included in the bottom description


Frequently asked questions
Have a question about this project?