


How to Create Decorative Flag Decor From Scrap Wood

I've been wanting to create a patriotic flag from scrap wood for quite some time but something else always seems to come up.
With Fourth of July rapidly approaching I made this project a priority and I'm so glad I did because it was SO EASY, only took a few hours and cost me nothing!
I did this project last week while recouperating from the flu; I felt well enough to sit up and craft but not well enough to take on major wood cutting. After digging through our smaller scrap wood sections I found I could create an American Flag inspired patio decor piece with very little effort.
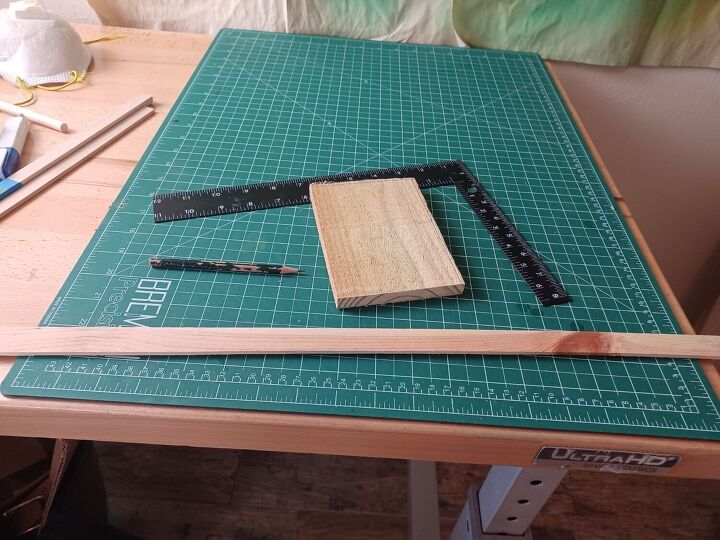
Step 1: Gather wood
Step 2: Measure and mark wood where cuts need to be made
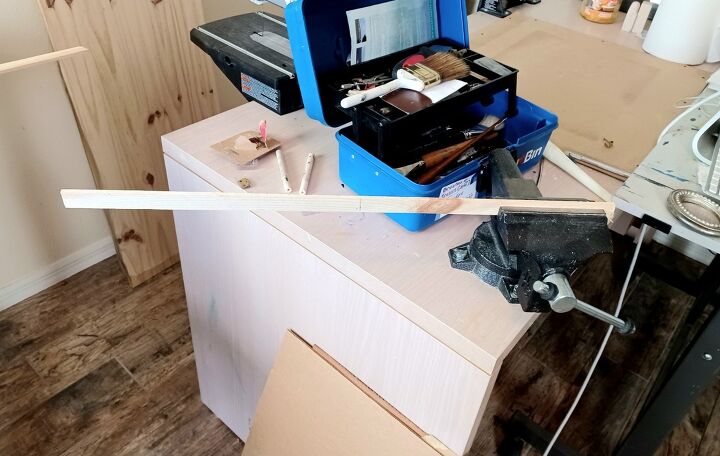
Step 3: Cutwood to desired lengths
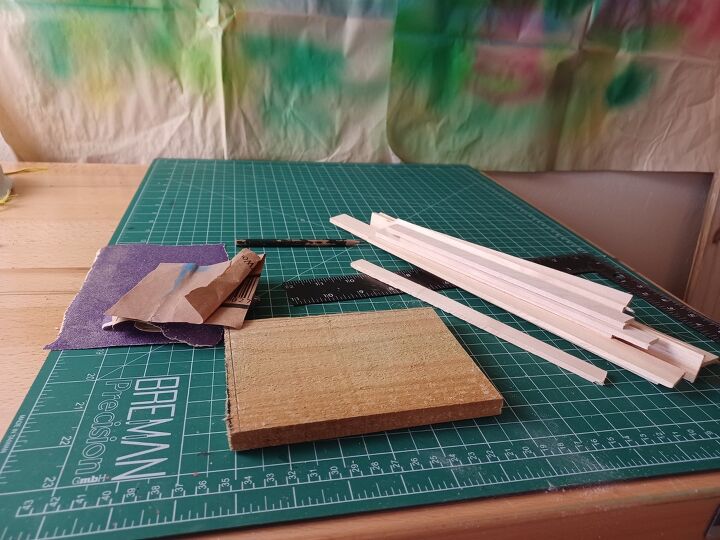
Step 4: Using a medium to fine grit sand paper, sand rough areas smooth.
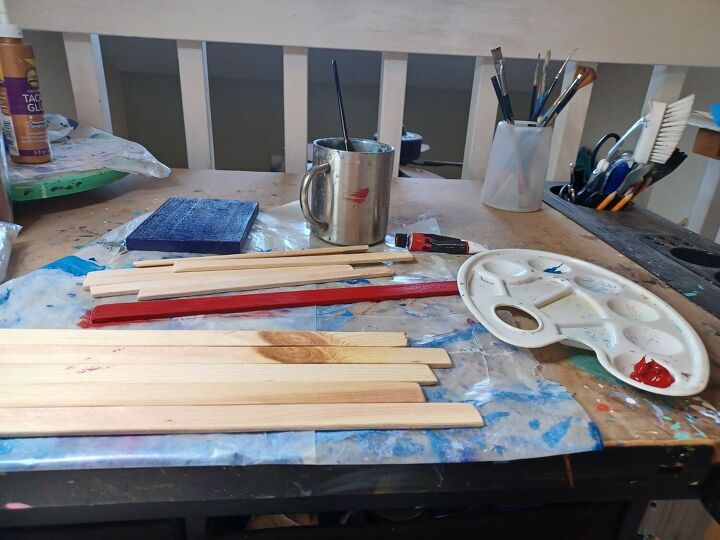
Step 5: Paint all sides of each piece
A. Blue "flag" portion
B. Red stripes
C. White stripes
D. White sparkly stars
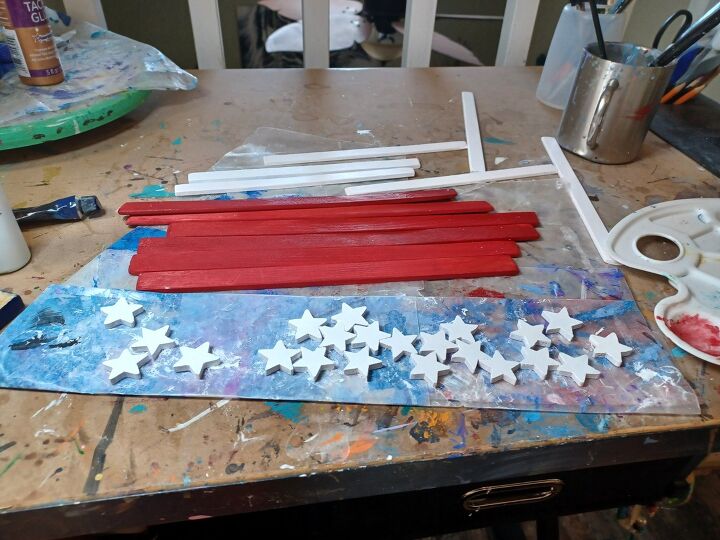
We had a package of wood stars (Yay!) So I painted them white then topped with a glow in the dark glitter paint.

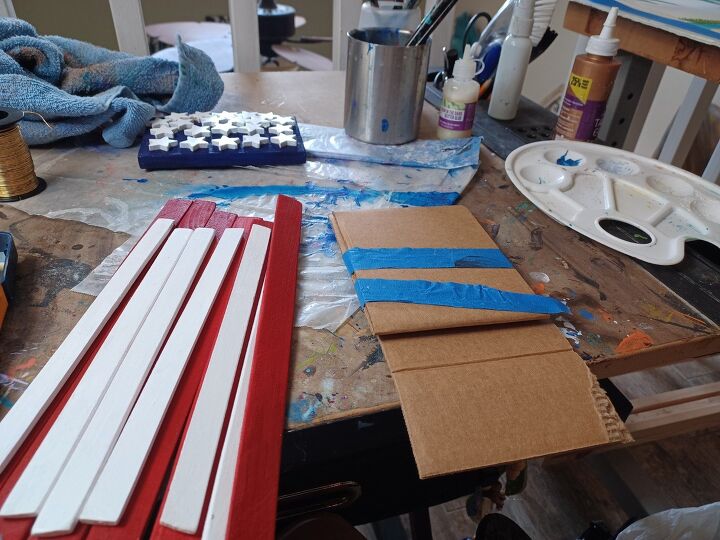
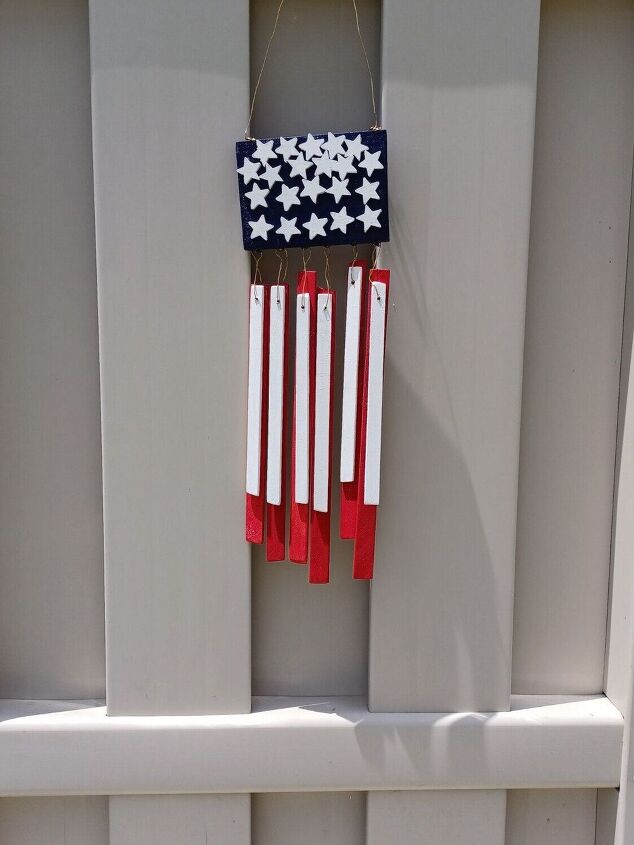
Step 6: Glue the stars to the flag
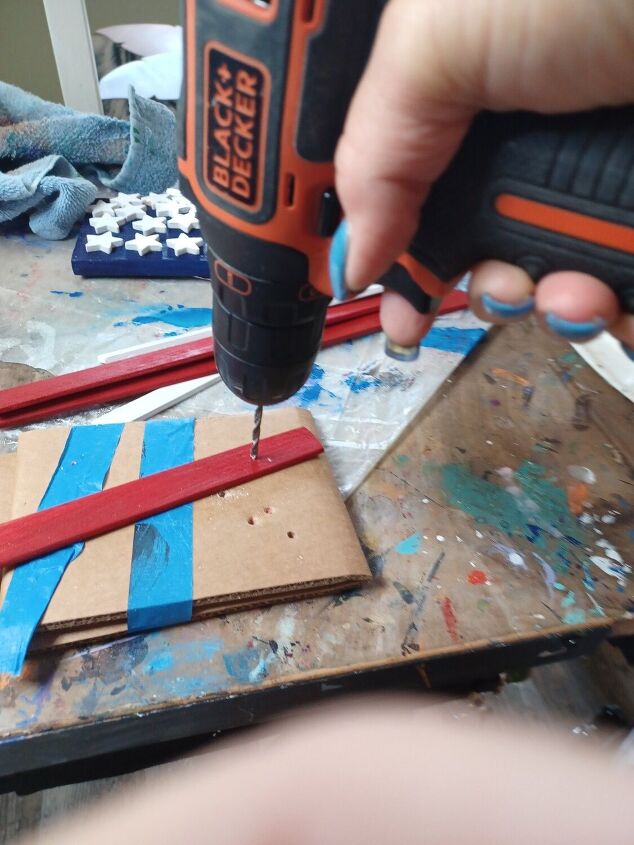
Step 7: Drill a hole into 1 end of each "stripe"
TIP: I folded up some scrap cardboard and placed that beneath the wood while drilling so I didn't drill into my table. I learned that that hard way
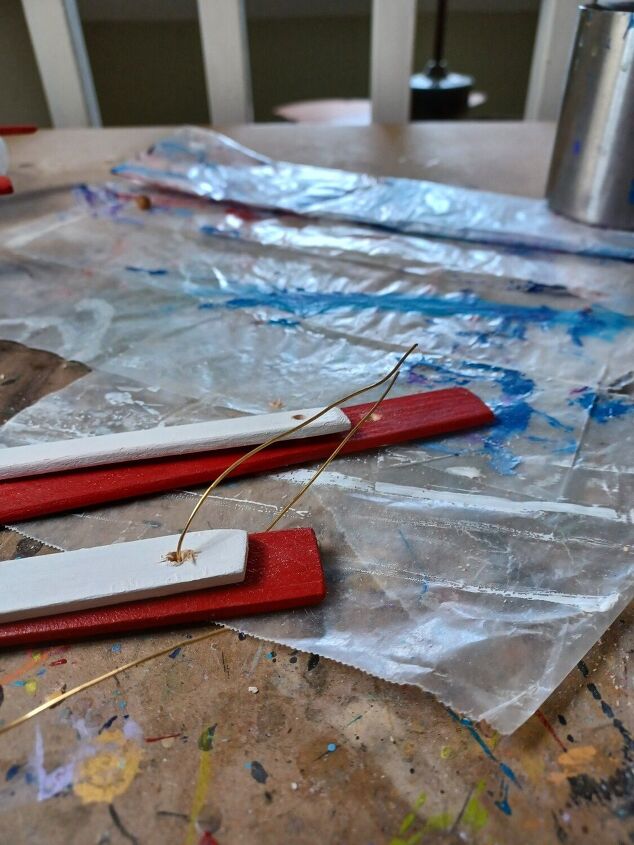
Step 8: Feed wire (cord, rope, string- whatever you opt to use) through the holes as pictured
Step 9: Attach stripes to main flag. Ideally I would've used eye hooks but we didn't have any so I improvised by putting nails into the blue piece and wrapping the gold wire around the nail. It actually worked out very well since I used wire vs. string I could just wrap the wire around the nails.
The only hard part was taking a picture while wrapping.
Since this is going to hang outside I also coated it with polycrylic to protect it from the elements.
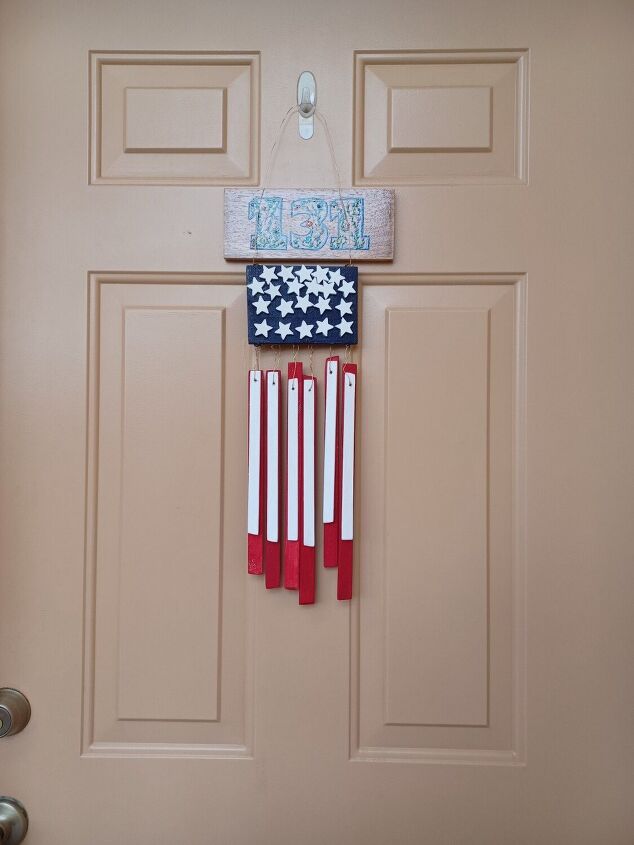
This is the finished product hanging on my front door.


Frequently asked questions
Have a question about this project?