


Interchangeable Valentine's Day / Easter Banner Tutorial

by
Stacy Davis
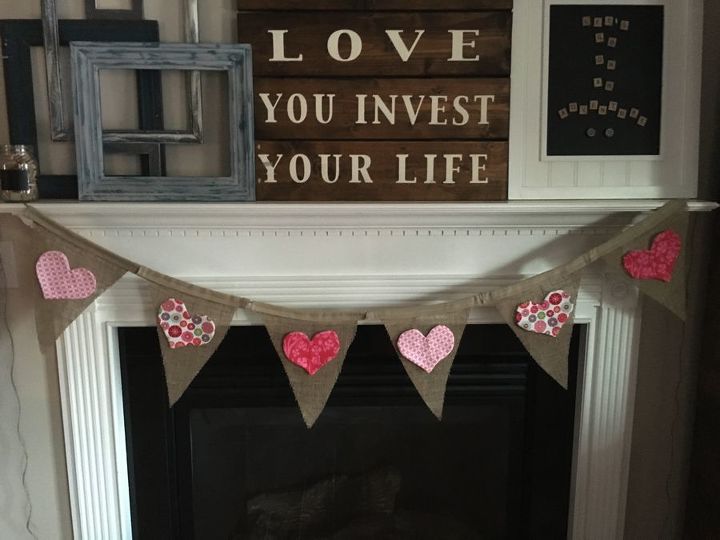
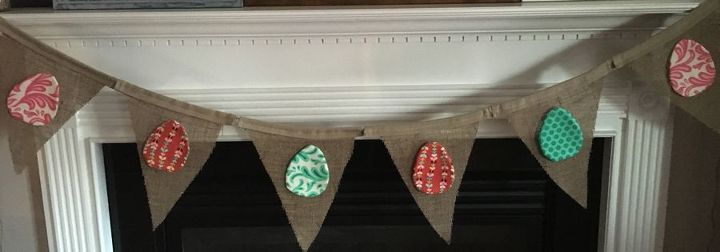
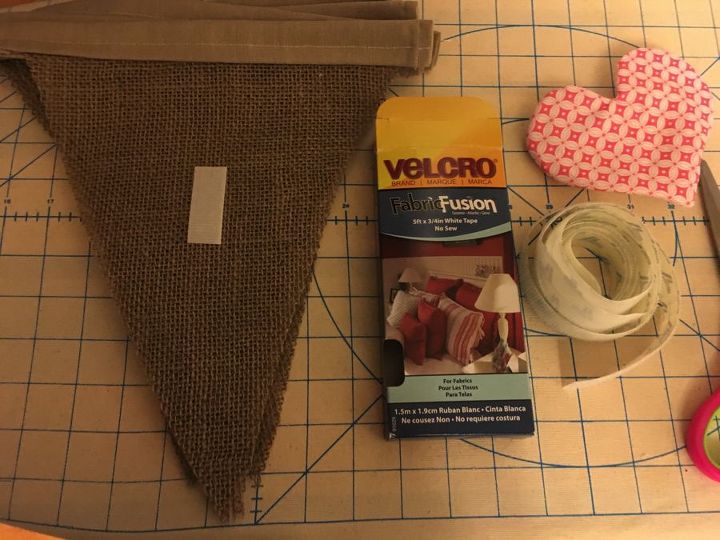
I wanted to create a unique burlap banner to celebrate the holidays. This burlap banner can be switched out for the holidays easily utilizing Velcro Fusion. I have made hearts and eggs because I already had a shamrock banner. You can easily make shapes to customize your banner for any type of party or celebration.
Supplies Needed
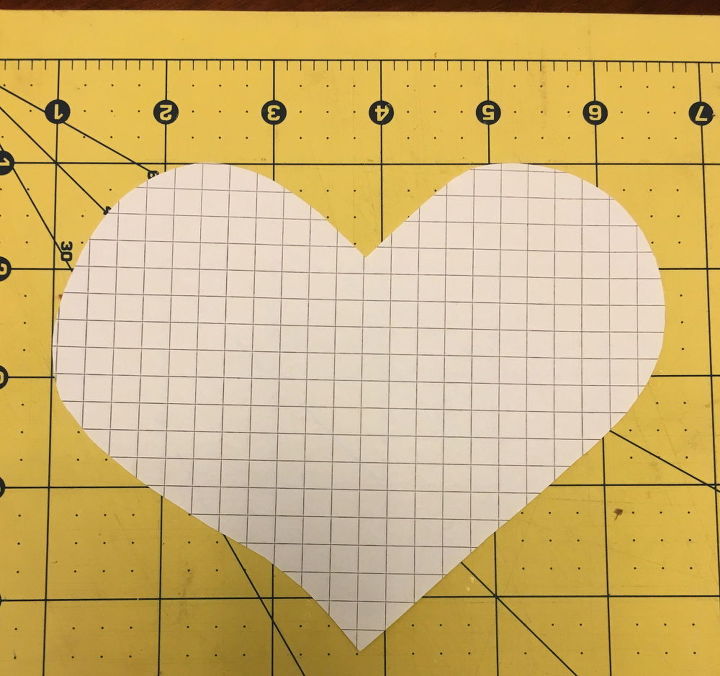
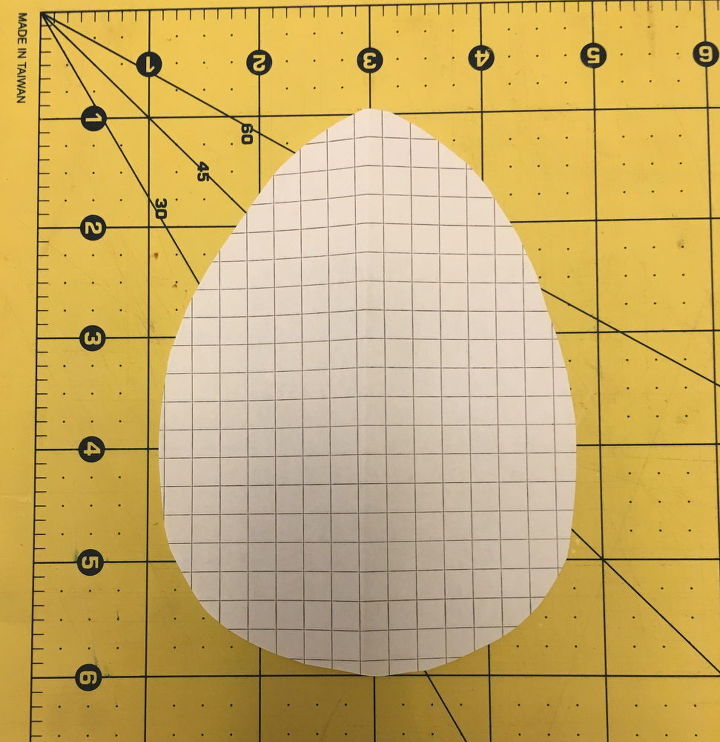
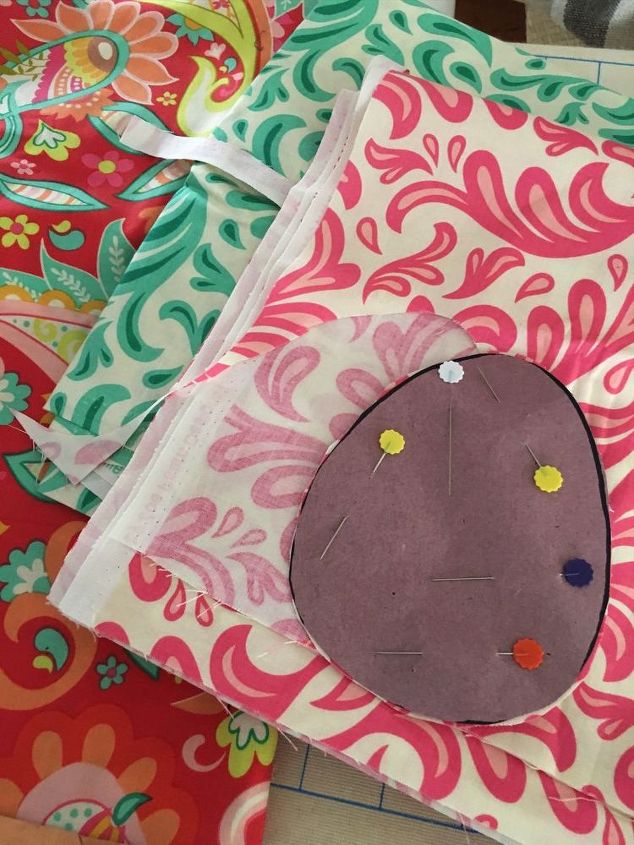
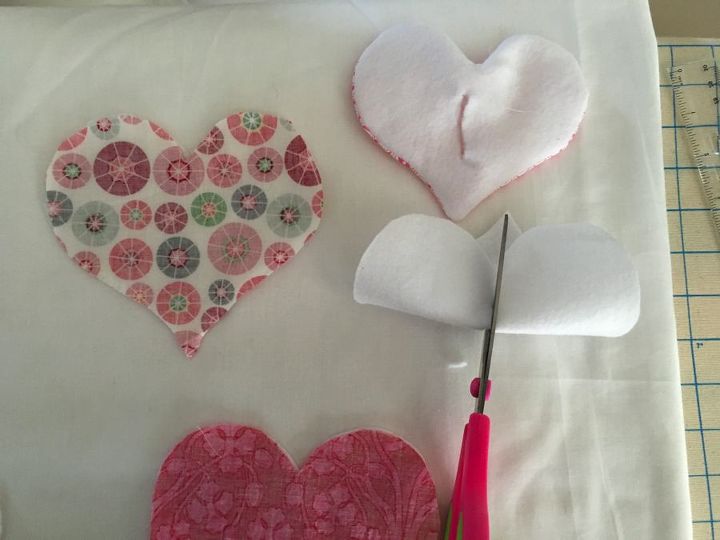
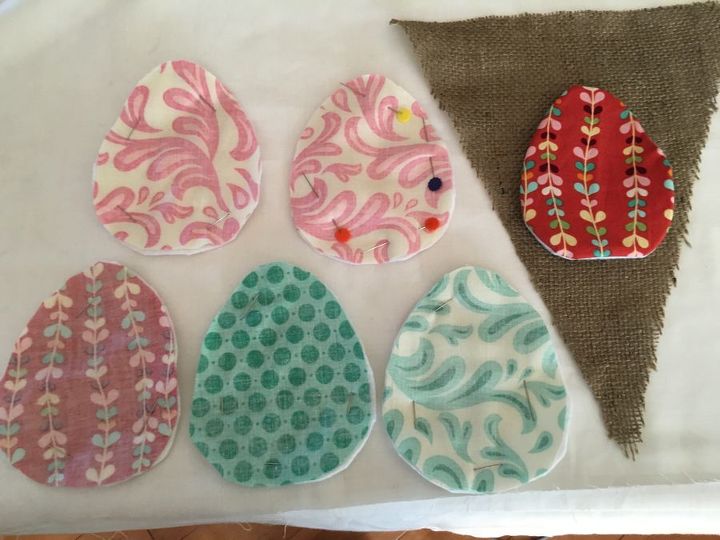
I drew my shapes by hand. My egg shape measures slightly less 4 inches at the widest point and is 5 inches tall.
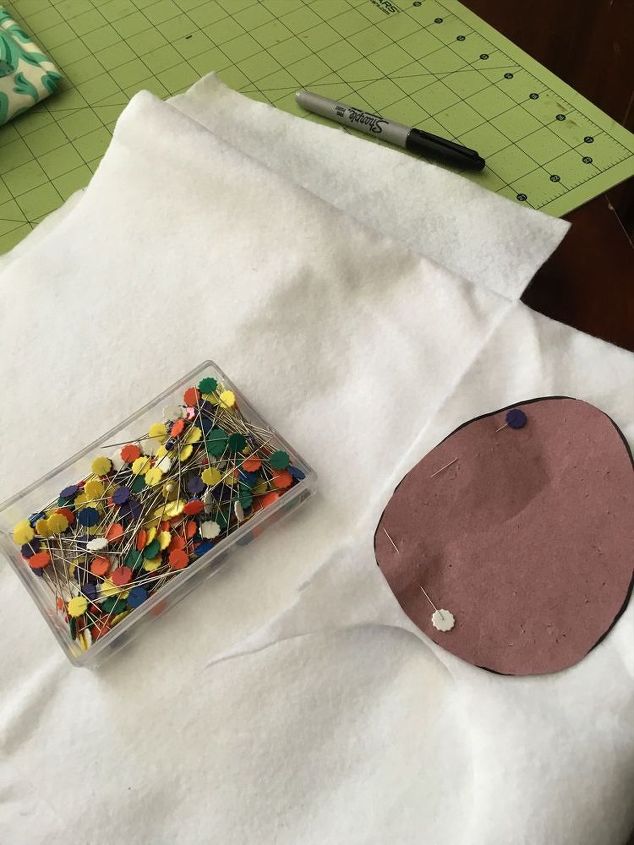
Step 2.
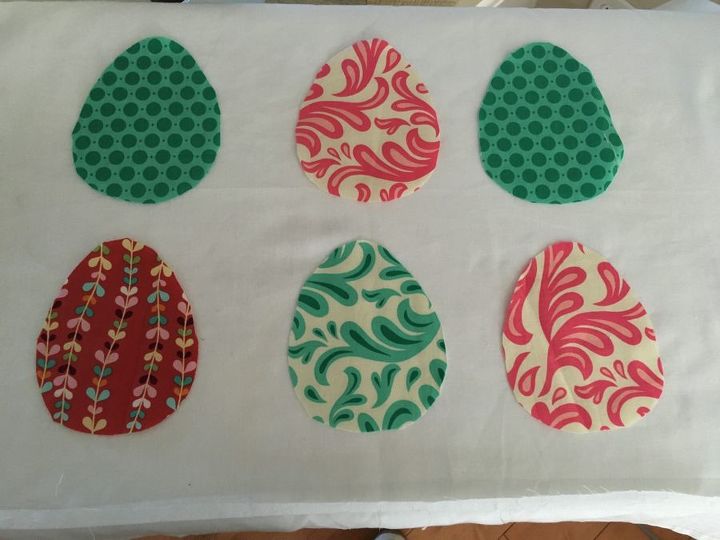
Step 3.
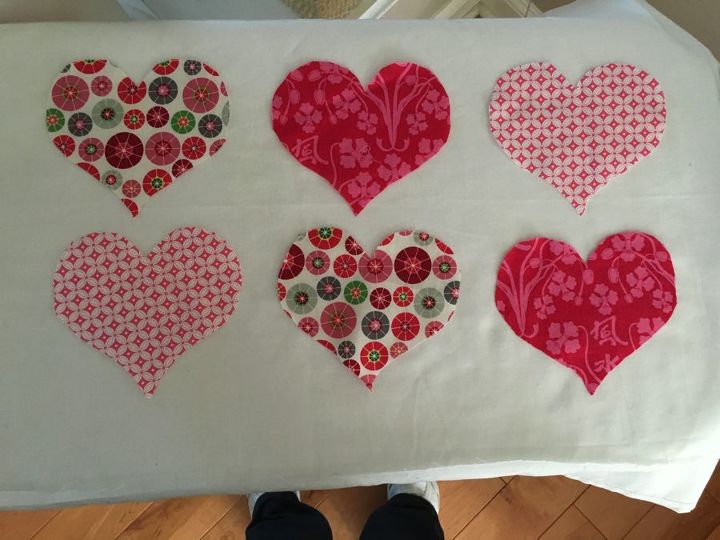
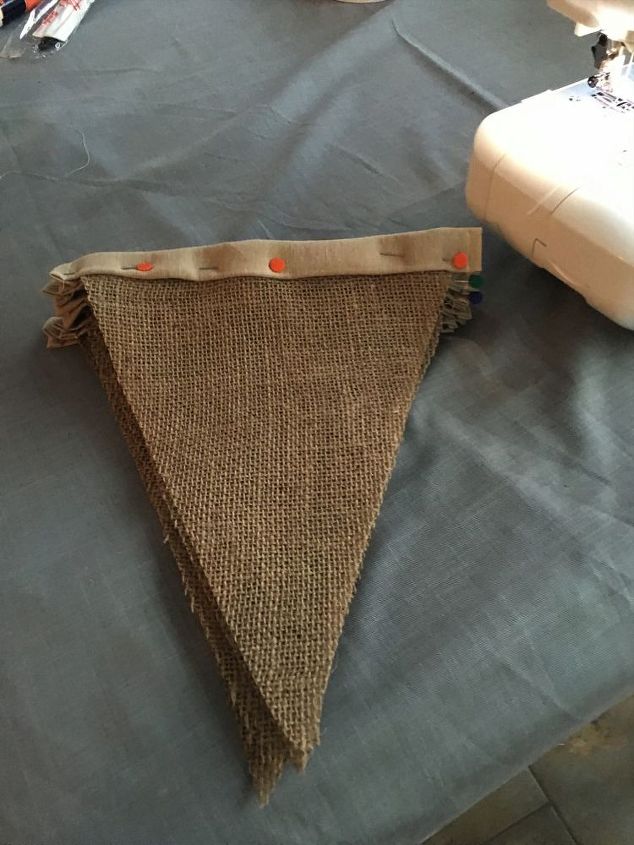
Step 4.
Step 7.
Step 9.
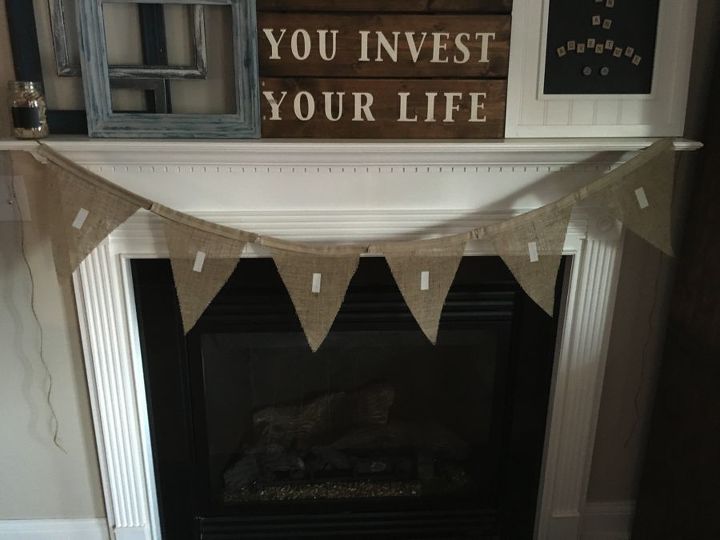
All you need to do is add your hearts or eggs to your banner. The felt on the back with naturally adhere to the Velcro.
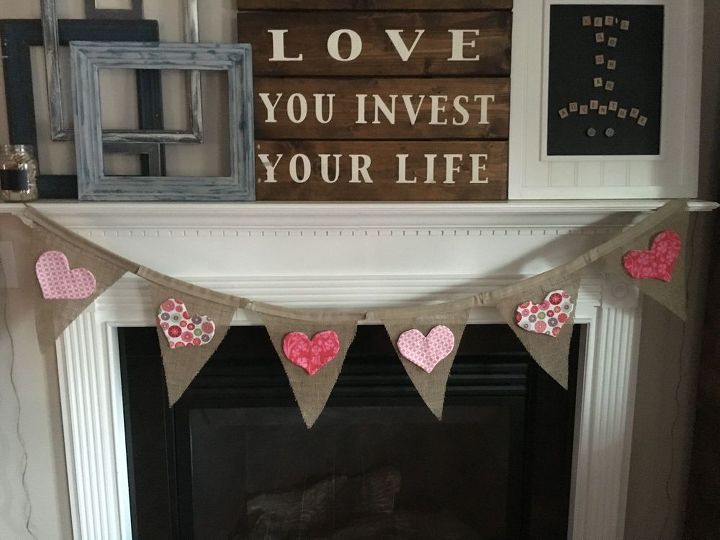
My kids love swapping them out. I am working on some ideas that are all occasion so that I can leave it up all year long.
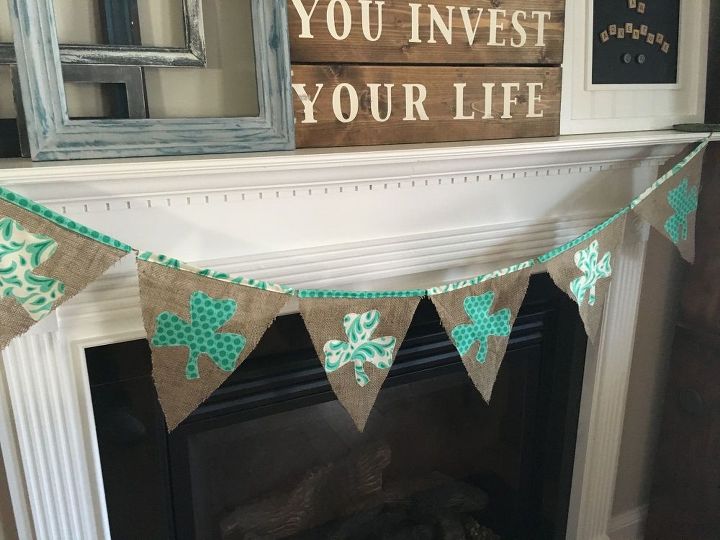
Here is one for St. Patrick's Day. Even though these shamrocks are sewn on, using the above concept, they could easily be adapted to the removable Velcro version.
Comments
Join the conversation
4 comments
-
Oh my gosh so smart!
-
Great ideas!


Frequently asked questions
Have a question about this project?