


How I Made Cute Easter Bunny Decor From Clipart Bunny Outline

If you are unable to get into a decor store due to Covid-19 or you are just looking to save some green this Easter, I got you!
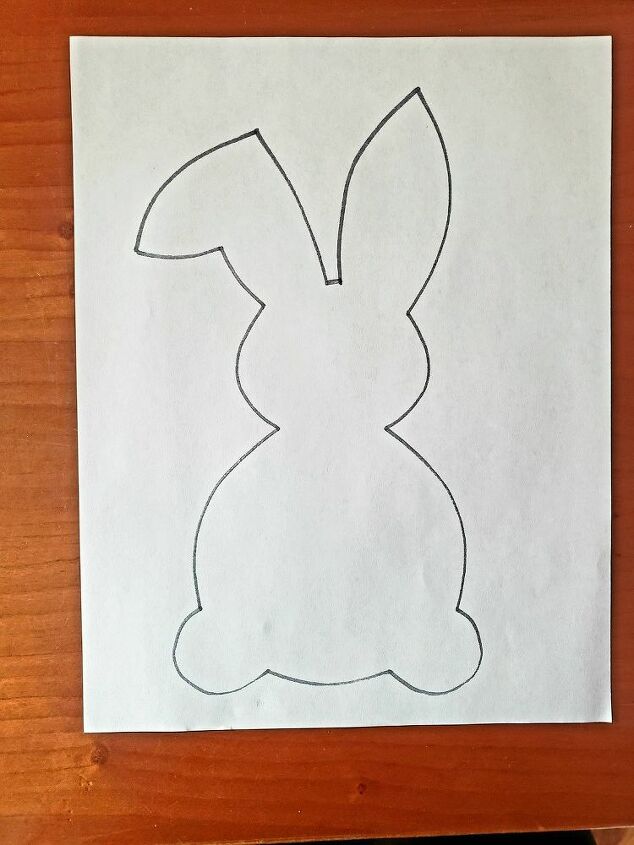
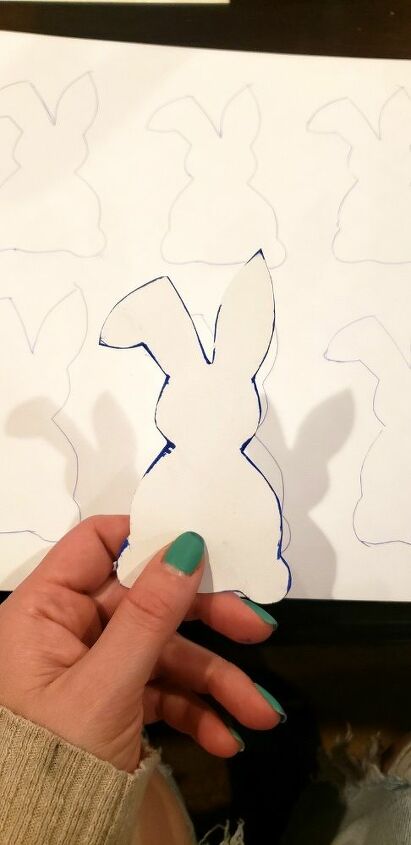
I Googled "bunny outline" in images and picked one I liked and then made it to size of an 8x11 piece of paper and hit print!
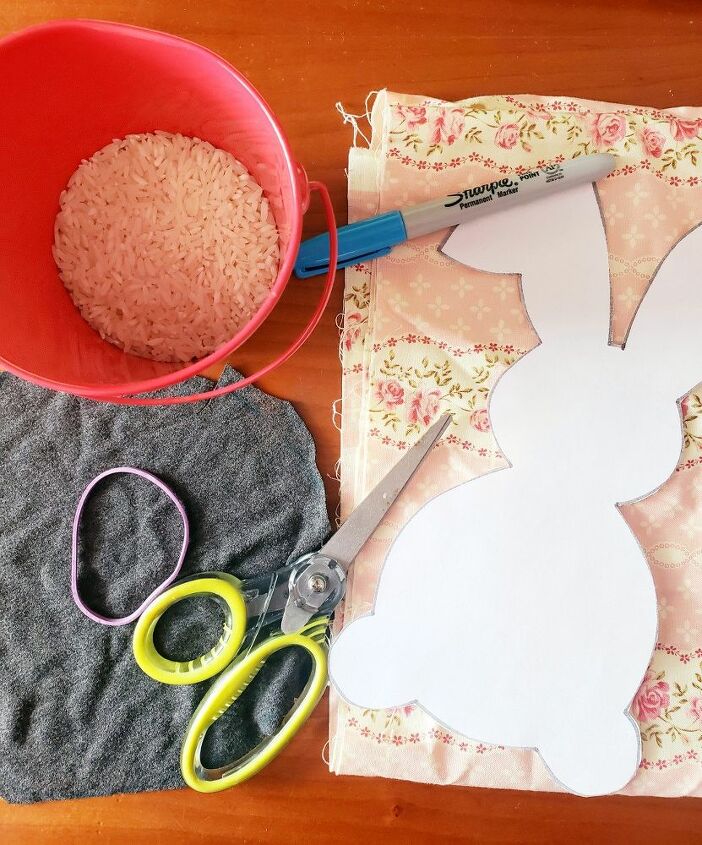
I then cut out the bunny shape and used a permanent marker to trace it on a piece of fabric, you will need two for the front and back. Then I took another random piece of fabric (you could use an old sock) and filled it with rice tying off with a rubber band. This is for the "butt" so that the bunny sits up.
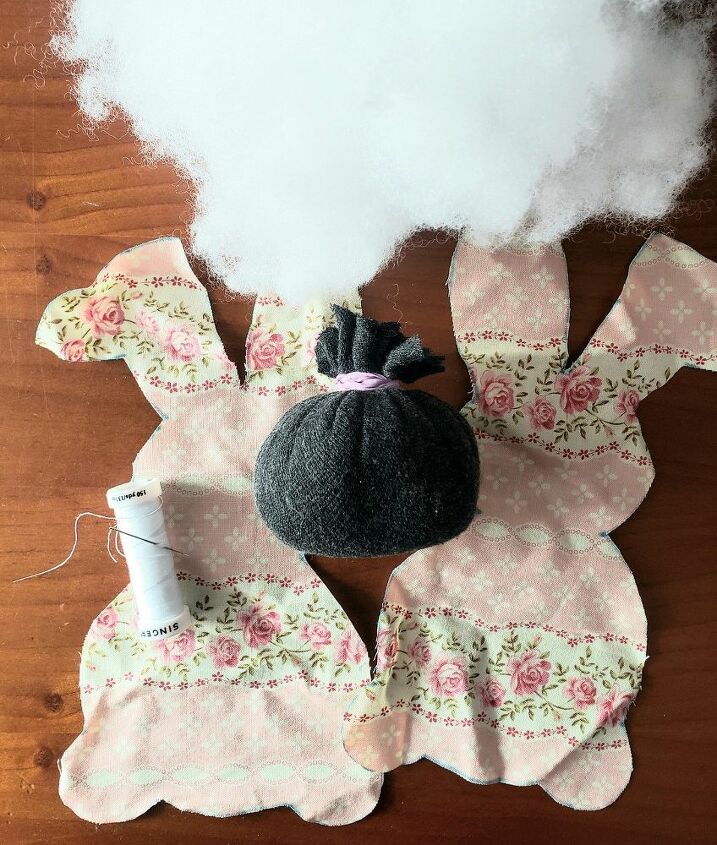
I then used some thread to loosely sew the front and back of the bunny together. As I went along I filled the ears with stuffing and the head until I got to the body.
I filled the top part of the body with stuffing and then stuck the back of rice into the butt of the bunny, securing with a few stitches.
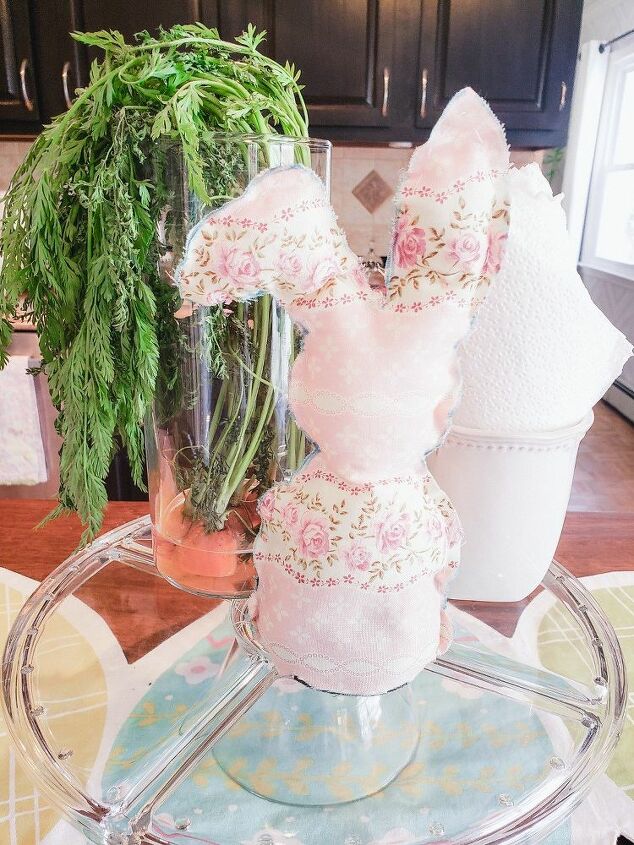
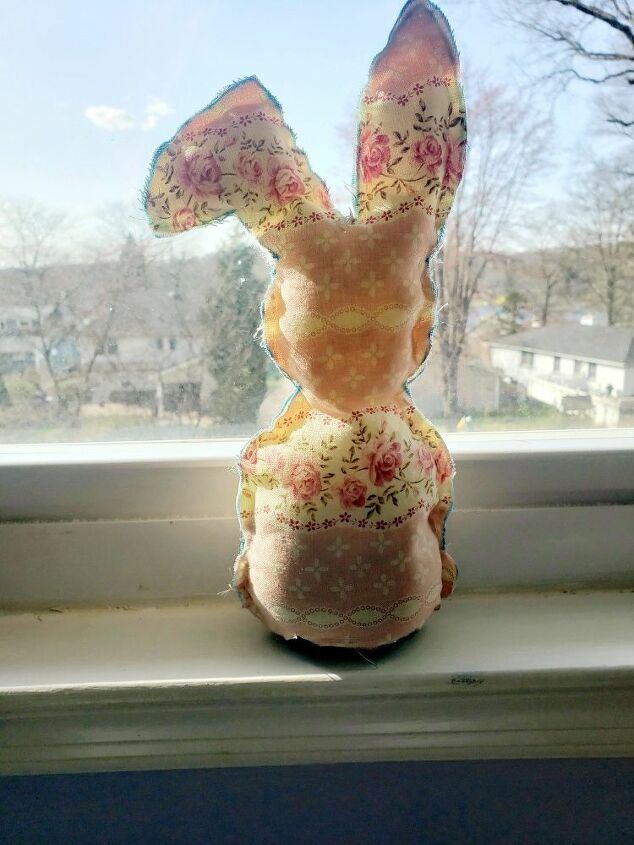
There you have it! A cute little Easter addition to your kitchen island, window sill or wherever you think he belongs.
I then used the same outline from Google images but this time I printed original size (about 3 x 1.5 inches).
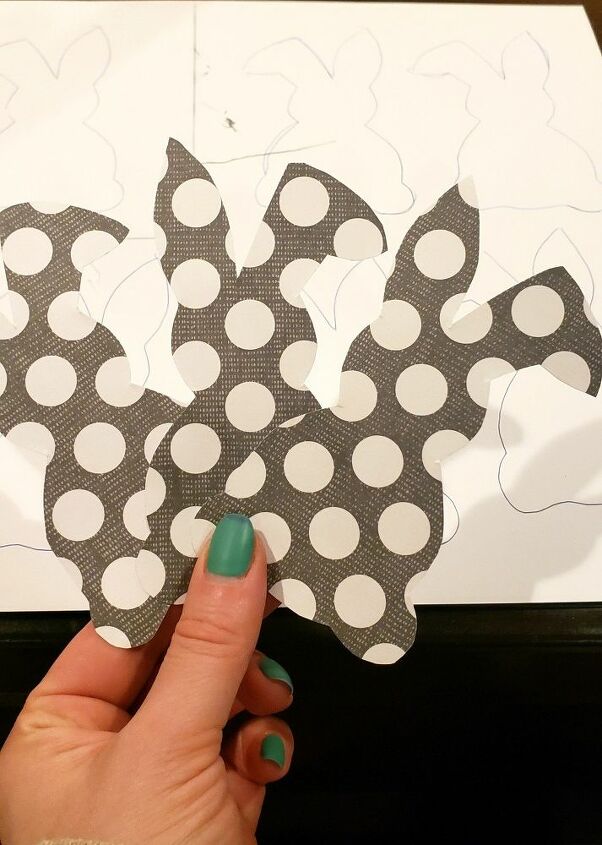
I again used this cut out as a stencil and picked a card stock paper with a fun design. I cut out 10 bunnies from the card stock.
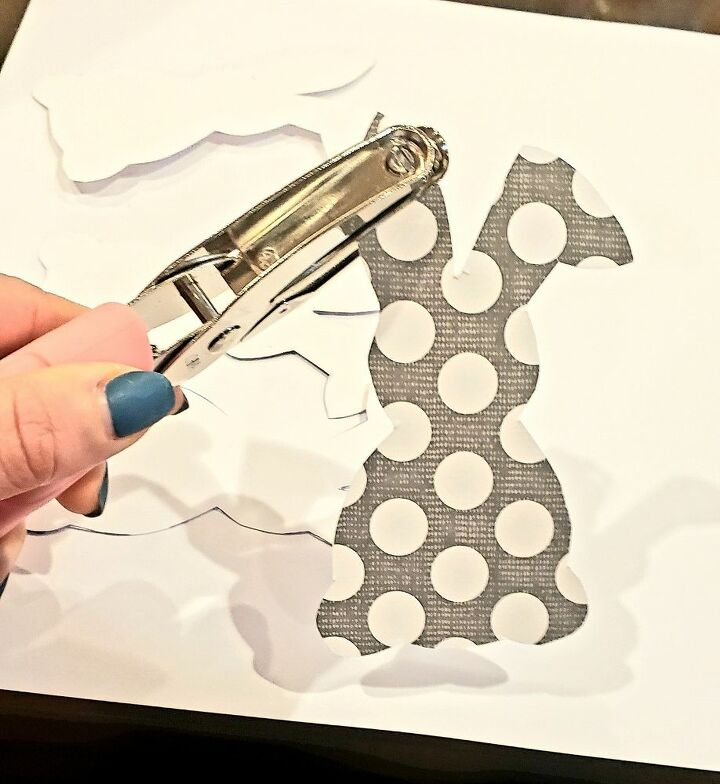
I then used a hole puncher to make holes in both bunny ears.
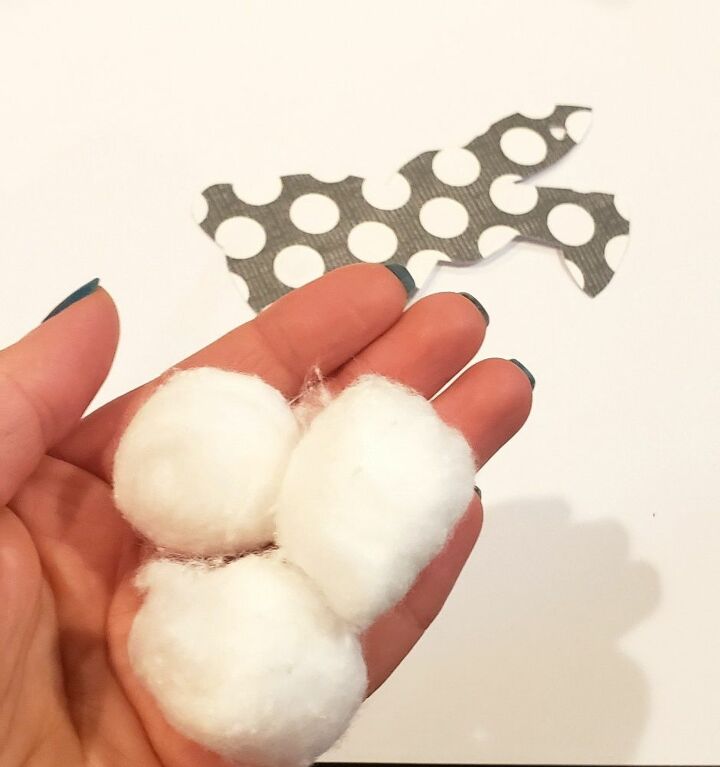
I cut cotton balls in half and used regular Elmer's glue to stick them to the bunny butts.
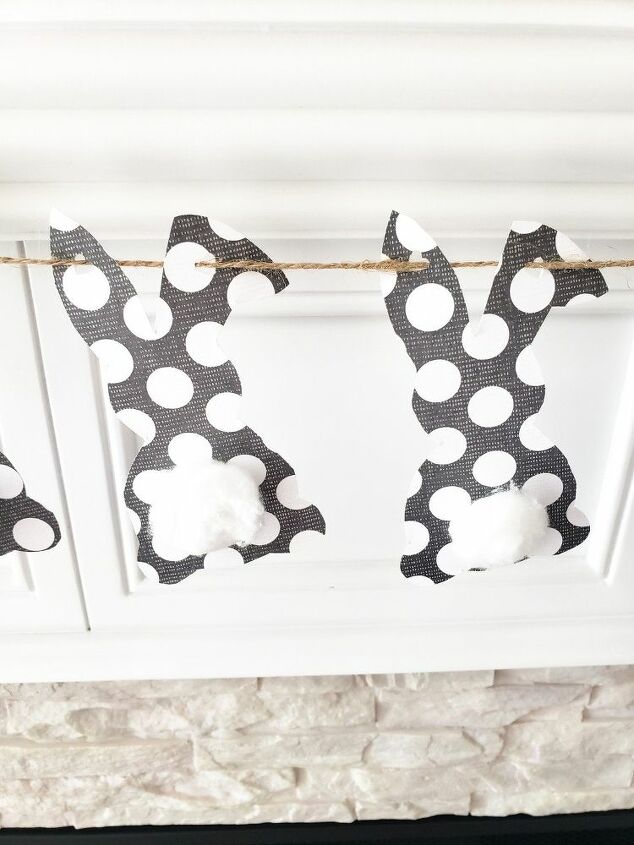
Then I used a sting of twine and weaved it through each hole!
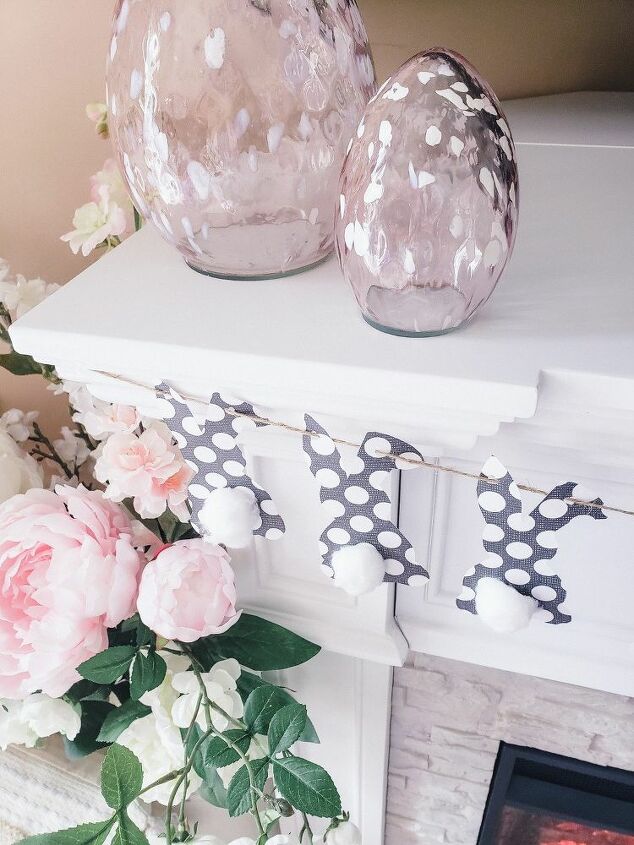
I hung this bunny garland on my fire place mantel and am in love!
Comments
Join the conversation
-
So cute!!
-
Dritz makes a fabric marker, in blue, that disappears when hit with water.I like to use this for any fabric project. Because of arthritis, I have poor fine finger control. So, if I mess up on an outline, I can just run A damp sponge over it, and have not ruined the fabric. Also, I use sand, or crushed seashells for any base, rather than rice. Rice can attract critters, like starch bugs while being stored, plus attracts moisture, and can become moldy.
But the project looks nice! I plan to try it!


Frequently asked questions
Have a question about this project?