


Mesh Garland DIY Tips
6 Materials
Easy
Tips that I learned from creating my first mesh garland. These tips can be used for any holiday garland.
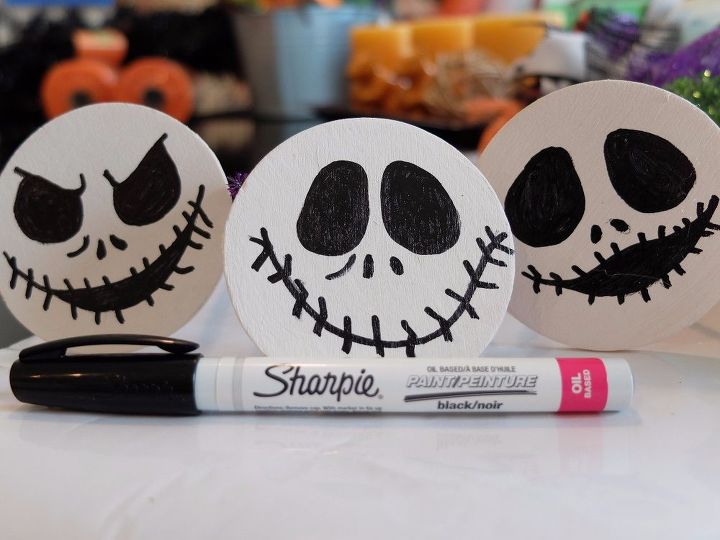
For the Jack faces, I bought small round wooden cutouts at Michaels craft store. First I started off painting them white. Once they were dry used a paint pen Sharpie to draw on their faces. For the larger Jack on my wreath, I used craft paint, but I really liked the results with the Sharpie even better. Once they were dry I hot glued pipe cleaner on the back of each one so they would be easy to attach later on in the process.
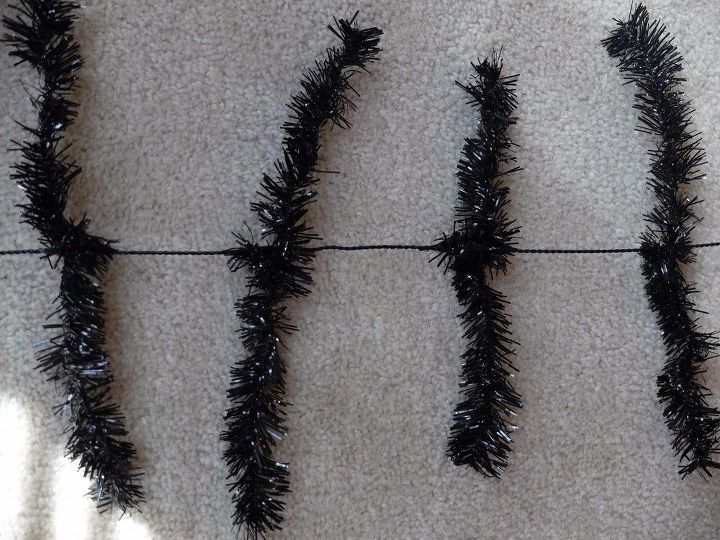
Next, you will need a 9-foot work garland. I found mine at Hobby Lobby. It helps to lay it out flat on the floor so you can have a perfectly straight work surface. Straighten the wire as much as possible, as it comes folded from the store. Next take the tinsel-like arms and fold those out straight as well.
*Sidenote-please excuse the look of sheer determination above!
This shows you how the twists will look once your first layer is completed. There will be plenty of tinsel left over for other layers, just twist it as tight as possible to make sure you have space.
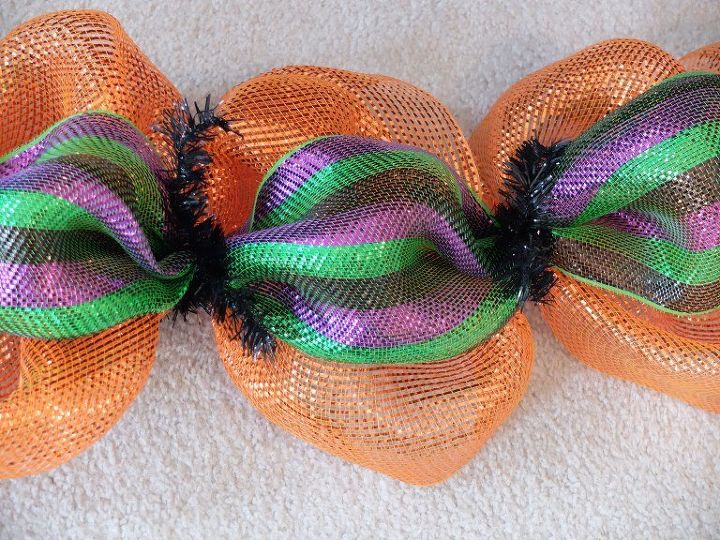
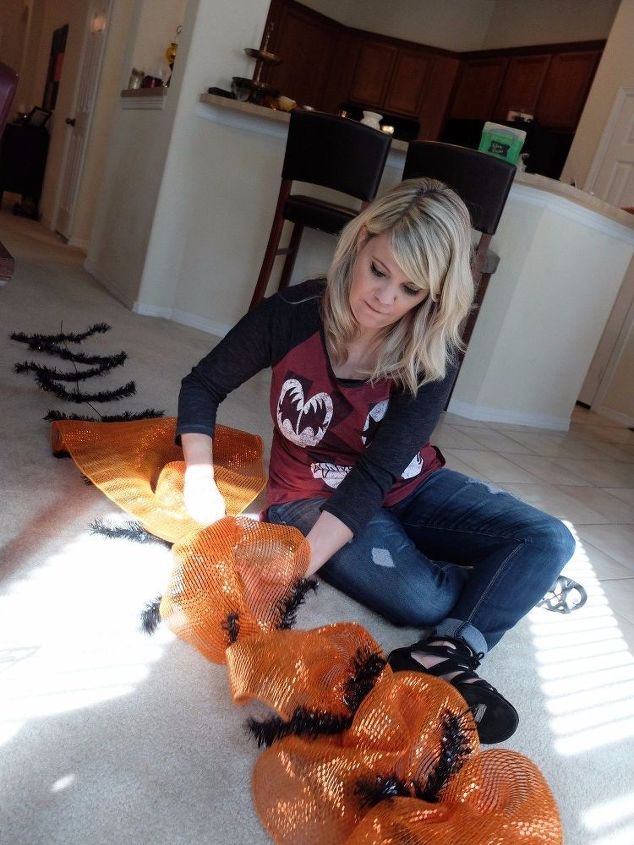
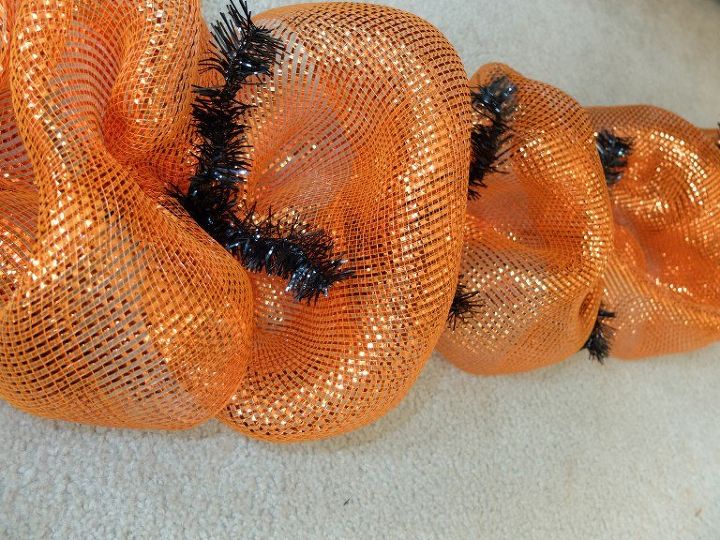
Next, I repeated the same steps above, except this time I used a 10-inch mesh ribbon and then a smaller green ribbon to allow the original one to show through from behind. I found some purple tubing at Dollar Tree and attached that to the tinsel the same way.
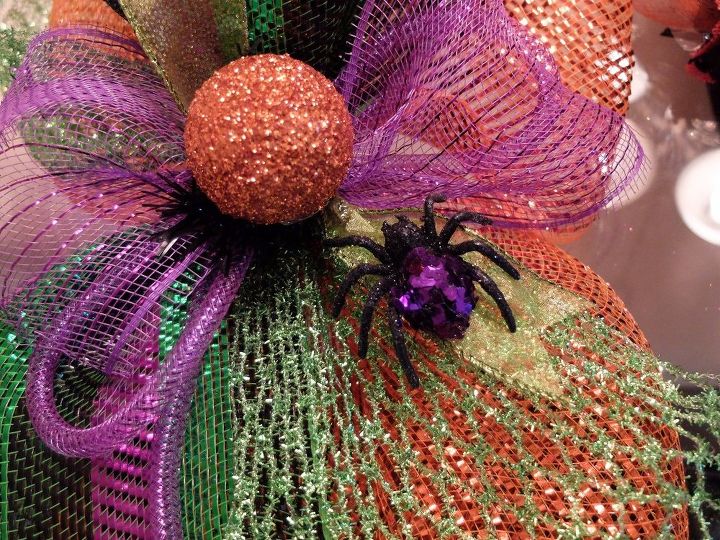
Once you have your ribbon base completed, it is time to add on extras. I did this by adding on top of the tinsel arms as it was the perfect spot to hot glue items. I purchased several packs of styrofoam balls at Dollar Tree. After covering them with Modpodge they were sprinkled with glitter. (A tip: before you start to paint on the Modpodge is to put the balls on skewer sticks . Then use a foam brush to paint on the glue, then sprinkle the glitter, and place them with their sticks in a cup or vase to dry. This really speeds up the drying process.)
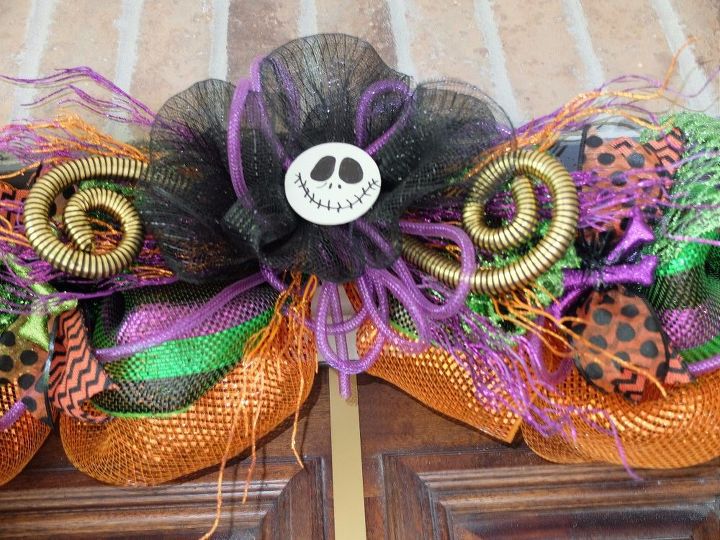
My super crafty friend created this bow and we glued another Jack on top of that. I attached some floral picks and the bow with hot glue. For final touches, some glittery bones and spiders found at Michaels were attached.
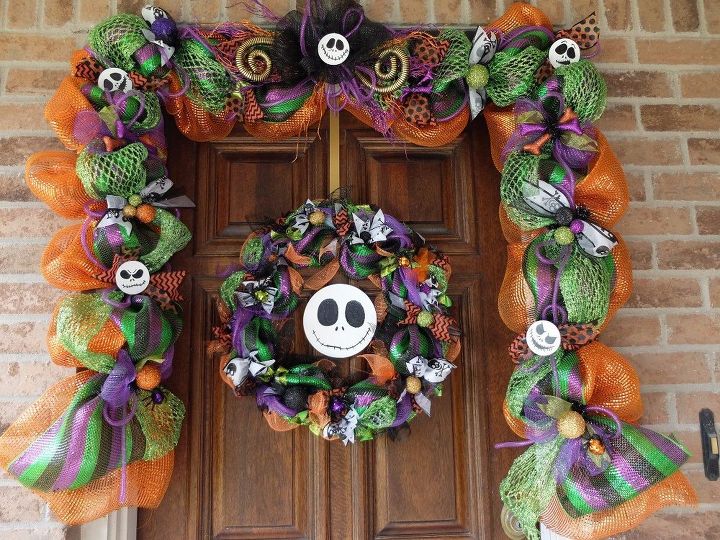
The really fun part about this process is that you can add as little or as much as you would like in order to have it match your personal taste! I hope this shows you that the wire mesh garland is so easy to do on your own! Happy Halloween and happy crafting!

Want more details about this and other DIY projects? Check out my blog post!
Comments
Join the conversation
3 of 121 comments
-
This is the most beautiful Halloween door decoration I've seen! Thank you for sharing the instructions.

-
Thanks for such a great idea! with a little change in colors - to purple, green & gold, - will be adapting your idea to use for my door's Mardi Gras - Carnival decoration! Carnival season started January 6 but I can always add a few embellishments!


Frequently asked questions
Have a question about this project?
Love this garland !! I can think of a lot of ways to use this idea !! What is the working garland made of ?
I FINALLY know how people get sooo much poof now; basically you’re doubling back and skipping a tinsel arm! Thank you! It’s BEAUTIFUL! Have you ever done a fall one or a Christmas one? I’m sure we would all appreciate the ideas! ❤️
This is so cute!! How did you attach it to the house?