


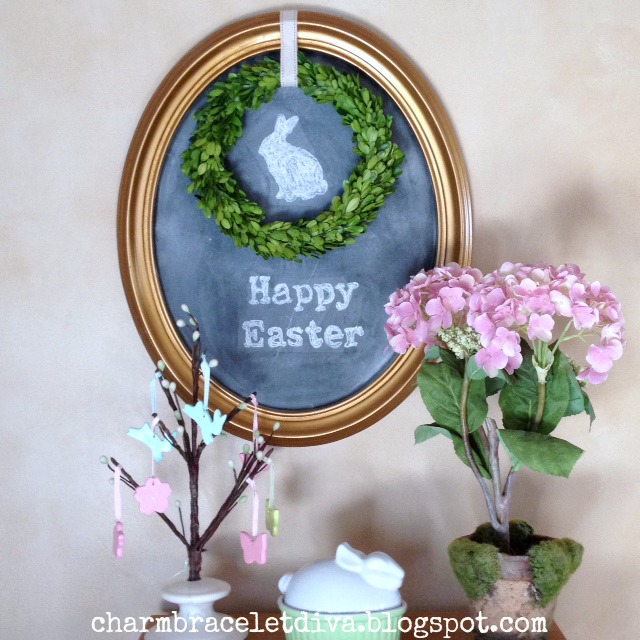
Super Easy DIY Easter Chalkboard Via Reverse Chalk Transfer
We all know that chalkboards are uber versatile for holiday decorating. But what if we're not artistically inclined enough to freehand a great graphic? Never fear! I can show you how to create the chalkboard of your dreams with a method known as "reverse chalk transfer."

Here's my DIY chalkboard before I added my Easter graphic chalk transfer.
Once you've decided what image(s) you want to transfer onto your chalkboard, access the graphics on your computer and print them out. I chose a bunny silhouette and the words "Happy Easter."
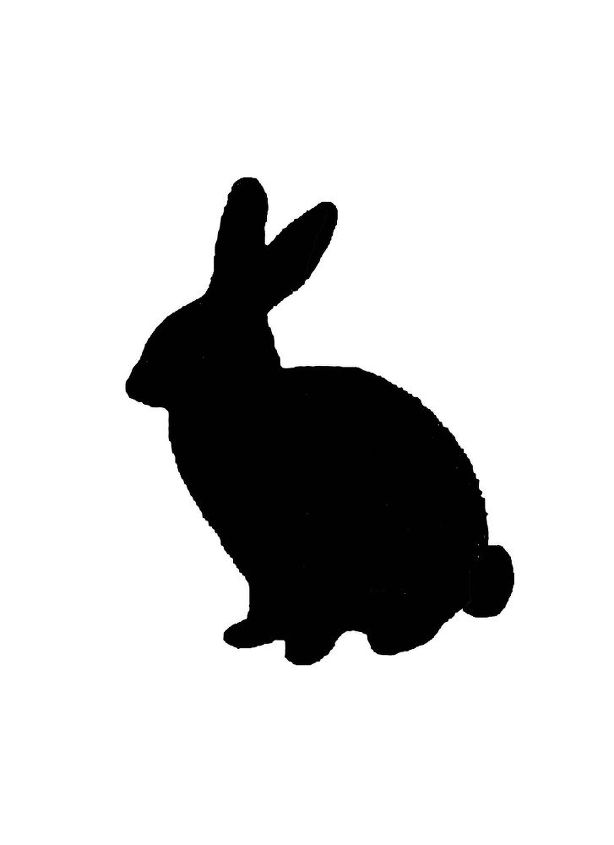
Bunny Silhouette
My "Happy Easter" printed out.
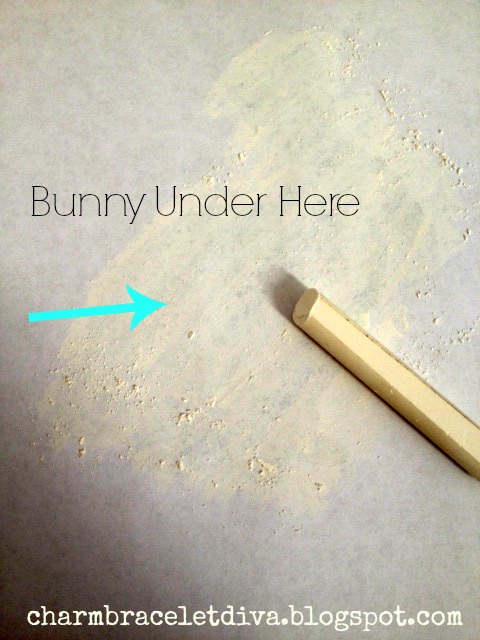
First you turn your paper around and "chalk" the entire back of the graphic like so. Here I chalked the back of the bunny picture.
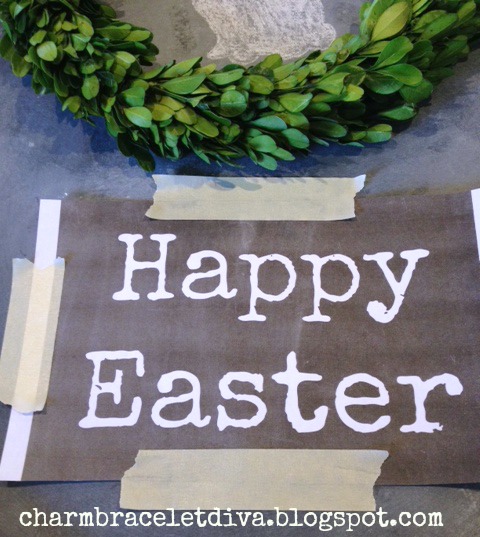
Once you're done, blow off the excess chalk dust and turn the paper right side up. Tape it to your chalkboard and begin to outline the image with a pencil.
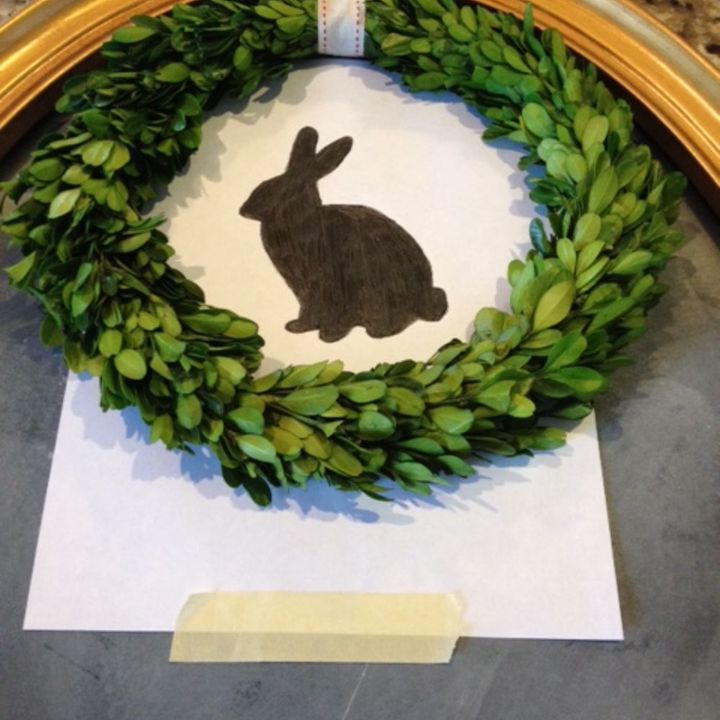
Here you can see where I taped the bunny right side up inside the wreath so the image would end up right where I wanted it to be. Then I traced the bunny's outline with a pencil, after which I penciled in the entire image. This transferred the chalk from the back of the paper onto the blackboard.
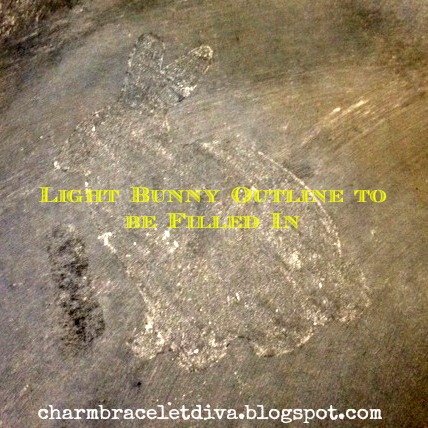
Once your done with the penciling, carefully remove the paper and voila, you're left with a very faint outline of your image. Just use your chalk to fill in the image and you're done. Repeat for any other images you need to complete your holiday chalkboard.
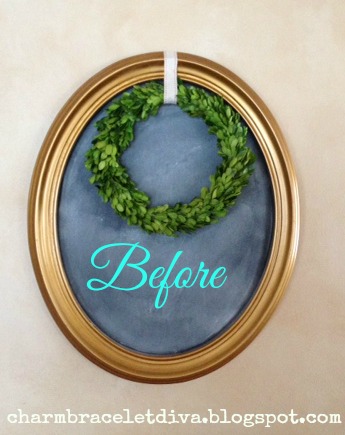
So here we have the "Before."

And here's the "After". Can't you just imagine your chalkboard made up for Easter? Not to mention every other holiday! Stop by the blog for more detailed instructions!

Want more details about this and other DIY projects? Check out my blog post!
Comments
Join the conversation
1 comment
-
Aw I love this! What a sweet, lovely setup.


Frequently asked questions
Have a question about this project?