


Do You Save Your Christmas Cards?
3 Materials
Easy
When my kids were little I would cut out the pictures from the front of the card, punch holes around the perimeter, give them some yarn and have them lace the cards. Made for cute little Grandparent gifts. I'd also make gift tags for the next years gifts.
This year I decided to keep my cards - the few I receive (sadly most from companies I do business with :( ) ,and make a Junk Journal or Smash Book what ever you want to call it.
The biggest thing you must remember is there are NO RULES
you make and do to it what you like!
This year I decided to keep my cards - the few I receive (sadly most from companies I do business with :( ) ,and make a Junk Journal or Smash Book what ever you want to call it.
The biggest thing you must remember is there are NO RULES
you make and do to it what you like!
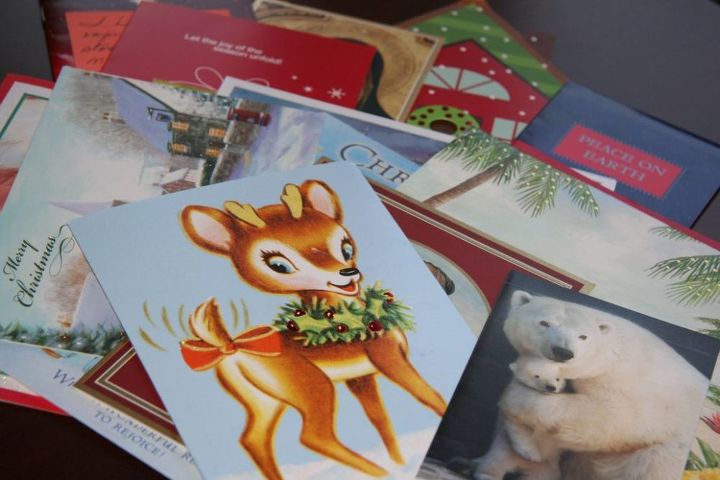
When I was little I used to help my Mom by putting the postage stamps on the envelopes of the Christmas cards. That was back when we had to lick them...yuk. One of my favorite things, (not the licking part) next to waiting for them to come flooding in from all over the country! My Dad was in WWII so they had friends from many states and this was their once a year catch up with each other. We had a huge family and cards went out to them too. She must have sent 100's out. Christmas cards decorated the house - placed on lamp shades, hung from book shelve edges.
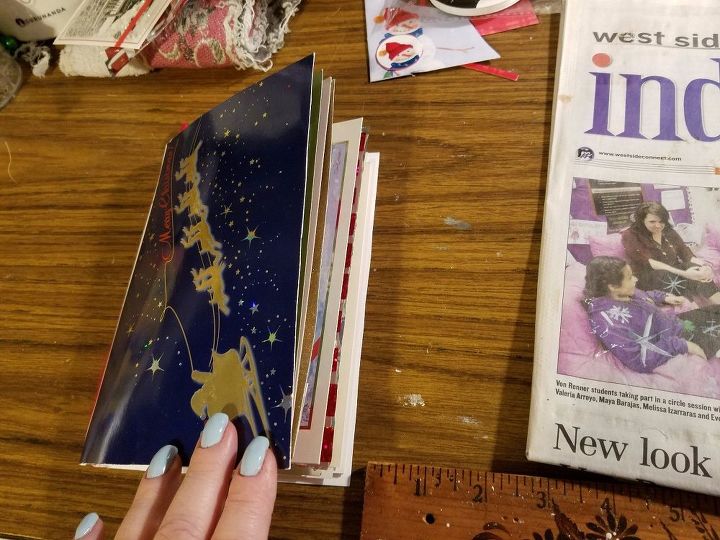
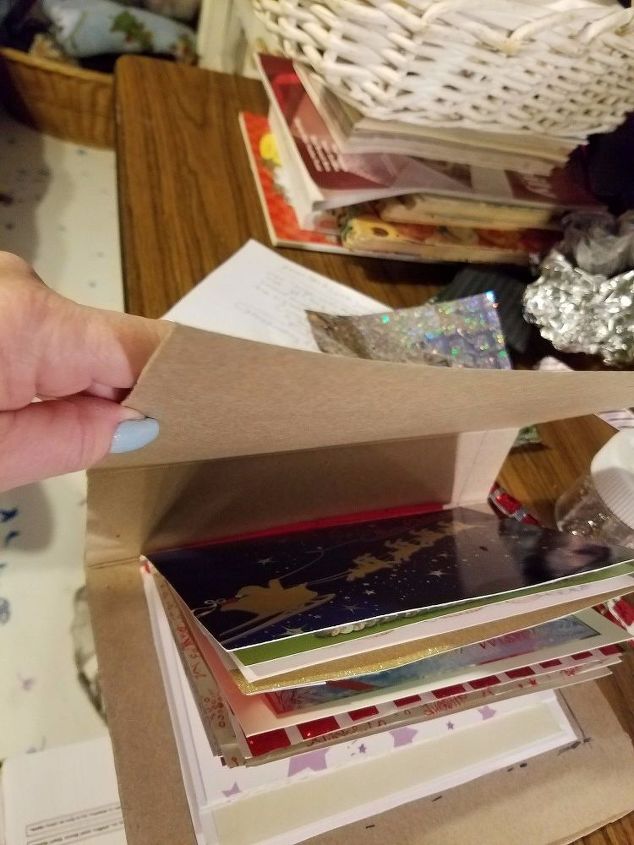
I picked the largest one to place on the outside, placed the others one by one inside, this is called a signature. I did keep some out to decorate with. I didn't insert them according to size, I just stuck them in -
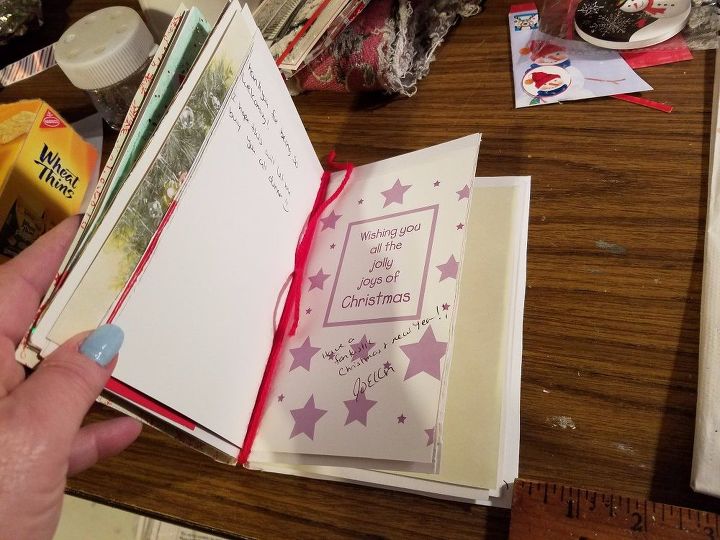
You have some options when it comes to making the signature.
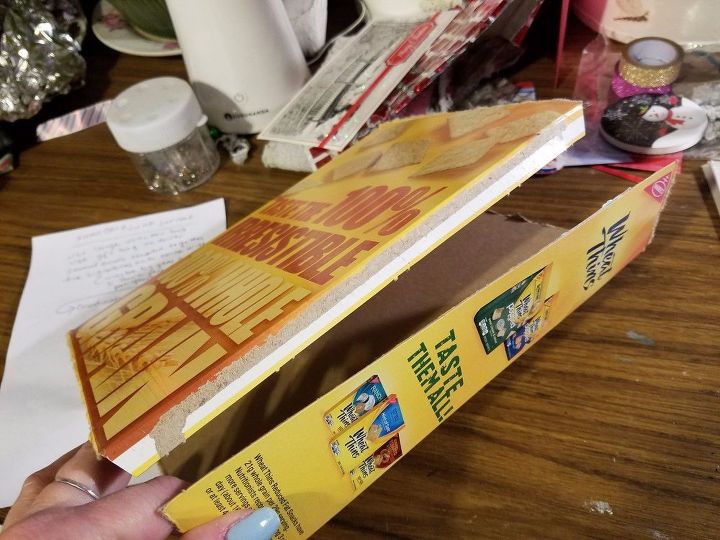
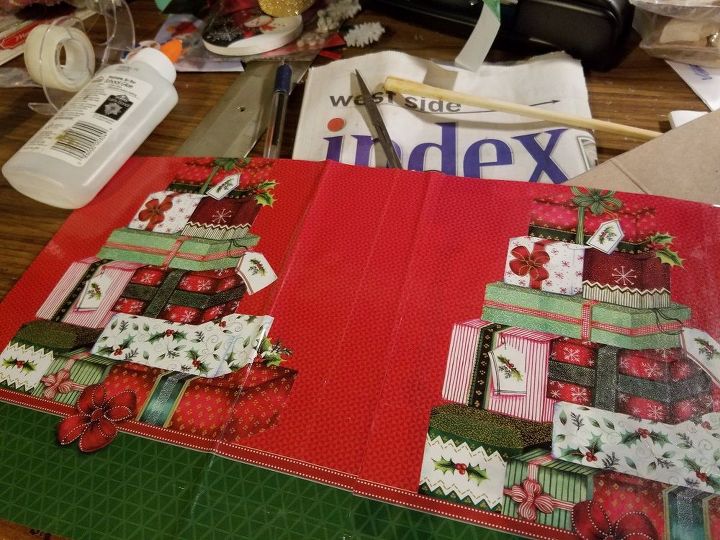
I wanted a sturdier cover to put these in. Look what just happened to be laying around ~ I removed the top and bottom flaps from the cracker box. Found the side seam and opened the box up
Once I knew where to cut so the cards wouldn't be seen ~ leaving about 1/2'' extra around the largest card, ~I cut off the extra part of the box.

Once the box was cut to the correct size I wanted to cover it.
Completed outside cover.
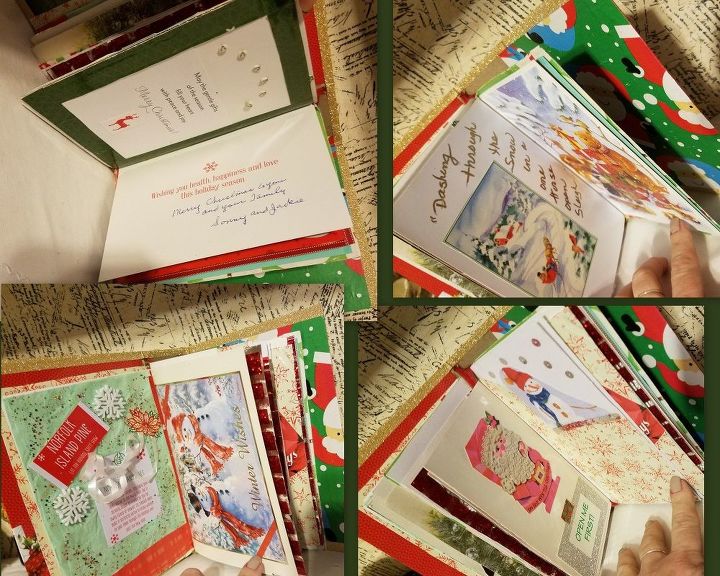
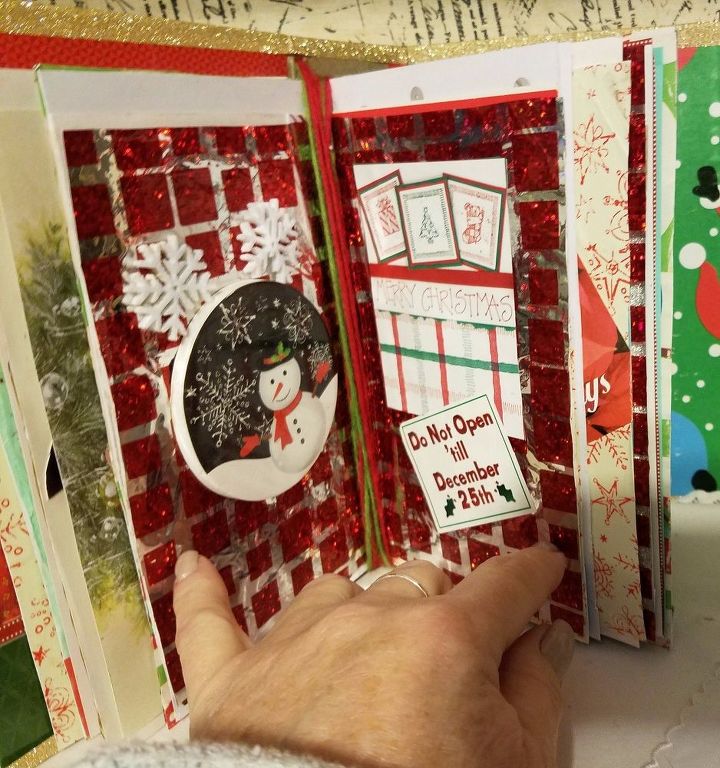
Embellish as you please or not, it's all up to you.
Signature tied to cover
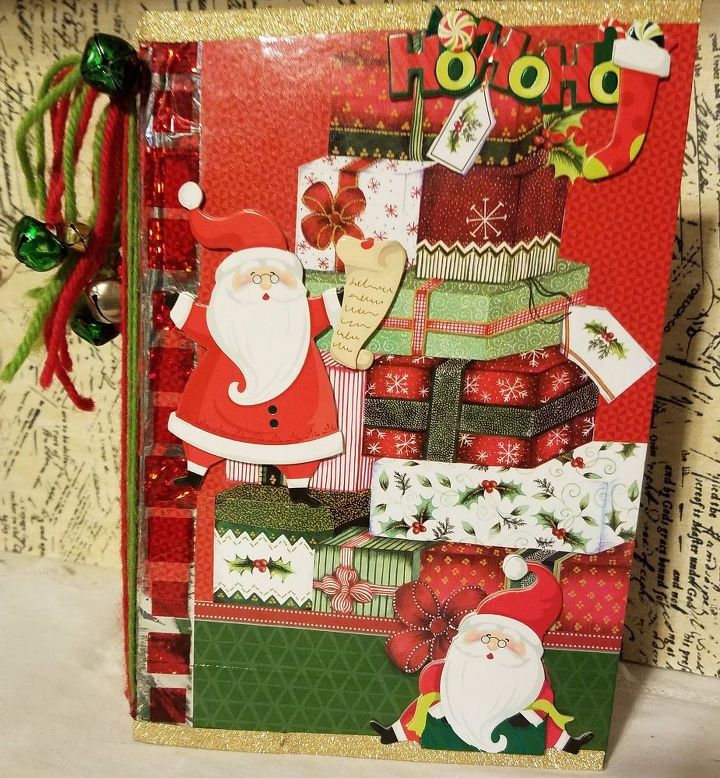
Front embellished, bells added to ties.

Want more details about this and other DIY projects? Check out my blog post!
Comments
Join the conversation
2 of 19 comments
-
So glad I came across this project. We moved recently and during the downsizing I found dozens of cards (birthday, anniversary, holiday, etc.); from my mother over the years. She always wrote a beautiful note to me in each one and I hated the thought of throwing them away. I am going to use your idea to create a memory book “from” her. Thank you so much!
-
I'm SO glad you didn't through them away!! A memory book is an awesome idea. Those notes notes are filled with love and mean so much ~ I have some too.
 So glad to have inspired you. Have fun reminiscing!


Frequently asked questions
Have a question about this project?