


Drop Cloth Stenciled Stockings

This DIY turned out even better than I hoped. I was inspired to make these stockings after seeing something similar in a high end store. And per usual I’m not going to buy something I can make.
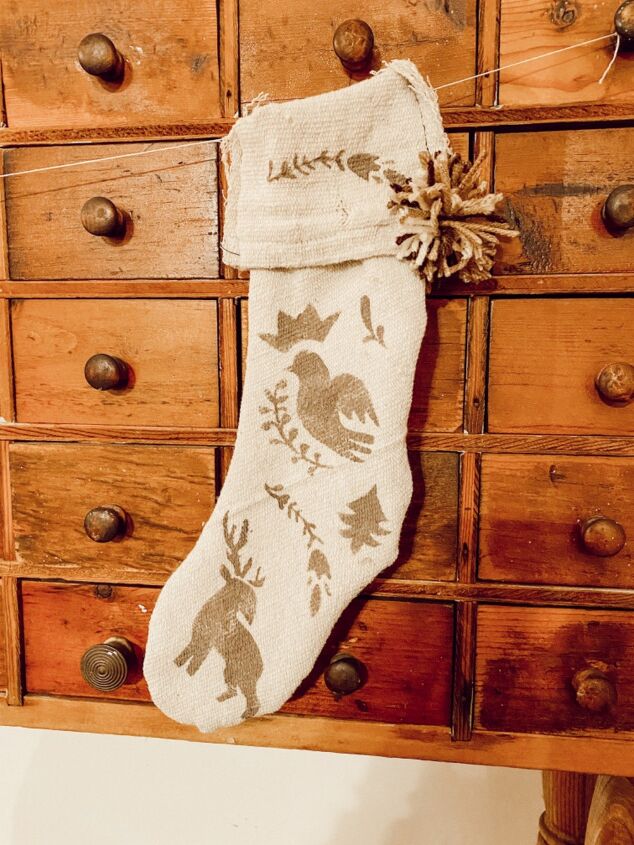
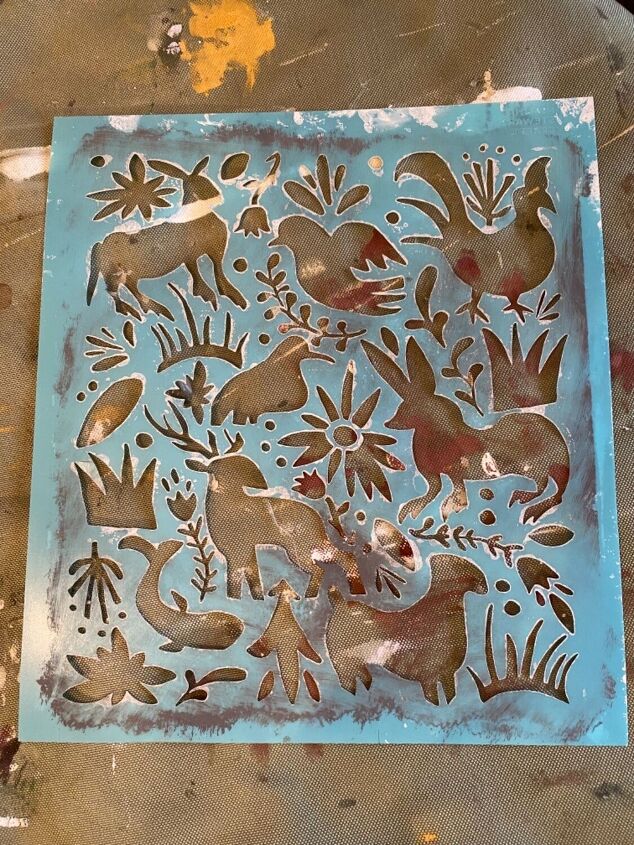
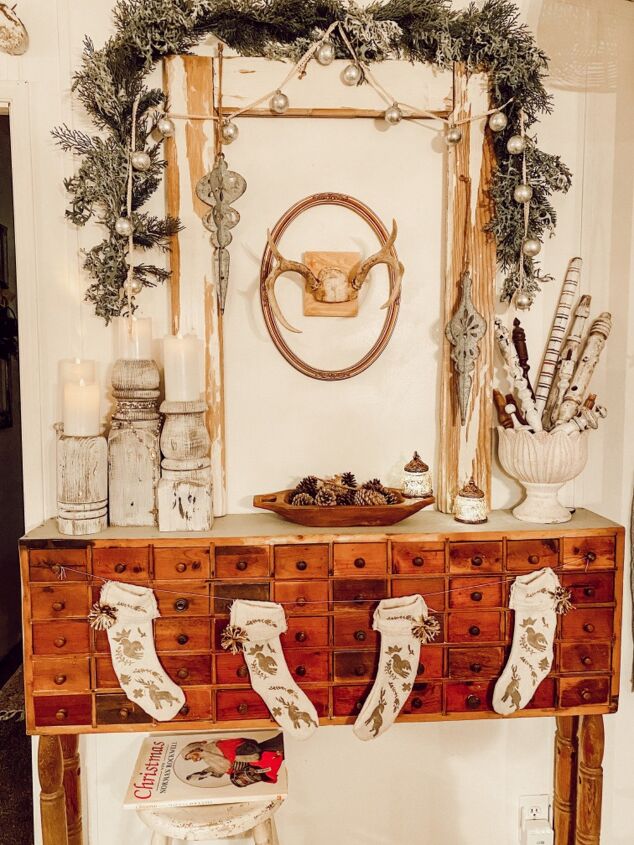
I like the woodland feel of these.
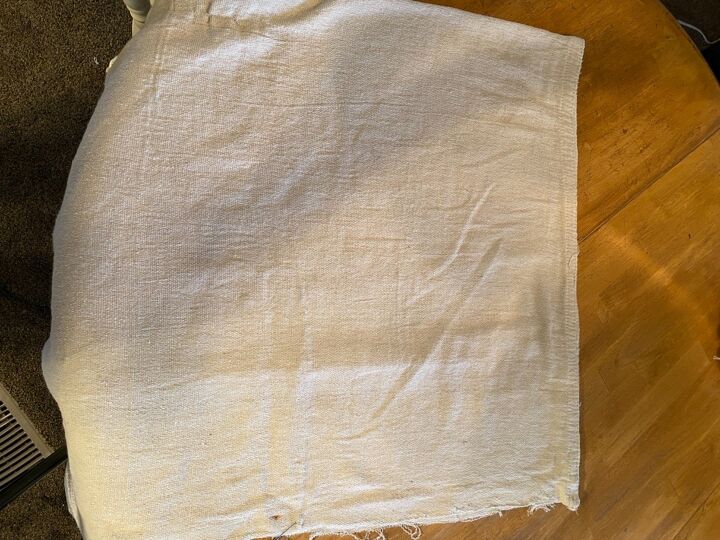
Start out with a piece of drop cloth folded in half so you have two layers.
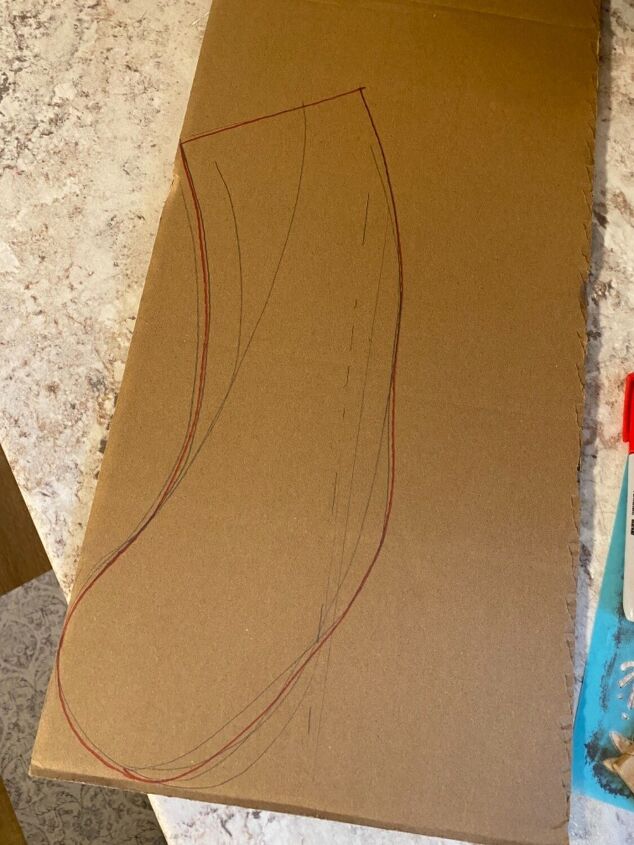
I drew a stocking shape on cardboard and cut it out.
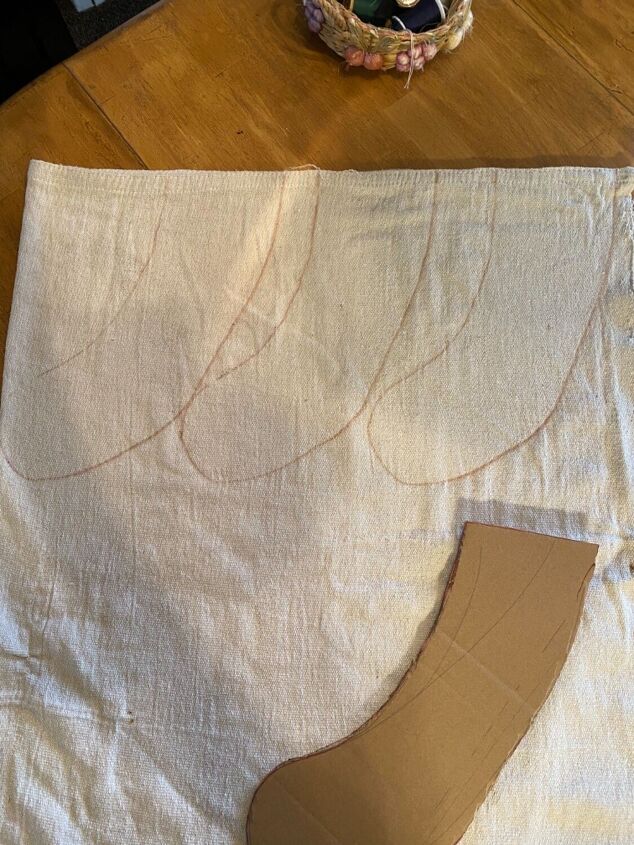
I traced the stocking shape onto the drop cloth. I made four of these.

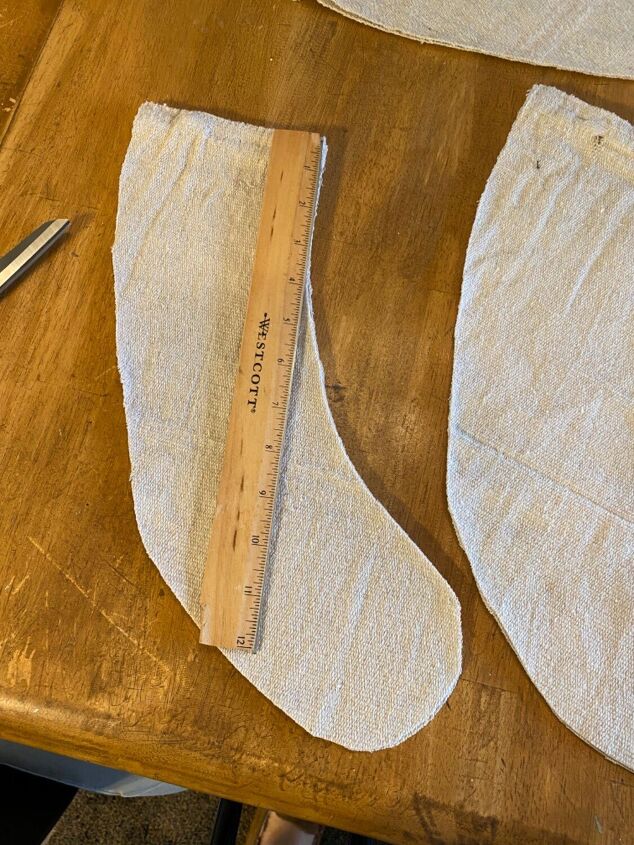
This is just to show you the approximate size of the stockings.
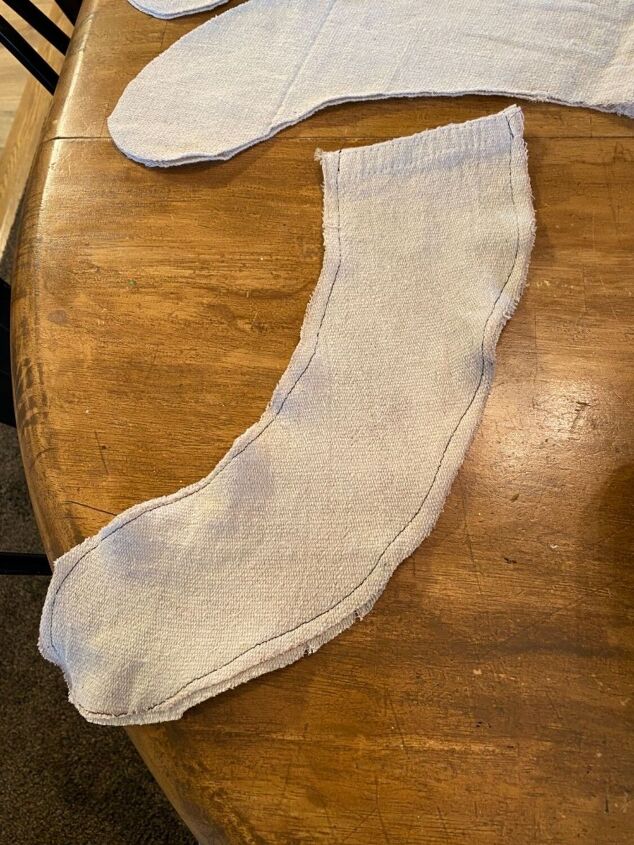
I sewed the stocking leaving the top open to fold down. You could use fabric glue on this step if you don’t sew.

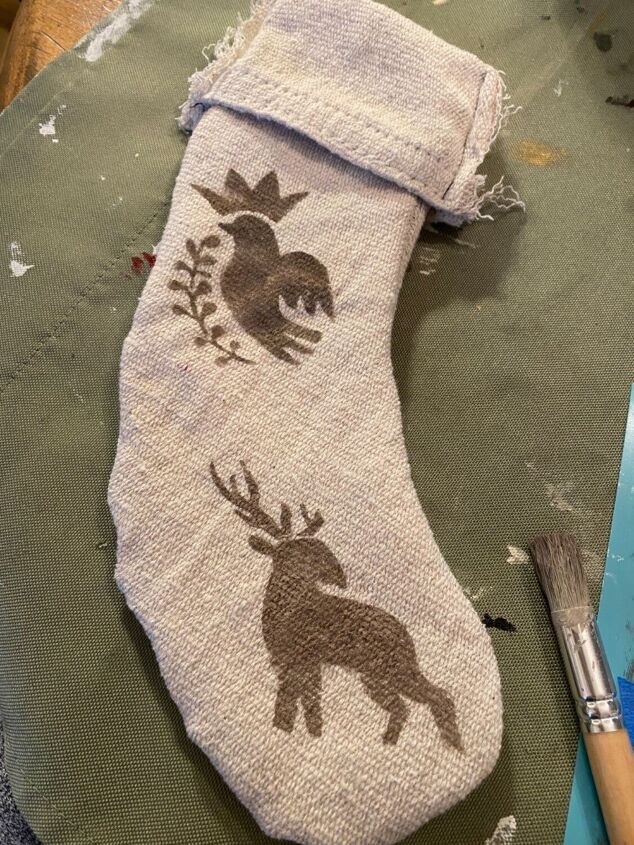
I then turned the stocking right side out and folded the top down. I cut the cardboard shape down a bit and slid it inside the stocking so when I stenciled it wouldn’t bleed through.
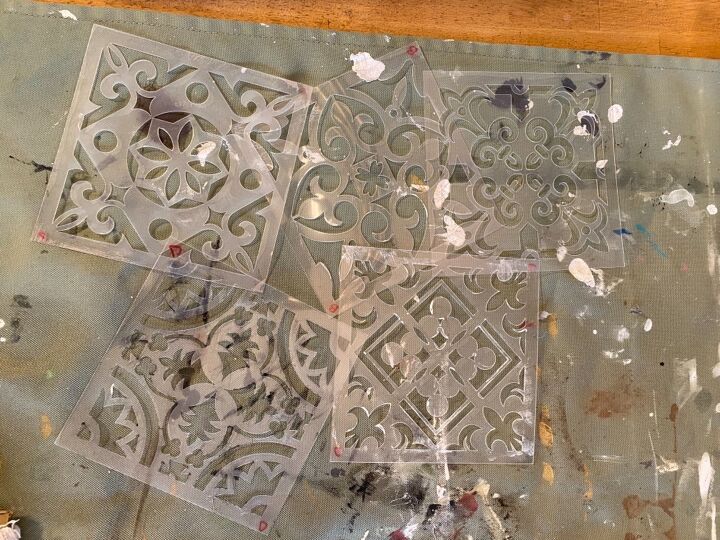
I used a combination of two different stencils to get the look I wanted.
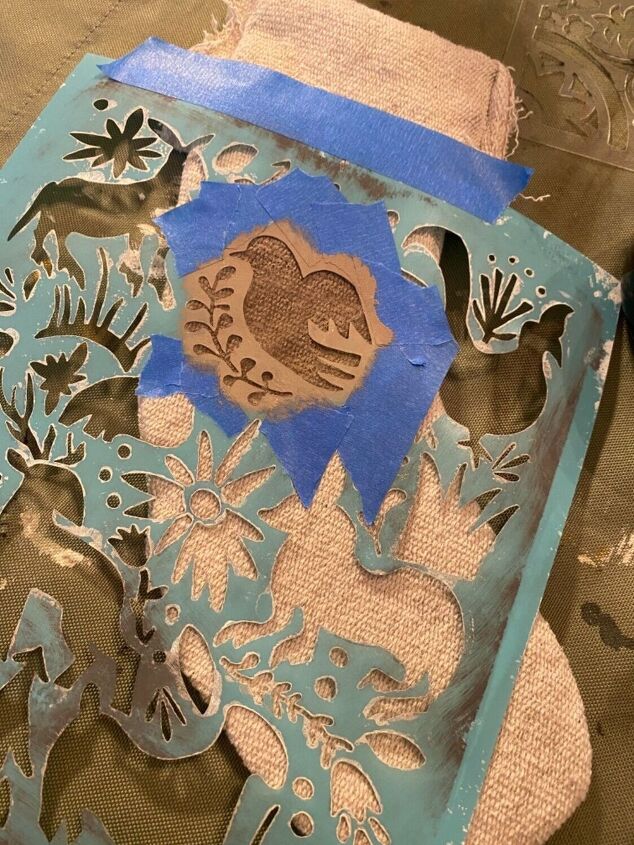
I chose what part of the stencil to use and taped around so that I wouldn’t stencil anything other than my designated shape.
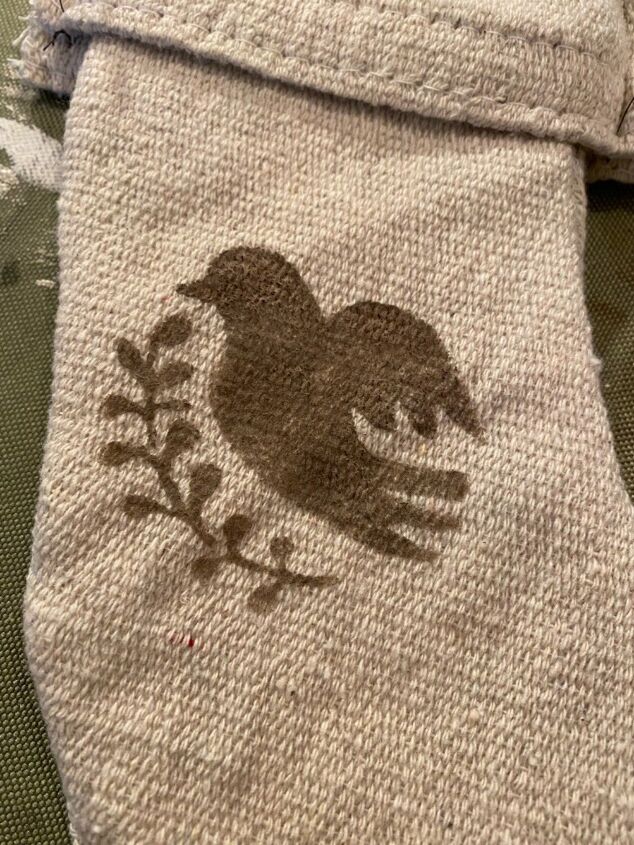
I made my own custom color using a light taupe color and a bit of brown. I like using chalk paint on drop cloth.
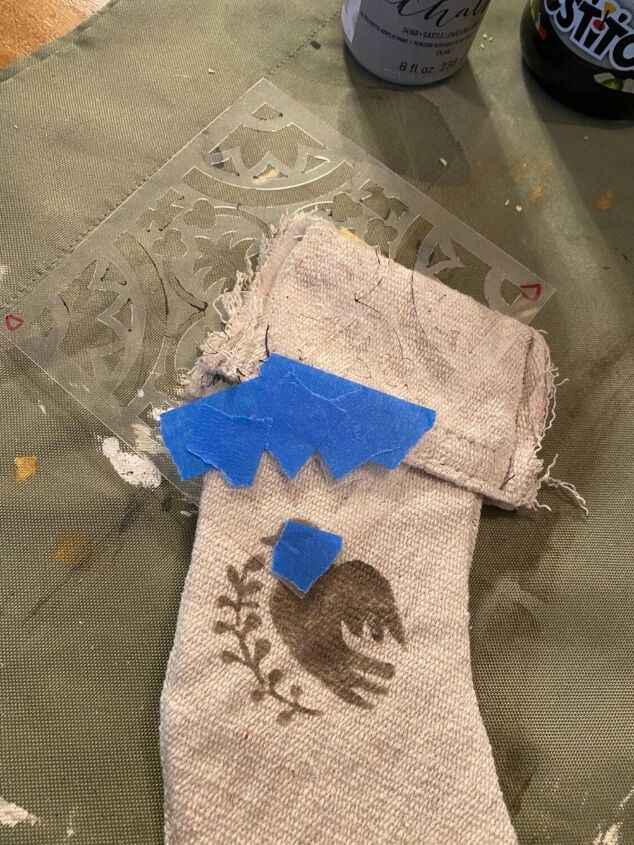
This is when I incorporated other stencils.
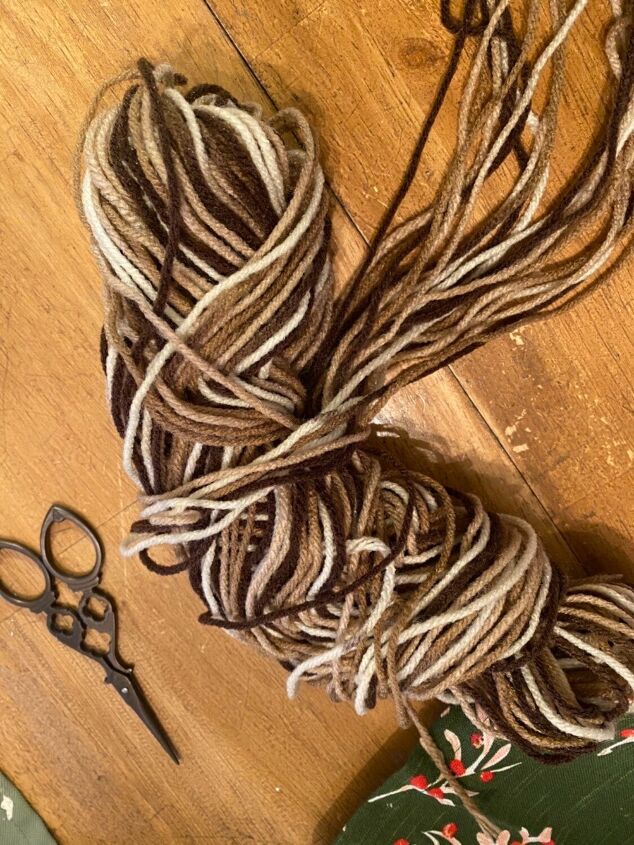
After I finished stenciling I grabbed some matching yarn to make Pom poms.
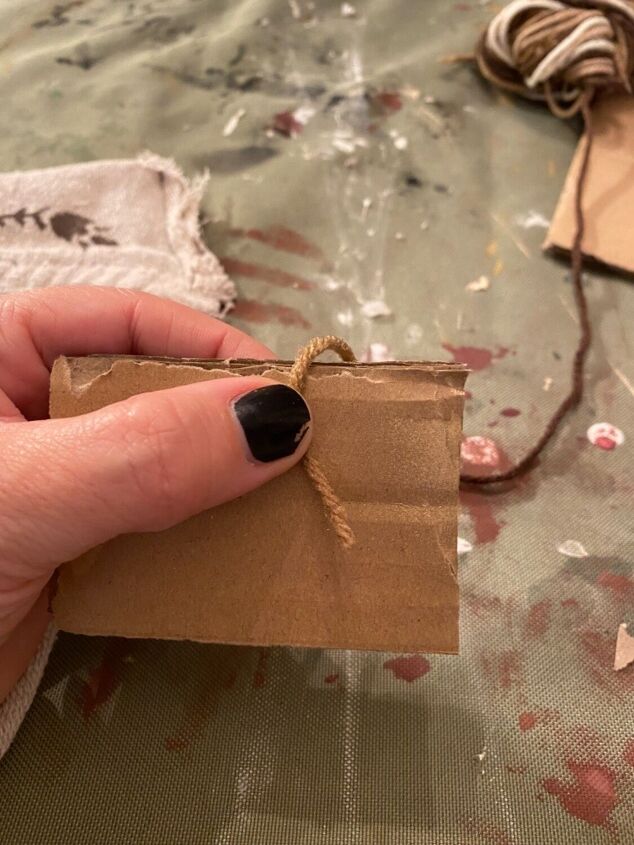
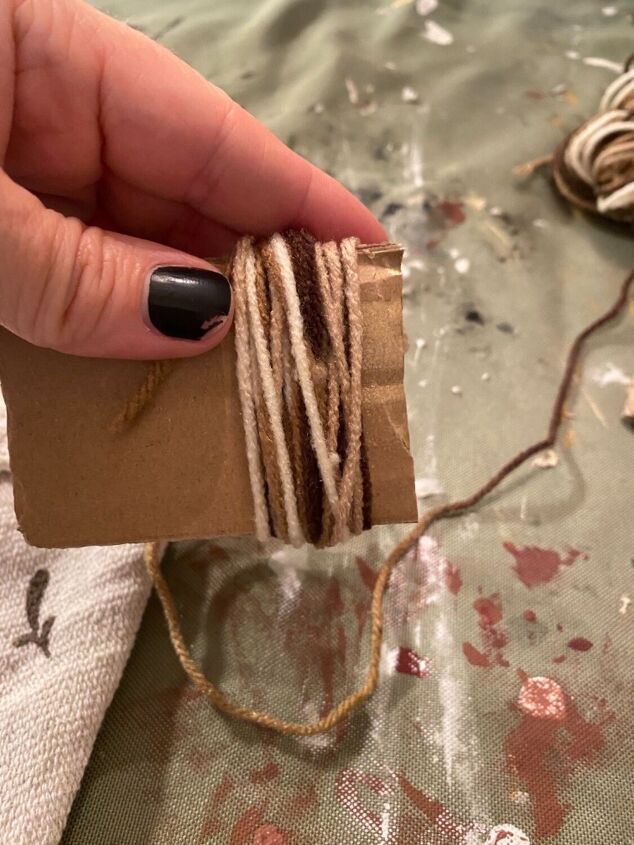
I used a small piece of cardboard and wrapped my yarn around about 25 times.
I then slipped it off the cardboard.
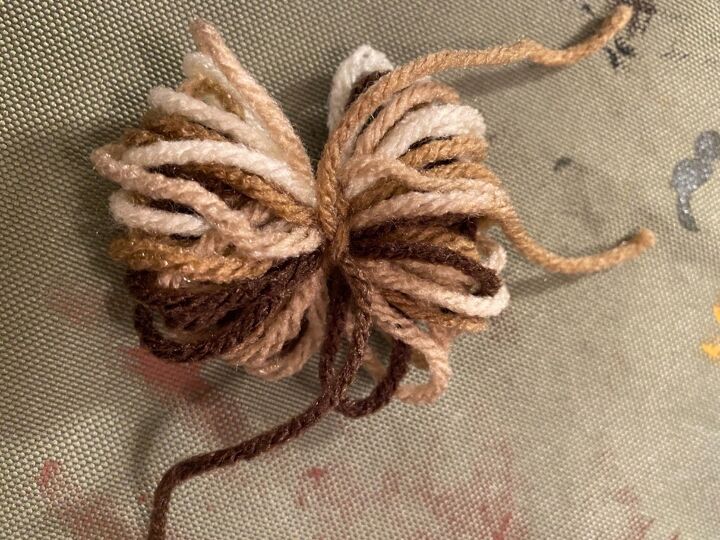
I tied a piece of yard around the center.

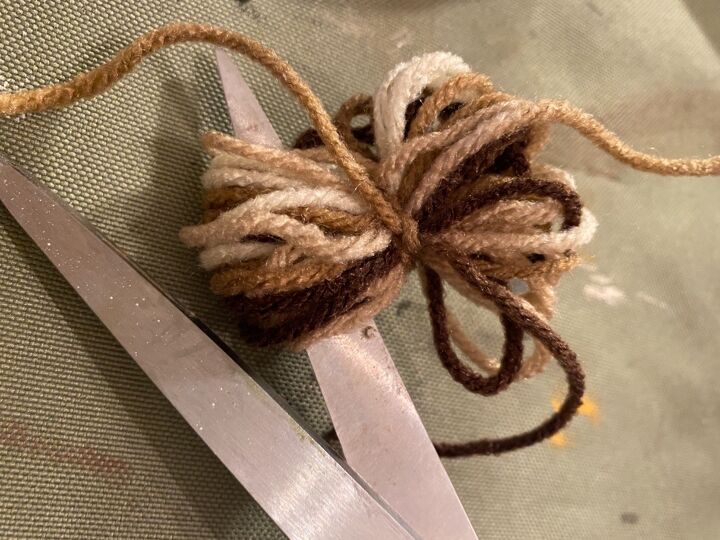
I cut the loops, trimmed, and fluffed
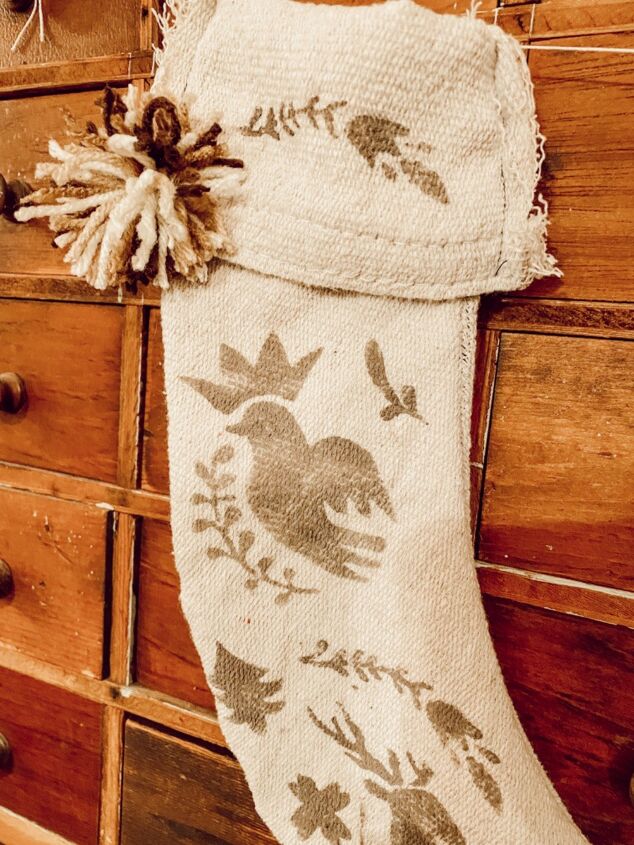
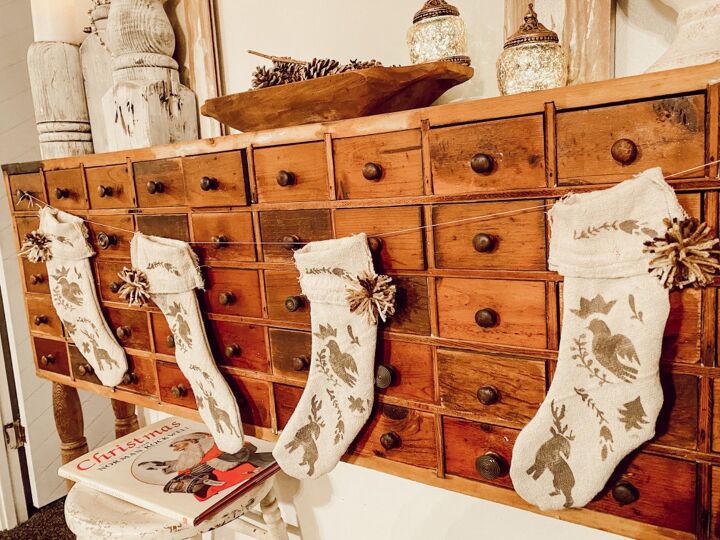
I got glued the pom Pom to the stocking and then strung all four of them together. I then hung them on my apothecary cabinet 😊.
I had all of these materials on hand so this project didn’t cost me a thing. That’s my kind of project!!
I really love how these stockings turned out, I hope you do too!
Comments
Join the conversation
-
How can I share it?
-
Really well done, and perfect with your rustic decor 💕


Frequently asked questions
Have a question about this project?