


Gift Castle

by
Dani Moore
5 Materials
Turn Christmas or Birthday gifts into a Castle!
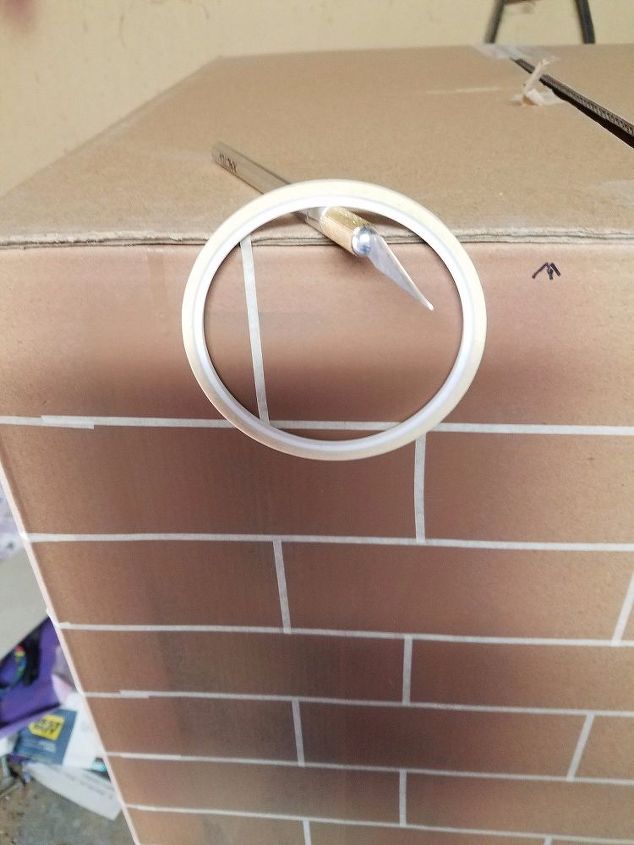
I started with the shipping boxes the gifts came in, and a few carpet roll tubes from a local carpet store. 1/8 inch masking tape to lay out the blocks and an exacto knife.
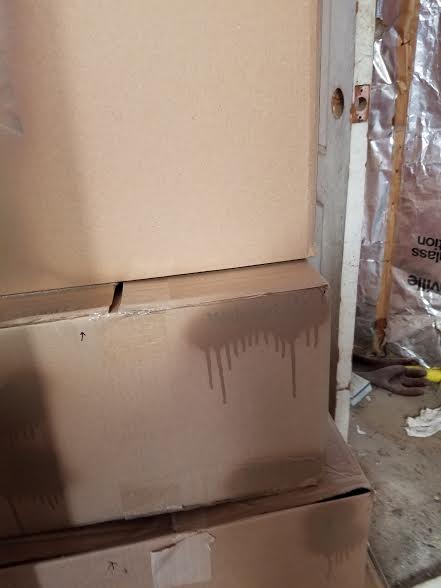
paint over any printing or labels on the boxes so they are a solid brown.
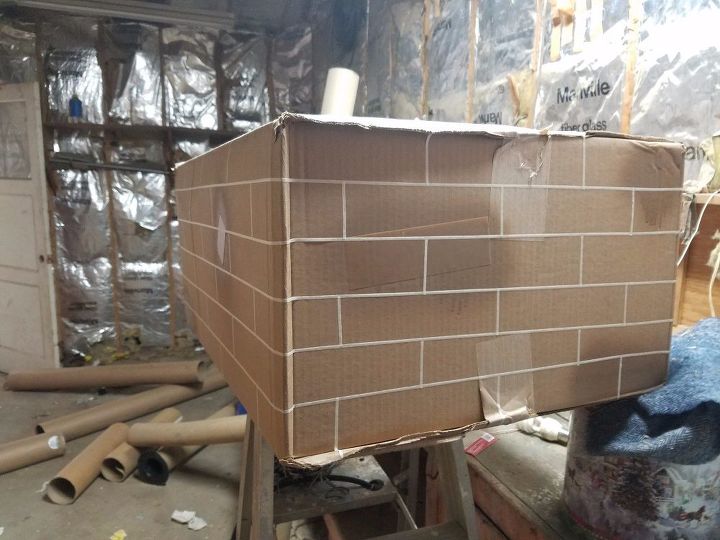
use the tape to lay out the blocks of the castle and paint everything gray. Don't go for a solid color because variations look more like stone.
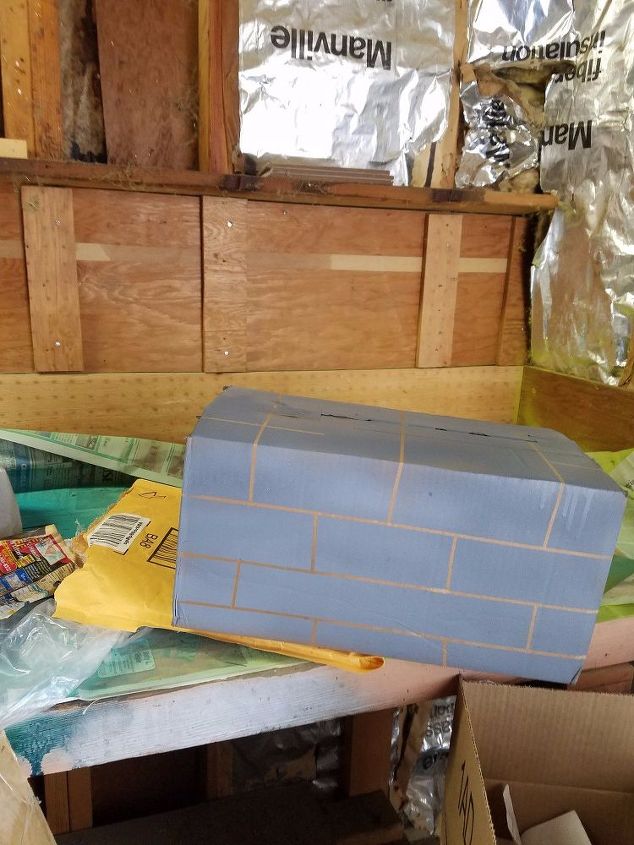
remove the tape and start filling the boxes with gifts. I recommend doing this on site, where the castle will stay so you don't have to move everything more than once!
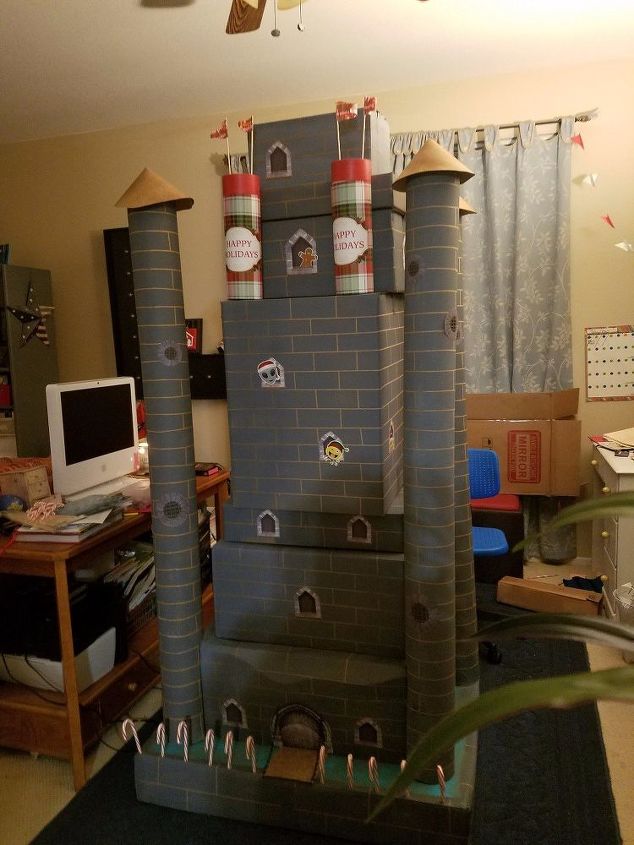
Once everything is stacked up, you can add details like windows and doors, drawbridges, turrets and flags. Let your imagination run wild!
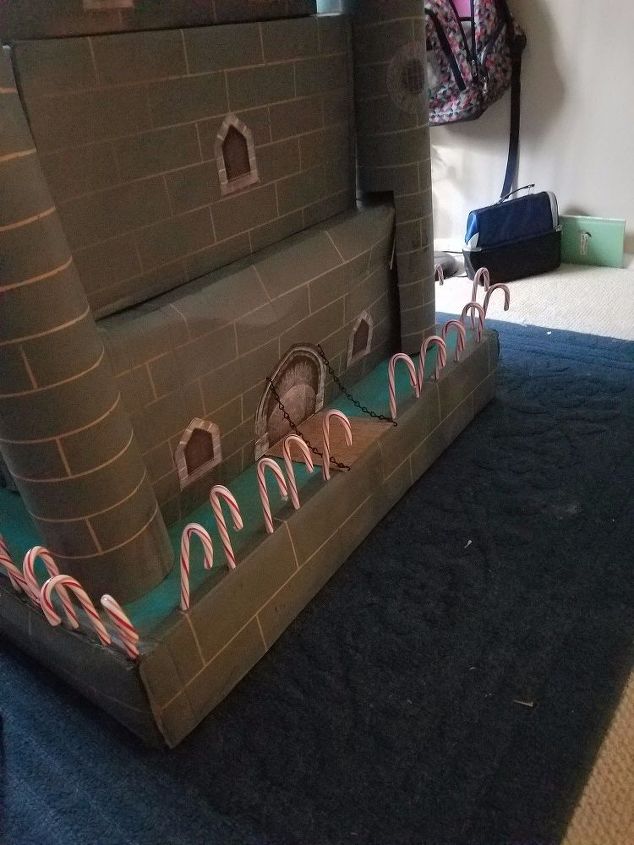
For the drawbridge I cut a piece of cardboard, used sharpie markers to make it look like wood. Then took two small lengths of black chain and volia! a drawbridge! I used candy canes for the moat fence.
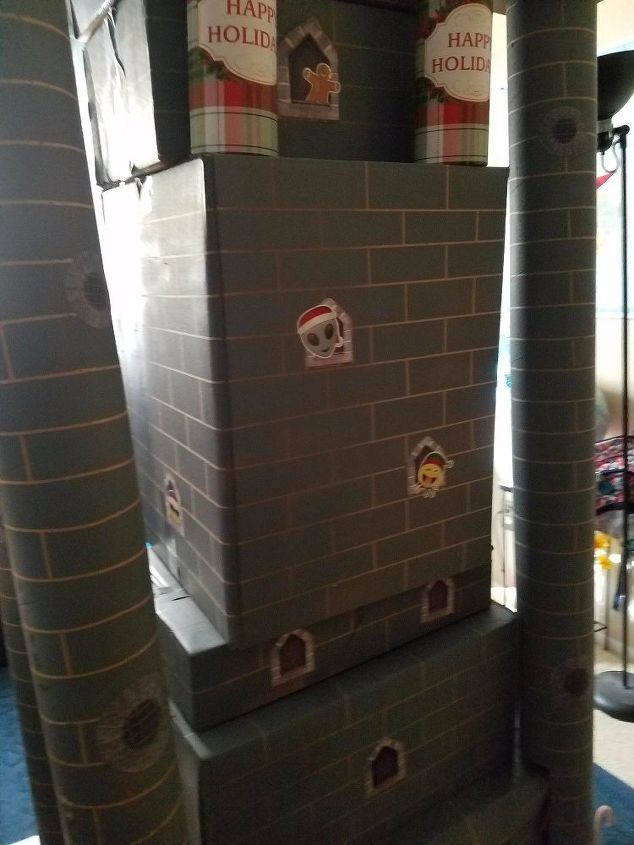
I used stickers to put emojis in the windows!
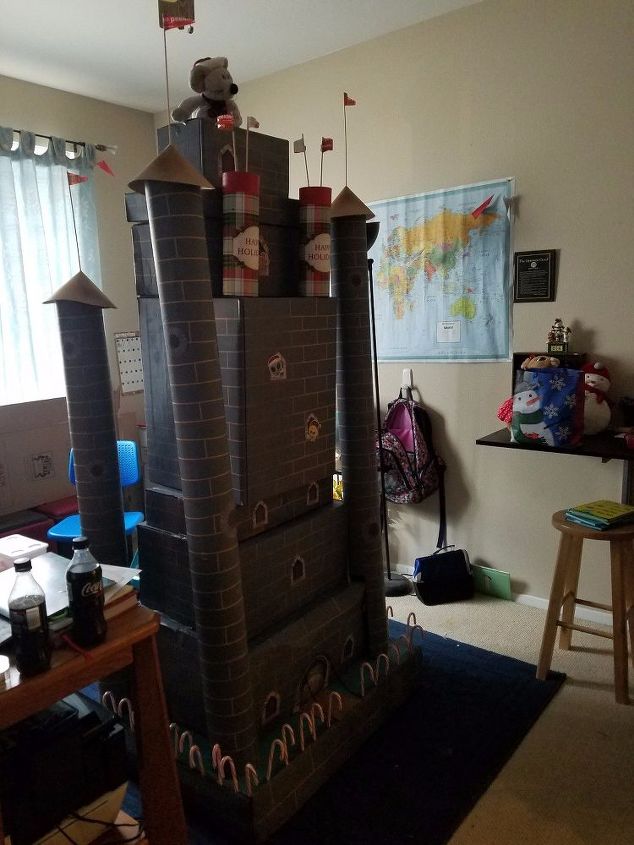
used cardstock to make the tower roofs, added two round gift boxes as extra turrets and pit a castle "Monster" (a stuffed Christmas Mouse) on top! It was a huge hit!!!
Want more details about this and other DIY projects? Check out my blog post!
Comments
Join the conversation
2 comments
-
I love this!!!! Thank you for sharing!!!


Frequently asked questions
Have a question about this project?