


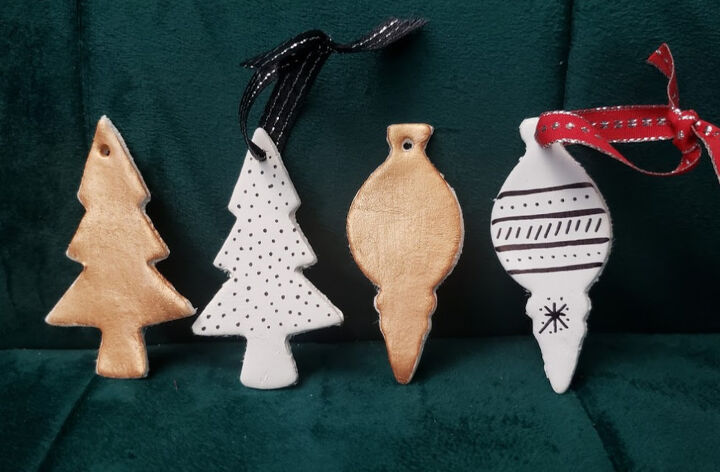
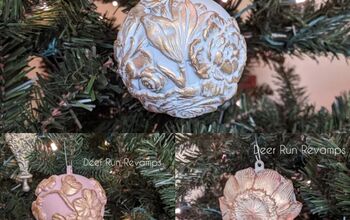
DIY Air Dry Clay Christmas Ornaments
I love to make handmade ornaments for my Christmas tree. I usually do a different variation every year and this year it's these cute graphic and glam DIY Air Dry Clay Christmas Ornaments.
These are a very easy craft. They don't take a lot of time or money, either! They are definitely something you can do with the kids, too!
You don't need much, just some air dry clay, some metal cookie cutters, a black sharpie, some copper craft paint, a skewer and some ribbon (or twine or anything that you can use to hang the ornament!).
The first step is to simply roll out your clay. Give it a good kneading first and then use a rolling pin or a cylidrical jar to roll out the clay.
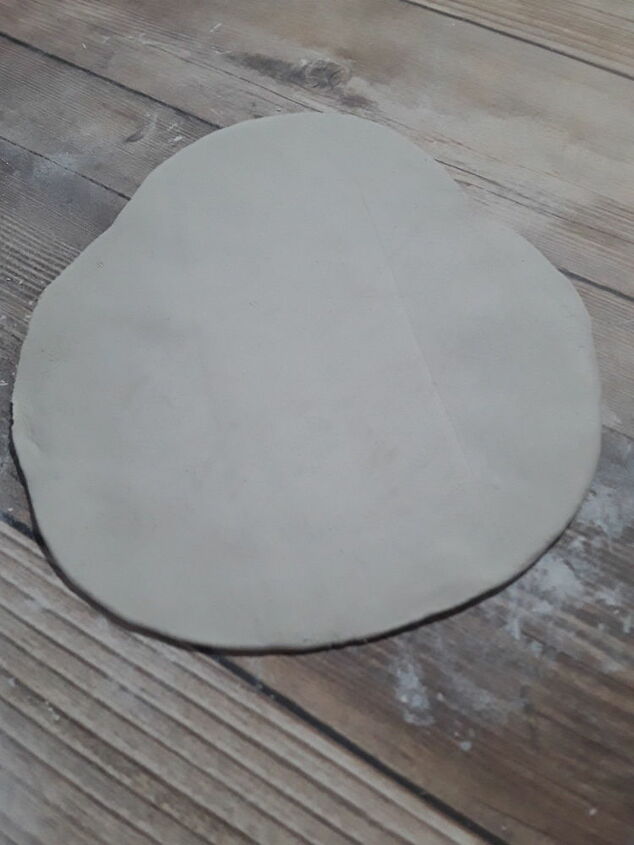
You'll want it about an 1/8" thick.
Next, you'll use your cookie cutters to cut out the shapes for the ornaments.
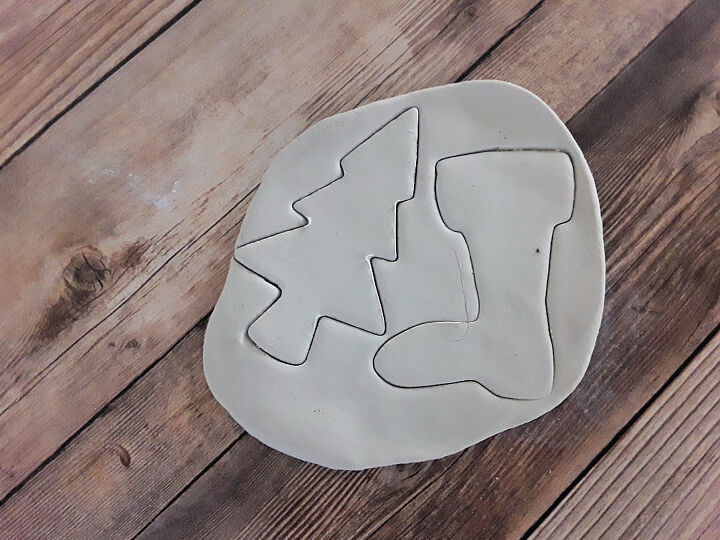
When you are removing the excess clay, leave the cookie cutter in place and pull the excess clay up and away from the cookie cutter for the neatest job.
You'll have a little smoothing out to do along the edges.
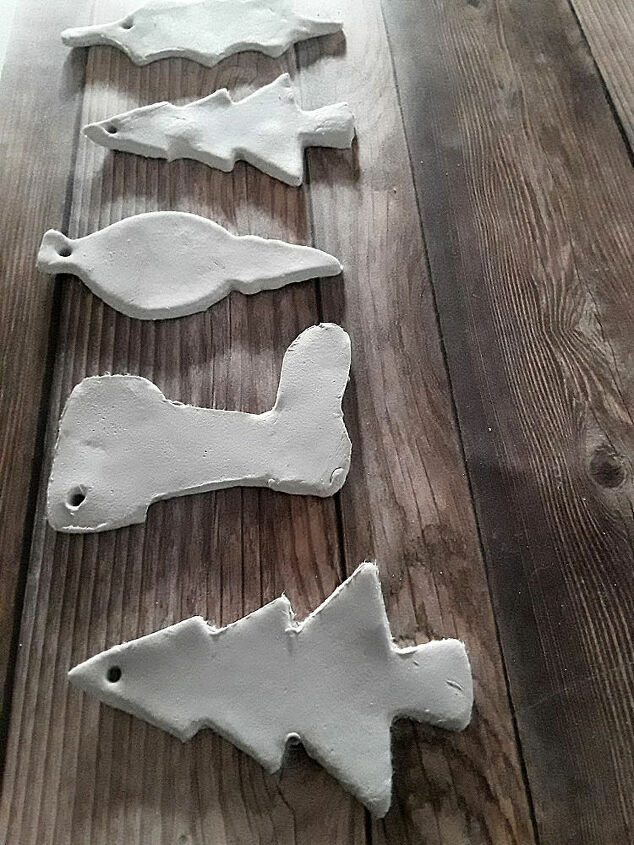
Use your skewer to put a hole at the top of the ornaments. That's where your string or ribbon will go for hanging.
Let the ornaments dry overnight and in the morning you can paint them or decorate them with the black sharpie.

I added ribbon, but twine would look really cute with these, too!
The next set I make will be monogrammed. You could quickly and easily do a whole tree of these!
Resources for this project:
See all materials


Comments
Join the conversation
-
Yes, I think I will> Thanks for the idea.


Frequently asked questions
Have a question about this project?