


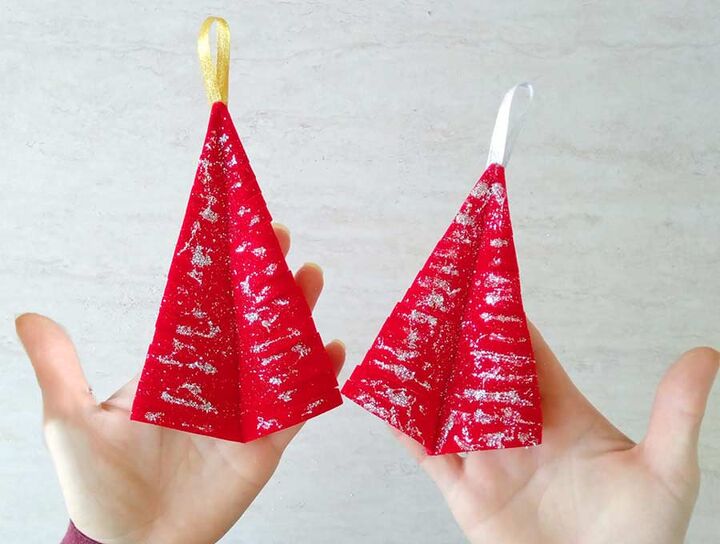
DIY Christmas Tree Ornament in Just 5 Minutes
With holidays just around the corner, it is time to take your Christmas décor to the next level with this simple Christmas tree ornaments.
Making handmade Christmas ornaments don’t have to be time-consuming or complicated. Just grab the free pattern here: Christmas Tree Ornament Template and let’s get sewing!
We all want to spend as much time with our loved ones as possible, and let me tell you crafting together is one of the ways to do it. Sew these Christmas ornaments with the help of your little ones, and make it fun.

Prepare your supplies.
You don't need much - just a piece of red velour or felt, little piece of gold ribbon, glue and your standard sewing supplies
Draw or print the pattern
Draw a triangle on a piece of paper to use as a pattern or download my free pattern here. Print it at 100% (no scaling) and trim the excess paper.
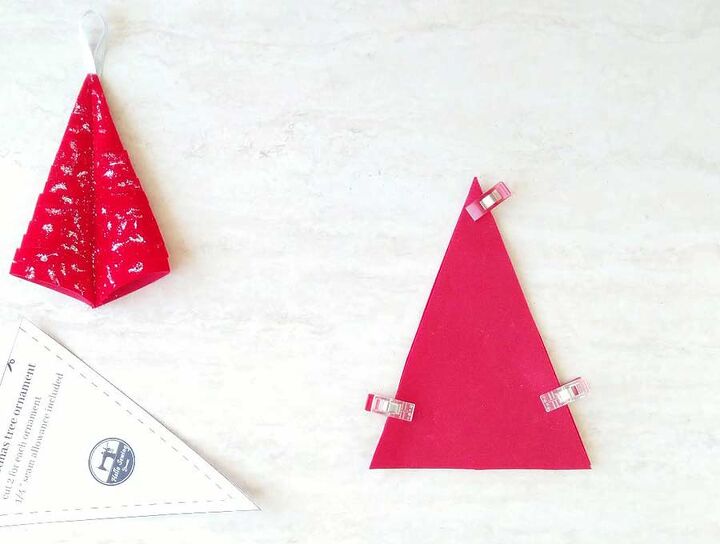
Sew the triangle shape
Cut out two triangles according to the pattern. Place them on top of each other and sew around the shape, leaving the bottom unsewn.
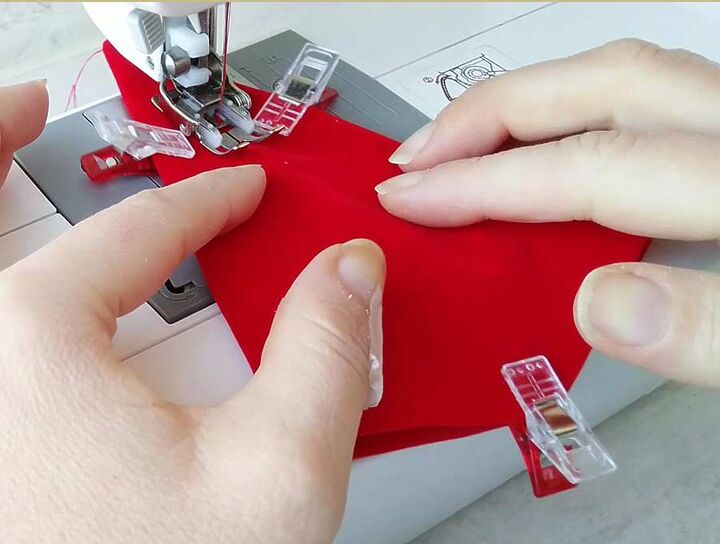
Turn the triangle around and push out the corners.
Align the seam lines, pin and sew along the stitching line. Don't forget to backstitch at the beginning and the end.
Fold the ornament in half and pin the middle to hold it in place. Cut small slits about 1/3 inch apart starting from the bottom of the tree, all the way to the top. Unfold
 If you face any issues when making the ornament, hop over at HelloSewing, I describe the process step by step and I use a lot of photos
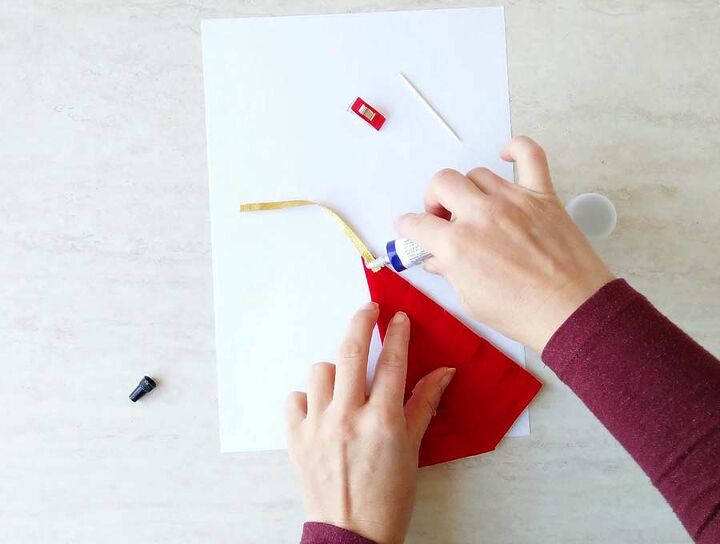
Glue the hanging loop on the back of the Christmas ornament.
You can add little dots of glue and sprinkle the glitter on top for some extra bling. I describe the full process over at my blog.
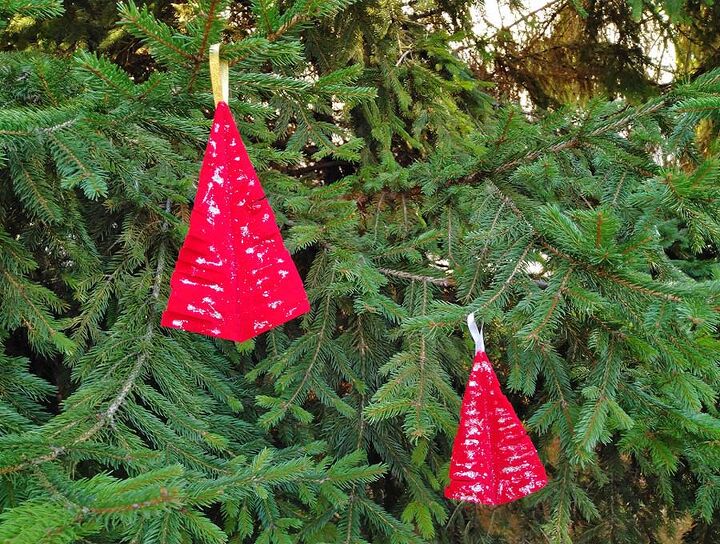
TA-DA! The Christmas Ornament is ready! Make a few more and hang them on the tree!
Resources for this project:
See all materials


Frequently asked questions
Have a question about this project?