


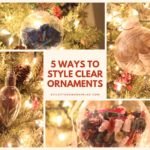
DIY Clear Christmas Ornaments


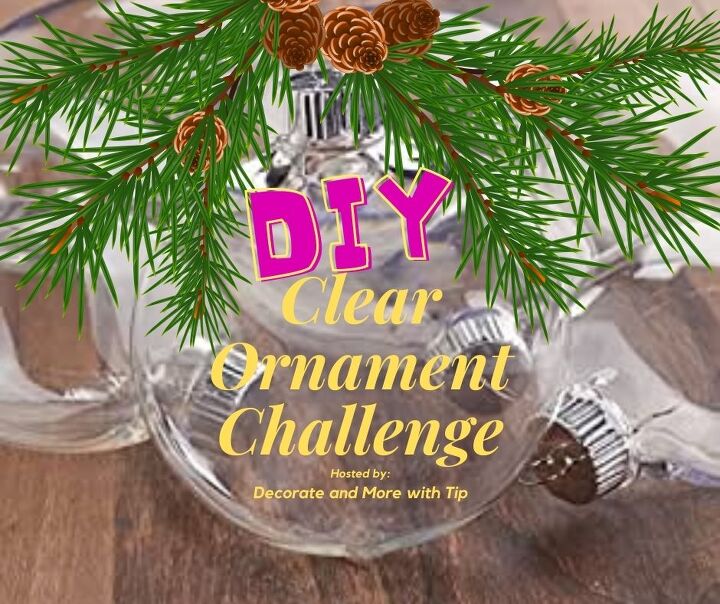
CHALLENGE DEETS
Today I am teaming up with several of my blogging friends to share how we each put our own spin on a clear ornament. My friend Terrie from Decorating and More with Tip is our host and always has creative challenges for our group!
I know you will love to see the DIY ornament from my friend Tara!
FAMILY TRADITIONS
I have always enjoyed making Christmas ornaments. I started this tradition with our family, for my husband and I’s first Christmas together. He actually was recovering from major abdominal surgery and I wanted to have something fun for us to do, while he was at home. I have continued this tradition, every year in our family. I have made all types of ornaments from salt dough ornaments to hand painted ornaments!
LETS MAKE ORNAMENTS
Come follow along with me, as I show you, just how easy and budget friendly it can be to make your own ornaments! Plus it is so much fun and it will be memories that you can add on your Christmas tree, year after year!
SUPPLIES NEEDED:
*Clear ornament(s)
*Fabric
*Ribbon
*Flocked Garland
*Mini Pine Cones
*Hot Glue Gun and Glue Sticks
*Jute Twine
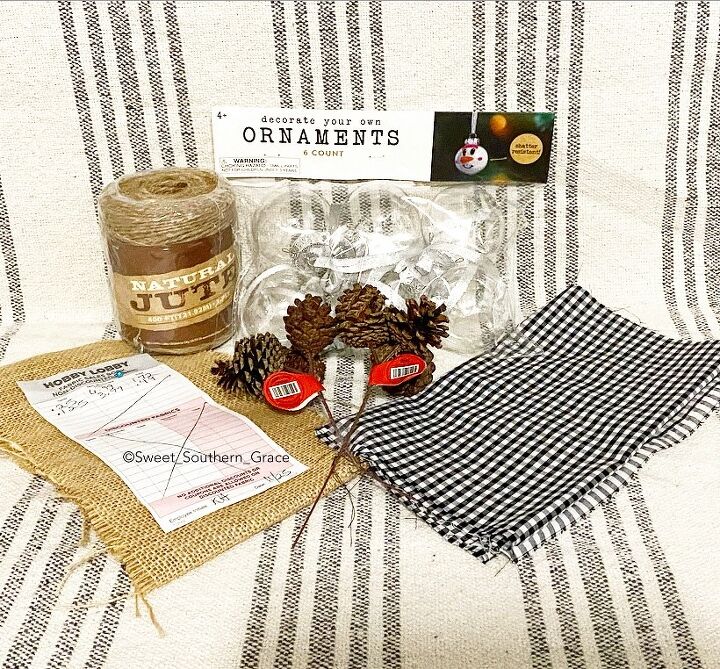
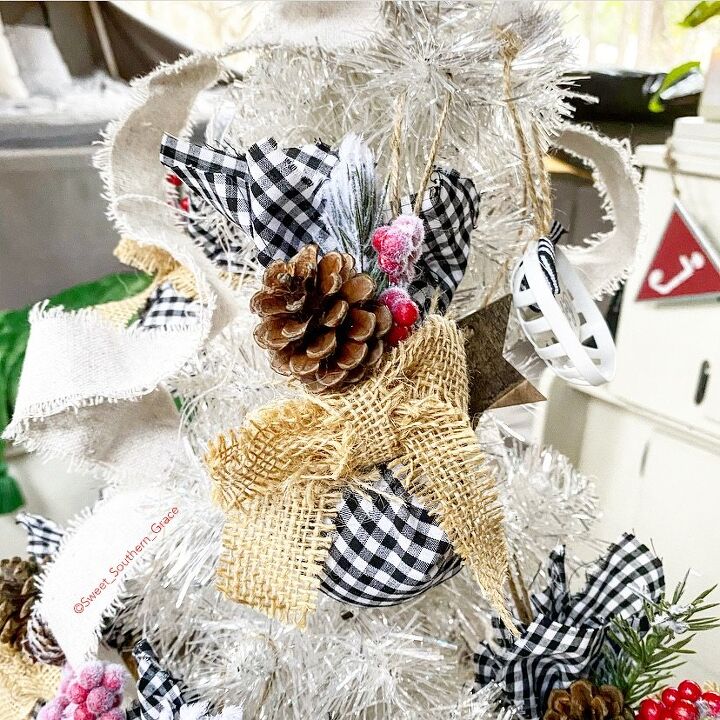
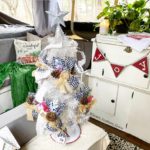
I grabbed this six count of clear ornaments in the Dollar Section of Target for $3! I wanted some smaller ornaments to put on our mini Christmas tree for our camper. Since our camper is decorated in a rustic, boho type decor, I decided to go with black checkered fabric and burlap ribbon to cover my ornaments, that I purchased from Hobby Lobby.
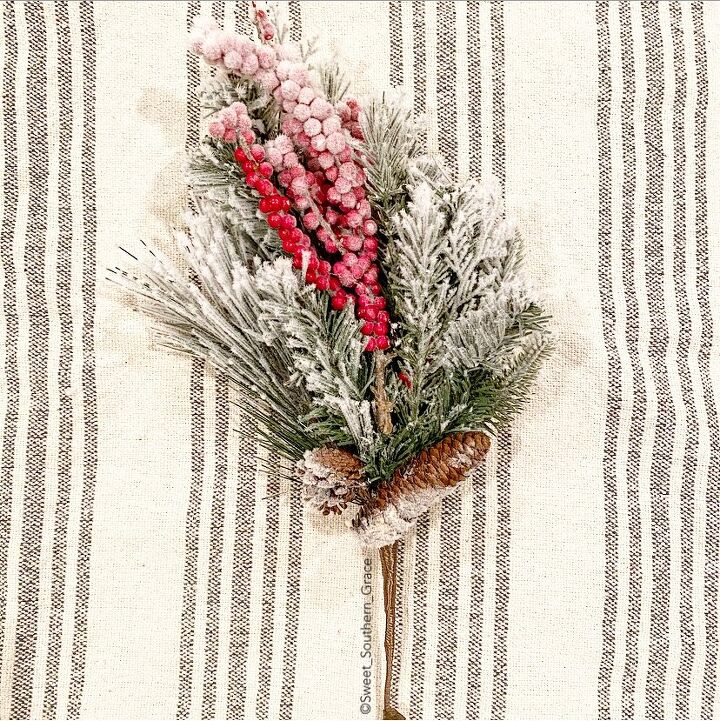
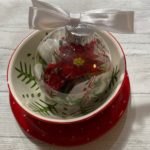
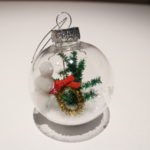
I also picked up small pine cones and some flocked greenery with red berries.
HOW TO MAKE THE ORNAMENTS
These ornaments are really simple to make. Plus, they make great gifts too!
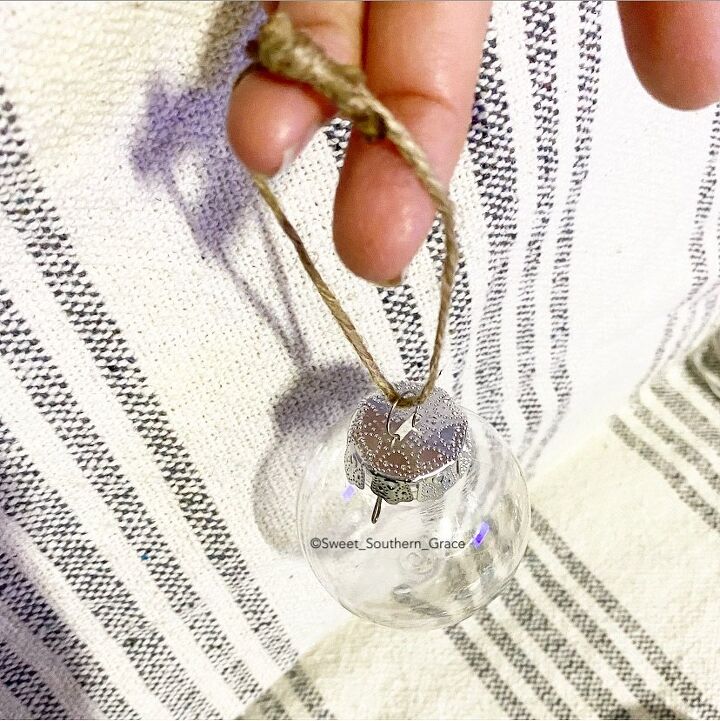
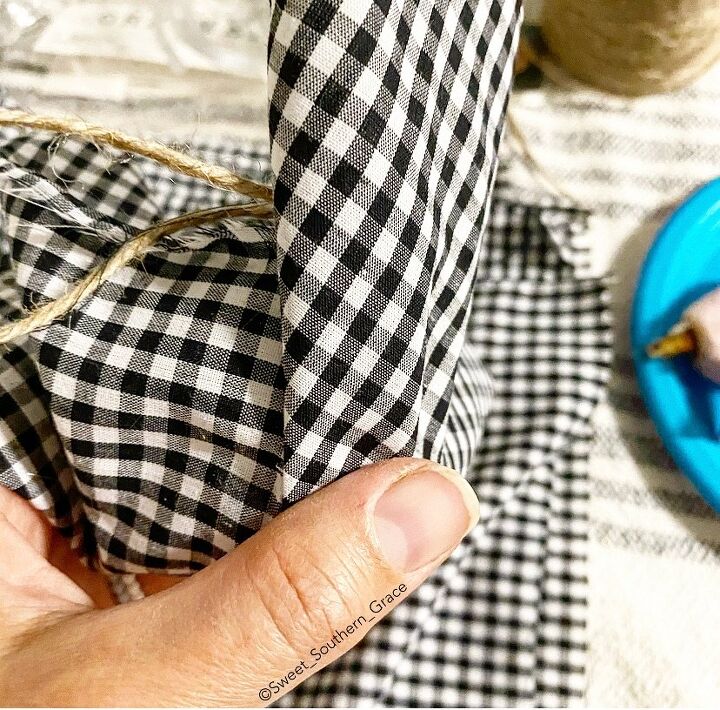
I tied my jute twine around the ornament top base to my desired length, for the ribbon hanger.
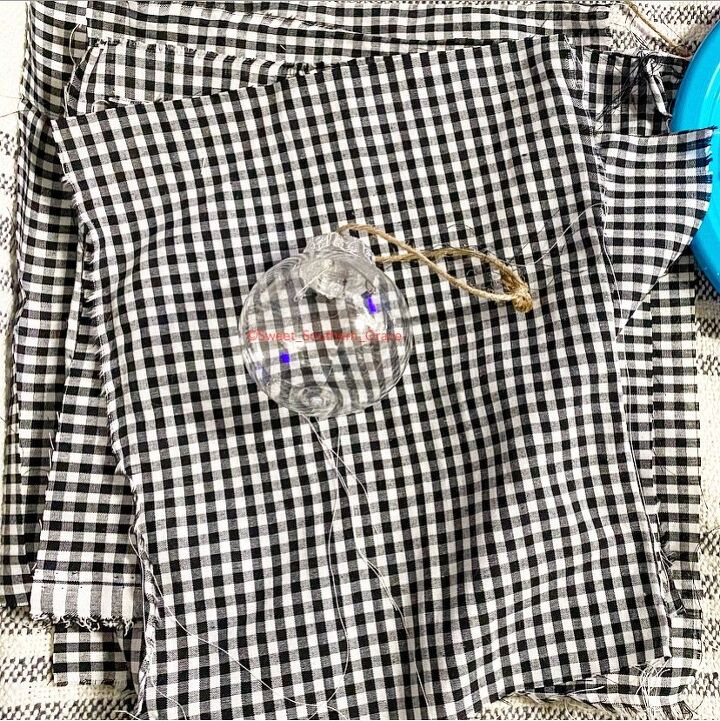
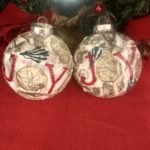
Next, I cut my fabric a few inches wider than the diameter of my ornament, then began lightly adding hot glue to the ornament and wrapping the fabric around the ornament.
I could not find any burlap ribbon at my Hobby Lobby, so I purchased an eighth of a yard of burlap to cut my own “ribbon”.
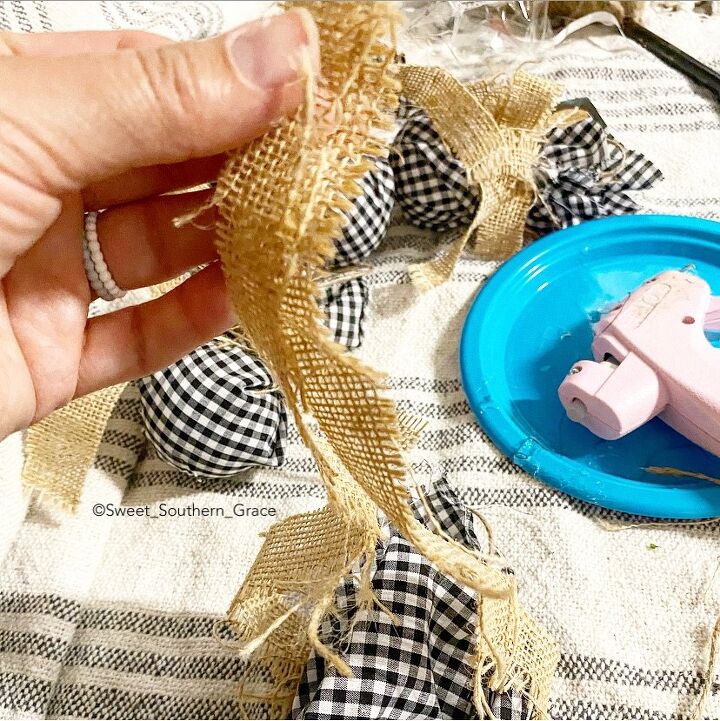
I cut my ribbon in one inch strips.
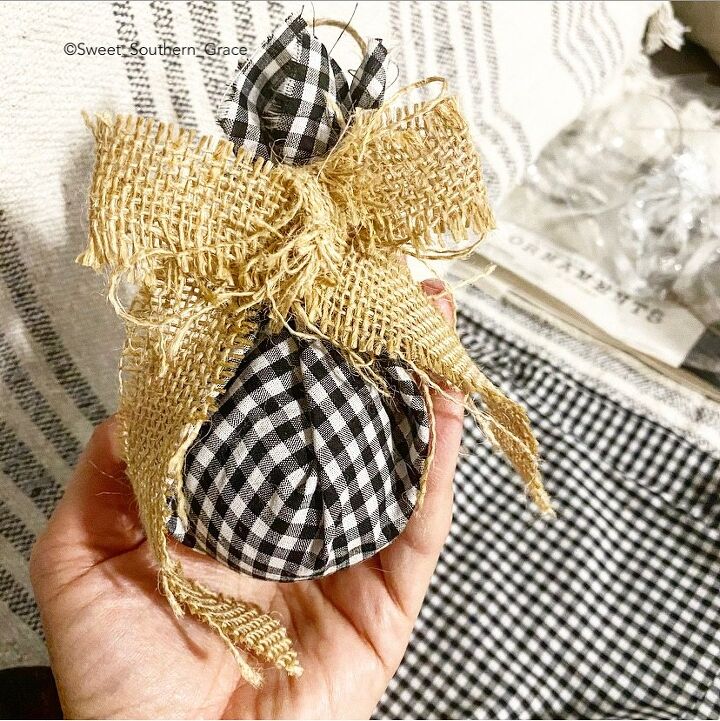
Next, I tied my burlap ribbon around the ornament then added a few strands of jute twine by tieing them into the burlap ribbon.
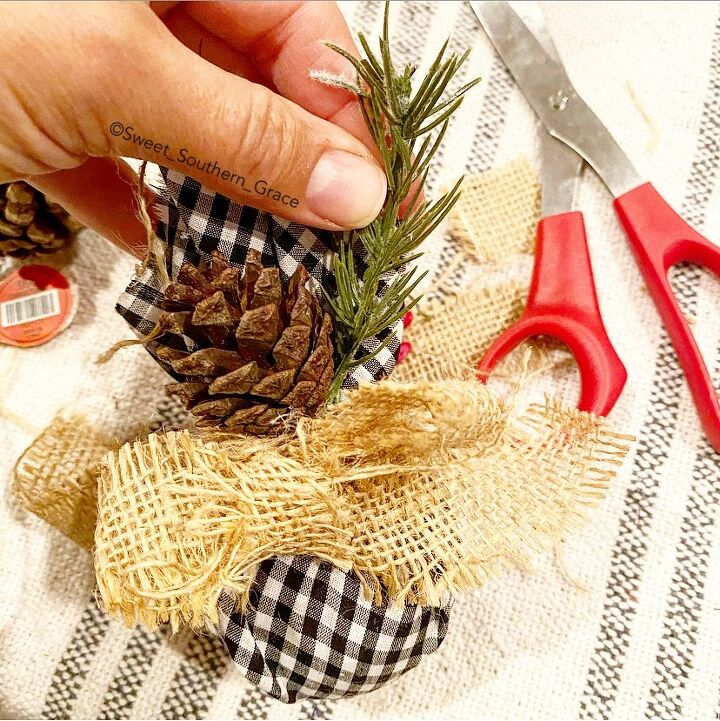
For the greenery, pine cones and berries, I just cut from the greenery and pine cones bunches that I purchased from Hobby Lobby. Add a little dab of hot glue and your good to go! You can also adjust your burlap ribbon to look neater by adding dabs of hot glue to the back of the ribbon, attaching it to the ornament. How simple are these ornaments!

FINAL THOUGHTS
I hope y’all have enjoyed reading about my DIY Clear Ornamants! I love that these will be a memory on my Christmas tree, year after year! I hope you will check out the other ladies to see what they have come up with for their clear ornaments!
I know you will love to see how this ornament by Jodi turned out!
Love~Shae

Decorate and More with Tip| Purple Hues and Me| Cloches and Lavender| Pallet and Pantry

Patina and Paint| Paula’s Handmade Space| Stilettos and Shiplap| Sweet Southern Grace
The House House| B4 and Afters


Frequently asked questions
Have a question about this project?