3 Easy DIY Christmas Ornaments You Can Craft at Home

Today, I'm going to share with you three easy DIY Christmas ornaments. These upcycle ornaments were all made using items and materials I already had at home. I hope they inspire you to make your own holiday decor this year and get creative with what you find around the house! Let's get crafting!
This post was transcribed by a member of the Hometalk editorial team from the original HometalkTV episode.
Tools and materials
- DVD
- Scissors
- Gel medium
- Dowel
- Styrofoam ball
- Foam
- String
- Paint
- Old ornament
- Hot glue gun
- Gold wax
- Tile mesh
- Permanent markers
Easy DIY Christmas ornaments
1. DVD glitter ball ornament
1. Cut the DVD
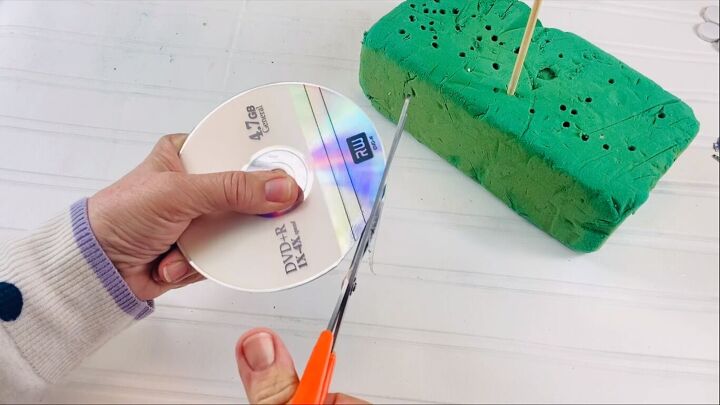
To decorate the first ornament, I'm going to use an old DVD. Taking a regular pair of scissors, I'm going to start cutting right around the edge of this DVD.
So they come in two parts, and cutting it around the edge like that will help me to separate the two halves.
Do be careful: wear safety goggles if you think these pieces are going to fly all over the place. I've cut it into little strips, and now I'm going to cut it into small pieces.
2. Paint gel medium on the ball
I've stuck the foam ball onto a wooden skewer and put it into a piece of foam. Now, using gel medium (this happens to be gloss, but it doesn't have to be - I'm using this because it's nice and thick), I'm going to cover the foam ball. The nice thing about this is it dries clear.
3. Stick the DVD pieces on the ball
Then, taking one of my little pieces, I'm going to place it on the ball. Don't butt them up, we want a little space in between.
As you can see, as the light hits these DVD pieces, you get all the colors of the spectrum. How cute is that? A little globe ball, and the colors are amazing from that DVD. I cut a piece of ribbon, and made a little hole, stuck some glue in, and stuck the ribbon inside. This is such a cute way to make an ornament using recycled materials.
2. Gold drip ornament
Next up is this beaten-up old ornament that I'm going to paint.
1. Paint the ornament black
I'm using a matte acrylic paint. I love the finish with this. It's by Blick Art Supplies, and it's called Purple Madder. It's a kind of a purple-brown color. So I'm just going to give it a coat or two.
2. Create glue drips
Now, with my hot glue gun, I'm going to decorate this ornament. I'm making it look like wax has dripped down it.
3. Apply gold wax
Now it's all dry, I'm going to add some gold gilding wax to my drips.
Add some ribbon, and now I have some new gold drip ornaments for my tree.
3. Tile flower ornaments
Finally, if you have any leftover mosaic tiles from a renovation, you can make Christmas decorations from those too.
1. Cut the shapes
The first thing I did was cut out a shape, and I saw little flower shapes in my circle tiles. Trim off the netting on the back that holds all the mosaic tiles together.
2. Paint the tiles
I am going to paint mine. I've got a very pretty blue-violet color here, and I'm just going to paint the tops.
So, I've painted my little flowers all different colors using acrylic paint, and now I'm just going to leave that to dry.
3. Draw designs with markers
Now my tiles are dry, I'm going to use these marker pens. I've got a gold Sharpie and a white Posca pen, and I'm going to make little designs on my flower.
Easy DIY Christmas ornaments
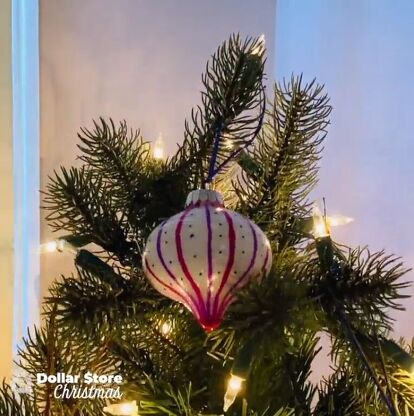
Here are my DIY Christmas ornaments. Just look how pretty they are. They really are quite different. I love them. I hope you've enjoyed this video, and that you are inspired to have a go. Let me know which was your favorite design in the comments below.
Check out more DIY Christmas ornament ideas and easy DIY painted ornaments in my previous tutorials:
Enjoyed the project?












Frequently asked questions
Have a question about this project?