


Easy DIY Photo Booth and Blue and White Banner Tutorial
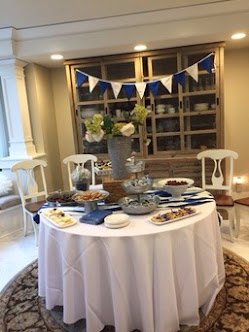
On Tuesday I shared with all of you the BYU graduation party I helped put together for my friend and showed you the dessert table. Today I want to show you you details about how I created the photo booth and the blue and white banners.
First off the banner- I bought a yard each of blue and white cotton fabric and cut triangles out of each color and sewed them onto some Rick Rack.
You could probably hot glue it if you don’t know how to sew.
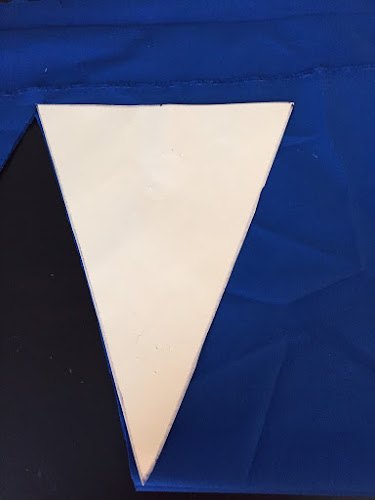
Make a triangle pattern out of cardboard 7″ across and 9″ down
I used 6 of the blue and 6 of the white triangle fabric cut outs per banner.
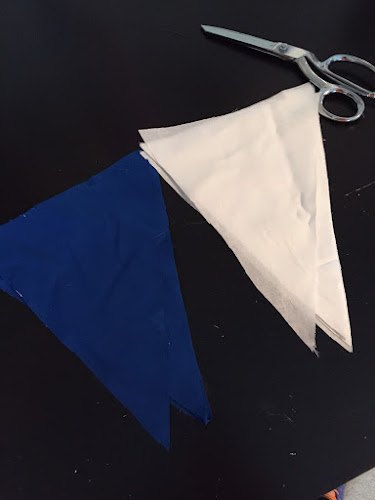
Then I sewed each triangle onto the jumbo sized rick rack using a straight stitch down the center of the rick rack
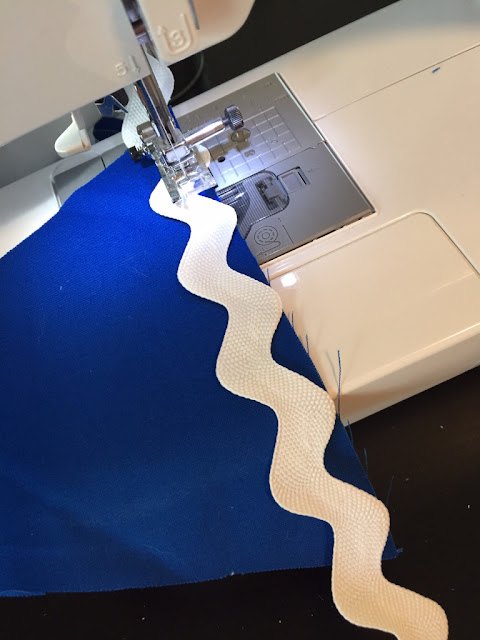
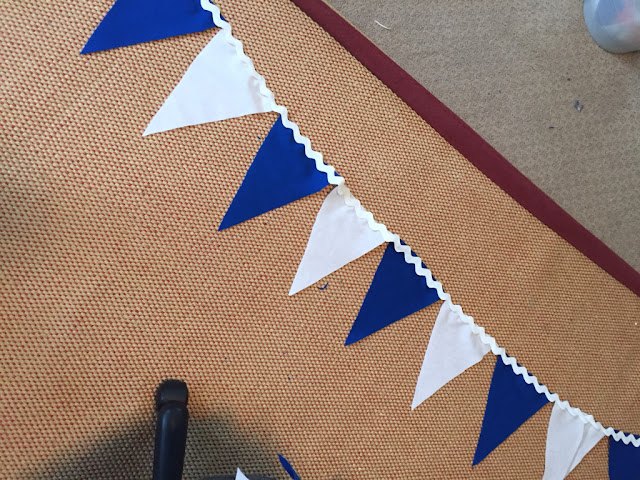
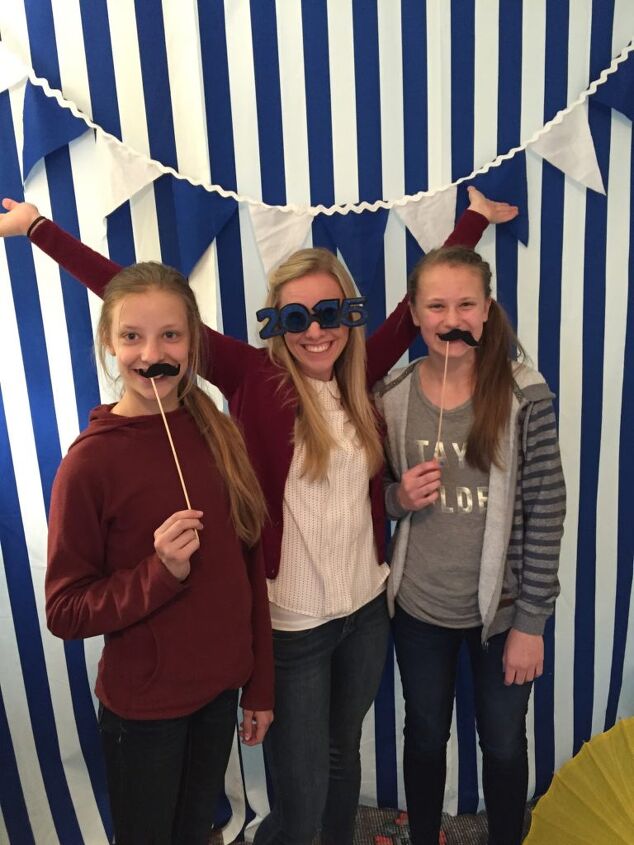
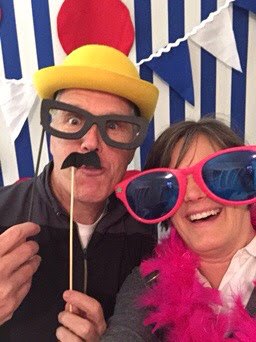
Photo Booth Instructions
Here is the photo booth I created using the IKEA striped fabric and fun props. I bought 6 yards of the fabric and cut it in half. Then I draped each piece over the top of rented drape and pipe and safety pinned them so they wouldn’t fall off.
The drape and pipe measured about 8 ft high and about 8 or 9ft wide.
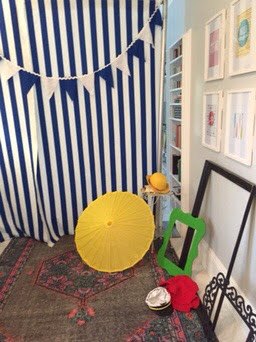
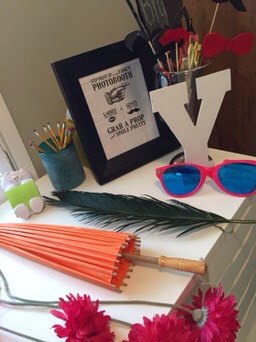
For the props I found empty wooden frames, hats, a paper umbrella, huge sunglasses, and faux flowers. For the lips and mustaches on a stick a friend cut them out of felt and hot glued them on to skewers for people to hold up to their mouths.
Even the littlest guests had fun posing for a pic. Just have everyone use their phones to take selfies no need to have a camera there.

We had so much fun at this party! To see more about this


Frequently asked questions
Have a question about this project?