


Build an Easy Dog Ramp

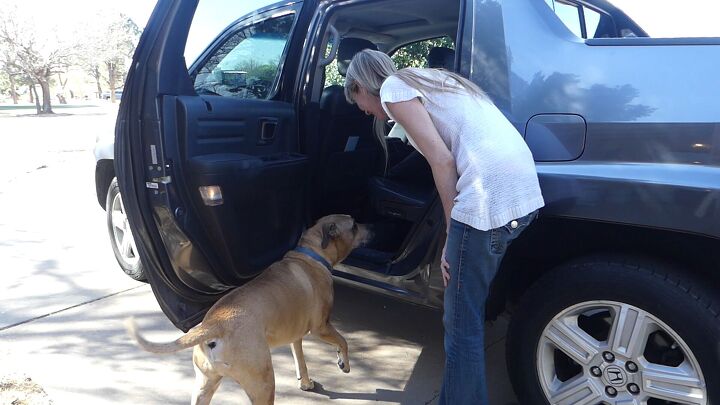
Bailey’s still a puppy to me but at 13 years old, he doesn’t like doing a lot of jumping. So let’s build him a sturdy doggie ramp. And you can make your furbaby their own ramp, too! (I've named this a 'dog ramp' but hey, any pet could use this!)
You’ll need: (Do your Amazon materials shopping on my blog at THIS LINK as all affiliate link proceeds are donated to no-kill animal shelters and rescue organizations)
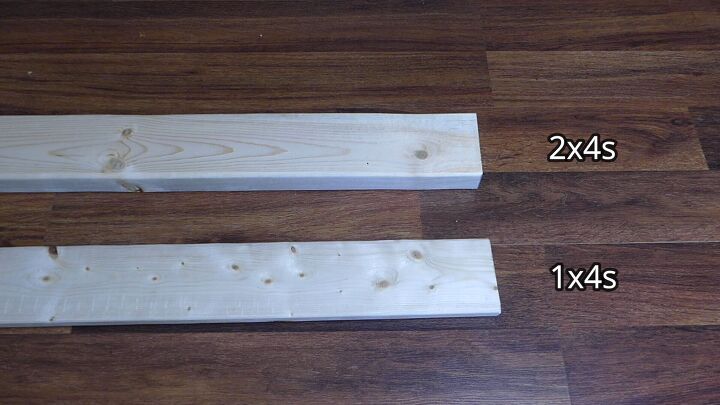
* 2x4s and 1x4s
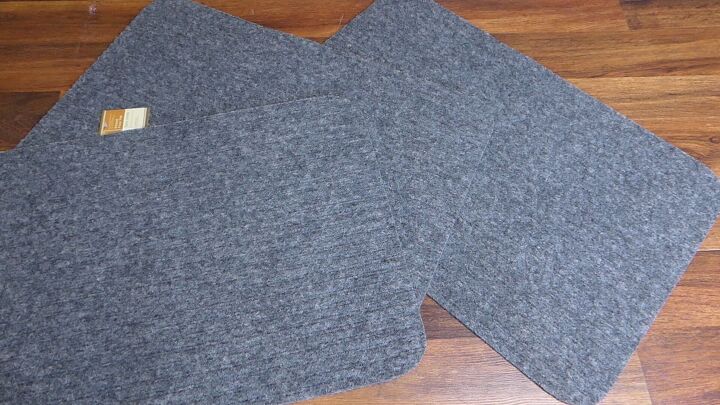
Indoor/outdoor rugged mats
A miter saw, safety glasses, measuring tape, a sanding block, a nail gun and staples, a straight edge, and a utility knife.

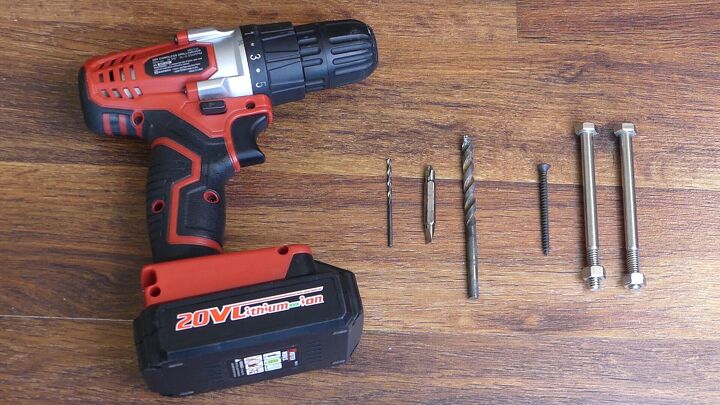
A drill and bits for pilot holes and screws, 2 and a quarter inch screws, and two 4 inch bolts with washers and nuts. Make sure one of the bits is as wide as the bolts.
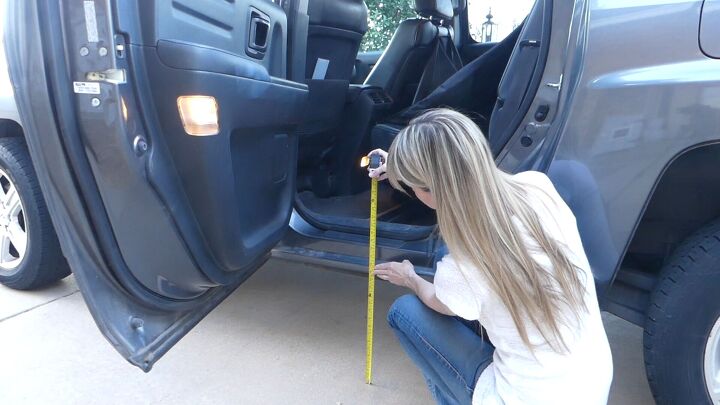
First, get your measurements. I’m going to be mainly using this for my truck so I’m measuring the height where he jumps in – which is 18 inches tall.
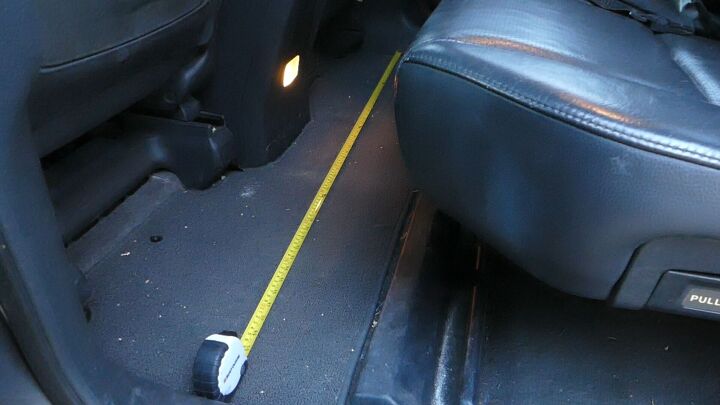
I also want to store it inside of the truck between uses so I’ll make it 48” long.
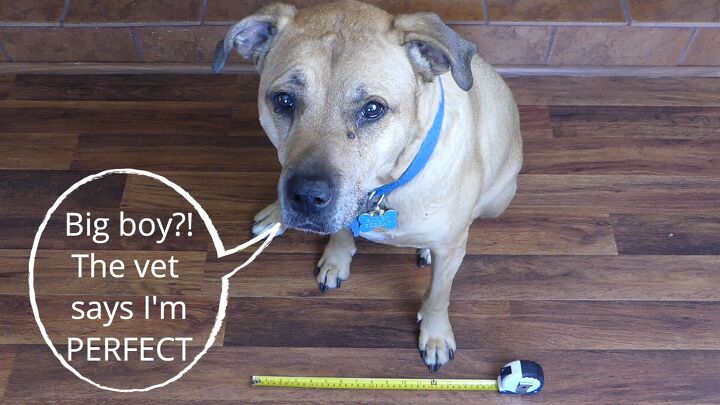
Since Bailey is a bit of a big boy, I want it wide enough for his normal gait so I’m going with 16” wide.
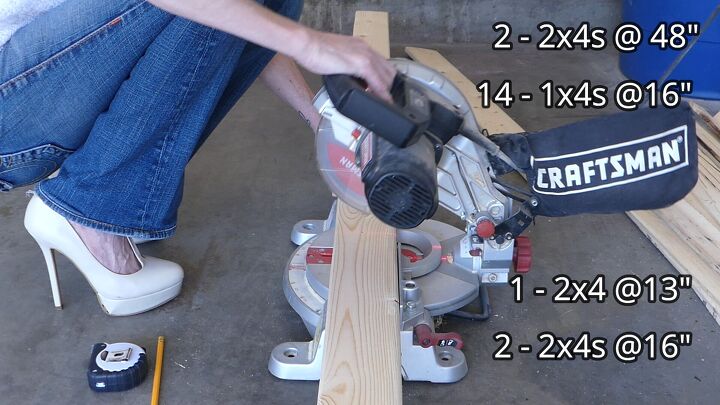
With these measurements in mind, cut the wood to size with the miter saw. You’ll want:
2 2x4s cut at 48 inches long
14 1x4s cut at 16 inches long
1 2x4 cut at 13 inches long
2 2x4s cut at 16 inches long – these are the legs
Note – if you want build a ramp with a different height than mine, simply take the height measurement and subtract 2 inches for the leg length.
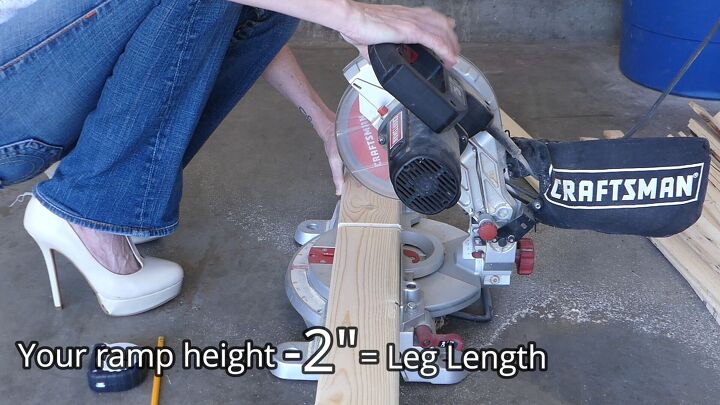
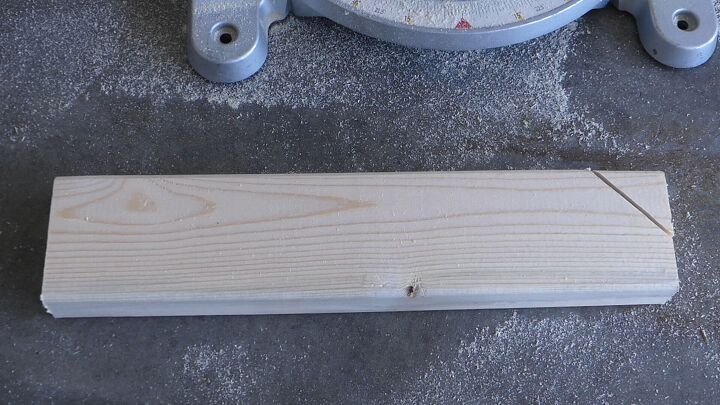
The two 2x4s legs should also have a 45 degree angle cut out of one corner so that you’ve cut 1 and a half inches off of the piece.
You’ll need another 2x4 cut but wait until later to get the exact measurement.
Sand all of the cut ends with the sanding block.

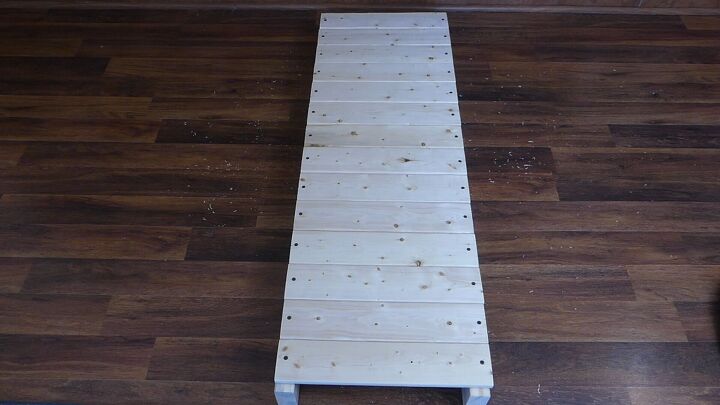
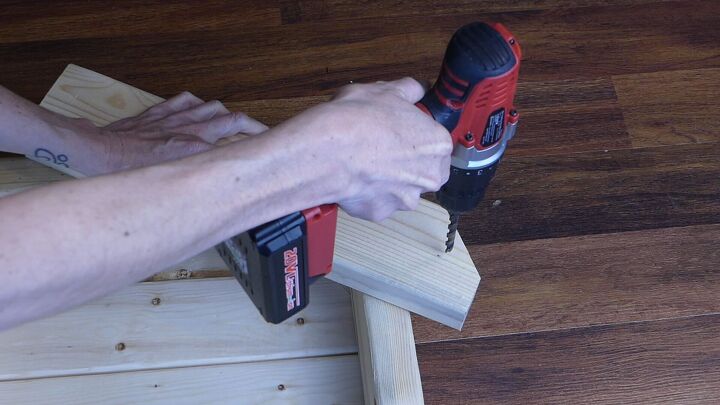
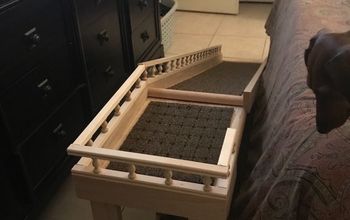
Lay out the two 48 inch 2x4s parallel and on their short sides and place a 1x4 across the top. Drill pilot holes and then secure in place with screws.
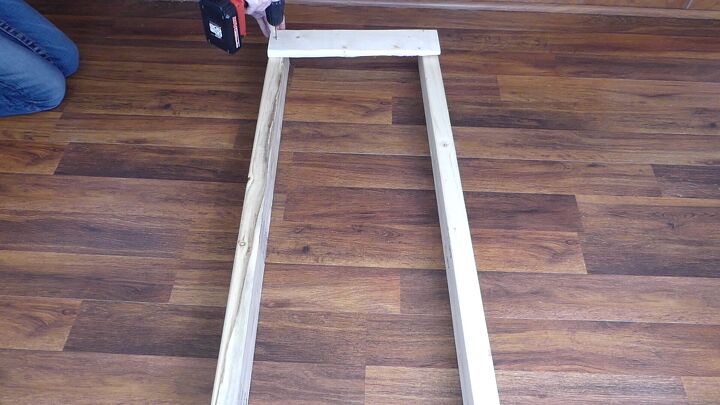
Continue until the 2x4s are covered with 1x4s.
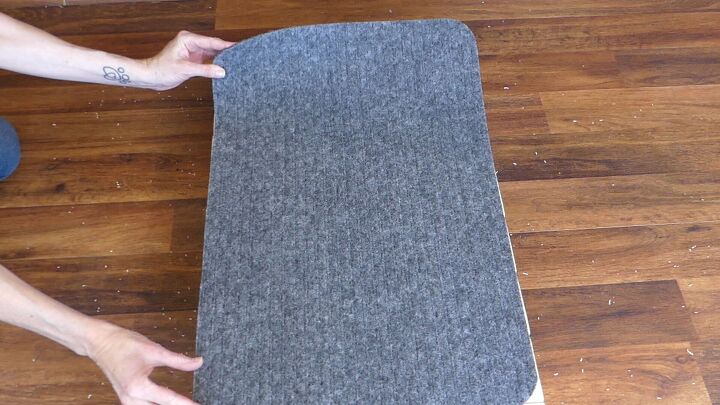
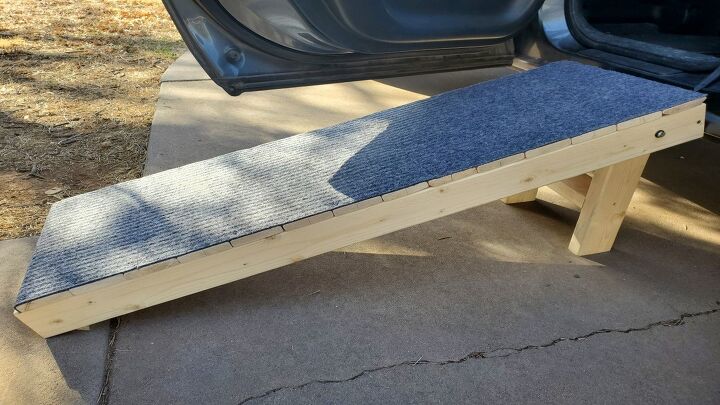
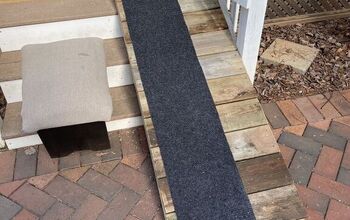
Lay the indoor/outdoor mats on top of the 1x4s. These will give Bailey a better grip while using the ramp.
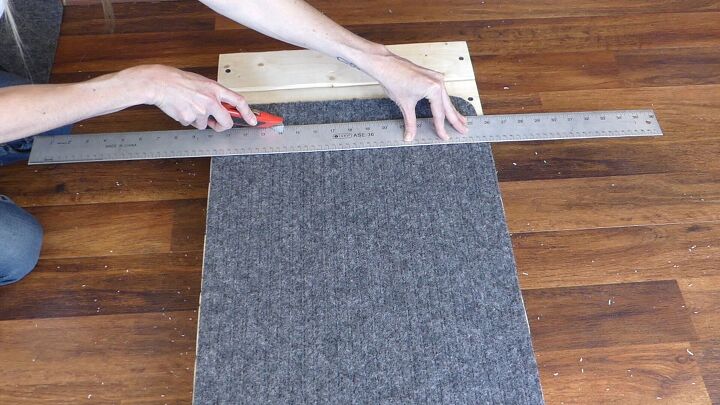
I don’t like the curved edges, though. Use a straight edge and utility knife to take off the curved edges if desired.
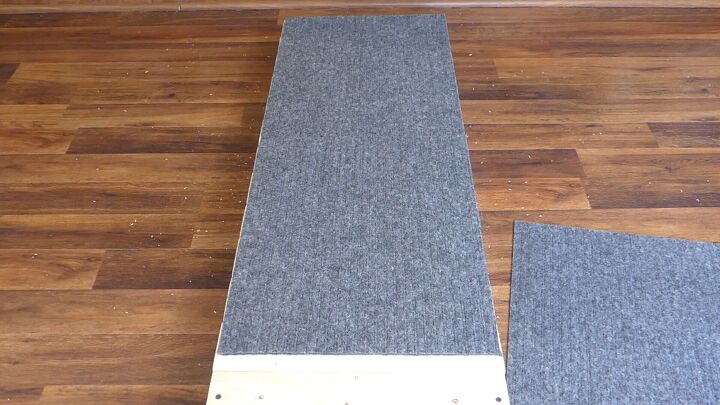
Butt the mats up against each other to fully cover the ramp.
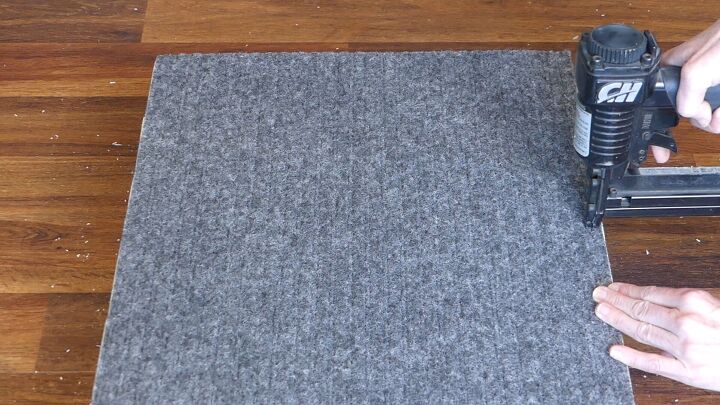
Use the nail gun and staples to secure the mats in place along all edges.
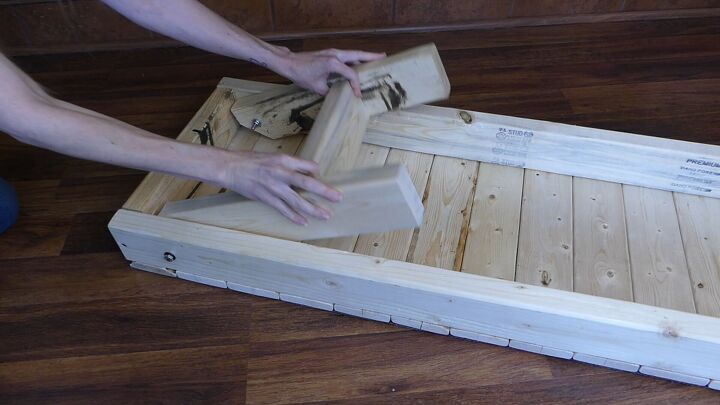
Turn the ramp on its side and add the 13 inch 2x4 to the top end.
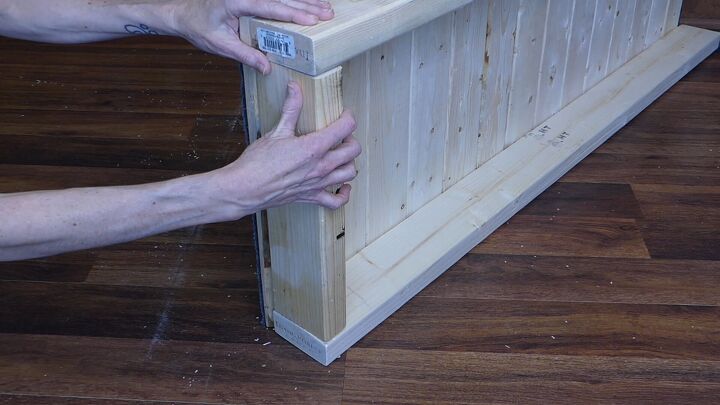
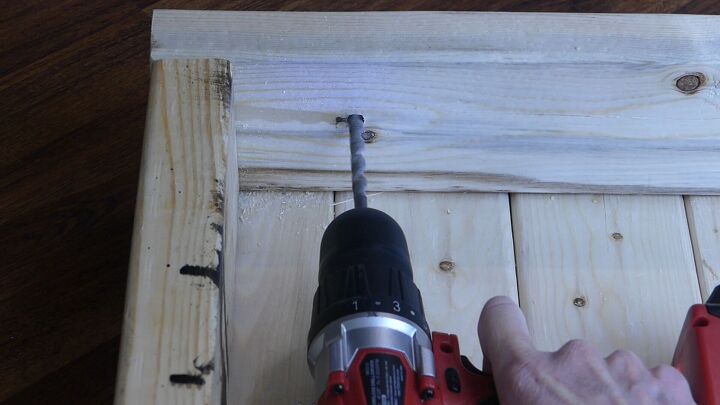
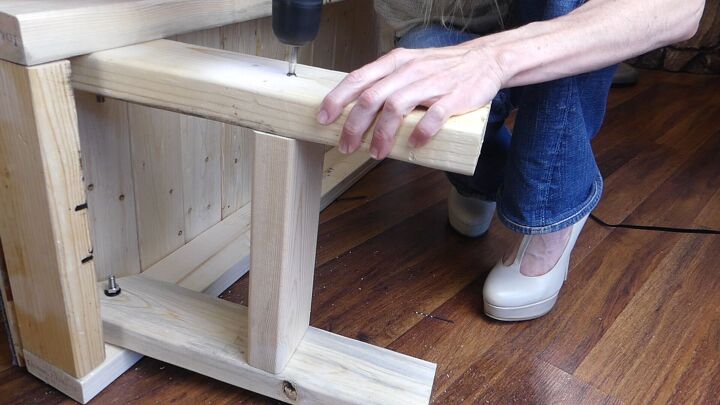
Use a bit as wide as the bolts to drill a hole in the center top and about an inch and a half down on the leg 2x4s. This should be on the cut-out end.
Place the 2x4 inside of the ramp so that the cut corner side is facing down. Leave a gap of about 3/4s inches or slightly less between the 2x4 and the end of the ramp.
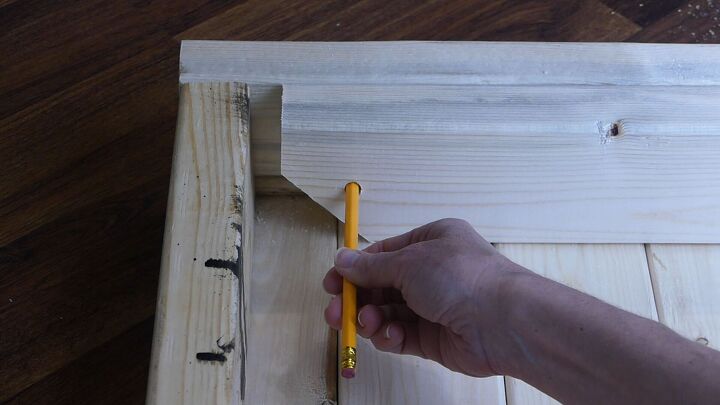
Use a pencil to mark the hole on the ramp frame.
Drill a hole on the mark and through the frame.
Run a bolt through the frame and through the leg. There should be a washer on both sides. Secure in place with the nut.
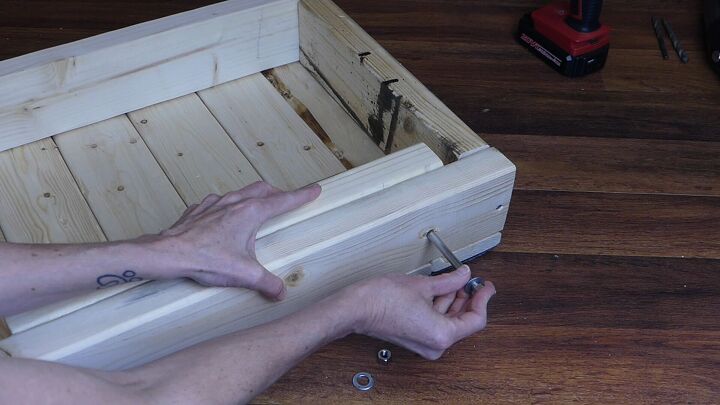
The nut should be tight so there’s some resistance when you move the legs but not so much so they don’t move at all.
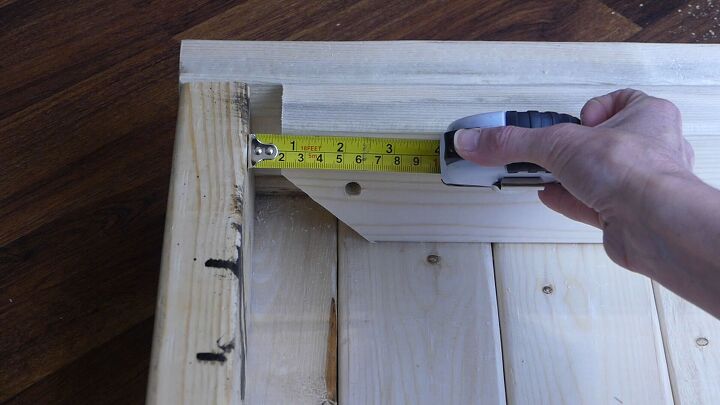
Once you have both legs in place, stand the ramp up and measure between the two legs.
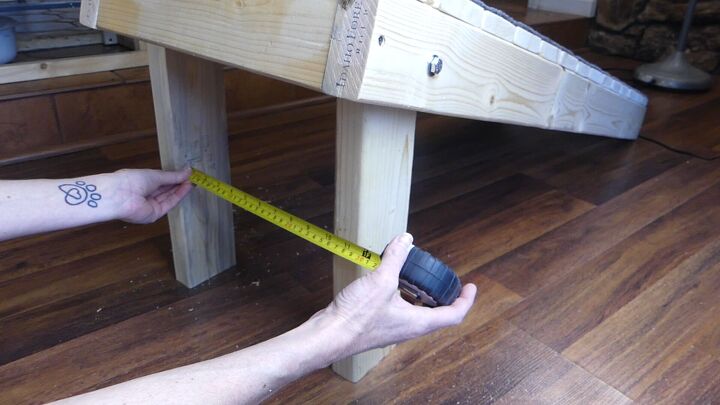
Cut a 2x4 to the exact measurement. This will stabilize the legs together.
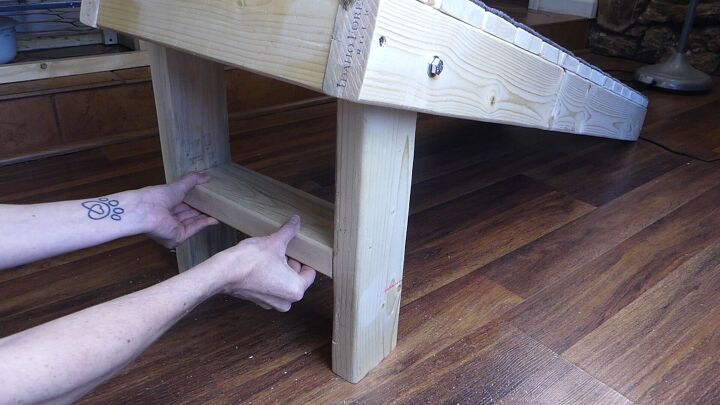
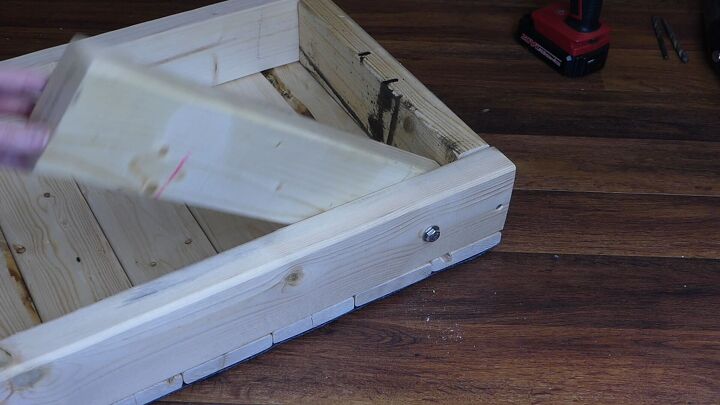
Turn the ramp over on its side and screw into both legs to secure.
The legs should now be able to pull out for use and collapse for storage.
Let’s try this out! Position the ramp and make sure the legs are sitting flat on the ground.
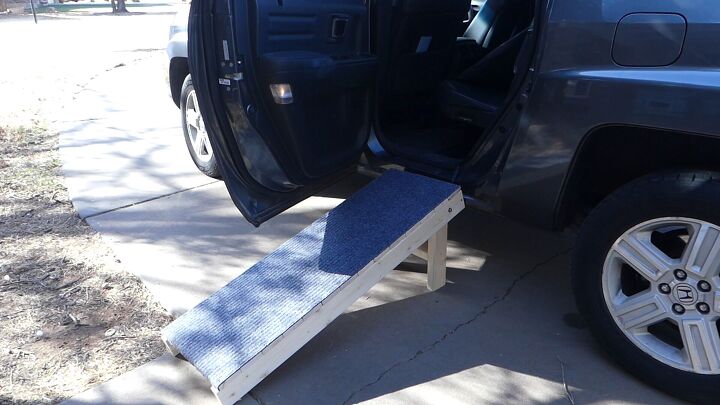
Bailey's about 75 pounds and the ramp remains stable and strong under his weight.
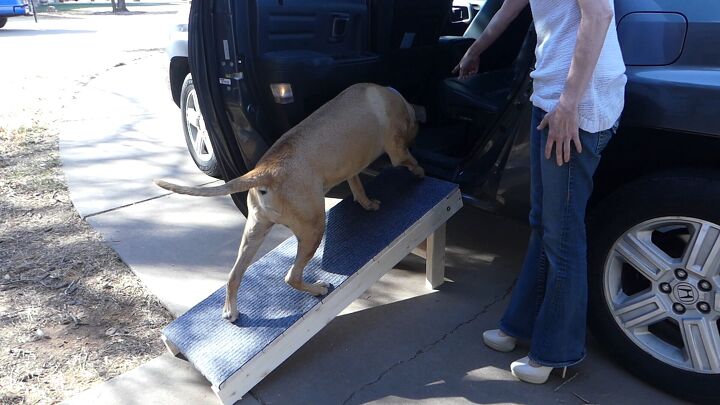
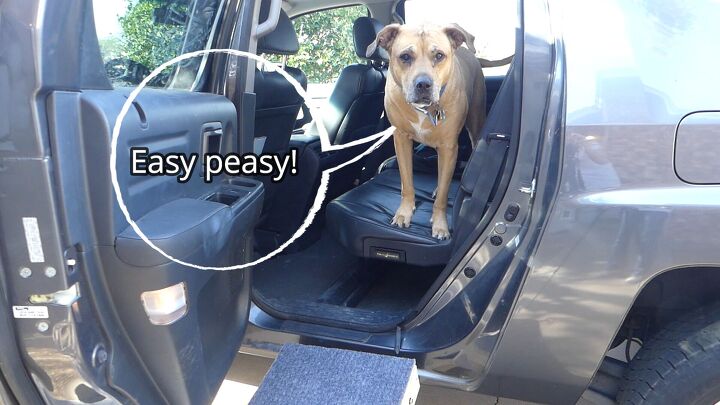
This is a MUCH easier way to get up into the truck for fun rides and his hips and knees aren't stressed by jumping!
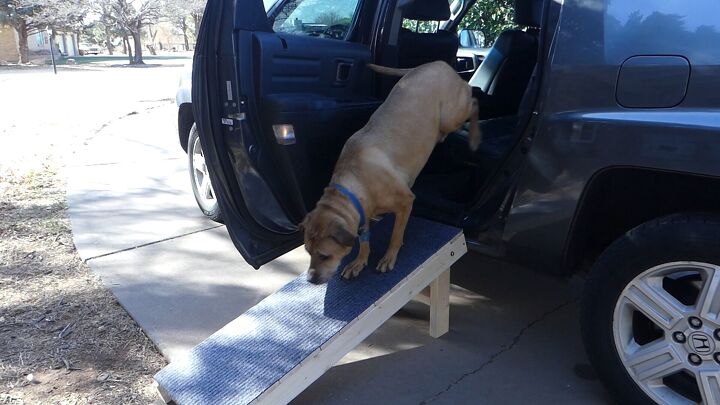
And coming back out won't involve a painful jolt when he lands on the ground anymore.
And I can fold the legs up underneath the ramp and store it in the truck between uses.
Watch the step-by-step video tutorial below. This video and the entire channel donates to no-kill animal shelters and rescue organizations each month. Watch, like, subscribe, and share to help raise these monthly donations ❤❤❤


Frequently asked questions
Have a question about this project?
what does that weigh?