


2 Spring Crafts From The Dollar Store - The Antiqued Journey
2 Spring Crafts From The Dollar Store
Share this post. Share the Journey!
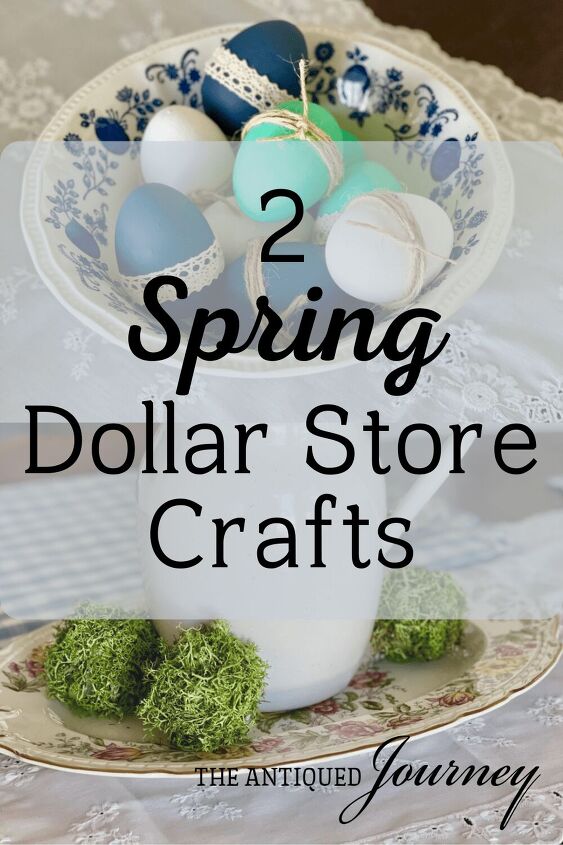
Today I’m sharing 2 Spring crafts from the dollar store with you!
Spring crafts are always fun for me to create. After a full season of winter and holiday creations, it is so exciting to be able to bring out the bright colors and green textures for the Spring season!
The two crafts that I’m sharing today are simple and inexpensive, enabling you to create beautiful pieces of decor that will look like they came from a retail store. Follow along as I show you how to make 2 Spring crafts from the dollar store!
*At the very bottom of this post, I have linked similar supplies to the ones I used for these projects*
This post contains affiliate links. That simply means I earn a small commission on any clicked links at no cost to you. As an Amazon Associate, I earn on qualifying purchases. Thank you for supporting my small business!
Craft 1: Faux Moss Balls
I’ve never tried to make faux moss balls before. Since they are pretty popular right now, I thought I would try to create some, but only using items from the dollar store. You only need 3 items to make this project, making it extremely easy and affordable!
Materials Needed
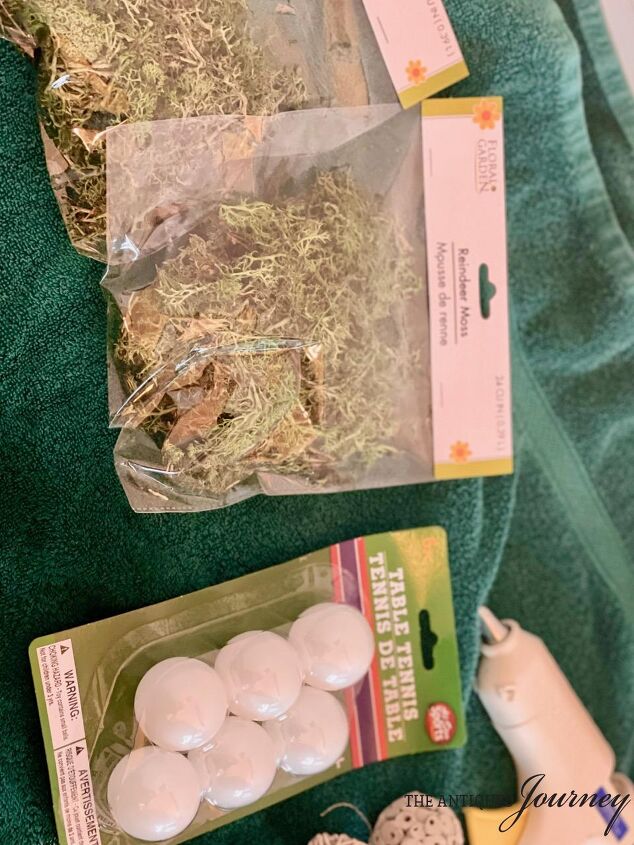
- hot glue gun and glue sticks
- 2-3 bags of faux moss (I used Reindeer Moss)
- 1 package of ping pong balls
- an old towel or sheet to work on top of (the moss gets very messy)
Faux Moss Ball Steps
- Heat up your hot glue gun. While that’s getting hot, prepare your work surface.
2.Pour some moss from the bag onto the towel or sheet so that it is easy to grab.
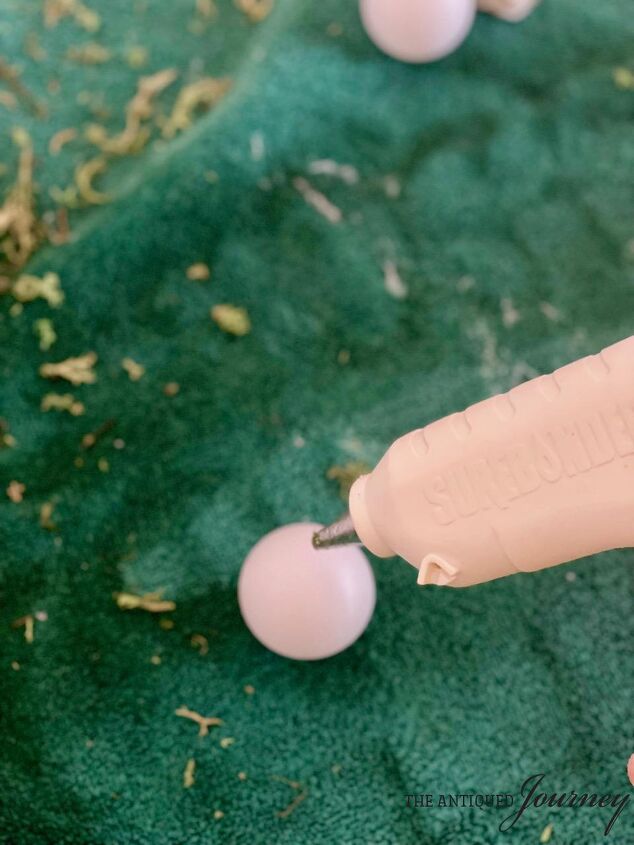
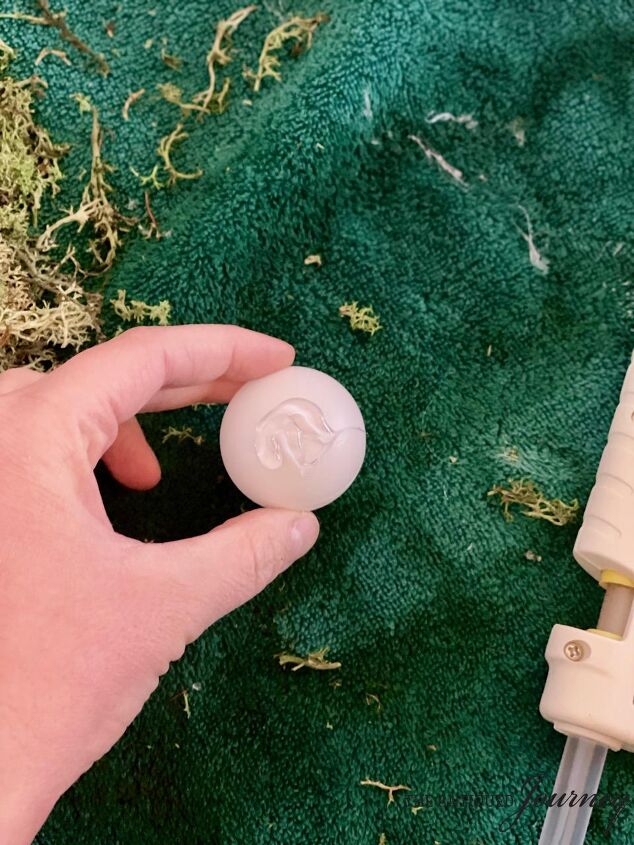
Pick a small section of one ping pong ball. Then, squeeze a nickel-sized amount of hot glue onto the ball.
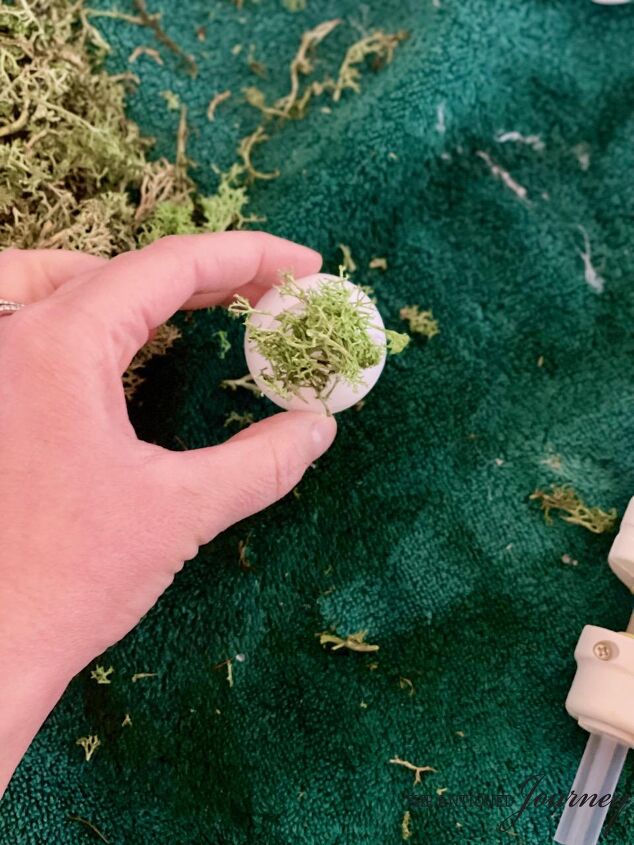
3.Press a small amount of moss onto that section of glue.
4.Keep working in small sections. Continue until you have the whole ball covered with one layer of moss.
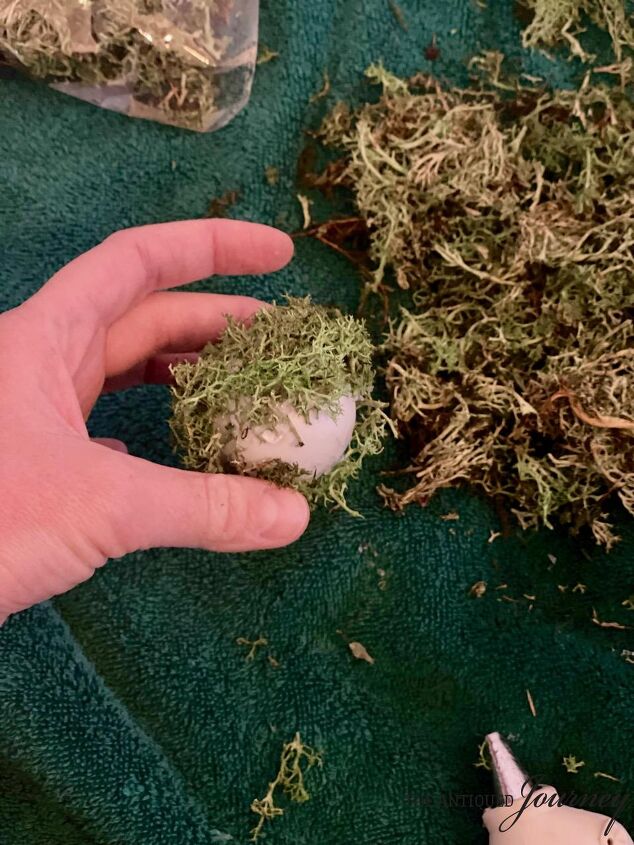
5.Fill In. After the initial layer, you will then go back and fill in spots that are sparse or that need more moss.
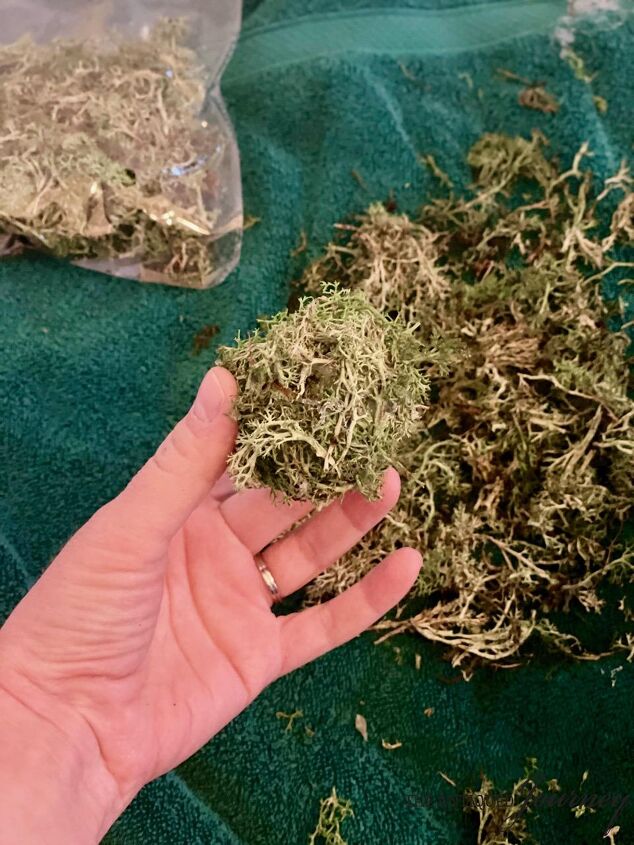
6.Continue filling in the ball with glue and moss until you are happy with how it looks. Tip: I kind of squeezed the moss down by rolling the ball around in both hands, helping to shape it.
Lay the finished moss balls on a towel to dry.
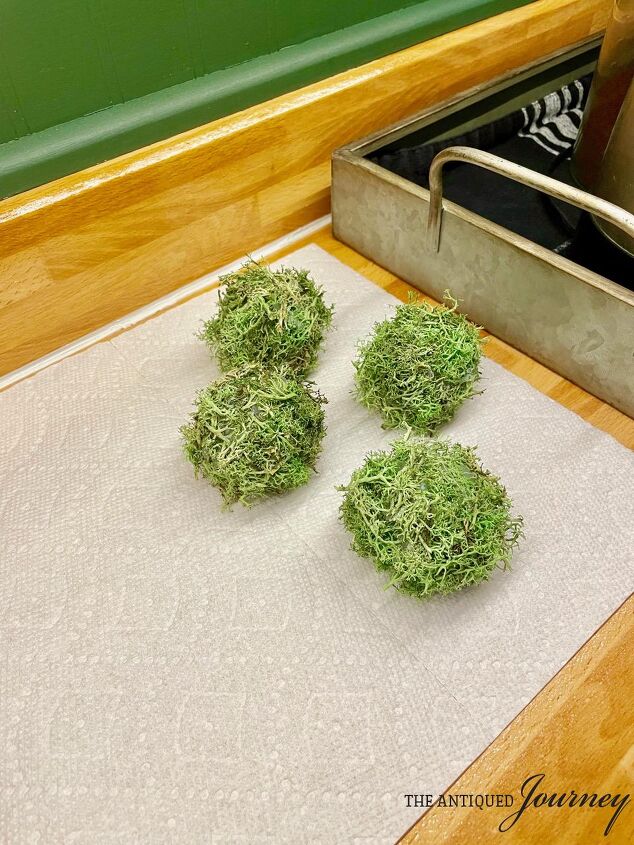
Tip: Make sure you have plenty of hot glue gun sticks! The pack of ping pong balls came with 6 balls. However, I ran out of glue sticks because you do use quite a bit of glue for these balls, so I only had enough glue to make 4.
7.Style the moss balls!
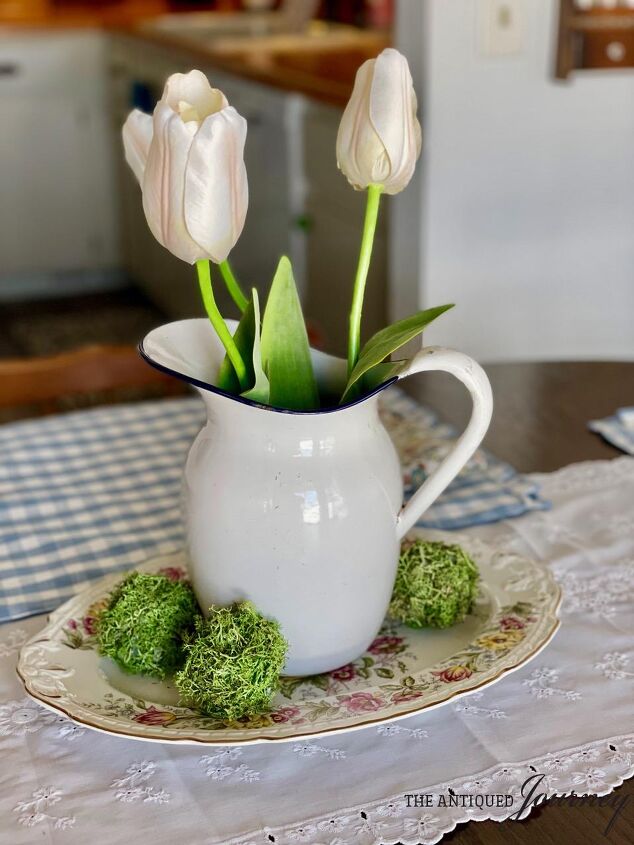
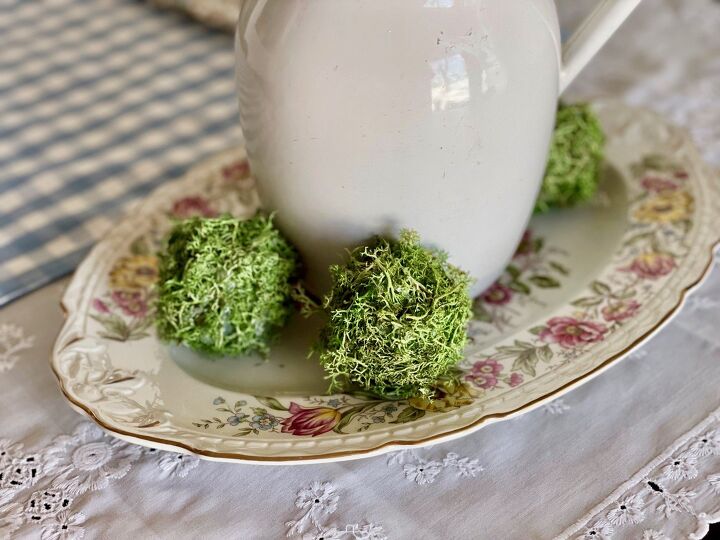
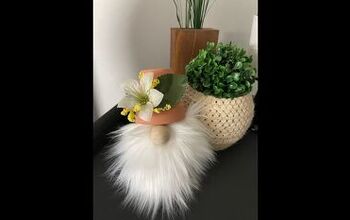
To style mine, I simply placed some faux tulips in an enamelware pitcher, placed that on my floral platter that I showed you guys in my spring thrift post, and then laid 3 moss balls around the pitcher. It’s now a pretty centerpiece on the dining table and looks beautiful paired with this vintage table runner!
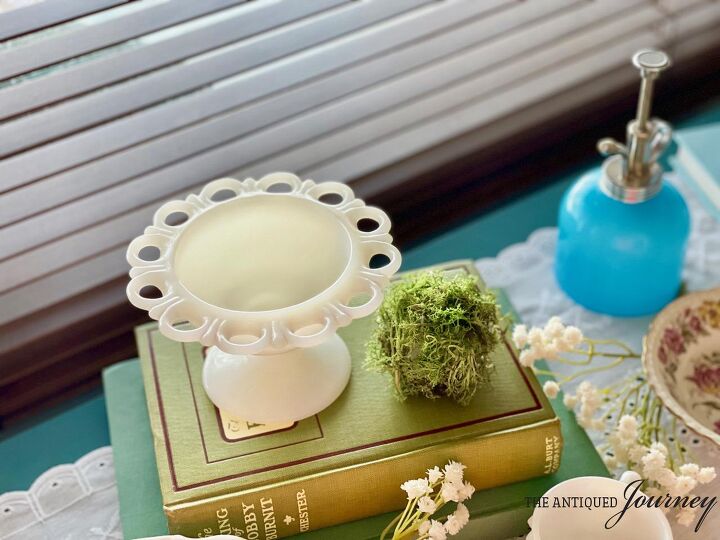
There was one moss ball left, so I placed it on top of a vintage book displayed with some milk glass. You could also use these moss balls to make a faux topiary, place them in a terrarium, or style them into a cloche display. I’m really happy with how these turned out, especially for my first time making them!
Craft 2: Painted Plastic Easter Eggs
Again, this project was created from dollar store items or things that I already had on hand. Plastic eggs are so loud and obnoxious with all the bright colors, so I thought I could try and create Easter eggs that were a little more elegant and vintage looking! Here’s how it went.

Materials Needed
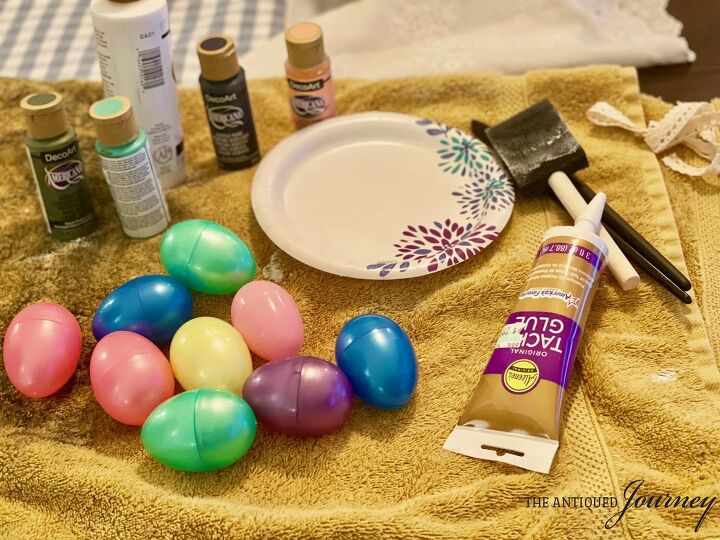
- plastic Easter eggs
- craft paint
- craft paint brush
- lace ribbon
- twine
- Tacky glue
- paper plate
- an old towel or sheet for a work surface cover
- Choose the paint colors you would like to use.
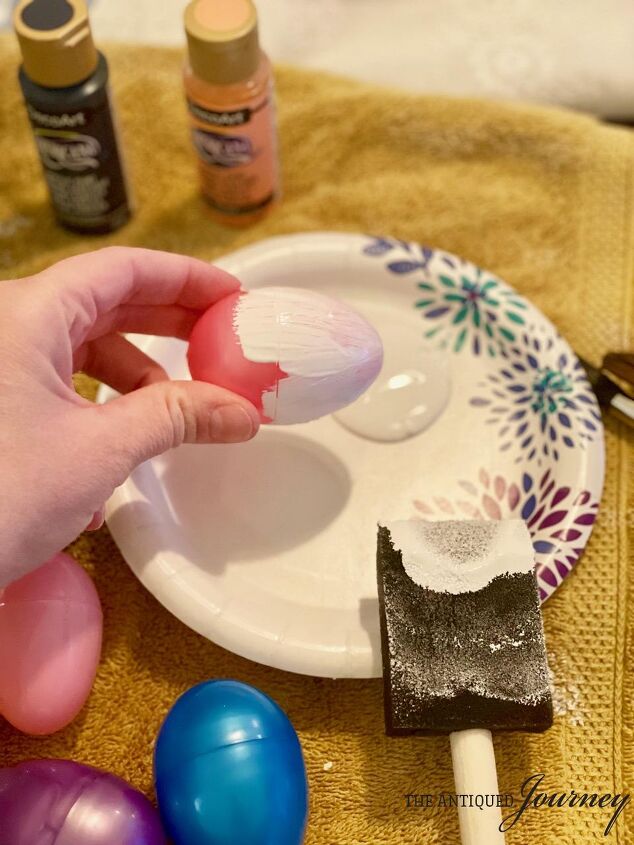
I wanted my eggs to be fairly neutral yet still emit a Spring feel so I went with white, navy blue, and teal. Tip: I suggest using a sponge brush like the one shown above because it leaves less streaks. I realize it would have been much easier to spray paint these eggs, but again, I wanted to use things that I already had on hand.
2.Paint one layer of paint on each of your eggs.
They will look pretty gaudy after that first paint layer but be patient! Let those dry on a flat surface. Tip: I learned that it’s difficult to hold the eggs and paint them at the same time. For easiest application, hold the egg between your pointer finger and thumb. Yes, you will get messy with paint but that’s the fun of it!
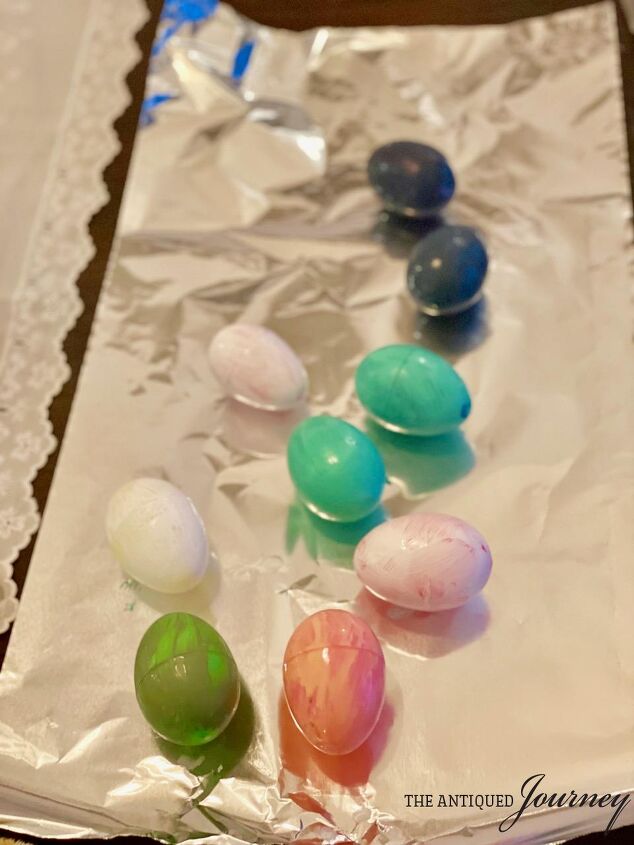
3.Keep painting your eggs. Paint them until you have built up enough layers so that you can’t see through to the plastic on all sides.
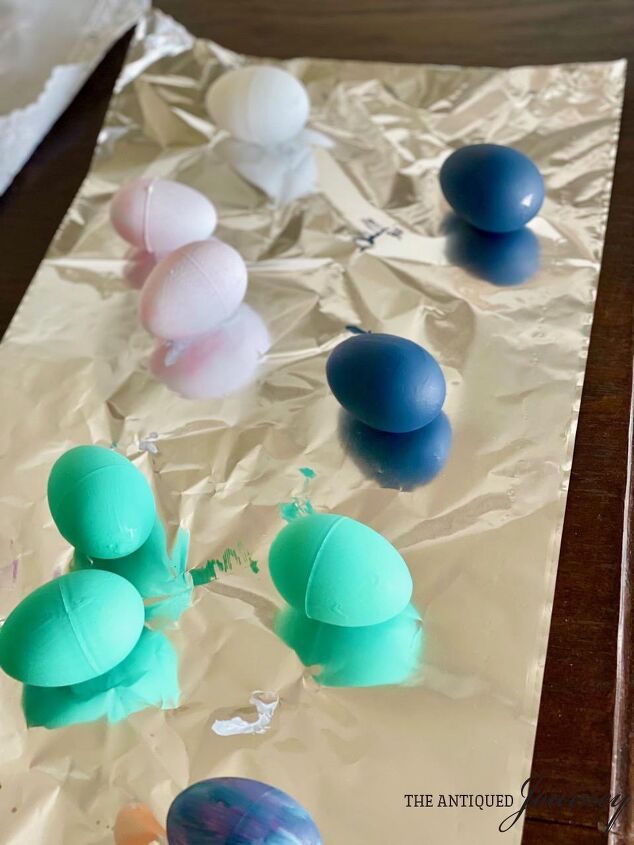
This is after 2 coats of paint. Clearly not enough yet! I ended having to do 5 layers of paint to achieve my desired look. You may need to do less depending on the paint that you use.
4.Choose the ribbon. You want it to be fairly skinny, just wide enough to cover up the line where the eggs usually open.
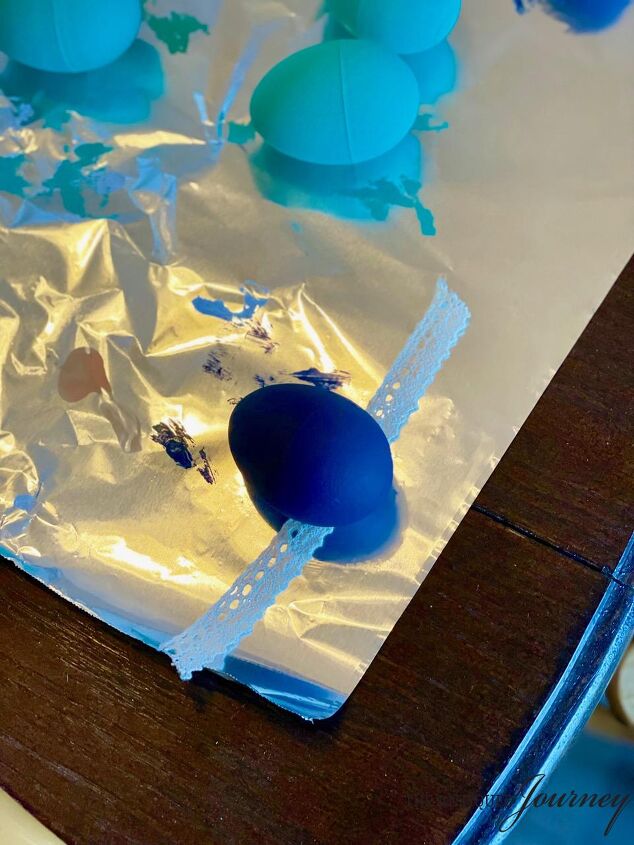
I had this pretty lace ribbon in my craft drawer. It’s been used for many things over the past few months because it is so versatile! I thought it would give my eggs the vintage look that I was going for.
5.To apply the ribbon, first you need to measure how much you need to go around the egg, plus a little more for overlap in the back.
Squeeze some craft glue onto your finger. Then, gently rub the glue onto the ribbon.
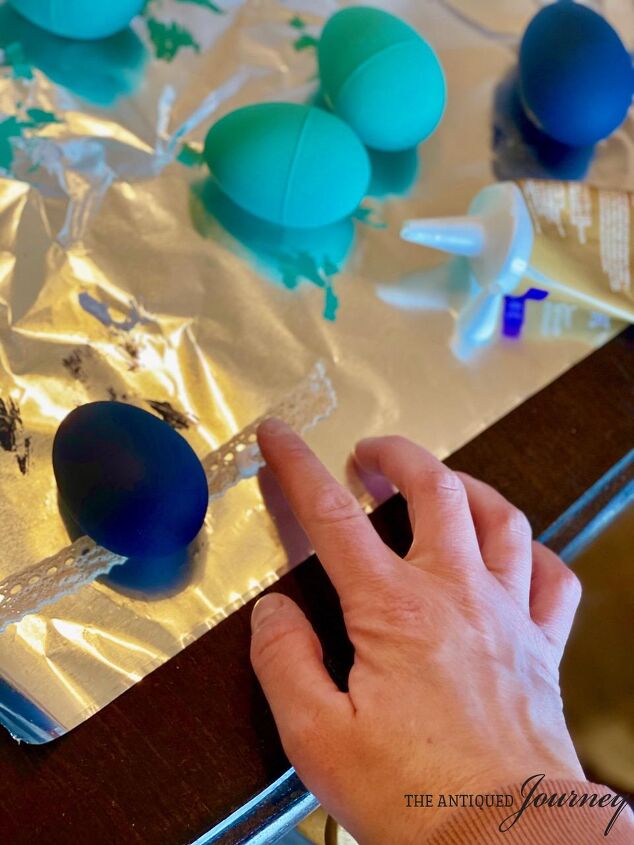
6.Roll the egg onto the ribbon.
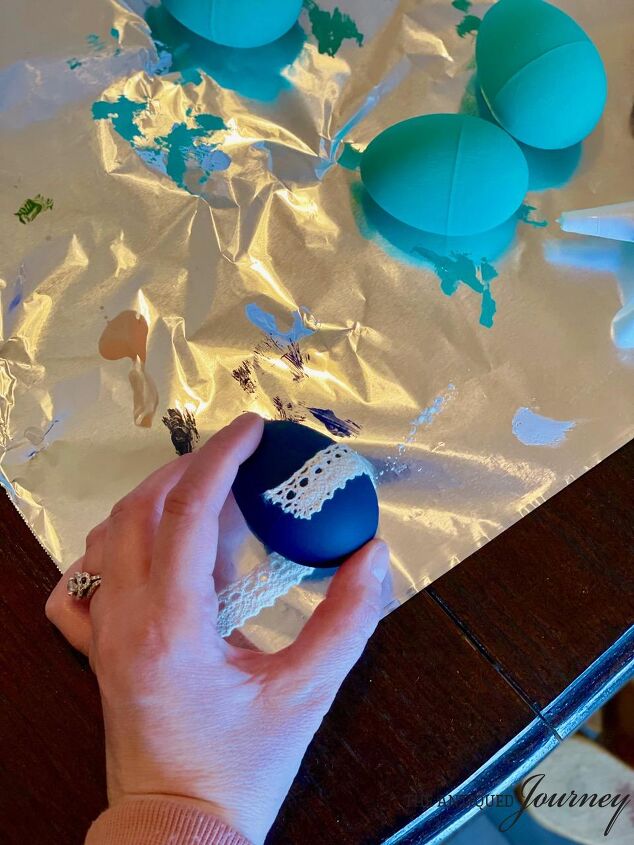
Gently press the overlap of ribbon down in the back to secure.
7.Continue this process for each egg that you would like to have ribbon.
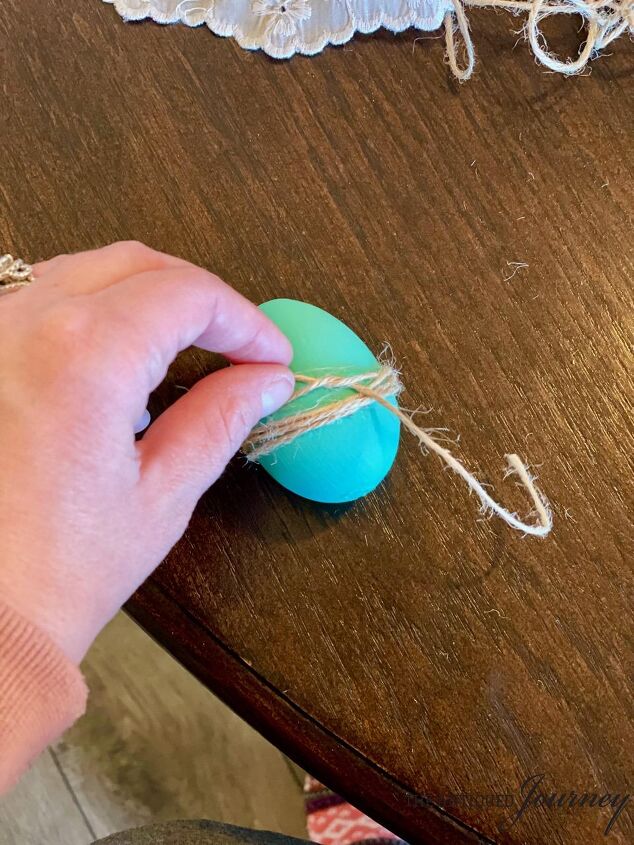
8.Switch to twine, if desired. To vary the eggs a little, I decided to wrap twine around a few of them.

All you need to do for this is cut a roughly 5 inch piece of twine. Hold the tail end with your thumb while wrapping the rest around the line of the egg.
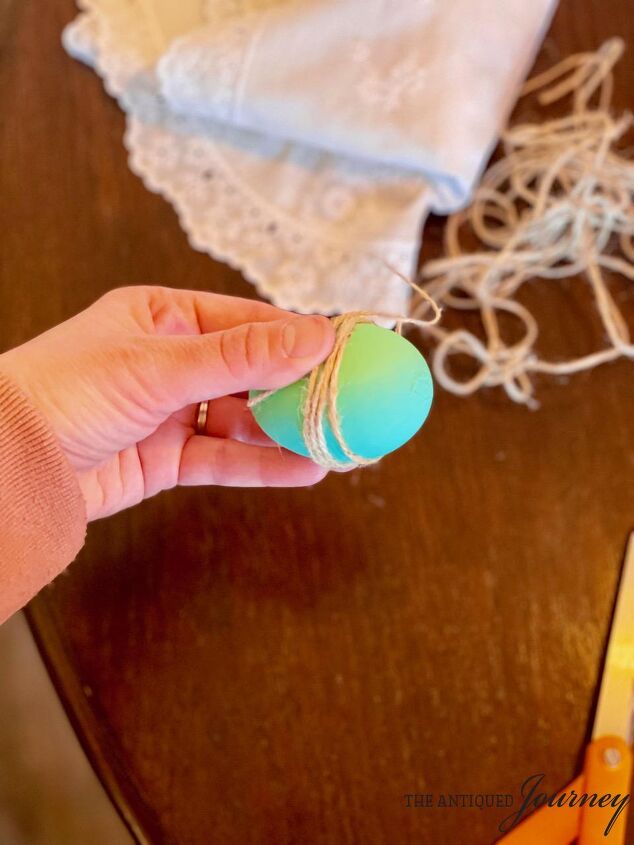
Leave a little twine near the end of the wrap so that you can secure the two ends with a knot.
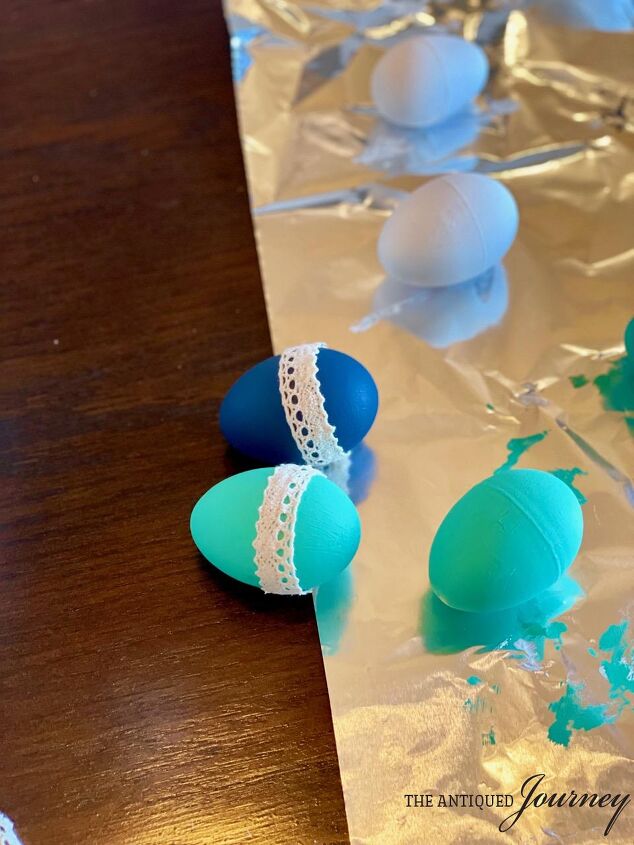
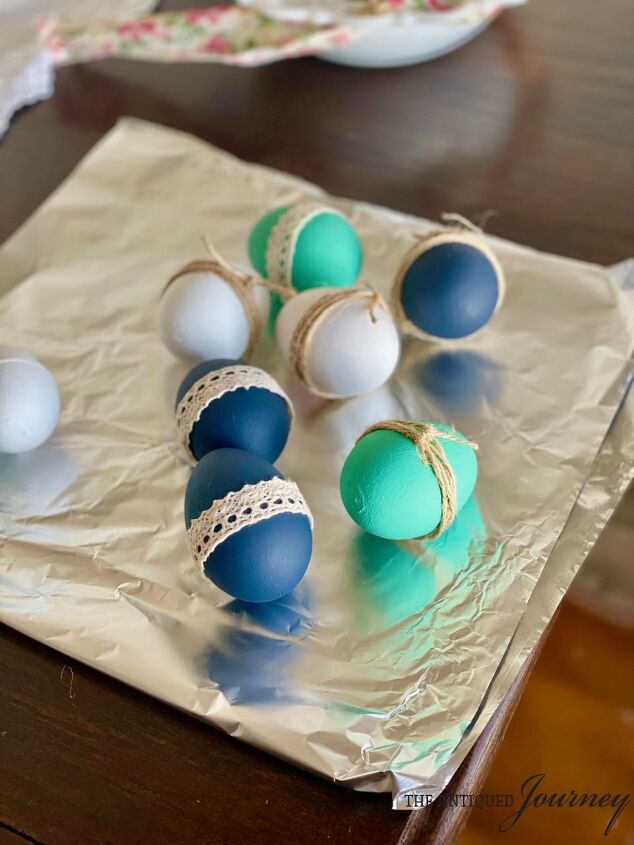
Your eggs will look something like this when you are done.
9.Display your eggs!
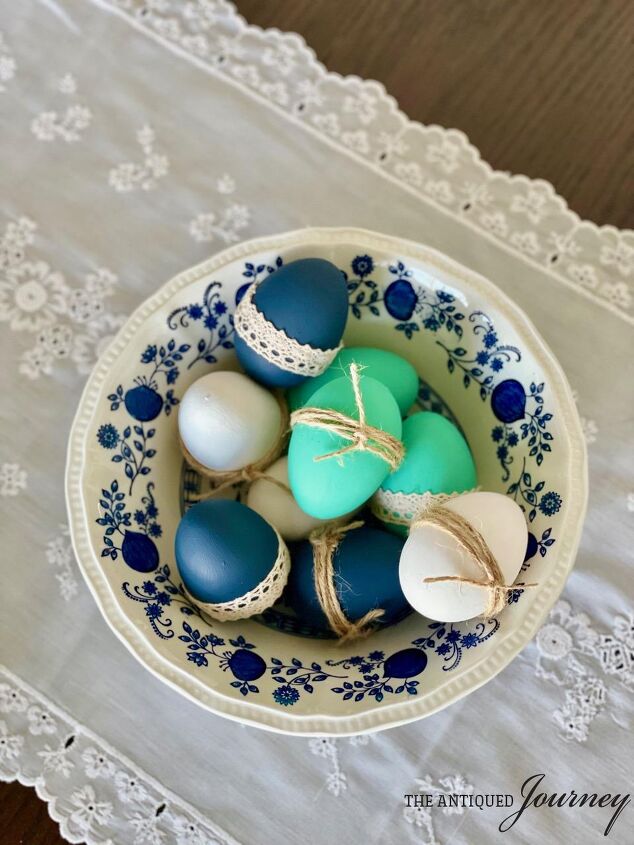
I decided my Blue Onion bowl would be perfect for displaying the eggs. The colors of the bowl combined with the curvy edges pair beautifully with the Easter eggs, making them feel much more elegant.
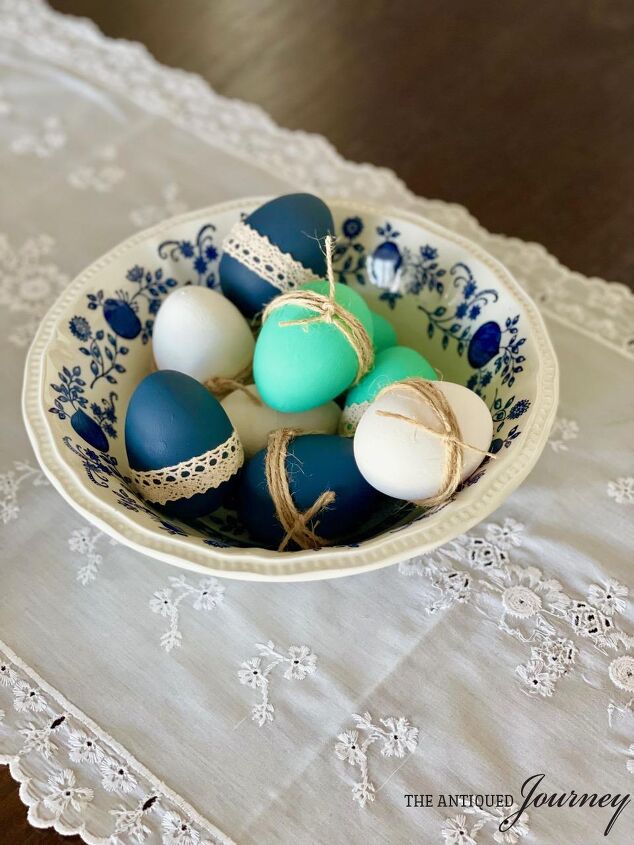
I’m beyond excited with how my eggs turned out. They make me so happy whenever I look at them and I definitely think I achieved my goal of creating vintage looking Easter eggs!
There you have them! These 2 Spring crafts from the dollar store were so fun to create. They did take some time and thoughtful effort but it was all worth it in the end. The moss balls and the eggs are two projects that fit two totally different aesthetics, making them extremely versatile pieces of decor.
As always, I encourage you to put your own twist and ideas on anything that you make. I hope you are inspired to craft some Spring decor for your home! Let your creativity guide you and find joy in the process.
Let me know in the comments below if you have created any
Spring decor for your home!
Find Antique and Vintage Inspiration.
Create more simple DIY crafts.
Go shopping in The Antiqued Journey shop!
If you are loving my content, please consider subscribing to my e-mail list. In return, you will receive a free digital download as well as weekly inspiration delivered straight to your inbox. I would love for you to be a part of The Antiqued Journey community!

Hello I’m Rachel.
I’m so glad you stopped in! Join in the journey to find your style, learn new things, and re-discover antique items.

Comments
Join the conversation
-
Your vintage style eggs are amazing looking! I especially love the ones with the burlap looking ribbon. The dark blue is my favorite of them all! May I ask where you found faux tulips? As they are very pretty indeed! 🌷 🌷
-
Hi Donna!
I appreciate your lovely comment...thanks so much!! Yes! I found those faux tulips at Hobby Lobby...I usually can't find faux flowers that I like because they all look so fake but THESE tulips are amazing. I think they were half off the day I was there so they were about $2 per stem. I highly recommend them! Thanks for taking the time to read my post..I really do appreciate it! If you would like more ideas like this, you can head over to my blog and poke around! You can find me at theantiquedjourney.com. Hope you have a great day!


Frequently asked questions
Have a question about this project?