


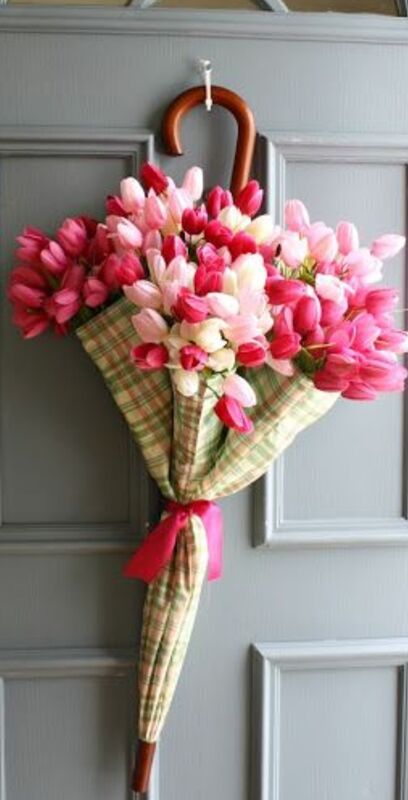
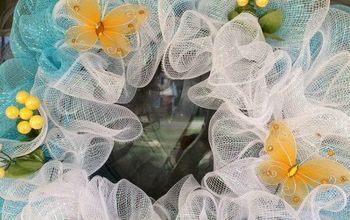
A Front Door Wreath Alternative Perfect for Spring!
Here is a very unique spring diy perfect to hand on your door that is bright and cheerful!

I love to shake things up when it comes to my front door…
Remember my fall wreath alternative?
Or how about my Christmas wreath alternative?
If not, click on the links above to check them out.
This year, I had this brilliant idea to put a spring purse stuffed with flowers on my front door. Surprise, surprise the supply chain issue has impacted spring purses. Not one single purse to be found. Mine are all grungy and old so I began looking for an alternative.
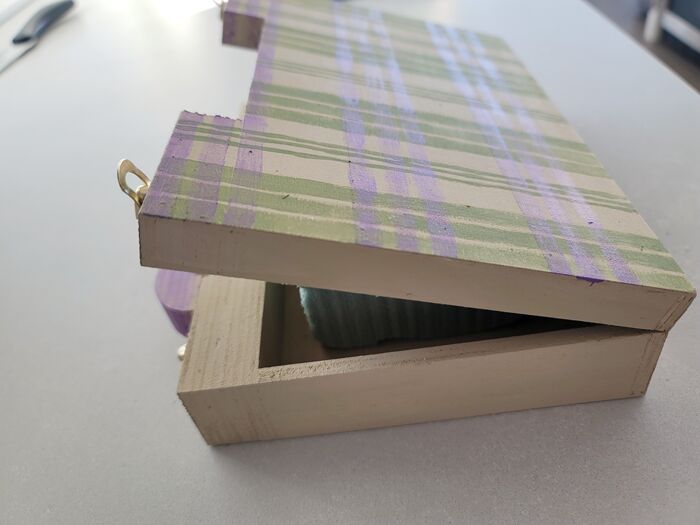
I was shocked to find a small wooden briefcase or perhaps a clutch at Walmart. Let’s go with clutch as it sounds so much better. It is so adorable and it was only $5 (Canadian $)!
Off to the Dollar Store I skipped and found some cute flowers, an amazing daisy ribbon in green and purple (more to come about that later) and oasis.
Once I had those items, I scanned through new spring decor items and found this adorable umbrella and it became the inspiration for the pattern on the paint finish I would do on the clutch.
MATERIALS
Materials required for this project – not all of the products are exact matches but are similar:
- Wood box – clutch
- Faux white roses
- Pink slender flowers
- Oasis
- Moss
- Pearl strand (4 inches)
- Green or purple ribbon
- Three shades of paint – I chose DecoArt Desert Sand, DecoArt Hauser Light Green and Basics Brilliant Purple
- Paint brushes – Legato Brunel 550-F size 0 and 550-R size 0
- Scissors
- Wire cutters
- Glue gun and glue sticks

Time to base coat the wood
I used a sponge brush and DecoArt Desert Sand to give the entire wood clutch a thorough base coat.
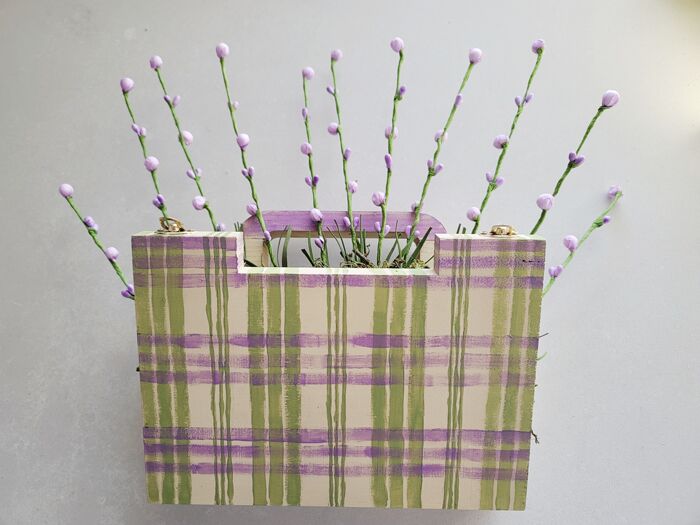
Painting plaid
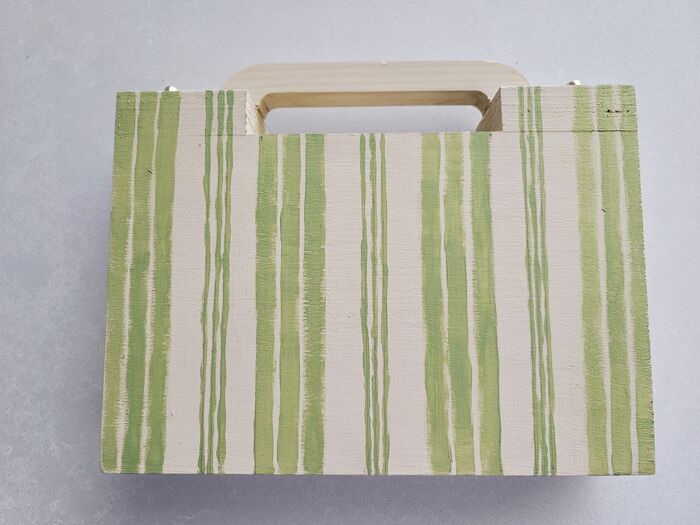
I studied the umbrella (pictured above) above and noticed that they went with three medium stripes of green and then three thin stripes of green.
On the front of the clutch (the part without the handle) I spaced out the lines.
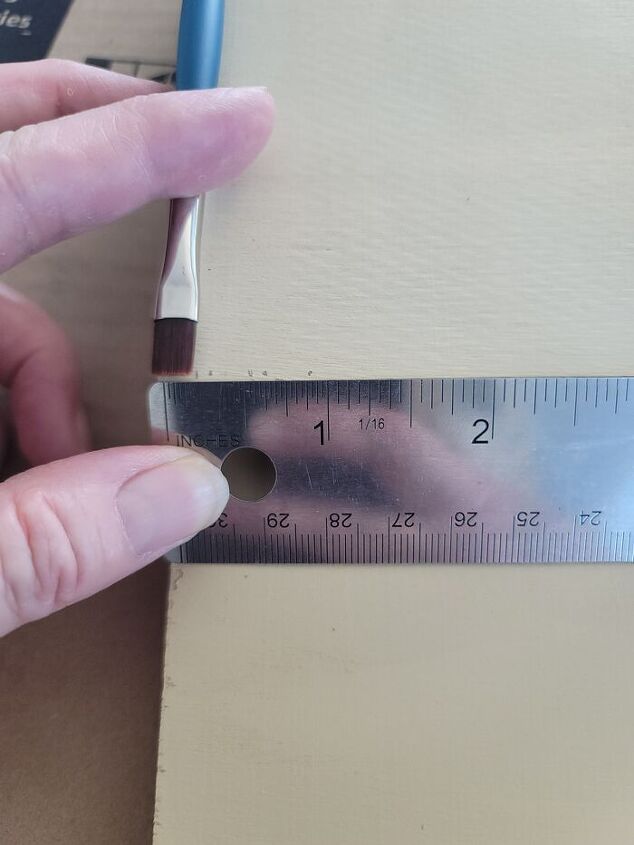
I used the Legato Brunel 550-F to paint the medium stripes. This is a flat brush that is 1/4″ wide. I left a 3/32″ space and then placed another stripe. Repeat again for the remaining stripe.
Please understand, I wanted a rough plaid. I did not want anything about this to be fussy and perfect. If that is what you want, then go for it. My end goal was for this to hang on our back door or on my very old greenhouse and I like things to look a little worn, like they have lived a life.
I left 1/2″ from the set of three medium stripes and the set of three thin stripes. For the three thin stripes I used the Legato Burnel 550-R size 0. This is a very thin round brush and was perfect for the stripes. I placed a stipe and then left a space the size of the small stripe, then another stripe, then a space and a final thin stripe.
Then I repeated the three medium lines. Please see above how I laid out the stripes.
It will depend on the size of the purse or clutch that you have so just come up with something pleasing and space them across.
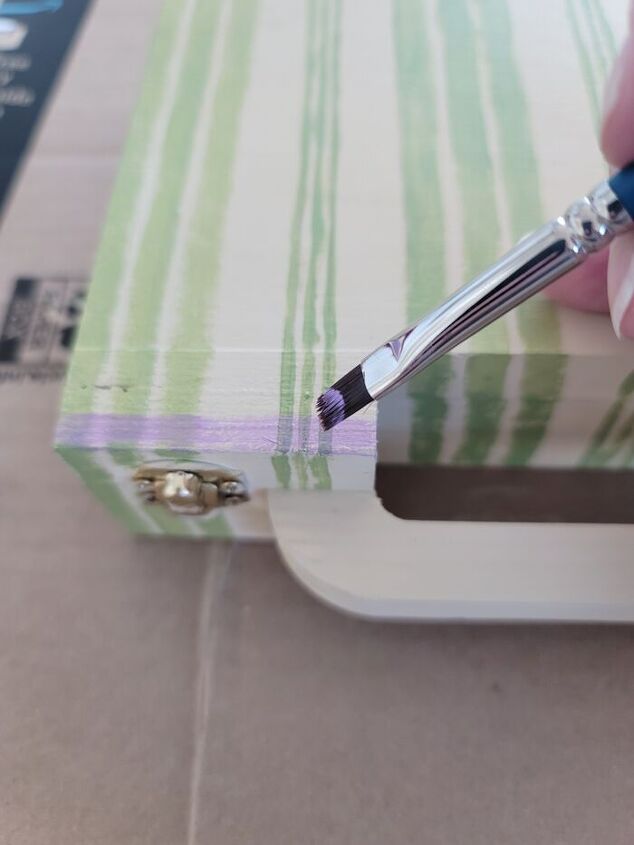
Next came the purple stripes. I purposefully wanted the green to show through so I had very little paint on the brush.
For the purple stripes, I decided just to do three medium stripes similar to the green stripes, left an inch space and then painted another three stripes.
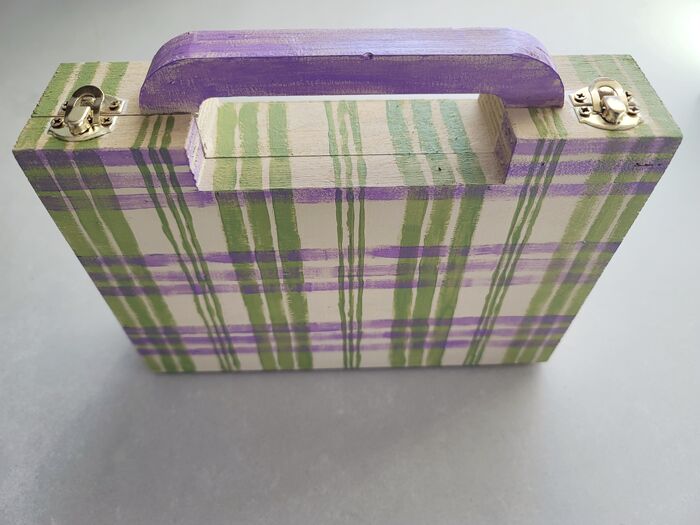
Lastly I painted the handle very roughly in purple so that it looked like it was worn.
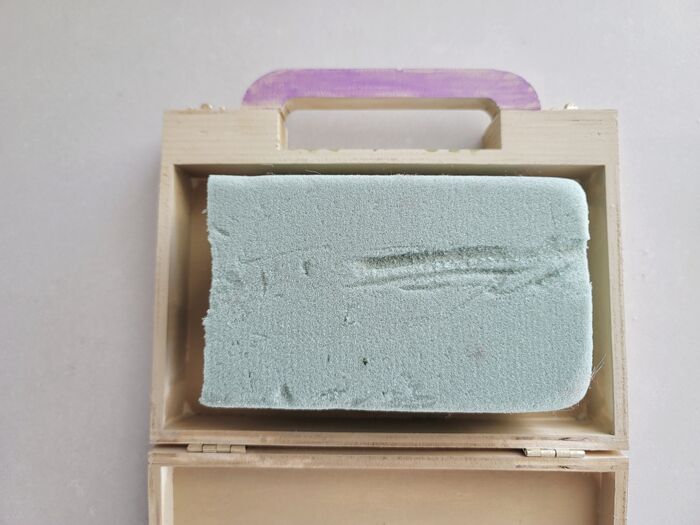
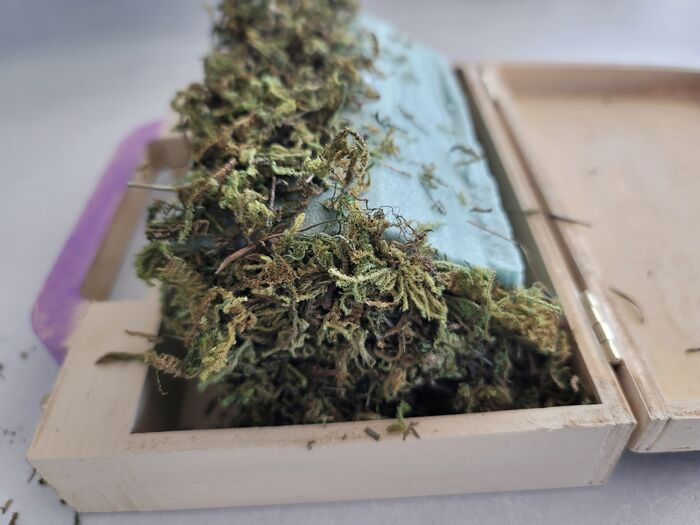
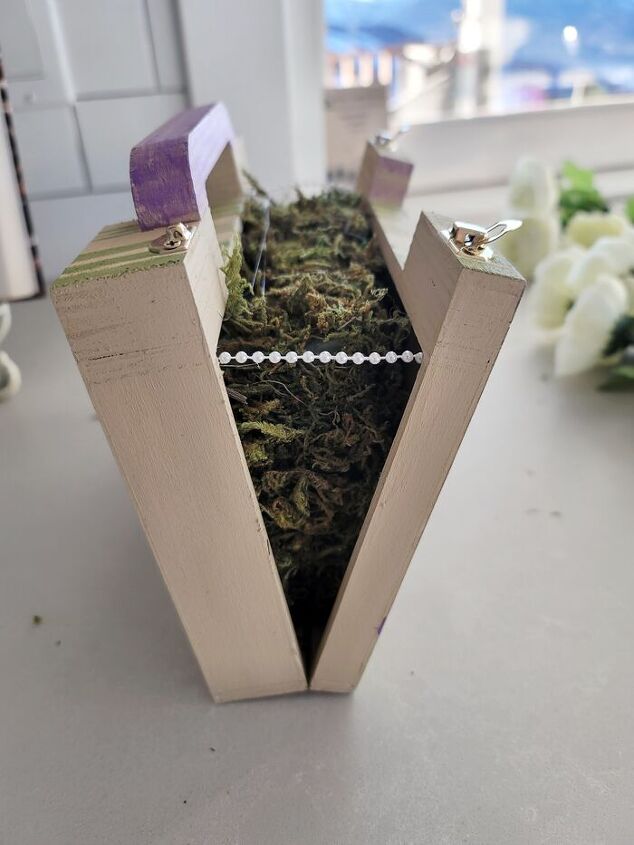
Time to add the oasis
Cut a piece of oasis approximately 1/2″ smaller than the interior of the case.
Place glue on the back of the oasis, flip over and attach to what will be the back of the case. The large part of the clutch with the handle was what I decided would be the part that will be resting against the door.
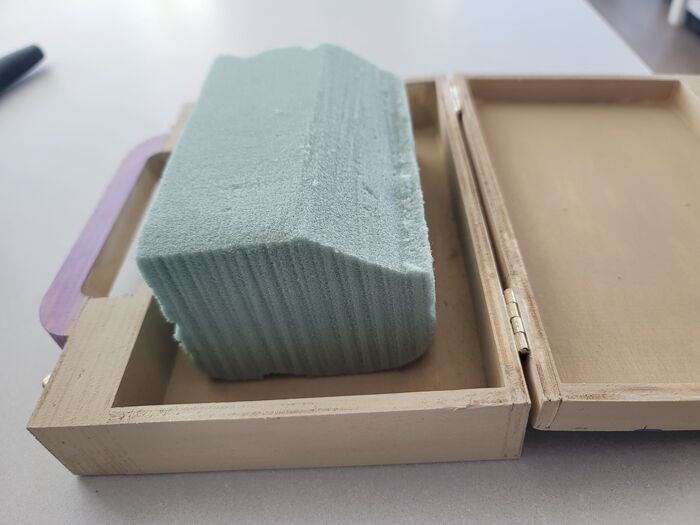
Depending on how much you want to have the clutch open and stuffed with flowers will determine how much of an angle you will cut into the oasis. I did not have that many flowers so I decided to have the clutch almost closed.
Below shows you that I left the top 2 inches open.
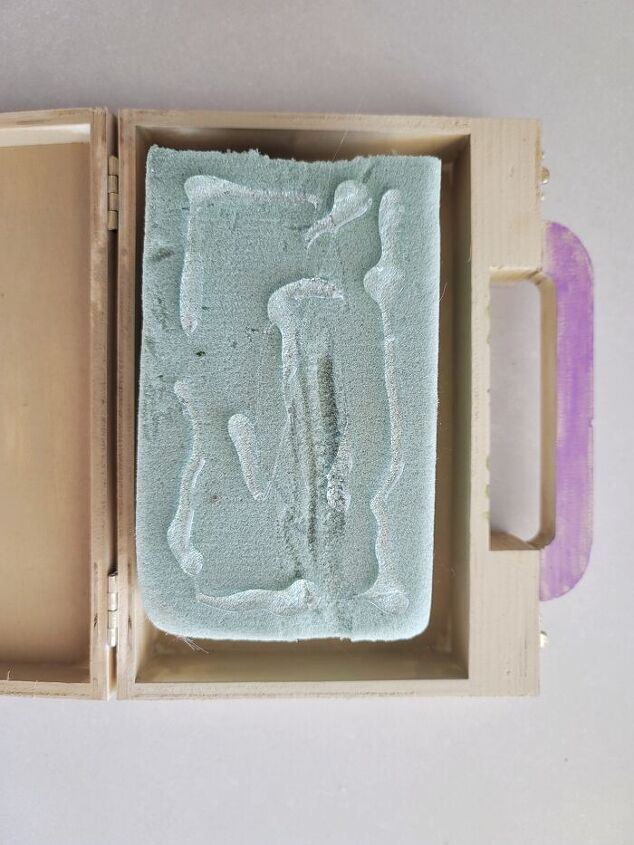
Place hot glue on the top and side of the oasis.
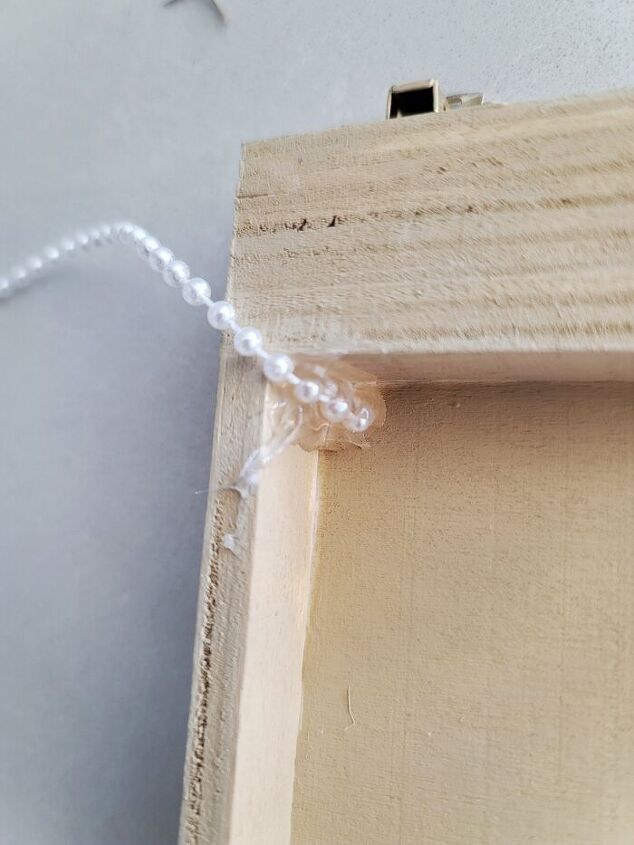
While it is not necessary, I decided to add a little pearl strap on the sides to make it look like it was what was stopping it from opening up.
I placed a thick blob of hot glue in the corner and pressed the pearl strand into it. Let dry.
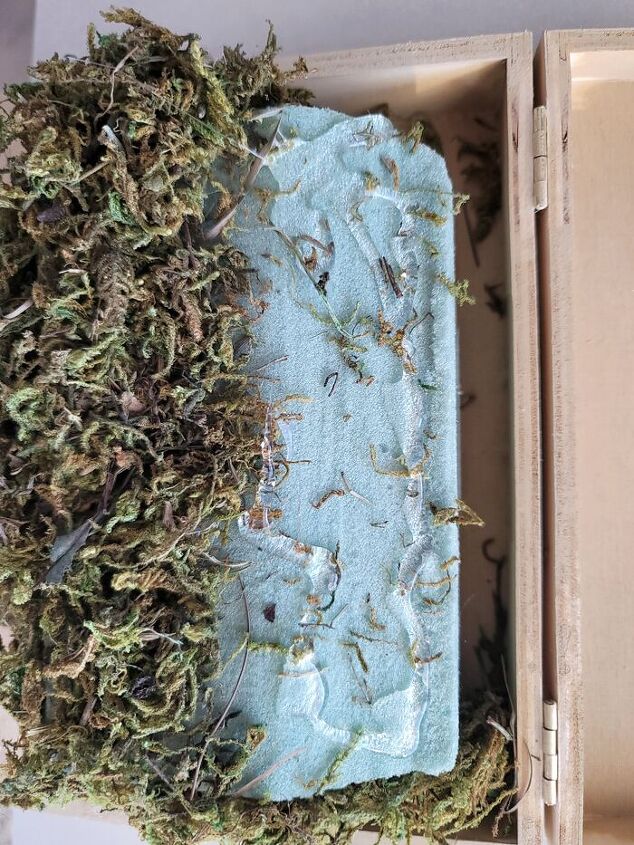
Place hot glue on the front of the oasis that is not covered in moss. Then close the clutch and press the front part of the clutch into the glue until dried.
Trim the pearl strand and glue to the front inside corner of the clutch.
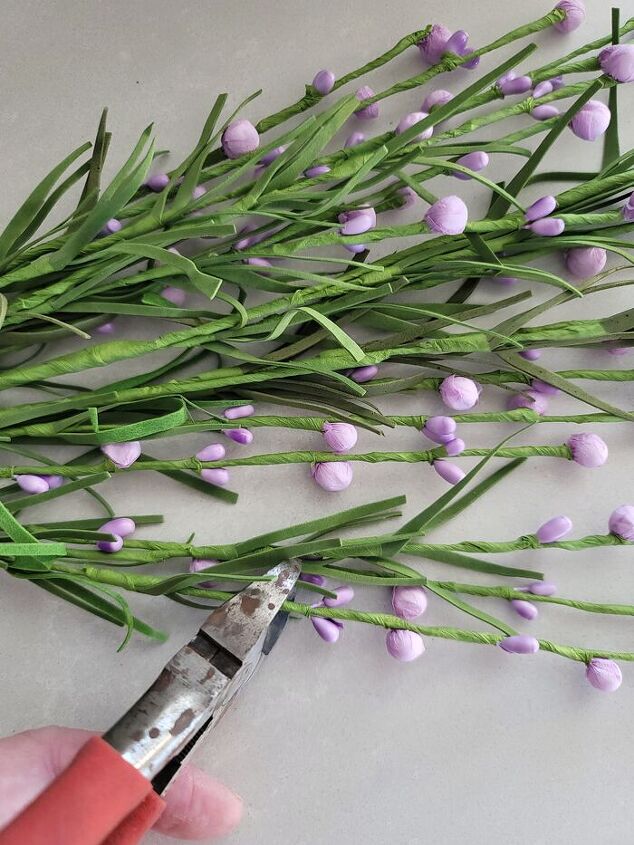
Flower time!!!
Trim the pink slender flowers between 4″ and 5″ long.
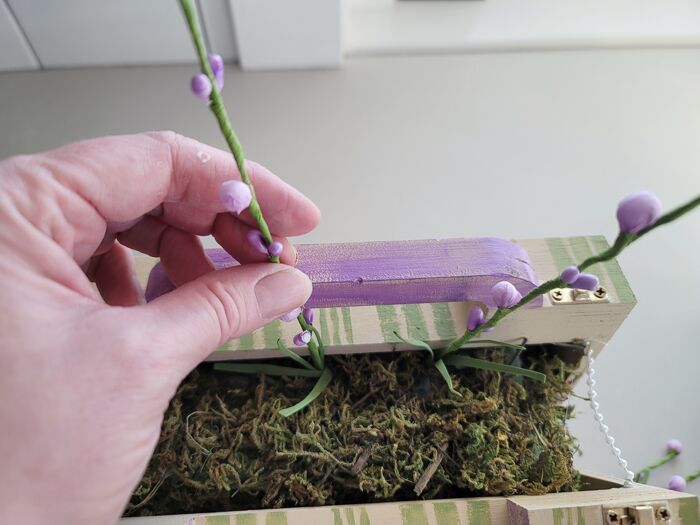
Press the flowers along the back edge of the clutch.
This looked great, but when I placed the roses in, the pink flowers stood too high.
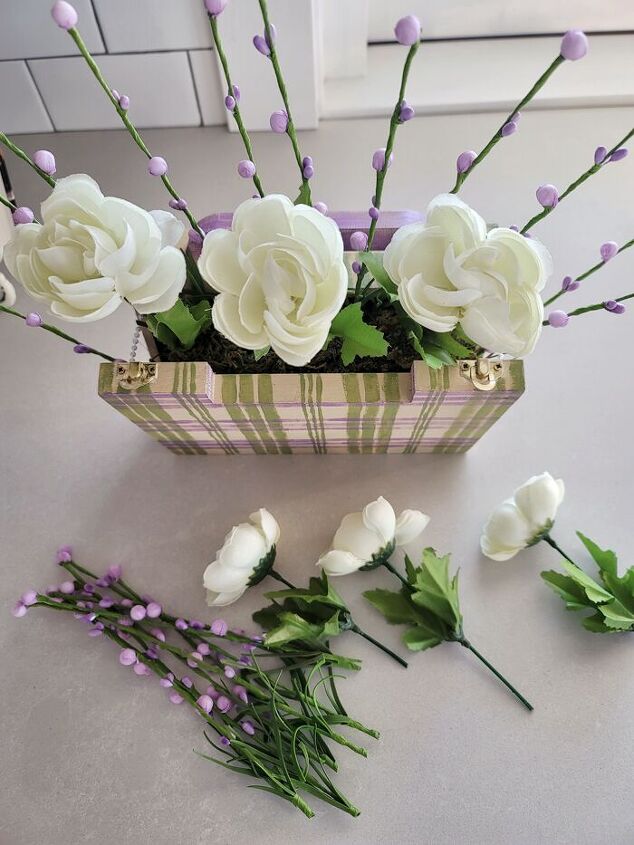
I looked at them from every angle and realized they needed to be pushed further into the oasis so that they didn’t look like a fence.
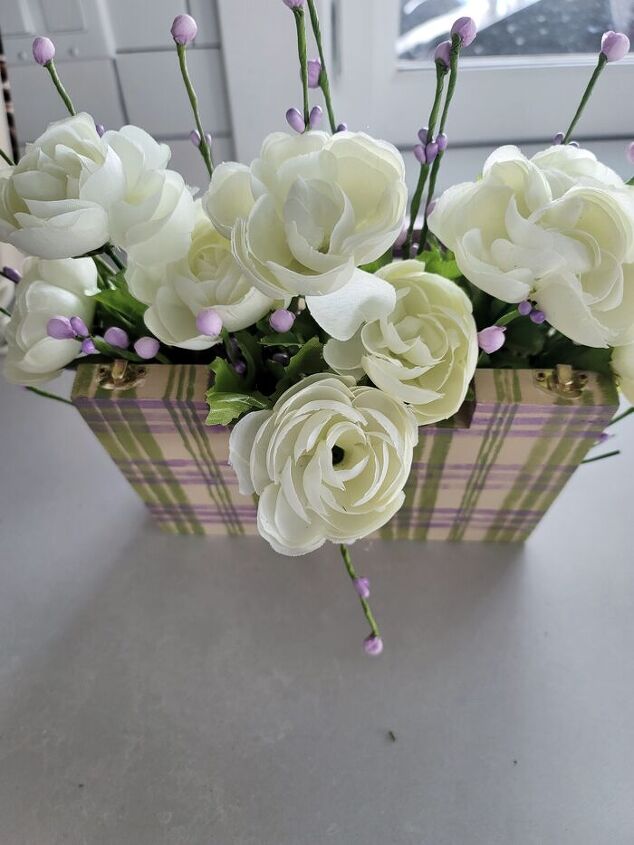
I pushed some in farther than others to give it a more random feel. Fill in with more roses, short and tall, some in front of others and some off to the side. Place three roses cascading over the front. Then fill in with pink flowers and have a few follow the roses cascading over the edge.
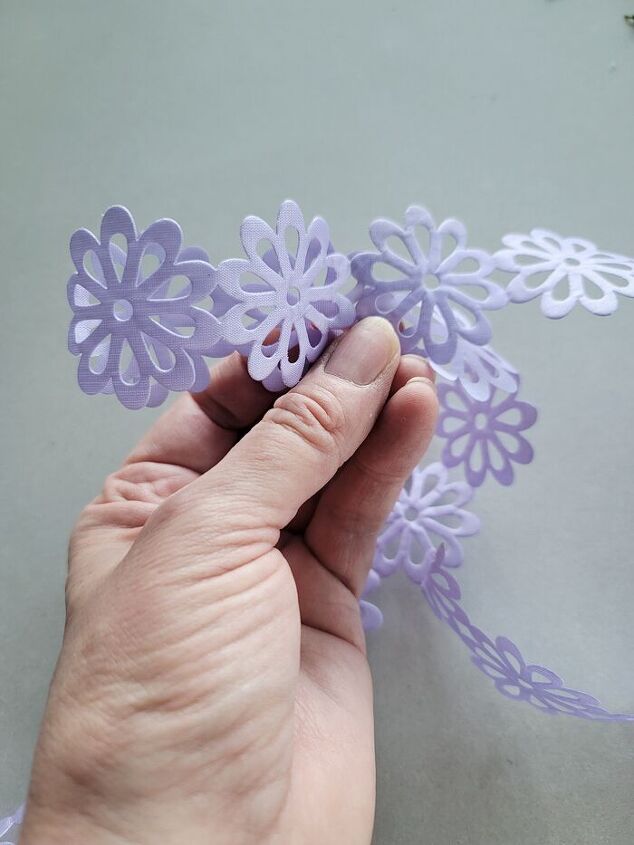
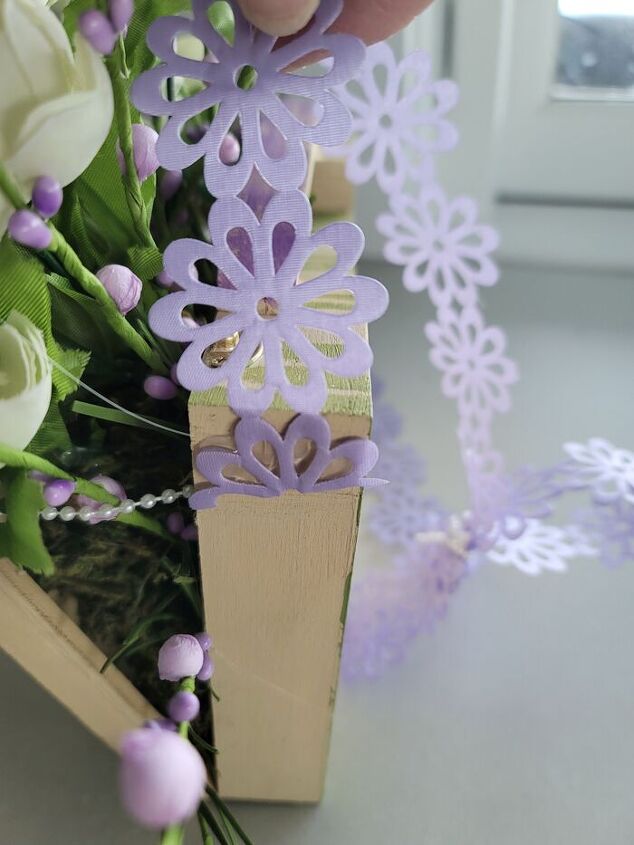
The cutest daisy strap ever!
Remember how I showed you a green daisy ribbon in the materials? Well, when I got to this stage, the green just faded away. Thankfully I had picked up a purple ribbon too, so I swapped it out.
To make the bow at the top, leave one leg 12″ long and pinch. Measure out two daisies to the left and fold two daisies underneath. Do the same on the right side and then leave a tail 12″ long.
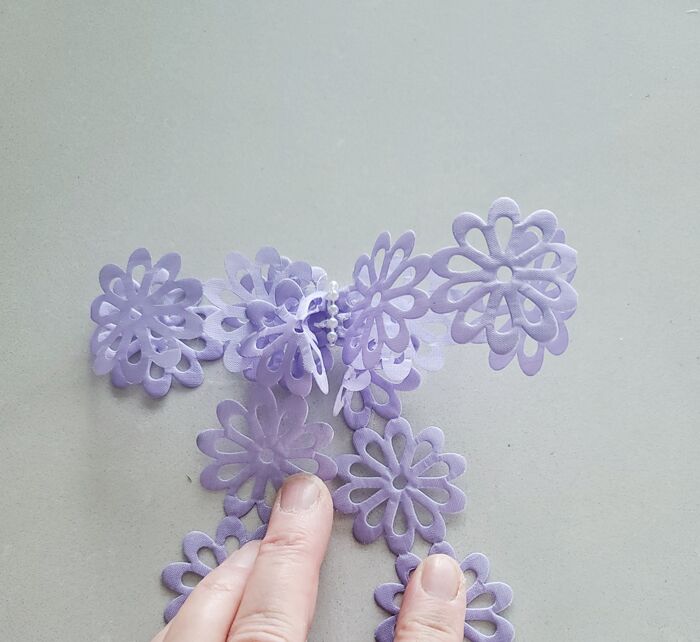
I wrapped a little piece of the pearl strand in the middle. I know it looks a bit funny but this ribbon is quite stiff. The mangled daisy in the center front is actually on the tail and will pull straight once the clutch is handing on the door.
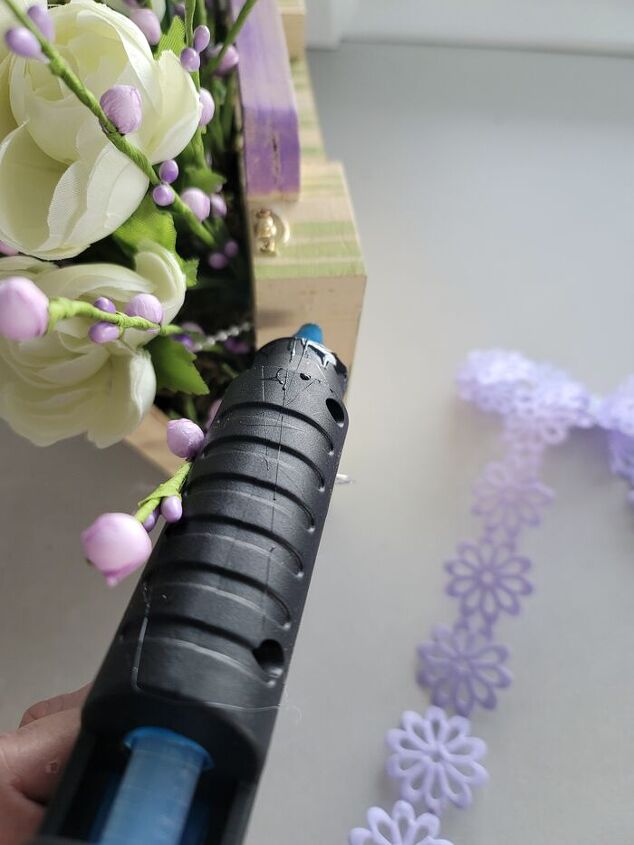
Place a good sized dab of hot glue on the side where you want to attach the strap.
Firmly press the end of the strap into the glue and let dry. Repeat on other side.

Find a place to hang and show of your latest creation!
So how do you like it? Isn’t this just the sweetest wreath alternative for spring? I think it is darling and has a vintage feel!
Resources for this project:
See all materials


Comments
Join the conversation
-
Super cute !!!
-
Here is a very unique spring diy perfect to hand on your door that is bright and cheerful!


Frequently asked questions
Have a question about this project?